Eye of the beholder

Brightness is in the eye of the beholder.

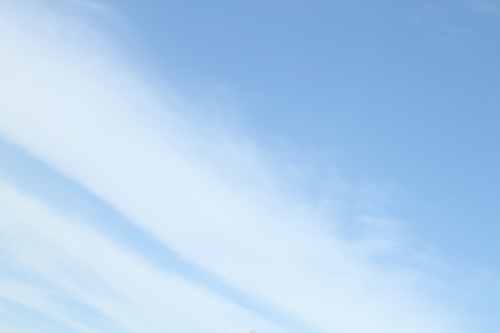
For a creative photographer, it is meaningless to say “the sky is this bright” or “the sky is this dark”. Instead, on a given day with a given sky, you might say: “I’ll make the sky bright”:

Or “I’ll give it some colour”:

Or “I’ll turn it dark so I get dramatic saturation”:

You do this by exposing it more, or less. A blue sky can be anything from white if I overexpose it, to almost dark whrn I underexpose it.

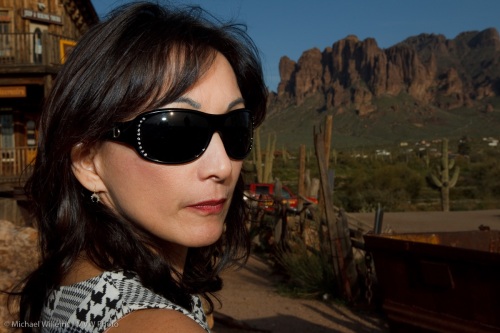
That’s how I get pictures like the desert pictures the other day, or this, of my sister-in-law the other day too, on a bright Arizona afternoon:

Of course when I underexpose like that, she would be dark too, except I am using my flash to fill in the foreground.


Gold and blue

One more “blue background, gold foreground” picture for you all. No, two.

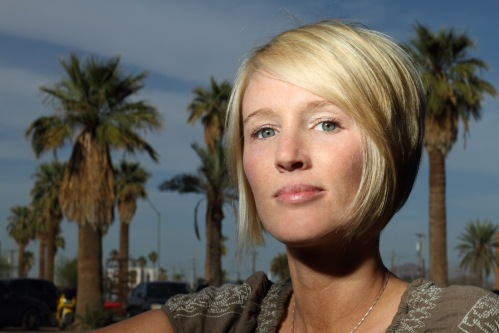
Here is Christy, of Studio Moirae, looking radiant, mainly because she looks radiant – but also perhaps just a little because I lit her with a CTO gelled flash (with the white balance set to “Tungsten”, which turns everything blue except the bits lit by my gelled flash)?

And one more lovely participant in the course, who soon will be two:

Add a splash of colour

Look at this recent portrait:

You will see standard lighting with a softbox on camera right, a fill light on camera left, a hair light behind him, using a Honl Snoot, and a background light aimed at the background.

This background light has a subtle blue Honl Photo gel on it. Can you see how much of a difference that makes? No gel would mean a grey background, and blue adds a touch of interest as well as a hint of corporate soldity.

More technique:

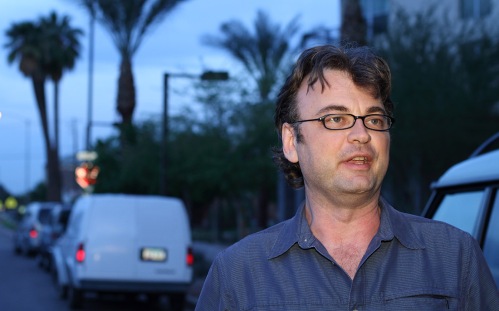
Here’s me, shot by Christy Smith of Studio Moirae:

Yeah, I model too.

But wait. That cool blue urban look. Was it actually like that?

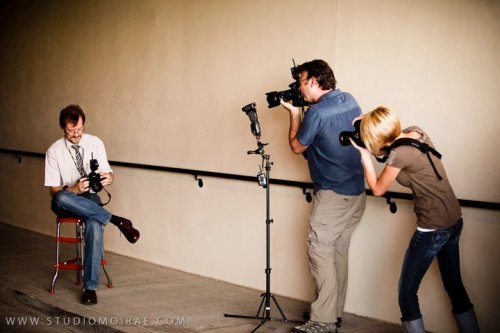
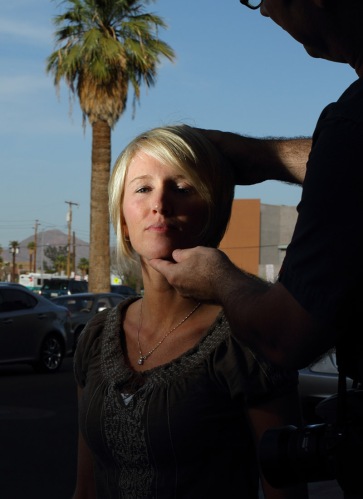
No. The actual scene was like this. Here’s Christy and David Honl taking a test shot:

So wait. How come it’s all blue?

That’s because Christy and Dave set their camera’s white balance to “Tungsten”. That will turn daylight blue.

But then I would be blue too!

Except they are lighting me with a flash with a CTO (“Colour Temperature Orange”, i.e. Tungsten-coloured) Honl gel and with a Honl Grid to make the light go mainly to my head and shoulders. The flash was aimed straight at me and set to manual, and it was fired with pocketwizards.

That’s the kind of cool technique Dave and I taught the participants who came to the workshops Monday and Tuesday in Phoenix, Arizona. If you have the chance, come to a future one: they’re fun and you will lean sooo much.

Today, part 2 of Phoenix

Today, part two of the Phoenix workshop at Studio Moirae. A repeat with a different emphasis; we go a bit deeper into the technology and we practice TTL multi-flash (both Nikon i-TTL/CLS and Canon E-TTL).

Yesterday, David Honl (yes, the David Honl) joined me, and he and I presented the workshop together. And we had fun: did we ever. A bright and energetic bunch of local photographers here in Phoenix.

Here’s David getting ready. In this shot I set my White Balance to “Tungsten”, which makes the background blue. Then a full CTO gel on the speedlite ensures that the subject, which after all is lit by the flash much more than by the ambient light, does not turn blue, but looks normal:

Here’s one of the set-up shots:

David setting up a speedlite, fired with a pocketwizard, with a half CTO-coloured Honl 8″ gold/silver reflector (while I blind Christy by actually firing the flash):

David carefully adjusting the subject’s head:

Tough job, but someone has to do it.

And here’s my shot of Christy, using this light:

All I can say is, I am glad the model we hired did not show up, because Christy is an amazing subject to work with. Which is rare for photographers.

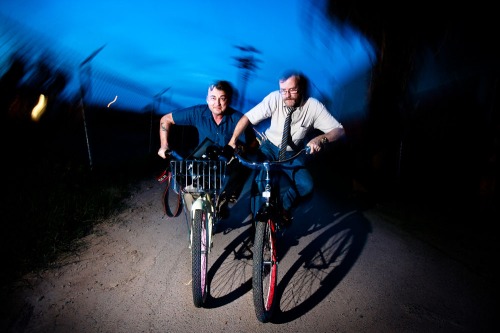
And finally, fair’s fair: one more picture by Christy of David and me. Slow shutter, turning the camera during the shot.

Can you see that direct flash can be great light? And that shadows do not necessarily need to be avoided?

Arizona

As you read this, I am in Arizona.

Here is a snap from my trip last December to Sedona:

What you can see in a simple snap like this is that:

  • It is well exposed. Check your histogram if you are not sure.
  • It is sharp (even though it was hand held while I was, um, driving)
  • The sky is deep blue – perhaps aided by a polarizing filter?
  • I used a wide angle lens. This leads to dynamic and three-dimensional images, and it is easy to focus a wide angle lens and to keep the images sharp at lower shutter speeds.
  • The composition is off-centre: using the “rule of thirds”. Remember Uncle Fred, who puts every subject dead centre in every picture: leading to boring, wrong-looking composition more often than not.

A few simple guidelines can lead to better pictures. More of which soon, if I get a chance to take any!