Speed lit

Since this blog is called “speedlighter”, and I kind of specialize in lighting, I thought I might do a quick post on quick lighting.

Today, I had a student shoot me, and her dog, using one studio light (a 400 Ws Bowens light). To do this you need to do the following:

  1. Set up a light on a stand;
  2. Add an umbrella;
  3. Shoot near a wall which acts as the reflector (that is why one light is enough!);
  4. Connect the light to the camera using, for example, a cable;
  5. A light meter to measure light and hence to help you set the flash’s power;
  6. Set your camera to f/8, 1/125th second, 100 or 200 ISO;
  7. Now meter to that (i.e. adjust the light until the meter read f/8).

The first test shot should be without flash, and should be black.

Then, connect the flash cable and shoot:

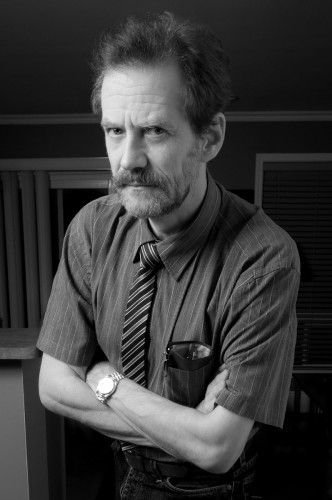
Michael Willems

Michael Willems

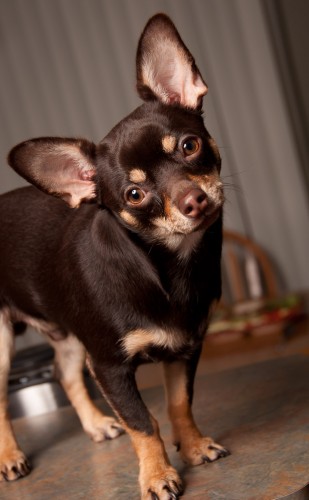
And then, after that test shot, the object of tonight’s shoot, which was not me, alas:

Duke Dog

Duke Dog

Cute, eh?

Note the simple composition, blurred background, the excellent composition and tilt (see Friday’s post), and note the catchlight from the umbrella in Duke’s eyes. (If we had shot through an umbrella, the catchlight would be even more simple, round).

Framed

One more composition post, this morning.

When you shoot an image, you need to think about what the subject is, and how to draw attention to it.

There are several ways to do it.

  • Blur the background.
  • Use converging lines.
  • Make the subject big.
  • Use colour.
  • Use negative space
  • And as I have pointed out before, one other way to draw attention to a subject is to frame it.

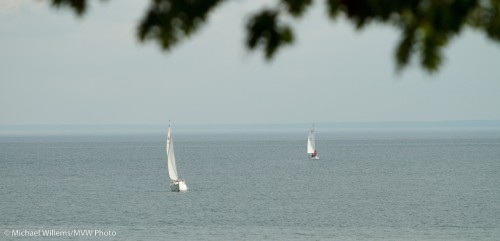
Trees are a favourite way to achieve this kind of framing:

Framed

Framed

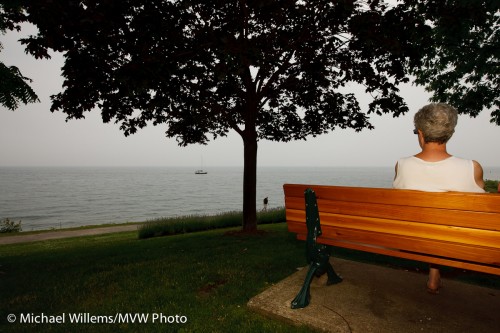
And sometimes more dramatically:

Bench framed

Bench framed

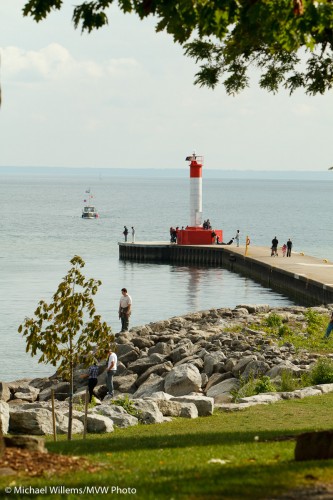
And we do this again and again:

Oakville and lake

Oakville and lake

And sometimes in less usual ways. Look, for example, at the plant, framing the bride here:

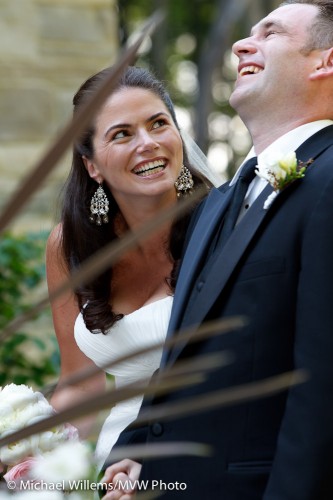
Bride, framed by plant

Bride, framed by plant

Try this yourselves: frame your next few pictures.

Dutch Angle

A play on words. “Dutch Angle” is a Hollywood term used to describe cinematic angles used by the likes of Leni Riefenstahl in 1930s Germany.

(How would Hollywood know the difference between “Deutsch” and “Dutch”? Just think of the Pennsylvania Dutch, who were Germans too.)

Anyway, back to angles. I have mentioned them before. Uncle Fred only uses angles in his photos when he accidentally fails to straighten the horizon.

So when do I use angles?

Here are  few examples.

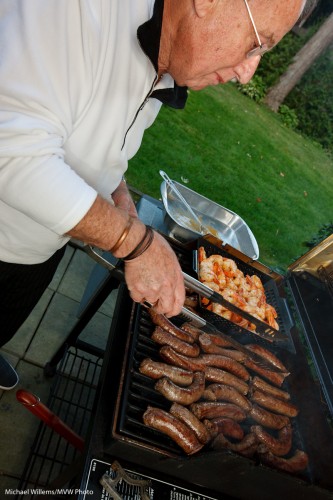
Boerenworst Barbecue

Boerenworst Barbecue

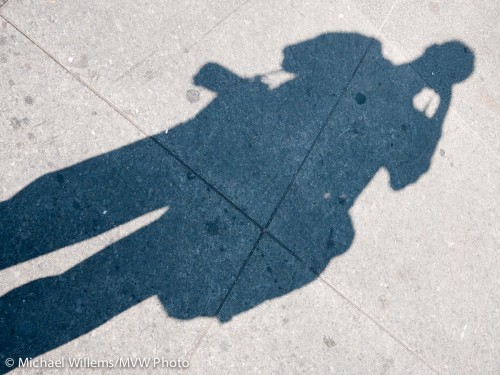
Photographer's Shadow

Photographer's Shadow

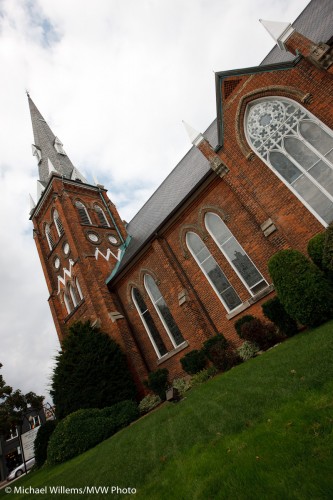
Knox Church, Oakville

Knox Church, Oakville

I use angles for the following reasons:

  • When I have to, to fit it in. This is more common than you might think. Never hesitate: turn to a crazy angle if you want to get more in.
  • When I am using a wide angle lens, almost inevitably.
  • For artistic reasons, e.g. to get the Rule of Thirds.
  • When I want to straighten one particular picture element.
  • When I want to add a sense of energy to an image.

So there are many valid reasons. Look at your photo album: how many images are turned? If it is not a significant proportion, I suggest you may want to do more.

Confusion reigns…

…but I am here to help you sort it out.

I hear a lot of beginning (and some advanced) students who confuse white balance with exposure.

This confusion is not surprising, since both have something to do with “this picture of a white wall, say, is not white enough”, and they both occur together very often.

So here’s the summary:

  • White balance is about the colour (it ought to perhaps be called “colour balance”).
  • Exposure is about the brightness.

So ask yourself what you mean when you say “that white surface is not white enough”!

  • If it looks too yellow, say, then it is white balance you need to adjust (the WB setting on your camera).
  • If it looks too dark, it is exposure (the +/- setting, “exposure compensation”).

And of course since they occur together,you may well have to do both. Get the colour right first, then the exposure.

Confusion lessened?

A few more pictures

Today, a few more pictures for you for the recent walkarounds.

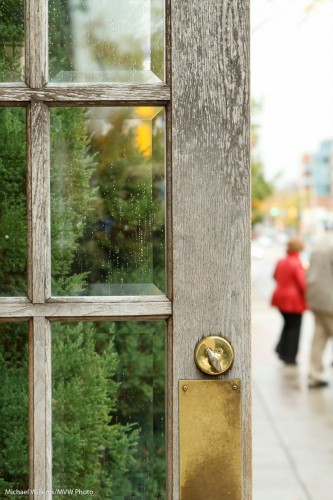
Door and leaving

Door and leaving

You know how I always talk about story telling? One way to do it, one I have mentioned many times before, is to have a blurry subject in the background and to hence make the viewer work out what is happening. Having to work it out adds to a photo’s interest. In this picture, “Door” and “Leaving” are of course connected. And you see the rule of thirds being applied, I prusume?

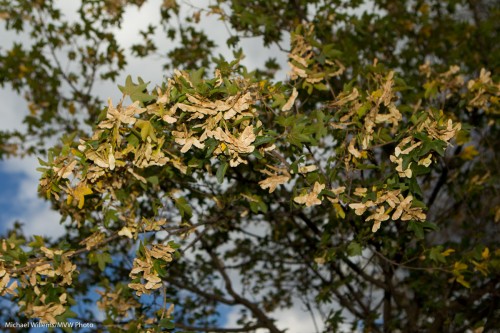
I am called The Speedlighter. Speedlights are often handy, like in this picture.

Fall leaves lit with flash

Fall leaves lit with flash

I underexposed the background by two stops or more. And to get the background blurry, I took this at f/4. This needed 1/4000th second if I recall correctly. That is beyond the flash sync speed, so I had to use High-Speed flash (FP Flash). Nice result, no? Looks surreal, and that is what you get by combining depth of field control with light control.

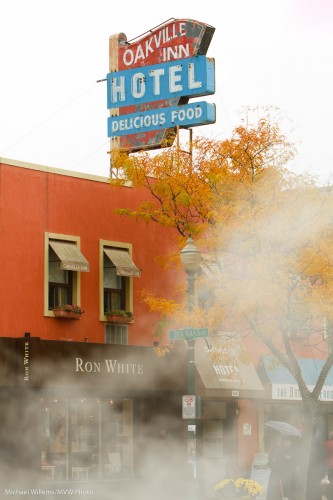
Last one. Use unusual effects.

Oakville Hotel, October 2010

Oakville Hotel, October 2010

Like smoke from a barbecue to get an unusual picture of a familiar sight.

As always, photos look best when viewed full size.

Now: time for you to take the lens cap off, if you even use one, and go shoot!

Snaps du jour

Today, a few snaps of the day.

From a recent walk through Oakville:

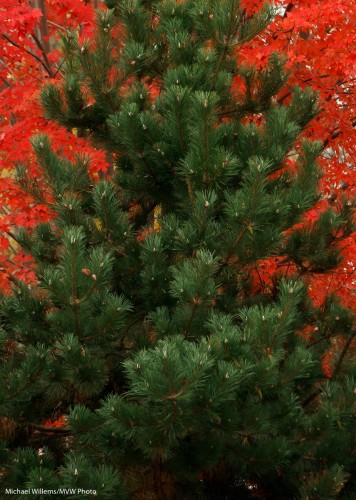
Coniferous vs. deciduous in October

Coniferous vs. deciduous in October

Keep in mind here:

  • Red versus green is a good contrast.
  • Crop carefully.
  • Zoom in close to remove distractions (they were all around).
  • Foliage is dark; so underexpose (in this case by almost two stops).

One more:

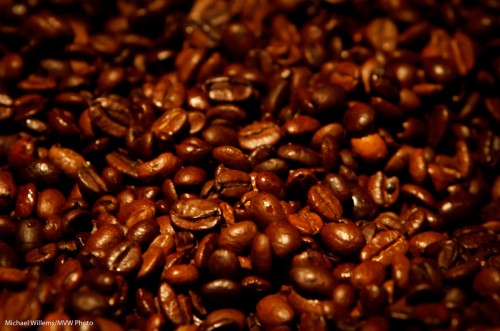
Coffee beans

Coffee beans

The message here: get close and shoot detail.

Just one more today, because my eyes are closing with exhaustion.

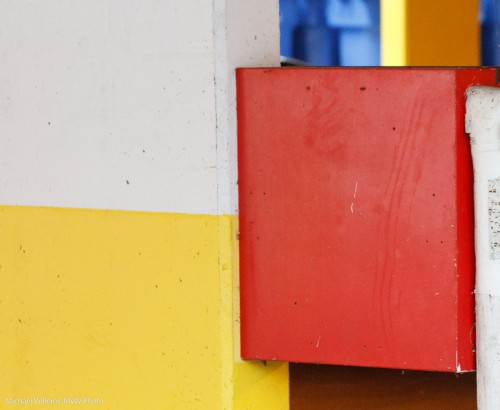
Red, yellow and blue in a car park

Red, yellow and blue in a car park

Yes, you can find Mondrianesque art in a car park. Thanks, town of Oakville for the blue bins).

Reader question

A reader asks the following question:

The issue of aspect ratio: most D-SLR cameras don’t shoot in the traditional 4×6 ratio (or at least I don’t think they do). That’s why whenever I send my photos to be printed off (in 4×6) they always come back a little cropped around the edges.

Good question. Infuriating,  isn’t it?

And yes, you are almost right: other than 4×6, other photo sizes tend to be different: 5×7, 8×10, 13×19 and so on. So why 4×6 is cropped I do not know: most DSLR sensors are 3×2, which is 4×6. So it must be the printing process.

But your question stands: most aspect rations are very different, as are most frames. And the reason is simply history.

And the solution: crop them yourself to the correct aspect ratio, in Lightroom. That way the lab does not have to guess (bad) and you get full control.

Either that, or print at the original aspect ratio on larger paper (i.e. with edges), and then cut those off.

Flash method

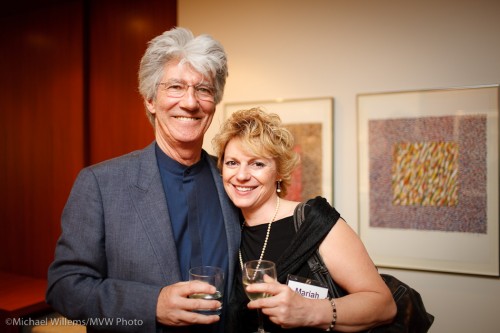
Let me reiterate a simple flash method for camera-aware (i.e. “grip-and-grin”) people pictures at events (like receptions, parties, etc).

  1. Set your camera to “manual”.
  2. Attach your flash.
  3. Bounce your flash off the ceiling or wall just behind you if you can. If you cannot do this, use a reflector (like a Honl reflector) or worst case a Fong sphere. Think about where you bounce in terms of returned light direction.
  4. Use a wider angle lens (say 35mm). I love my 35mm prime on the 1Ds for this type of photo.
  5. Start at these settings: 400 ISO, 1/30th second, f/4
  6. With those settings, aim at an average part of the room (not dark, not light). Watch your light meter. It should read roughly -2 stops. If it reads more, like zero stops, go to a faster speed. If it reads less, go to a wider aperture (and if you cannot then a higher ISO or even a slow speed).

The result will be good.

Grip and grin

Grip and grin

Note that you may, in dark environments, have to go to slow speed and wide open aperture even at high ISO.Watch the light meter and aim for -2 stops ambient light when aimed at an average room area. In a dark night club I may occasionally be shooting at f/1.4, 1/15th second, 1600 ISO!

Negative Space

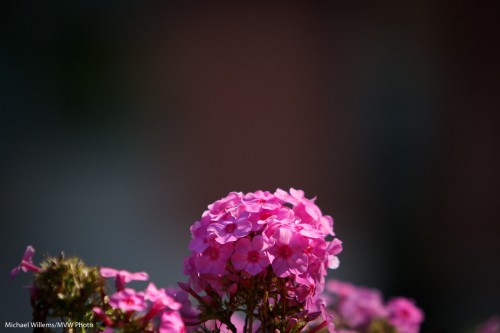
Sometimes you draw attention to your subject not by making it big (which is often a great solution), but by making it small, and surrounding it by “essentially nothing”.

By what we call “negative space”.

Flower and negative space

Flower and negative space

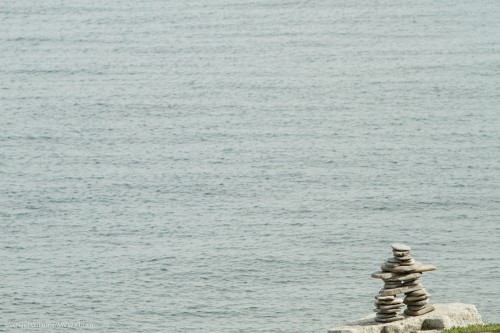
The negative space does not have to be empty – it can have patterns, or as in this example, waves:

Lake Ontario, Oakville

Lake Ontario, Oakville

The point it, it is devoid of information. And that forces attention to your subject.

It also puts your subject into a large space, emphasizing its place in this big world.

And finally, this technique is a good way to simplify. Always important on making your images better.

Try it today!

Prints

Mmm. One of life’s little annoyances. I left a red box of 13×19″ prints somewhere this week. My portfolio of recent work. But where? It appears gone without a trace… So to all local friends: if you see it anywhere, you’ll know to call me.