Tip time: Fill Flash

Tip time: fill flash and how it works.

Fill flash means flash “helping a little”. It is not a particular type of flash; it is a particular use of flash.

In fill flash, the flash is used to light up the foreground a little, to get rid of shadows. On bright days, say, or when backlighting, or when a subject it being hit by harsh sunlight.

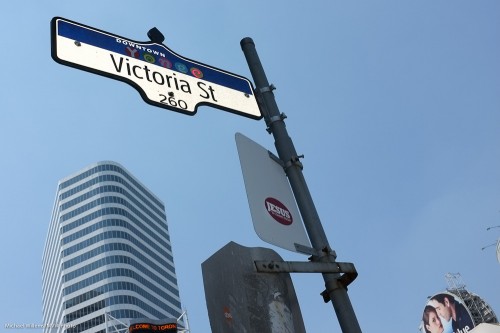
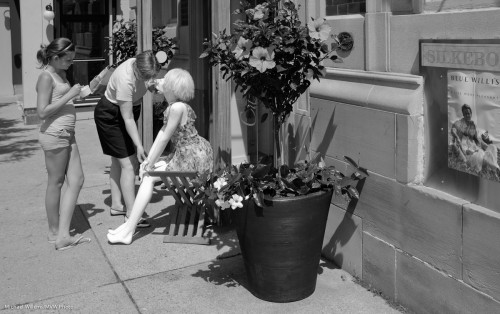
As in this example:

Yonge-Dundas (Photo: Michael Willems)

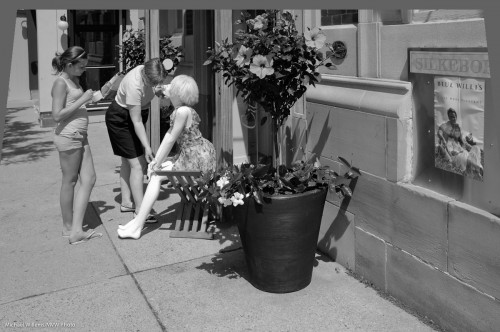
The sign above is lit up by my Fuji X100’s little flash, on a bright summer day.

Tip one: traffic signs will light up with minimal added light, since they are designed to reflect brightly.

Tip two: when you use exposure compensation to decrease the exposure to get a darker blue sky, the flash may also decrease in power. It does that on Nikon, but not on Canon. This is an arbitrary design decision. You can solve it by either of these two options:

  1. increase the flash (i.e. opposite adjustment) using Flash Exposure compensation;
  2. Simply set the ambient exposure in manual mode. That way flash is not also adjusted.

Tip Three: when it is bright, turn on high-speed flash (“Auto FP Flash” on Nikon) and get very close to your subject.

One more:

Pink bike (Photo: Michael Willems)

Try fill flash – start in program mode, then work your way up to manual modes and adjustments.


Lightroom tip

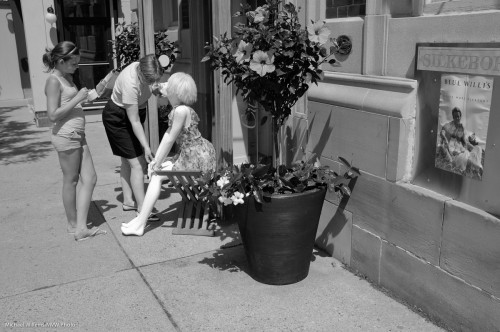
You know how you sometimes have to shoot with the camera slightly up or down? And how that makes the vertical lines converge or diverge at the top – i.e. they are no longer vertical?

Oakville street scene (Photo: Michael Willems)

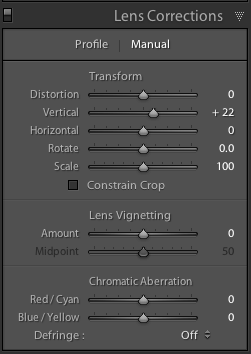
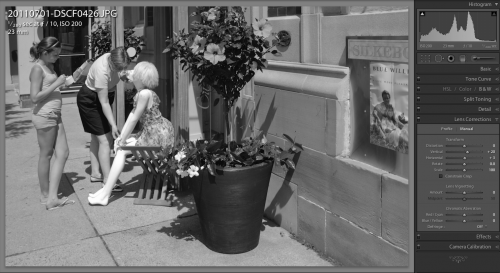
Enter Lightroom. Simply go to the Develop module, and the Lens Corrections pane. Select “Manual” and adjust “vertical” until the vertical lines are straight:

Now your image is straight.

If you forget to crop after the adjustment, you will have empty areas around one end of the image:

But crop so they disappear, and all is well.

Oakville street scene (Photo: Michael Willems)

Total time taken: Like, um, three seconds? Lightroom rocks not because of what it can do (I can do this in Photoshop as well) but because of how convenient and quick it is (in Photoshop, this would take me several minutes).


Get down!

Well, perhaps. What I mean in my tip of the day here is that viewpoint makes a difference. Avoid being “Uncle Fred” and always shooting from exactly 5.5 feet above the ground.

Look what a difference this makes. From this shot:

To this shot:

An entirely different feel. It is more like the road surrounds you; a much more three-dimensional view.

So whether it is up, down, unusually close, or rotated: do try to use less usual viewpoints for a more lively look to your images.


Fuji X100 tips

Two more Fuji X100 tips for you today. This little camera continues to amaze me.

First: turn off the shutter sound. And perhaps also the focus chirp, although I must admit I find it hard to dispense with that altogether, so I leave it on but turn its volume down to the minimum. Why add a shutter sound when the super-quiet operation is exactly why you bought a rangefinder-like camera in the first place?

Second: pre-focus. Do this as follows: set focus to “manual”, then aim at your subject, then press the AF-L/AE-L lock button to focus. The camera now focuses (i.e. manual was not all that manual). You can now let go of the AE-L/AF-L button: focus is taken care of. You can now worry about moment, composition and exposure.


Tip: Help yourself

Quick tip of the day:

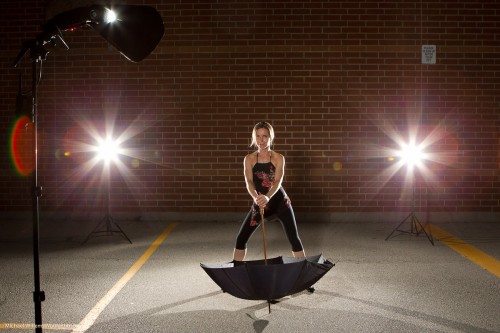
When setting up a complicated shot, always do a “pull-back” shot to remind yourself of the lights you used.

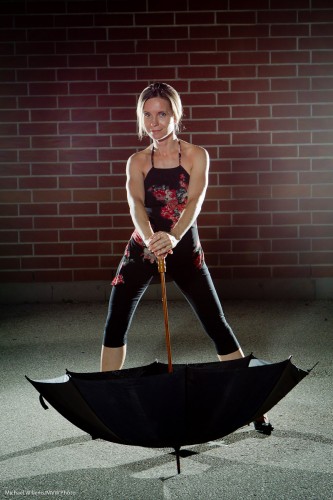
So when you shoot an Emma Peel-like pose such as this:

Emma Peel-like pose (Photo: Michael Willems)

…you should also shoot at least one like this, to remind yourself later of how to do it:

Emma Peel-like pose (Photo: Michael Willems)

That was two bare speedlights 45 degrees behind aiming forward, and a single speedlight in a Honl Photo Traveler 8 softbox as fill light. But seeing the picture says so much more than those words.


SLR Tip of the day

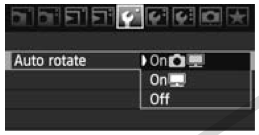
When you are using an SLR to look at images you have taken on the back of your camera, set your camera to not autorotate the images. That way you can see the image fill the entire LCD instead of part of the LCD with big black bars on both sides.

On some cameras you even have two options: on the camera, or in the image itself.

In this case I set autorotate ON in the file, but OFF when reviewing on camera (the middle option).

You will find thise fuction either in the playback menu of your camera, or in the settings menu.


Document your life

Why do we take photos?

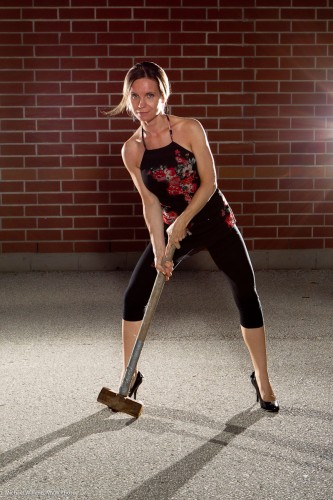
Do we just shoot posed relatives with pyramids in the background? Or perhaps we are artistic photographers who shoot carefully lit set-up shots like this (three speedlights, using Pocketwizards)?

Yes, that too – of course. Sure, as a photographer you have a preference. Travel. Your kids. Portraits. Parties. Weddings. All great stuff. Do it.

But I urge you all to also shoot “your ordinary life”.

The Beatles became famous in spite of (or because of?) the fact that they wrote about the ordinary lives of ordinary Englishmen. I urge you all to shoot your own life.

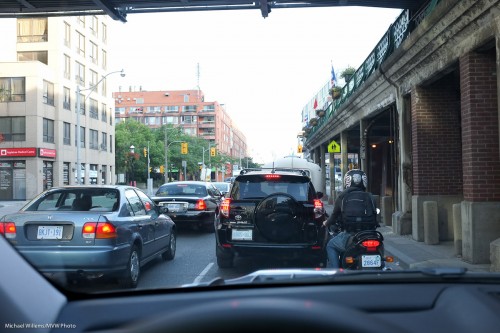
Like the traffic jam you find yourself in on your way to a class that reduces your progress to less than walking speed. Grab your camera!

Or the jam you find yourself in eight hours later leaving the class, even though it is almost 8pm (Toronto’s rush hour now lasts from 7am until 8pm):

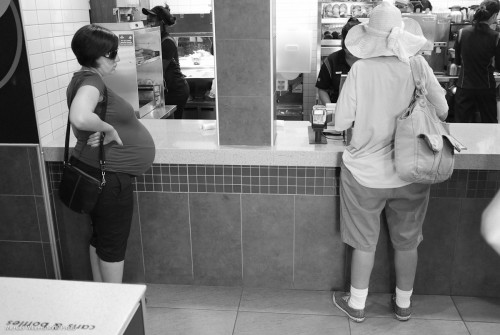
Or the McDonalds where you buy lunch, wondering when the lady on the left will give birth – she looks ten months pregnant – or why the lady on the right is talking loudly to herself and Jesus (this is downtown Toronto, in an area with many, shall we say needy people):

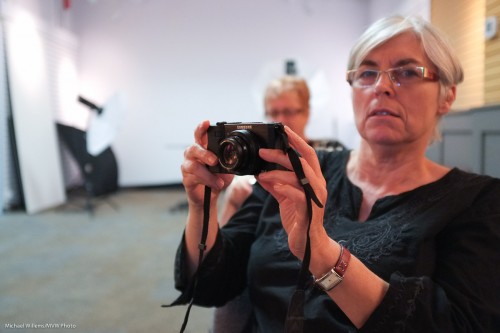
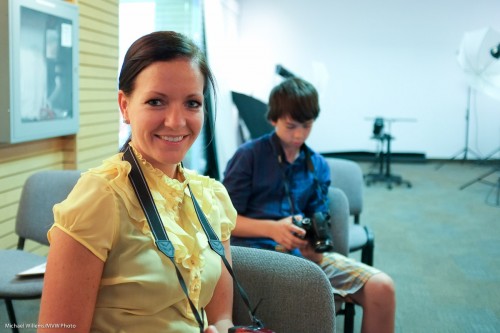
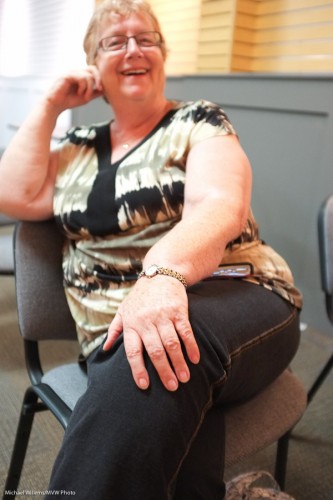
Or the nice ladies in the class who have great cameras and are learning more about them than they thought possible:

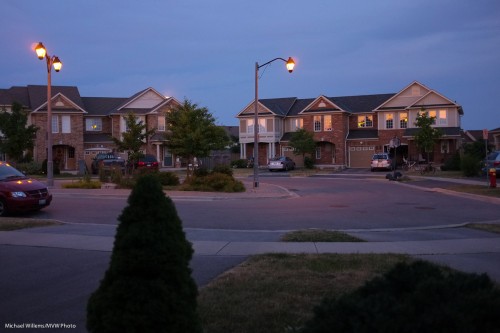
Or indeed the view – and the light – from the front porch at the end of the day, when you are unwinding with a nice glass of Californian Syrah:

The point is – your ordinary life is very much worth documenting. I wish today that I had pictures like this of my life ten years ago, or 20 years ago, or indeed 30 years ago when I was in Baghdad. If you document a day in your life today, ten years from now it’ll be “those were the days”. Invaluable for you, and for your kids, and for your great-grandchildren.

So the tip of the day: document an ordinary day in your ordinary life.

Boot notes: I used the Fuji X100 today, still shooting in JPG mode, for all these images except the first. And I am still amazed at how well it works. The indoors and evening shots were taken at 1600 and 3200 ISO. You can’t tell. 3200 is the new 800! Secondly: as before, I hasten to assure you that I would never take images from a moving vehicle – that is illegal and unsafe.


Studio cameras

Professional studio portrait cameras have to be the most expensive models. That’s just a given.

Right?

Oh wait. No… they do not need to be the most expensive. I have taken many studio shots with Digital Rebels and a 50mm f/1.8 lens (go get one if you do not yet own one).

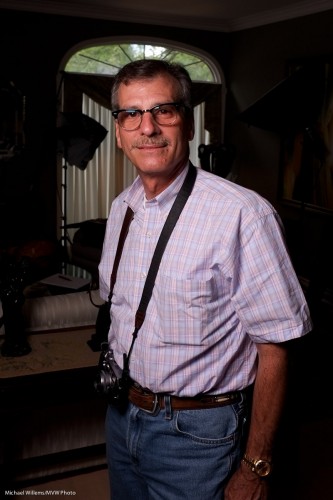
Today I took a studio shot of my friend and student Paul M. Rather than using my 1Ds Mark III, I used the little Fuji X100 with its fixed 35mm equivalent lens – and got this:

Fuji X100 Portrait of Paul M (Photo: Michael Willems)

This was made to show the effect of one flash and showing no ambient light. i.e. a setting which ensures that the flash does all the work. To do this I simply:

  1. Set the camera to manual, 1/125th second, f/5.6, 200 ISO. (take a test shot: it should look dark. If not, check that your auto ISO is disabled).
  2. Turned on the “external flash enabled” setting in the X100’s menu (you need to do that, or the hotshoe will be inactive).
  3. Connected a radio sender to the camera’s hotshoe, in order to fire a battery-operated Elinchrom portable strobe in a small softbox .
  4. Fired a test flash while holding the meter to where the person would be, then set the flash power level until the peter read f/5.6.

That was all. A professional quality studio shot with a point-and-shoot.  Yes, true, it is not any point, and shoot, but still. And of course a simple SLR would have done too.

Is it sharp? Sure it is. Here’s a true size part of the picture, pixel for pixel:

(To see the true sharpness, click, then view it at true size)

X100 owners: remember to turn on the “external flash” setting, as described above. Also, remember to turn it off again when you are done – with this setting enabled, the camera refuses to go slower than 1/30th second in Aperture mode or Program mode. (if that is documented I am not sure where – but it is a sensible setting I suppose -as long as you know about it).

Note, finally, that this was a JPG straight out of the camera – yes a JPG, with the camera using standard settings. No extra sharpening was applied – all just standard settings.

So yes, if the lens focal length suits the portrait you are shooting, you can certainly use a small camera for studio work.


Outdoor Flash technique

In today’s lesson in my ongoing master flash course, a word or two about outdoor fill flash.

First: you need it, quite often, and for various reasons:

  1. To fill in dark areas on those bright sunny days;
  2. To brighten the foreground subject and get a darker background subject (i.e. to make your subjects “bright pixels”, which you have heard me say many times is a Good Thing, since Bright Pixels are Sharp Pixels);
  3. To add a catch light in the subject’s eyes.

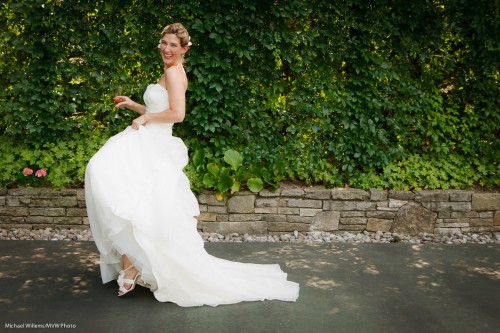
So what techniques are best to get pictures like this, at the wedding I shot the other day?

Trish at her wedding (Photo: Michael Willems)

Trish at her wedding (Photo: Michael Willems)

When deciding on modes and techniques, look for where the issues may be; the constraints. The need to stay clear of these will help you decide the most appropriate modes and settings.

The issue in using on-camera flash outdoors is that (and follow the deductive reasoning here, step by step):

  1. I want the darkground to be darker than the subject, as said above (especially when it is dark, like these plants).
  2. Outside being well lit by our local star (that would be the sun), I can achieve that by means of a low ISO and small aperture.
  3. But these will both reduce flash effectiveness! Exactly what I do not want on a bright day.
  4. But fortunately I can also do it by selecting faster shutter speeds – these do not affect flash.
  5. Until, that is, I get to the flash sync speed – beyond that, if I exceed that I can either no longer us flash at all, or I go to high-speed flash (Nikon: Auto FP flash), and that decreases the flash effectiveness enormously.

Ergo: my shutter speed should be at my flash sync speed (1/250th second on my 1Ds Mark III) before I start reducing ISO and increasing the f-number.

Ergo: I need to chose a mode where I set the shutter speed.

Ergo: Only Shutter Priority (Tv/S) or Manual mode will do. QED.

A common technique for finding a good fill-flash starting point when using an on-camera TTL flash in variable outside light:

  • Tv/S exposure mode (Shutter priority).
  • Select your camera’s flash synch speed (if unsure, select 1/200th second).
  • Exposure compensation: -2 stops.
  • Aim at your subject and check that aperture is somewhere around f/5.6. If not, change ISO until it is.
  • Flash compensation: if and as needed (do a test shot. On a Nikon, and when shooting a bright white dress, you may need it, up (+). At other times, down (-) may be called for).

A common technique for finding a good fill-flash starting point when using an on-camera TTL flash in more predictable light (as on the day I shot the picture above):

  • M exposure mode (manual mode).
  • Select your camera’s flash synch speed (if unsure, select 1/200th second).
  • Set Aperture (Av) until your meter reads -2 stops.
  • Aim at your subject and check that aperture is now somewhere around f/5.6. If not, change ISO until it is.
  • Flash compensation: if and as needed (do a test shot. On a Nikon, and when shooting a bright white dress, you may need it, up (+). At other times, down (-) may be called for)

The shot above was made in manual mode at 1/200th second at f/5.6, ISO 400.

Joseph Marranca and I will be teaching Advanced Flash as part of the “Advanced Creative Lighting” workshop we teach on August 13 in Millgrove, Ontario . Click here to learn more.