Balance

Let me talk about balance, again. Balancing flash and ambient light.

Here’s how my thinking goes:

  1. Bright pixels are sharp pixels.
  2. So the main subject of your photo should be brighter than the background.
  3. So you expose for the background by making it two stops below “normal” exposure for ambient light. That gives you good saturation, too.
  4. Then you light the main subject with extra lights (use your flash meter: see yesterday’s post).

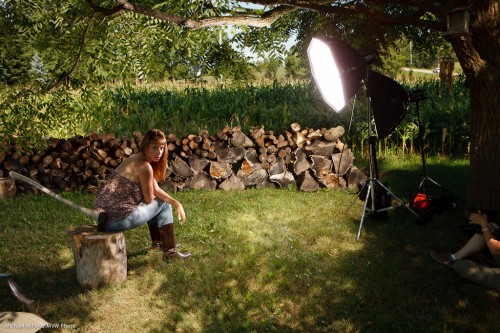
Like this:

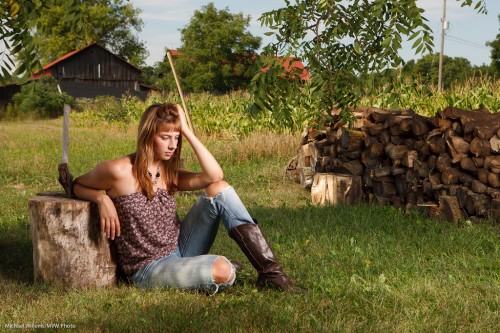
Which gives you this:

That’s straight out of the camera. To do this you need:

  • Camera, in manual mode
  • Light meter
  • Light – in sunlight, probably a strobe powered by battery
  • Stands pocketwizards, cables, small materials

Easy, and you can use speedlights too when the sun is not too bright. The principle is the balancing of the background light with the flash light, where the background is darker by 1-2 stops.

I teach this during my workshops – it is easy to learn and I urge you all to make the effort!


Ask not…

…. how speedlighter can help you… ask instead how you can help spee…

STOP. That’s terrible: way too corny. But what I mean to point out is how you can benefit from this resource, and what I get out of it in return. I thought a few words on this subject might be useful.

What is this blog for? It is for past, current and future students of photography. Beginners, enthusiasts and pros. As a working photographer and educator, I intend to help teach as many people as I can photography.  After all, photography is time travel. We need to commit our moments to photos in order to save them forever. And it is easy. I intend to help you increase your skills.

So on speedlighter.ca…

  • I cover as wide a range of subjects as possible.
  • For as wide a range as readers as possible.
  • I write daily, and I write for everyone.

That means that…

  • There will be repetition of subjects – that is how you learn.
  • Some of it will be simple; some may be beyond you.
  • But always, posts are quick to read and intended to be easy to absorb.
  • You can search by keyword, on the right; or by category. Us this tool!
  • And you can ask me questions. I welcome them!

To best use speedlighter, read frequently and do those searches. Copy my shots – see them as “homework”, as many of you did recently for the “hidden worlds” post.

So what do I get out of this? Happy students, for one. And if you want to give back, here’s how you can do it.

  1. Send me questions to answer.
  2. Use my training services. Either at the schools I teach at, or as private coaching, or via Skype.
  3. Contribute directly, even!
  4. But most importantly, spread the word. Tell your friends to read these posts daily. Share on Facebook and Twitter.

So today let me start by answering a recent reader question.

Michael: Wat is the difference between a flash meter and an ambient light meter?

Ah. There are two kinds of light meters, and those are them.

An ambient meter is a traditional meter, and it measures the light in your environment. Set the ISO to your camera’s ISO; set the shutter or aperture to your camera’s shutter or aperture, then hold the camera in the same light that is illuminating your subject; then press the button and read the aperture or shutter you need to set on the camera to get a good exposure.

A flash meter does not just look at ambient light. It looks at the bright flash emitted by a strobe or speedlight, and measures that (combined with the ambient light, if any). The mode of operation is similar, but the way it works is not – it waits for that flash before it gives you any reading.

A modern incident light meter, like my Sekonic, does both. The MODE button pressed and the display symbol then moved to the sun symbol means ambient, and moved to the lightning symbol means flash metering.

Use ambient metering when using available light, and use flash metering when using manual flash, such as strobes, or speedights set to “manual” mode.

(More about metering in the next few weeks. And yes, I use a light meter!).


Change of plans?

Sometimes as a photographer you need to be ready to change your plans.

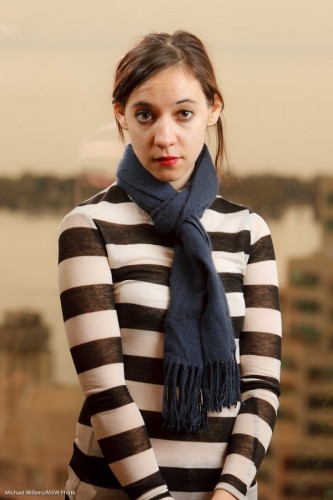
The other evening I did a corporate headshot session at a financial institution in downtown Toronto. This means driving there with an SUV full of lights and associated equipment. My plan was to shoot in front of a window, showing downtown. I have done many of these before, mixing ambient and flash light, like this  (straight out of camera, unfinished):

Headshot (Photo: Michael Willems)

But in this room, at this time, it just wasn’t happening. Here is my excellent assistant and second shooter Denise (who is a very good fashion photographer) – and of course this is just the main light, not a finished portrait:

Denise McMullen (Photo: Michael Willems)

But even this main light alone already shows me too many reflections (see her top reflecting behind her?). And the background is too dark even at 1/30th second. And the building in the background is a competing institution.

We tried for about ten minutes. And then I decided – “fugeddaboudit”.  You have to be willing and able to cut your losses. This can be tough – but it has to be done. Could I have done it? Perhaps, perhaps not. But it wasn’t worth more trying.

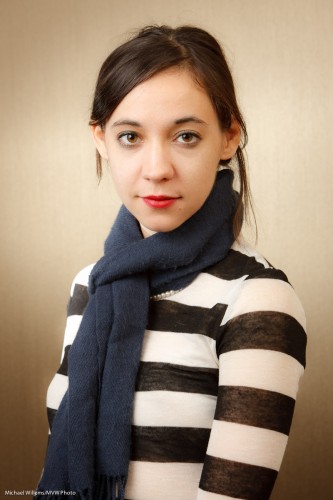
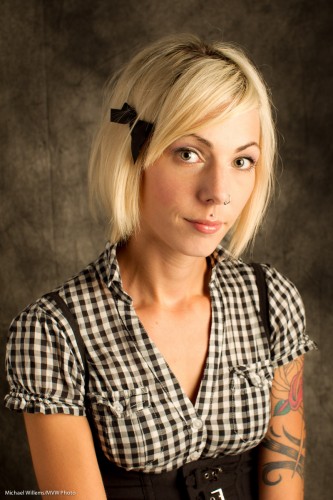
And as it turned out, not a loss at all – the texture of the wall on the other side of the room was good, especially when I lit it with a gridded speedlight, to get that nice oval of light:

Denise McMullen (Photo: Michael Willems)

Nice, no? And another one:

Denise McMullen (Photo: Michael Willems)

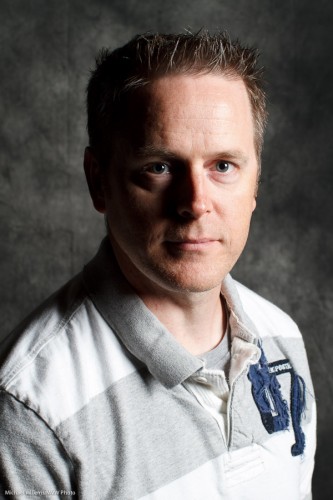
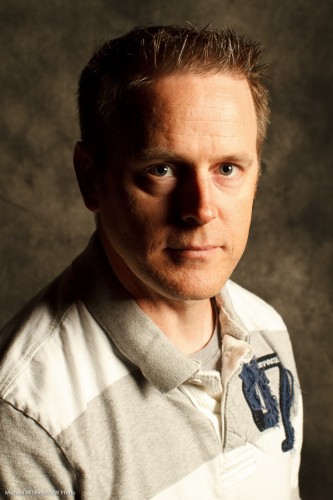
And just like every doctor in my opinion needs to undergo a digital rectal exam before graduating, so every photographer must be photographed. So here’s me:

Michael Willems (Photo: Denise McMullen)

The moral: know when to cut your losses and try a different approach. Just like a pilot needs to be ready to decide to  go to an alternate airport: “get-there-itis” causes many deaths.  Do not stick with an idea if it is not working. Go to your alternate.


Portrait tip

When you do a studio portrait, you usually want to use your portrait lighting alone – the room light should not interfere. Room light should be invisible.

Does this mean the room has to be dark?

No. It just means  the room has to look dark to the camera.

So for a studio shot, first do a test. Disable the flash, and set your camera to:

  • Manual exposure mode
  • 100 ISO (or 200 ISO if 100 is impossible on your camera)
  • f/8
  • 1/125th second

Fire off a test shot:

Bingo. Now the flash will light your subject – and only the flash.

Was that room dark? No. To you or me (or to a caerma with different settings) the room looked like this: quite bright, what with the room lights and the flashes’ modeling lights!


Battery Tip

Your batteries run out at:

  1. A convenient time
  2. An inconvenient time?

Of course, by definition ist is 2. So here’s three tips.

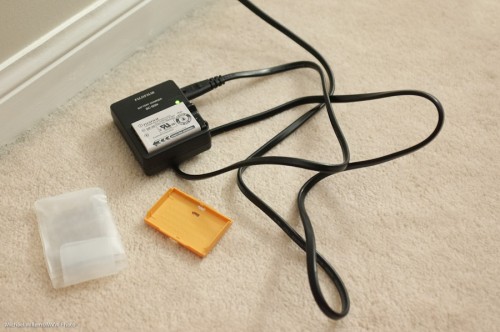
Camera batteries: always charge. Daily. Never leave home without fully charged batteries (main, and a backup). For your Litium Ion (LiIon) batteries, do not worry about discharging (though if you wish, you can fully discharge and recharge a few times a year).

Flash batteries: use rechargeable NiMH AA batteries. They refresh the flash more quickly between shots, and they are reusable. But they will lose charge, and occasionally need resetting. So: get a conditioning charger (Maha or Lacrosse – Google them). And they will run down by themselves, so before a shoot, top them up. Also – change batteries for every segment you shoot.

General: use equipment that has AA batteries (e.g. traditional pocketwizards) rather than funny (hard to find, expensive, small capacity) batteries. If funny batteries are inevitable, like in your light meter, then always carry a spare.


Pocketwizards

I seldom do this, but I thought my readers might like this: a friend is selling three basically new (unused) pocketwizards, plus some great extras. If you are interested mail me and I will forward your mail.

(I know it’s a good deal because I bought one of the four she originally had – I now own six).

Here’s her message:

3 Pocket Wizard Plus ll Transceivers With FlashZebra Accessories

I have a total of 3, all in absolute PRISTINE condition. I am selling them for $180 EACH. They come with original packaging, contents and receipts.

I have not used them.

BONUS!!: Each also comes with a Remote Transmitter Caddy, Deluxe Nikon Hotshoe to Pocketwizard Cable and a mini-plug (1/8″ – 3.5mm) to Pocket Wizard Cable. GREAT DEAL!!!

PRICE FIRM – Serious enquiries only please. Email Michael (“Contact” link above) if interested, and he will forward the mail to me.

I also have two of these:

http://www.henrys.com/12371-NIKON-LIGHTING-UMBRELLA-KIT-W-CASE.aspx

I will sell for $125 each


Make every…

I taught all day today at the Exposure show, for the third day in a row: flash, portrait lighting, lenses: my favourite subjects.

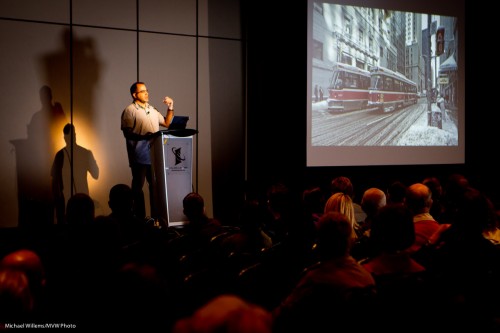
But I did have a couple of breaks in the past few days, and during one of those breaks yesterday I sat in on Sam Javanrouh’s talk.

Sam, of www.topleftpixel.com (“daily dose of imagery”), does a daily blog, just like me here – but he does a pic a day, while I do a teaching post a day.

Here’s Sam – and can you see how fortuitous the light was for me? One Sam, and several shadows within shadows.  I just happened to have a camera on me.

Sam Javanrouh (Photo: Michael Willems)

In his talk, Sam said one thing I strongly agree with and that I have also told many of you:

Make every walk a photo walk.

As I often say: don’t even go to Sobey’s without a camera. And don’t let anyone stop you: do what you can, take pictures of everything that fires up your imagination.

Open your eyes, and look. See interesting shapes? people? Colours? Reflections? Curves? Diagonals? Shoot. Always be ready and always picture what you see.

Like I did today in this picture – I suppose you could say I make every talk a photo talk. Groan. But you know what I mean.


Portraits

Don Draper said it best, in the season-ending episode of Mad Men season 1, as he was winning the Kodak Caroussel account.

The Carrousel, he says, is

“a time machine… nostalgia… it goes backwards… forwards… it takes us back to a place we ache… to go again.”

My God those are powerful words. That is so true about photography in general. This is why I am a photographer, and that is why we should all be photographers.

And when you look at the photos he shows of his life – they all feature people. People photography is magic… it truly is time travel.

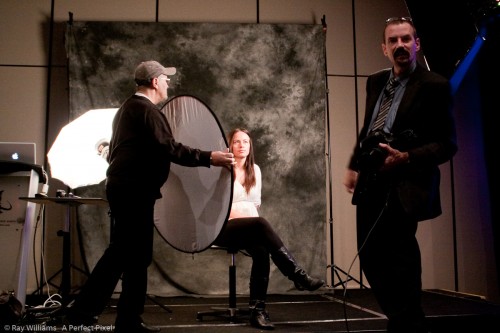
So you should know how to photograph people. People doing things; but also formal people portraits. And that is part of what I taught at the Exposure show. Things like how to get from one light to a lit portrait: we build this up in stages.

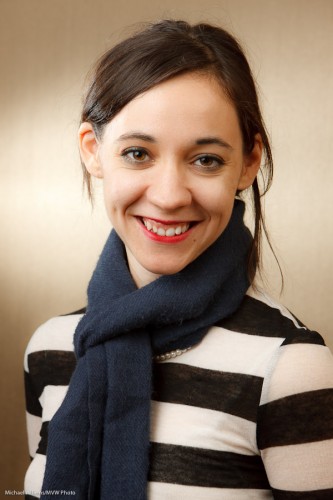
Like this portrait of today’s kind volunteer:

First one light, with a softbox:

Portrait lesson (Photo: Michael Willems)

One light – but with White Balance set to “Flash” instead of “Auto”:

Portrait lesson (Photo: Michael Willems)

Now we add a Reflector on our left side:

Portrait lesson (Photo: Michael Willems)

And now we add a hairlight from behind left:

Portrait lesson (Photo: Michael Willems)

Or by bringing the reflector closer, we could make the light flatter:

Portrait lesson (Photo: Michael Willems)

And then we could go from there and get creative. Or stop there. In any case, it seems to me that a competent portrait is what you must learn to do if you want to capture life in order to be able to go back to it later.

And that is why I teach photography. From workshops to coaching to The School of Imaging, I teach people who to make a permanent record of their lives and their loved ones. Please… spend some time and a little money and learn how to do this!


Light = photons

Light consists of photons. And photons are photons, whether they were emitted from a large strobe-type flash or from a small speedlight.

To see what I mean, look here, at a few pictures I took of kind volunteers, during classes I taught at the Exposure Show today (note – tomorrow is day three, and I will still be there teaching – come catch this it, is worth it!):

Portrait (Photo: Michael Willems)

Portrait (Photo: Michael Willems)

Portrait (Photo: Michael Willems)

Portrait (Photo: Michael Willems)

Portrait (Photo: Michael Willems)

All extremely attractive and wonderful people.

But can you tell me….

  • Which ones were shot with studio flashes (strobes) and a reflector?
  • And which were shot with one small off-camera flash and a reflector?

Answer below the line, after you click:

Continue reading

Saturate

A fall colours tip.

Colours not saturated enough? Like in this excuse for fall colours?

Then apart from setting the right white balance (“daylight” or “shade”; not “Auto), you have probably slightly overexposed it.

Expose a stop less (faster shutter, smaller aperture or lower ISO), and let’s see what happens:

Ah. Better.

What? A stop darker rurns orange into red? Really?

Yes. That is not a doctored image – it is real.

Saturated, you see, means “not mixed with white light”. If you mix with white lights, i.e. overexpose, then you will lose saturation, i.e. turn red into orange. To avoid this, avoid overexposing.

This is why I shoot in manual mode much of the time – I keep control.