Shapes

One thing I often hear is “but it’s been done before”. Whether a landscape, a portrait, or any other subject it can be hard to do it in an original way.

My advice: find your own perspective. It has not been done before: the photons you capture have never been emitted in exactly the same way before.

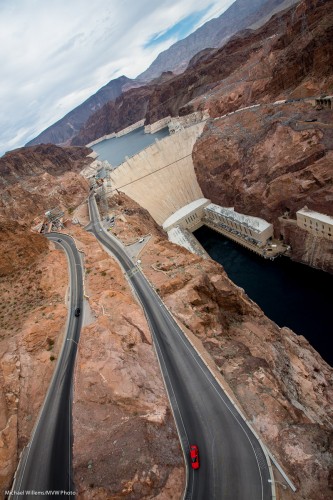
The Hoover dam has been shot many times, but never with this red car:

Hoover Dam (Photo: © Michael Willems Photographer)

Hoover Dam (Photo: © Michael Willems Photographer)

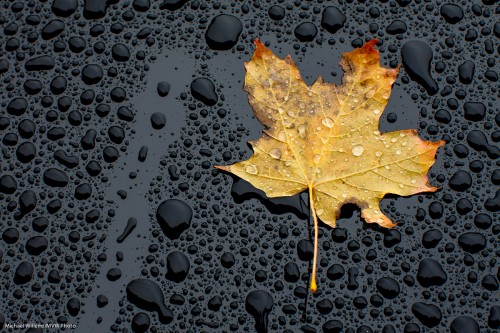
The drops on this car hood have never happened before, and never will again.

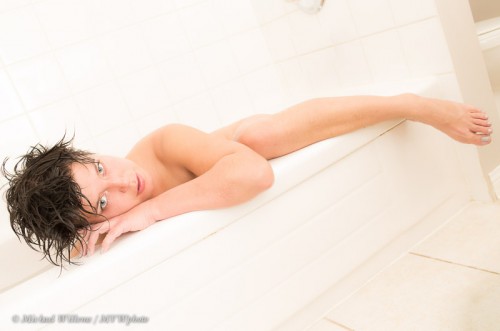
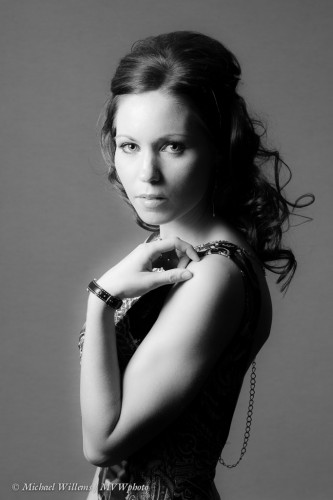
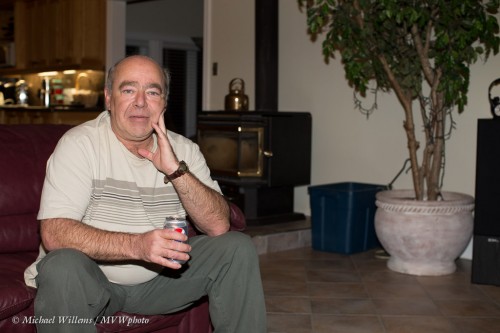
This even applies to the most basic subjects: people have been painted and photographed in many ways, but this particular pose I shot a few hours ago is unique and has never happened before in exactly the same way:

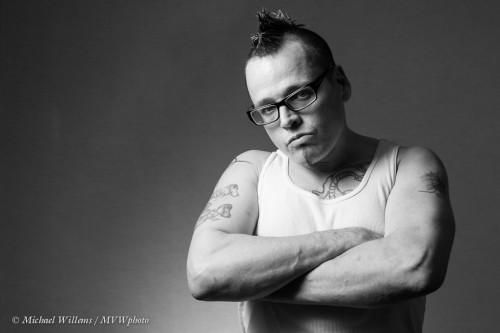
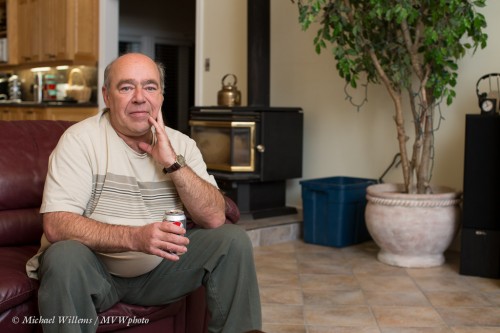
As is this pose: a slight shift makes all the difference…

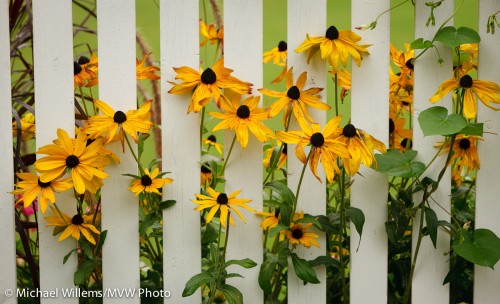
Or these dying flowers:

Tired Flowers, by Michael Willems

Tired Flowers

So before you give up before trying, I say: try basic subjects in your own way. Ask yourself what is unique in how you are depicting your subject. The subject itself? Or the Shape? Light? Orientation? Setting? Colour? Technique?

There’s so much you can do to put a new spin on an age-old subject, and it all starts with you asking yourself “what do I want to show the world, and in what way will it be unique?”. Once you know that, things kind of fall into place.

 

Party time

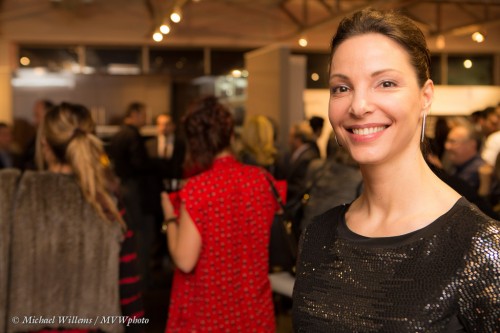
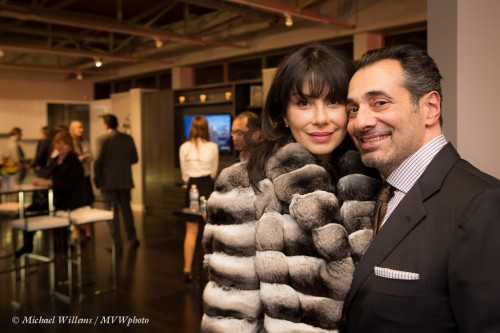
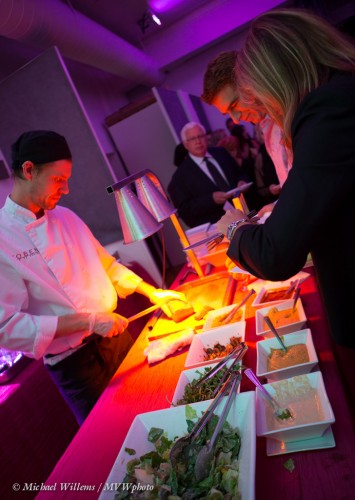
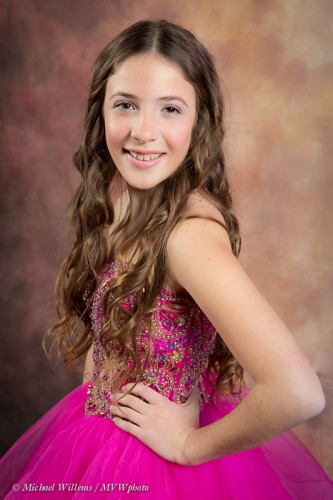
I just shot an event. With a single camera, and a 24-70 lens only. Bouncing my flash, of course, as in this image of incredibly-beautiful-as-well-as-incredibly-intelligent Tatiana:

If you have a camera and a flash, you will have plenty of opportunity this season to do this kind of shooting as well and to get it right. Christmas, Hannukah, New Years’ Day: whatever your favourite celebration is: make great pictures.

I’ll get you started. My settings were:

  1. Camera in manual exposure mode; flash on TTL.
  2. The Willems 400-40-4 rule: but modified to use 800 ISO instead of 400, at the usual 1/40th second at f/4.
  3. White Balance on Flash, with slight adjustment in post every time I bounced off a brown ceiling instead of a white wall. (Brown is just dark yellow, so move the White Balance slider to “Blue” (cold) when adjusting these.)
  4. Flash aimed behind me, straight or at an angle.

To keep in mind, a few notes:

  1. Focus carefully, and yes, in the dark that is difficult and slow. Life’s tough.
  2. Move people to where there is a nice background and you can bounce off a white wall.
  3. In darker rooms, or where the ceiling and wall are higher or less reflective, go to 800 ISO – or higher when you need to! Better to do it in the camera than to underexpose and push in post.
  4. Use the Rule of Thirds.
  5. Think about your light direction. In every shot.
  6. Change flash batteries before they run out, not after they do.
  7. 35mm is a great focal length for people shots (24mm if you are using a crop camera).

More about all this later this month. I took around 300 pictures – fewer than usual because I was a little more selective. We evolve as photographers, and I go up and down in regard to the number of images I make. I like to get them right, rather than fire away randomly.

A couple more samples. Couples in posed shots are great:

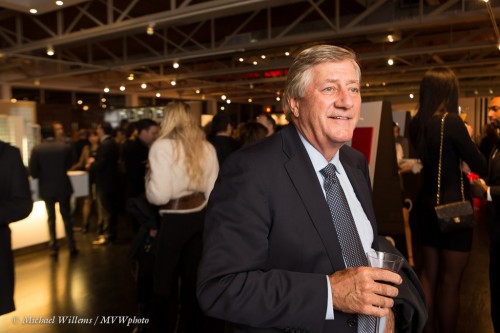
Movers and shakers, celebrities, politicians like Mike Harris are used to being photographed:

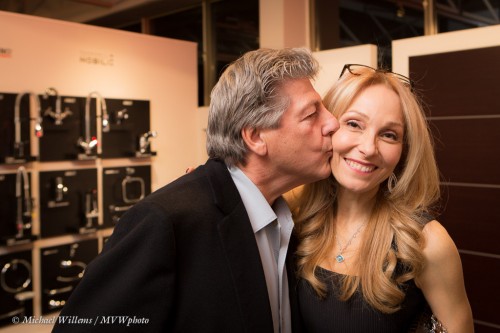
You can ask people to do things (like “Go on – kiss your wife!”):

Shooting events is fun; people will listen to your suggestions and do what you ask; and if your  technique is good, your clients (or family!) will love your shots. Go have some fun this December!


Faceless faces

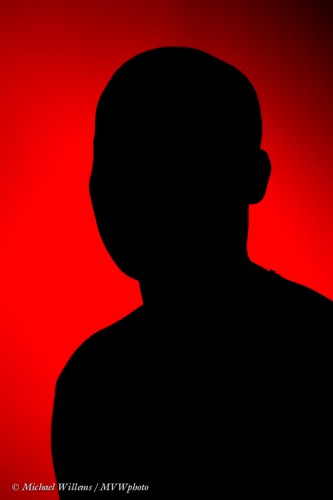
Here’s an exercise for you. Capture expressions without visible faces.

Huh? How? Is that even possible?

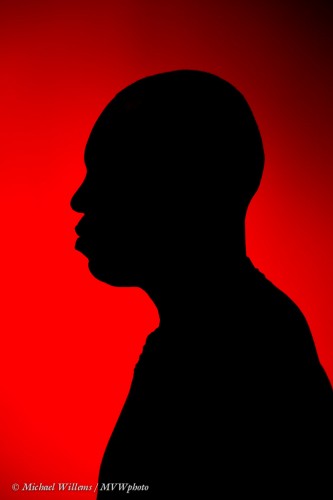
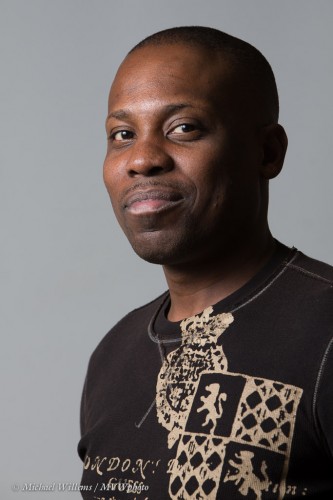
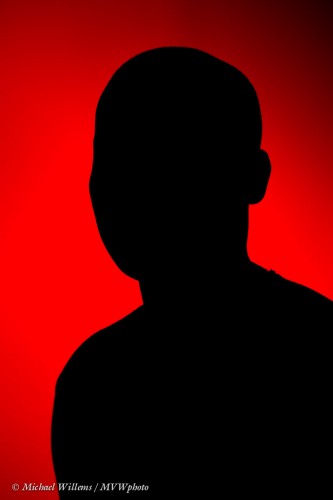
Yes. Look at this silhouette from Monday’s class at Sheridan College:

Now let’s make it slightly different:

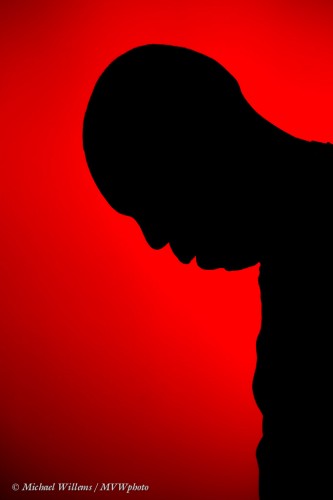
Now let’s make him into a sad Homer Simpson:

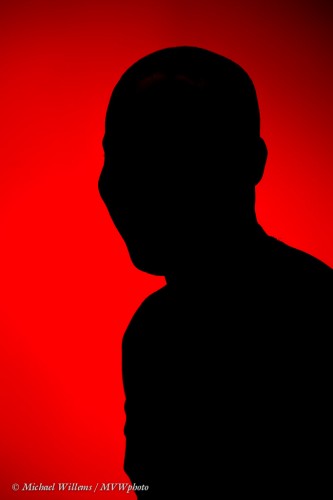
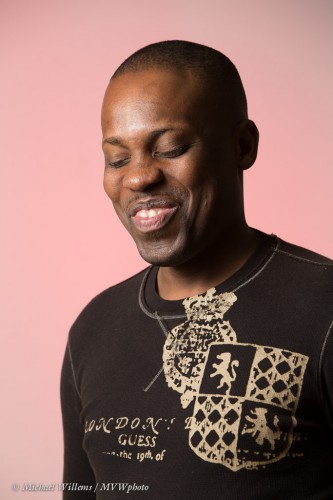
Now.. can you tell what he is doing in this one?

That’s right.. he is smiling. You can tell he is smiling from this image without anything else. Amazing. No eyes, mouth, nose – but you can tell he is smiling.

An exercise like this is fun and can be very instructive in seeing how expressive faces can be. Go take some pictures like this – your exercise for the day.

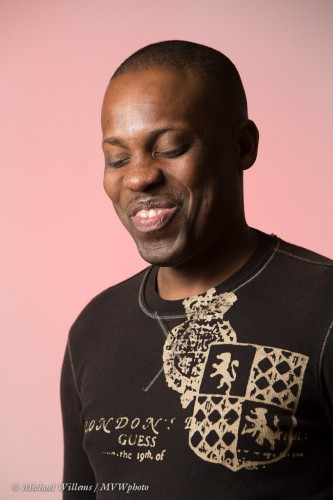
Oh, and and as in yesterday’s post: here’s what Kingsley looks like with his the face lit.

A very expressive and personable person – easy to shoot.


Let there be light.

When I pass away (hopefully not until a while from now), I want my epitaph to be Dylan Thomas’s words:

Do Not Go Gentle Into That Good Night.

Rage, Rage Against The Dying Of The Light.

Light is everything. But in a sense, where you do not light is even more important as a starting point.

In several ways. First, in establishing a starting point. For studio flash shots, the ambient light should be dark. So you start at 100 ISO, f/8, 1/125th second. Try it: whatever room you are in looks dark. So that only the flash will show.

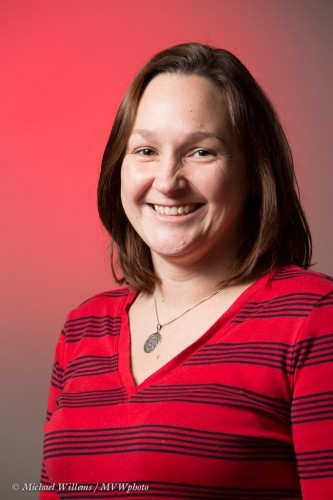
Then add that flash. In this image of Kingsley in last night’s Sheridan College class, one flash is used: umbrella on the left:

The background is not quite dark, is it? So that when we add color in the form of a back light with a bright red gel, we get some, but not a lot:

how do I know it’s not a lot? Let’s turn off the front flash and use only that back flash with the red gel, where all other settings remain the same:

Wow, so there was pure saturated red – it was just blown out by the white. “Saturated” means “not mixed with white”.

The solution? Move your subject and the umbrella back a few metres. Now we get less white, hence more red:

Even farther from that background would have helped even more. As would a softbox close to the subject.

But yes – you need a large studio. True say.


Timmins, Ontario

I spent Sunday in Timmins as a guest of the Porcupine Photo Club: great team of people, excellent all-day seminar. Yes, I teach courses like my Advanced Flash course in places like London, Rotterdam, Las Vegas, Toronto, and…Timmins. Book me if you want to have a great learning experience.

But I am now back.

This was an hour or two ago, when I was about to leave:

Let’s see a few shots from the “Flash” workshop. Of course I was not there to shoot – I was there to teach – but I still managed to grab a few shots. One flash in an umbrella was used for the first picture; same plus a background flash for the second picture.

I do colour too, of course:

But most of all, I try to get it all right. So today one reminder for you.

To get the background right you may want to start with the camera in manual exposure mode, using the Willems 400/40/4 rule as a starting point. 400 ISO, 1/40th second, f/4.

But if you have one on-camera flash, the most important point to remember is: avoid direct flash. It is not flattering. Look at this bad picture (taken as a demo!) of Aurele Monfils, who kindly arranged the workshop:

Now look when we do it properly: turn the flash behind you, upward; raise ISO if needed to have enough flash power, and go for it:

Wow. See that difference? No double chin. No reflective skin. No shadows behind arms. Much (much!) better, and much more the way the person actually looks. Also, the path to the background is now about as long as the path to the foreground, so the background gets a little flash too.

Advice: Learn one thing at a time. Learn flash in small increments. Practice (irt makes perfect). But whatever you do: LEARN FLASH!

Now off to Sheridan College to teach.


Speakers

You will often shoot speakers. Speeches. Announcements.

A few suggestions:

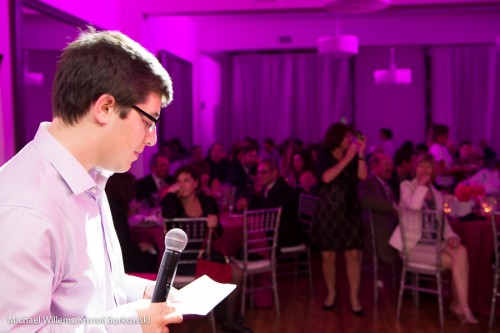
  • Shoot from behind the speaker, not just from the front. You want to see the crowd the speaker is addressing!
  • Wait for pauses. Speakers keep speaking, and every shot has funny distorted mouths, unless you wait for natural pauses. Which can be frustratingly few and far between.
  • Try to get some back light (as I did here).
  • Consider using a long lens also, with natural light.  But not for the “behind the speaker” shots – those need a wide lens with bounced flash.

Those few very simple tips will make your “speech! – speech!” shots much better. Better than before, and better than Uncle Fred’s shots.

And now some sleep: I am teaching a full day workshop in Timmins, Ontario today (Sunday).


Prime primer

I teach “Lenses” this afternoon (Saturday) at Vistek in Mississauga before leaving for the Sunday workshop in Timmins, Ont.

So while I am on it, let me see if I can give you some input as to why you might want a prime lens. I have explained before of course (consistency, sharpness, size, wider aperture..) but a picture, well, a picture tells 1,000 words.

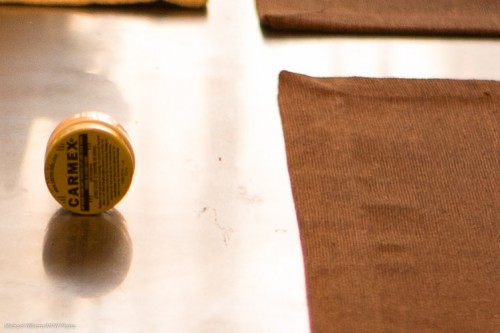
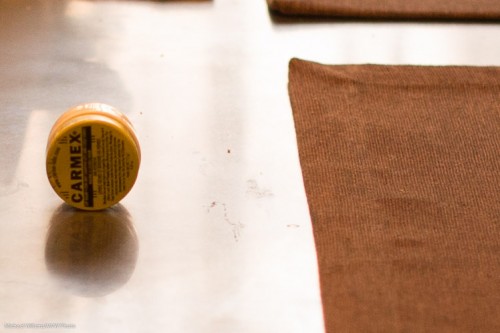
Here’s my kitchen island:

Now let’s look at 1:1 pixels. Straight out of camera, and pixel for pixel; 1/80-th second at 800 ISO.

First, the 24-70 f/2.8 zoom at f/2.8, set to 50mm:

And the 50mm f/1.2 lens, also set to f/2.8:

Both are good. But when you look closely, really closely, especially at the cloth material, you see that the 50 is much sharper.

No surprise, it is stopped down while the 24-70 is wide open. But that is the point, isn’t it? In real life use the prime often gives me sharper pictures.

This fact, and a million others, in the “Lenses” course at Vistek Mississauga (after “Flash”, also a great course, if I say so). See you there perhaps!


Partayyy!

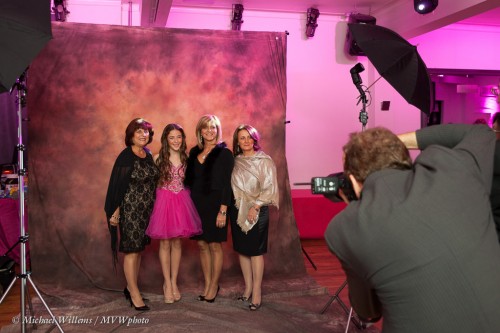
Party time. You have read about it here before, many times, but let me reitereate something.

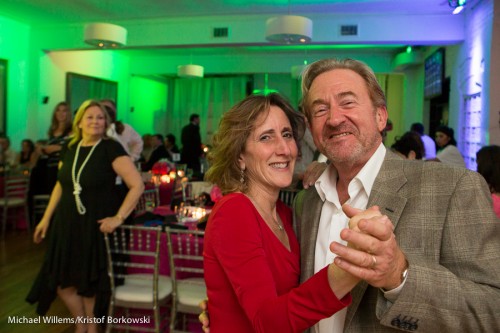
Consider these three good (if I say so) recent party shots (made during a Bat Mitzvah party):

What do they all have in common?

I’ll help.

  • ONE: they are flash shots.
  • TWO: They are not DIRECT flash shots – the flash is bounced off something, somewhere.
  • THREE: The background is well exposed for all three. A little darker than the foreground, but only a little (say, 1-2 stops).

And as regular readers know – we start with step three. Always start with the background. Indoors, start with the Willems 400-40-4 rule (400 ISO, 1/40th second, f/4) and then change ISO as needed for a good background.

Then – and on;y then – worry about the flash. Use flash exposure compensation if needed. Higher ISO if you need more flash range (e.g. for high ceilings). Move if needed to get a bounce surface.
OK, your challenge: go take a few shots like this. The festive season demands it!

Learn!

Those of you who wish to learn more about photography for the season:

You can engage me for portfolio reviews and private training any time. It is cost-effective, fun, and delivers guaranteed results.

More immediately: Saturday I am teaching at Vistek in Mississauga: Sign up now… (Flash in the morning; Lenses in the afternoon); and Sunday an all day flash workshop in Timmins, Ontario at the Porcupine Photo Club. I am flying out there in my winter clothes! Then I have many photo club speaking engagements in the next months. Stay tuned, and see you there!

Now back to finishing my recent shoots for the clients. Like many pros, I thank the heavens for Lightroom!

What you need

A studio setup usually uses big, wall-outlet powered lights (“strobes”) and more.

But here’s me, on a recent shoot:

As you see, I used speedlights there. They are smaller, lighter, easier.

The setup was:

  1. Camera and a backdrop.
  2. Two light stands.
  3. On each light stand, a bracket for mounting umbrella and flash.
  4. On each light stand, a Pocketwizard (as received) and a Flashzebra cable to connect pocketwizard to flash.
  5. Pocketwizard on camera (as sender).

All you need to do simple portraits like this:

But the real minimum is this:

1. One light stand

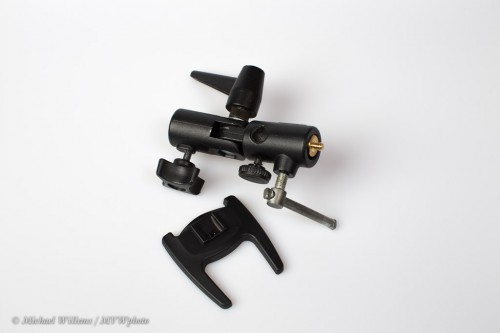
2. One bracket like this:

3. One remote flash to put on that bracket

4. One umbrella to put into that bracket

5. One way to fire the remote flash using TTL (the on camera flash is set to not flash, but to just send “morse code” commands to the remote flash). This local master flash can be a large flash (SB-900, 600EX) on your camera, or on certain cameras like most Nikons and many recent Canons, the pop-up flash.

And that is really all as a minimum!

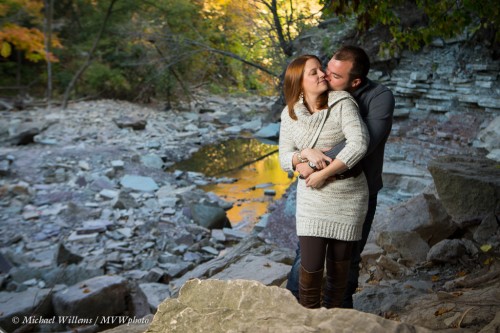
When using that, you simply mix available light with flash, using the techniques outlined on this blog. Then you can do shots like this, of Dan and Kristen, whose engagement photos I made recently in Hamilton: