Shoot Notes

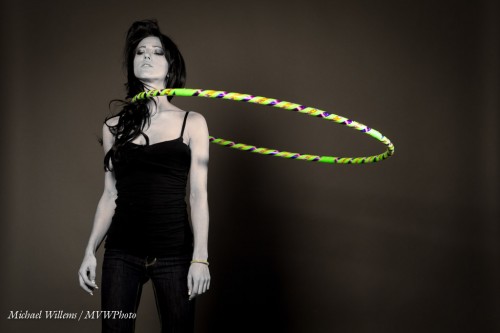
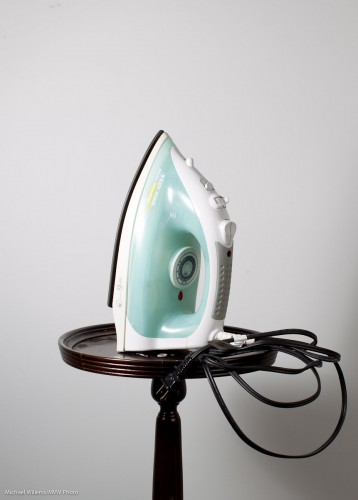
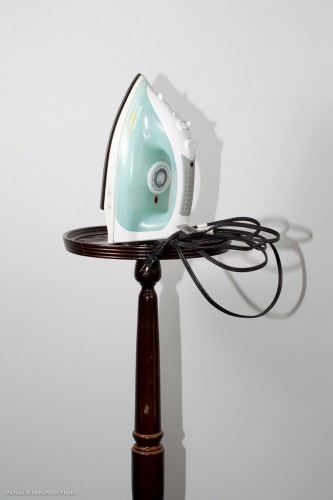
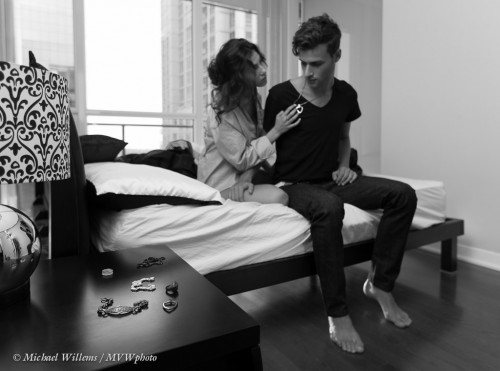
A story-telling (or perhaps rather “question-raising”) photo from a shoot the other day in Hamilton Studio:

This is a rare occasion when I use selective colour. In this case, that is very easy in Lightroom: I use the HSL controls to reduce the saturation (“S”) of only orange and red to zero.

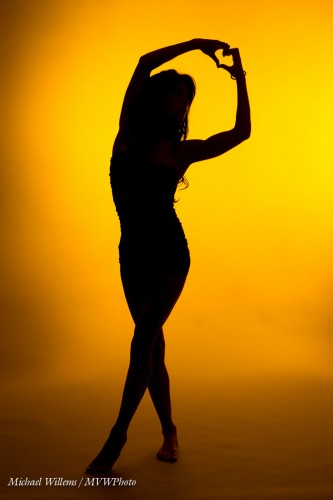
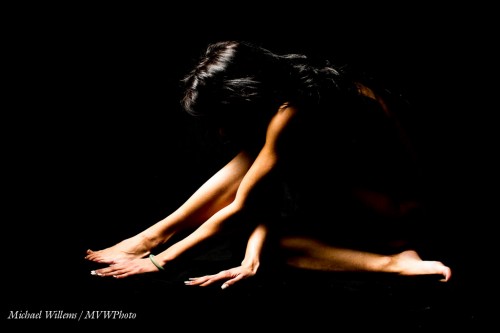
But usually, I do things in the camera. Silhouettes, for instance, like this one:

As you learned here in the past, this is very simple. Just leave the front light off and light only the background (with two speedlights in this case, each fitted with a Honl Photo Egg Yolk Yellow gel).

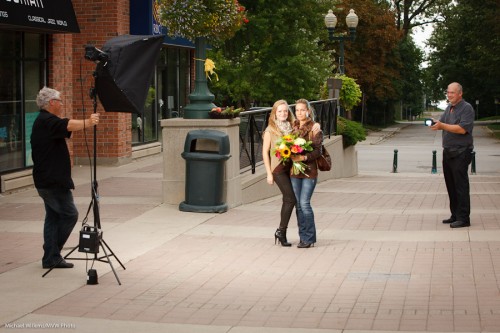
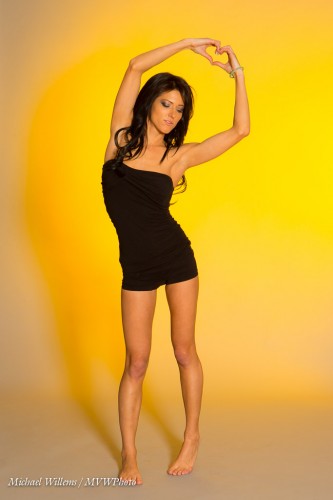
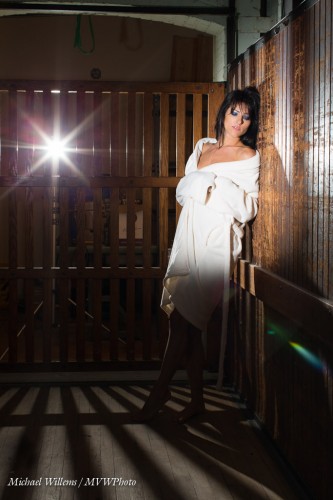
I decided that additionally lighting the foreground with a far away, not close-up-as-usual, softbox can also work very well:

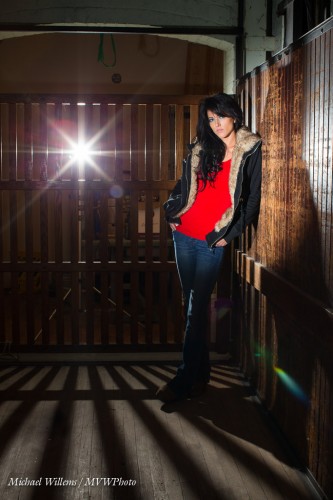
To my surprise, Egg Yolk Yellow works exceedingly well as a background for model Danielle when I also light the foreground with one remote distant softbox. The distant softbox also works well, in showing her legs to be round (when otherwise they would be lit flat if the softbox was in front of her).


Google to the rescue

Did you know that you can search for images across the web just by dropping the image into the Google image search field?

Like this:

Go to Google and search for an image (click on “images”):

This takes you to the image search:

Now you can simply drop images from your desktop, say, onto the search field (where it now says “google” in the image above) – and it will expand and search.

And now, Google does two things:

  1. It displays all uses of that exact image that it has found on the Internet;
  2. It also shows similar images, with a very clever algorithm that searches for similar-looking images by shape and colour.

Amazing. And enlightening, quite often. This Hongkong-based outfit used one of my images without permission (I am now talking to them); and this Vietnamese person did the same, with the same image. And that’s after just a few minutes searching random images. I suppose some more searching is called for!

If you have not yet used this incredible search function, I suggest you give it a try. Start with images you yourself have blogged, so you can see that it does indeed work.


Backups revisited

Another quick note about backups, today.

I have talked about them before, in posts including these two, which you may want to (re-) read:

Why bring all that up again?

Because hardware dies, and I hear too many disaster stories every week. Hardware dies. All hardware dies. Let me repeat: eventually, all hardware dies. We just don’t know when.

Examples, all of the last few weeks:

  • My Macbook’s hard drive died in the middle of Santa shooting over Christmas. Yes, I had backups.
  • Also, I just now deleted my new laptop’s Lightroom catalog. And again, yes, I had backups (I use Apple’s Time Machine as one of my additional backup mechanisms).
  • A client called me last week: her husband’s backup drived had died, and the original (photo and Lightroom) files – his life’s work! – were also lost. Fortunately, we had set up a backup scheme using two external disks, as in my first post above; so I was able to help restore the files – his work is safe.

So please – please – spend time today to make backups and to set a backup schedule that includes:

  1. Regular backups
  2. Off-site backups (what if you get burgled: you think they’ll leave your backup disk for you?)
  3. Non-proprietary backup methods (disk arrays that use proprietary encryption are, I think, a bad idea).
  4. In-app settings (like the setting in Lightroom that creates XML files: that should be a standard setting!)


If you do all that, your work will be reasonably safe. Also, you will sleep at night. And I will not get disaster calls.

We keep all our work in one place nowadays, so we are more vulnerable than ever to loss of… well, everything. Be safe out there!


More Modifiers

Today, another look at flash modifiers for you.

Here’s a smaller snoot (again, I am using the excellent range of Honl Photo modifiers):

This also makes a small well-delineated light area, but it is larger then the one from the large snoot.

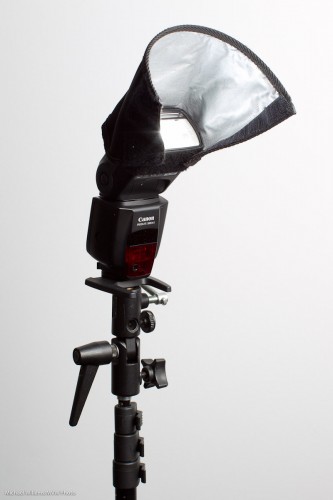
A small reflector. This allows me to direct the light somewhat; it also softens the light a little:

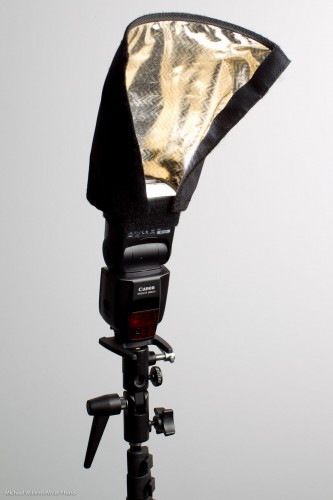
And a large reflector:

Observant readers will notice this is the same device as the long snoot – just not rolled up. This particular one is a CTO version – “colour temperature orange”, giving it a warm, tungsten-like bounce.

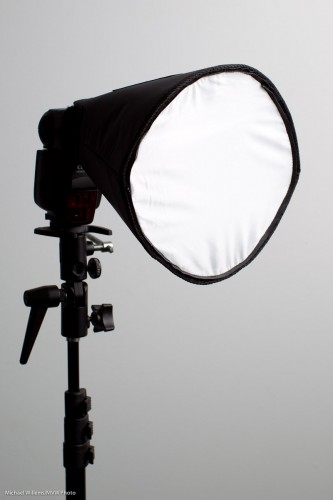
And finally a small portable softbox (this is the Honl “Traveller 8” – there is also a larger version):

This creates wonderful, soft light.

Without a softbox, this would have looked like this:

See that annoying side shadow? The softbox would have taken care of that.

___

As you know by now, my Photography “recipe” book is out: this 108-page (non-DRM!) eBook is available for purchase right now for just $19.95 –  see www.speedlighter.ca/photography-cookbook/


Modification Good

You hear me talk about flash modifiers a lot here: today I thought I might show you what some of them actually look like. In particular, some of the ones that let me direct or colour the light (tomorrow, I’ll mention more, and talk about softening the light).

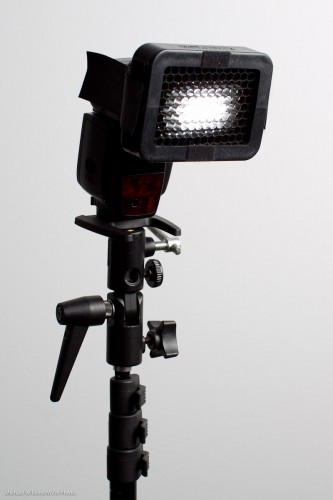
A grid restricts the spread of the light from your flash. Here’s a grid (a Honl Photo grid: I use Dave Honl’s excellent small flash modifiers constantly. They attach using simple velcro and are small, sturdy, light, and affordable: a pretty good combo):

The grid is my most often used modifier. After all:

I want to direct where the light goes, which clearly implies that I also want to direct where the light does not go.

The grid helps me do that. You can even see it in the picture: the flash is firing but it’s not blinding us. I can light a subject without also lighting up the wall.

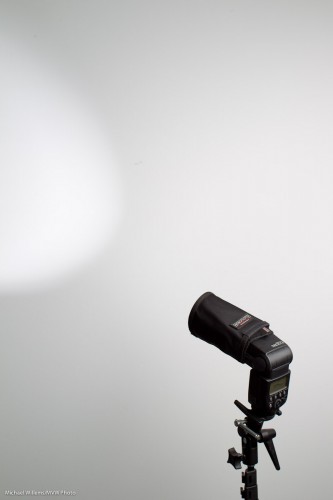
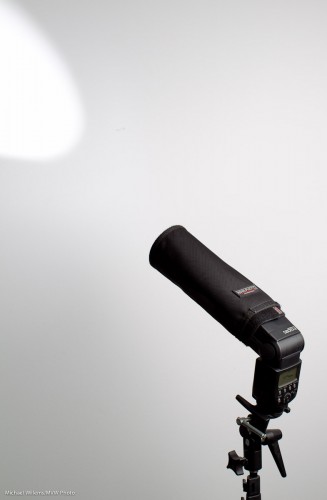
Next, the snoot. Here’s a snoot (another Honl device: the reflector rolled into a tube is a snoot):

See? Even more directional than the grid. Great for very selective lighting.

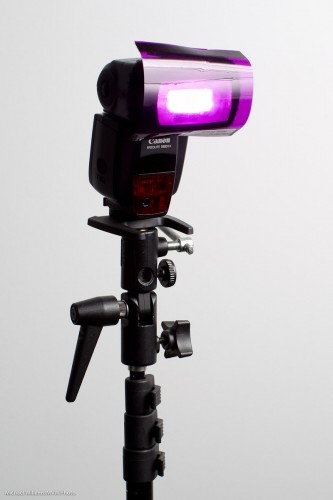
One more modifier today: the gel. Here’s a gel:

Now we have a purple flash!

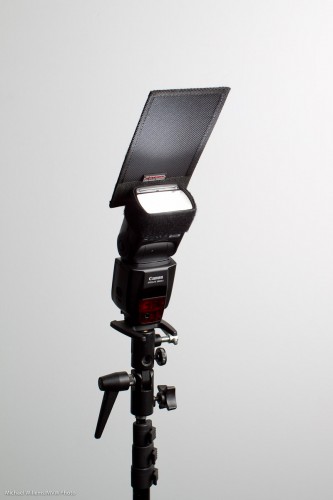
Another device is the Gobo (“Go Between Objects”):

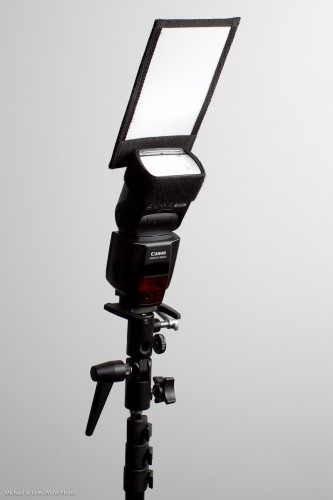
That is in fact a bounce card with the dark side used. Here’s the bounce card with the light side used:

You can see both keep light from certain areas; one also reflects to the opposite side.

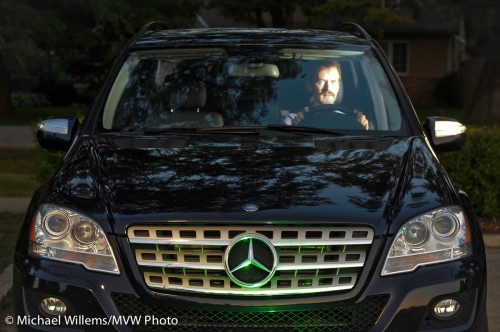
Finally today, here’s a photo taken with a gel and a snoot. Can you tell?

Tomorrow, more modifiers for you!

___

My Photography “recipe” book is out: this 108-page (non-DRM!) eBook is available for purchase right now for just $19.95 –  see www.speedlighter.ca/photography-cookbook/


Photography as a business?

If you want to make money with your photography, then I have some advice for you.

Here we go:

  1. First, forget about it.
  2. Then, if you still want to: go for it and follow your dream.

But in that case, do it cleverly – run it like a business from the start. Profit and loss. Accounts. Taxes. Budgets. Forecasts. Marketing budgets. Reviews. And so on. My Small Photography Business course starts again tonight at Sheridan College. I take 20 students through what, as a business executive, as a small business owner, and as a photographer, I have learned over the years.

  • Photography skills
  • Photographic Equipment
  • Office equipment and -tools
  • Marketing
  • Accounting and bookkeeping
  • A business plan
  • Admin work

One small but significant part of a photography business is your web site. Can I suggest the following:

  • Keep it simple.
  • Make it about your clients, not about you.
  • Be clear: why you? Not because you make good pictures: presumably that is a given. What’s in it for the client – why should he or she choose you, not someone else?
  • Remove barriers. No slow-loading flash, unnecessary music, absent email addresses, compulsory fields, or other hoops for your clients to jump through.

I have seen some bad ones, but I think I have just re-found the worst web site I have ever seen. Since it belong to a working photographer I will not share it here, but I am so tempted.


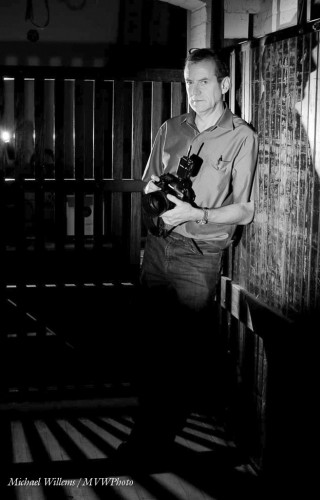
Here’s me during a shoot last week:

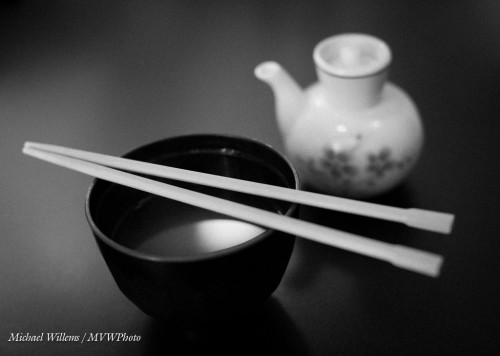
And here’s part of my lunch, the day before:

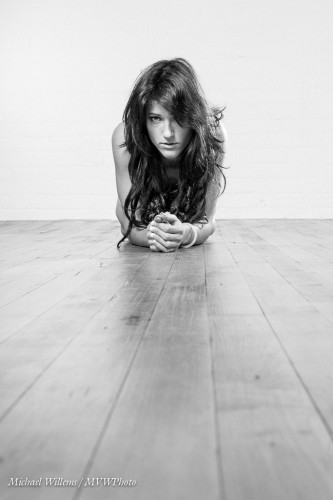
And my model the other day:

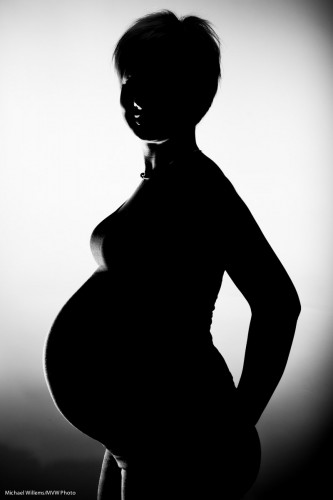
And:

What do all these have in common? They were shot in (or rather, converted to) black and white. And they work: black and white often works very well.

So my suggestion is that if you have not recently done this, shoot some black and white today.  Shoot them in colour as RAW images, but convert to B/W after you shoot. And see what works, and what does not.


Why flash at all? Why outdoors?

No, I am not referring to people who enjoy opening their raincoat outdoors to show that they are wearing nothing underneath. As the Speedlighter, I am of course once again referring to flash lighting.

On a pro photographers’ forum recently, a few people said they shot “with available light only”. They seemed proud of it.

I have heard this many times. And I admire people who can do this. But I must admit that whenever I hear it, I think “this is probably because the person in question does not know flash”. And in most cases, that is true.

I know, there are legitimate differences in artistic insights. And yes, you can make great art without flash. No dispute there.  But that said:

  1. The number of situations you can handle is very much restricted if you do not use flash as an option.
  2. The number of styles you can produce is very much restricted if you do not use flash as an option.

Situations include very dark rooms. Back light. Bad colour. High contrast light. Badly directed light. Uneven lighting. Direct sunlight without squinting. Special effects requiring extra light. Special effects requiring colour. The list goes on.

And styles, even more so.

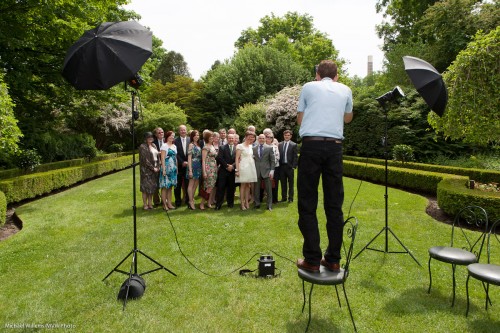
An example. Lucy and Matt’s wedding last year. Here’s me, about to shoot a group shot in direct sunlight:
\

(Notice how I am up? That is the only way to get all these people into the shot, if there are many layers of people.)

Anyway, if you zoom in (click until you see “original size”, you will see the people are not that well lit – not, that is, in a flattering way. And “bright pixels are sharp pixels” (Willems’s Dictum) – here, the people are not the bright pixels!

But in my shots, they are:
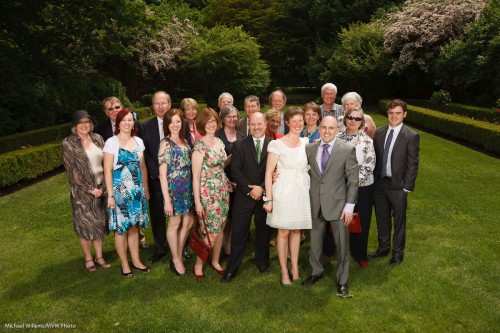
See what I mean?

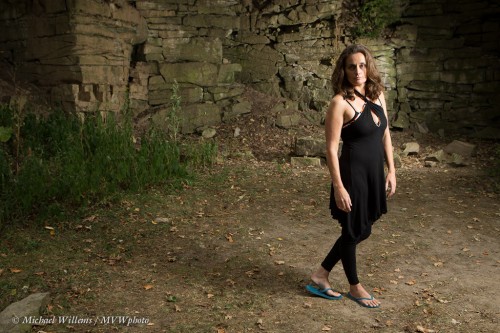
And take student Melissa at last year’s Niagara School of Imaging at Brock University. No way you could do this type of dramatic portrait without flash:
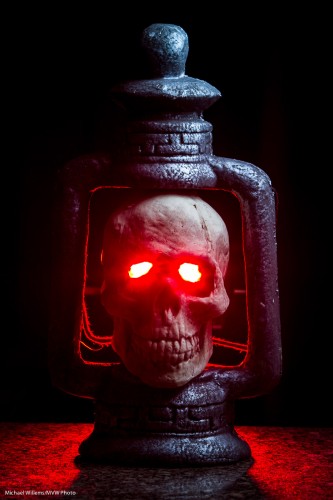
Obviously, the effect photo from the other day cannot be done without flash either:
Nor can this:
Or this:

And the list goes on. Like this outdoors fashion shot of Melony and daughter Vanessa:
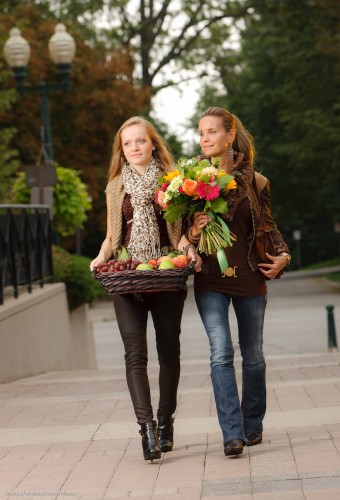
Vanessa and melony showing fashion (Photo: Michael Willems)

Which was shot like this, of course:

This, too, needs flash:
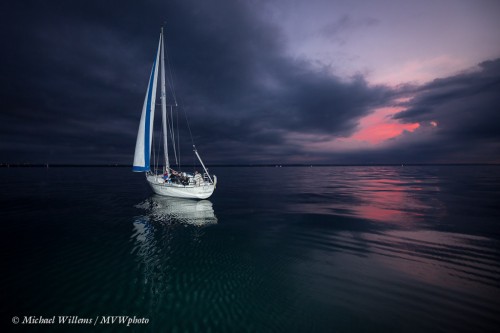
The list goes on. I think perhaps over half my images could not be made without flash. So.. why would you want to be a photographer who deliberately restricts herself or himself to half the possibilities?

___

Don’t forget, my new eBook is out: A unique book with 52 photographic “recipes” to help you get started immediately in many situations – including many that need flash. Read all about it here and order online today:

www.speedlighter.ca/photography-cookbook/


OCF again

And today, some more off-camera flash, using images I made earlier today as an example.

Simple means (a camera, a couple of speedlights, a light stand or two – all affordable, light, and simple) and some knowledge is all you need for this:

In fact I used just one (off-camera, modified) speedlight for that shot.

And for this one, just two:

One was behind the elevator as you can see – aiming at us. It was fitted with a Honl Photo 1/4″ grid. The other flash, on our left, was fitted with a Honl photo snoot. That’s all – very simple, and with great results. Here’s another version:

What do those images show?

  • That you can use direct, unsoftened flash – as long as it is off camera.
  • That it is more about not lighting – that’s where it starts.
  • That shadows are cool.
  • That prime lenses are good.
  • And no filters, or the back light will cause unacceptable flare and lens artefacts.

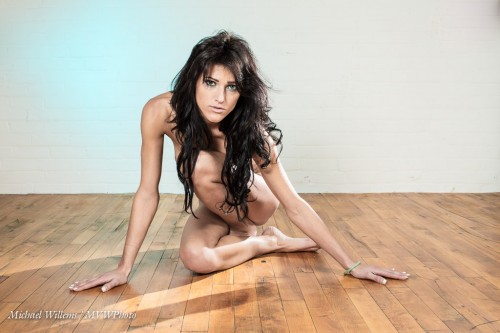
If you wish to see more, head for my tumblr site (those are nudes).

Sometimes I use more lights, as in here: two speedlights with umbrellas, one with a snoot, and one with a grid and a gel:

Which can lead to images like this:

All these shots can be made using very simple means.  And that is my point here today: off-camera flash can be very simple indeed, and can lead to great results.


OCF!

OCF? Yes, “Off-Camera Flash”.

The worst place for your flash is on your camera, near the lens. Taking the flash off camera is one of the best things you can do. And so why are you not yet doing it?

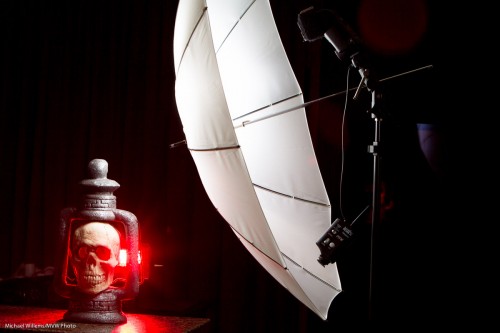
Look at a shot like this:

Took a long time to set up? No – student Jeff and I did this in a few minutes earlier this evening, right on my kitchen counter.

This needed off-camera flash. Here’s what we used:

  • One small flash (a speedlight) on our right, shooting though an umbrella.
  • With that, the shot looked OK but a little bland, so Jeff suggested a red light behind. Good idea: another flash behind the skull.
  • This second flash was fitted with a Honl Photo 1/4″ grid, to stop the light from going “everywhere” and spoiling the shot.
  • It was also fitted with a Honl Photo red gel, as you can see, for great effect.

All this setup looked like this:

A few other notable points:

  • I am firing the flashes using Pocketwizards, so that Jeff (who shoots Nikon) and I (who shoot Canon) can both make the same images.
  • This means I used a light meter to measure the light, and hence to set the flashes’ power.
  • The umbrella is close to the skull in order to be able to be at low power. This in order to not light up the rest of the room. (This is the “inverse square law”).
  • I am not using lens filters… they would add ruinously more flare.

You can do this too. And even simpler: use remote TTL. A Nikon or modern Canon camera, two flashes (SB600/700; 430EX) and a few affordable stands, some ditto modifiers (I use the excellent Honl range of modifiers), a few ditto brackets: this stuff is NOT complicated or expensive. It’s simple once you know.

Like brain surgery.

Ah. But the difference between this and brain surgery is that brain surgery takes years to learn, and this takes.. well, hours. I recommend you learn to take your flash off-camera… today. And you will never look back.