Today’s excellent training in London, Ontario, reminds me of a few things.
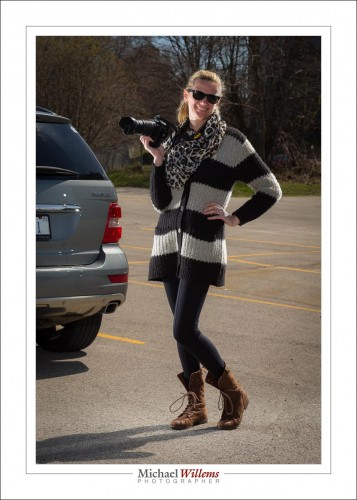
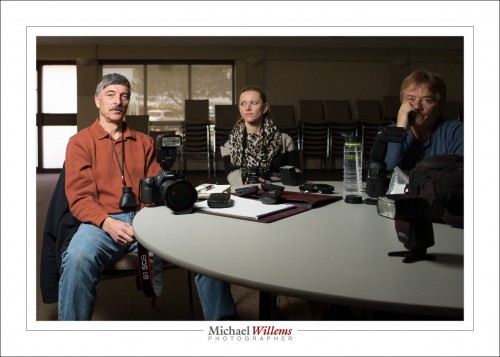
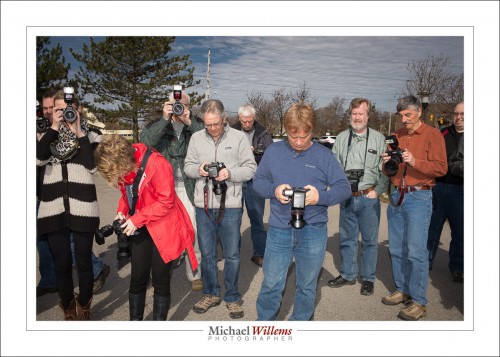
First, a photo or two from the day:
As a result of today’s training, a few simple reminders come to mind:
ONE: Make sure your auto ISO is OFF at all times
TWO: Make sure your lens is set to autofocus
THREE: Make sure that the lens is securely screwed in and locked.
FOUR: Make sure you have enough power for the shot, given your aperture and ISO, For an inside flash photo where you are bouncing, this can be problematic. So you can set your camera to 400-40-4 (400 ISO, 1/40 sec, f/4) , but before you take the photo, you should:
- Set your flash to M (manual).
- Set its power to full (100%, or 1/1).
- Take the photo.
- If you now see a clearly overexposed flash portion of your photo, good, carry on: go back to TTL flash and take your picture. If, however, you do NOT see clear overexposure, then either increase your ISO or decrease your f-number, and repeat.
If you follow those four simple steps, your photos will be better, more successful.
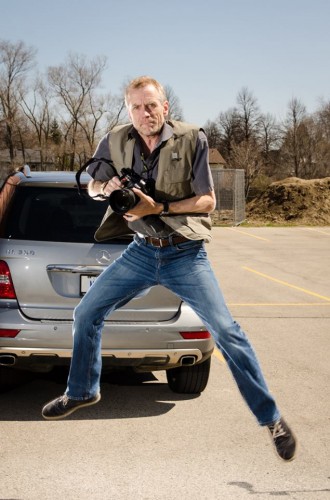
And I leave you with “me”, today, by a kind student:
(Want a course like this? Contact me any time,. These courses are enormous fun, both the theory courses and the practical follow-up we did today).


