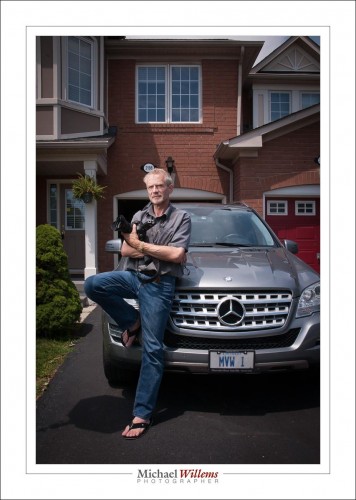
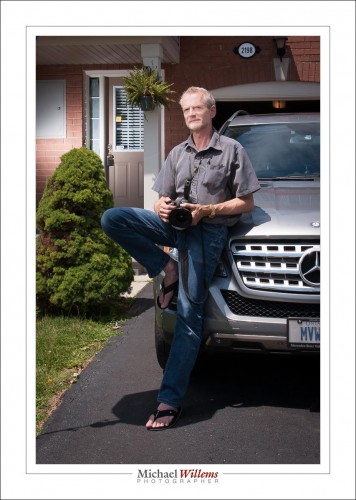
Here’s a typical outside flash shot. (Taken by the über-talented photographer Lisa Mininni while I was teaching her flash tricks yesterday):
What did we do to make this?
[A] Take the shot:
This was a flash shot, of course. So outside in bright sunlight the settings are very, very simple.
- Pocketwizard on camera.
- Second Pocketwizard connected to the flash by means of a “Pocketwizard to hotshoe”–cable from www.flashzebra.com. Modify with a softbox or umbrella (the latter is smaller but will blow over more easily in the slightest breeze).
- Flash set to manual, half power. (Be ready to increase to full if you need to—but the flash may overheat, and recharge time between shots will be long).
- White balance to “Flash”.
- Camera manual, 100 ISO, 1/250 sec.
- Then, determine the aperture you need for a good background. Start at f/8—and then vary from there. On a day like yesterday, I needed f/11 to f/16.
- Once your background is right, look at the flash part. If the flash is too bright, reduce its power level or move it farther away from what it is lighting. If the flash is too dark, increase its power level or move it closer to what it is lighting. Or add a second flash, Worst case, use direct, unmodified flash.
[B] Finish the shot:
That finishing (not “editing”!) is just as important as taking the photo, and it consists of:
- Verify exposure and tweak if necessary. (If you have taken the shot properly, this should not be needed.) Pay attention also to “highlights” and “blacks”.
- Set white balance to “Flash”, if it wasn’t already. (Ditto).
- Correct lens and “architecture”–distortion.
- Crop and rotate if/as needed.
- Sharpen if/as needed.
- Perhaps add a very slight post-crop vignette.
Those steps are pretty much standard, and a typical picture takes me less than 30 seconds to finish.
[C] Options
I could of course add another flash, for the background. Set that to quarter power.
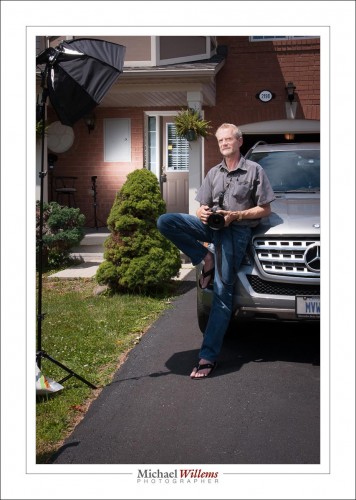
OK. How was this shot lit, then? Here’s how:
That’s right—always make a pullback shot, where you can see the lighting setup. You’ll forget. I used a third pocketwizard connected to the second flash via a second hotshoe cable.
Is this rocket science? No. But it is fun and it does open up untold creative possibilities.
___
Come to me for a private lesson and I will teach you how to do this, how to use modifiers, how to balance light sources, how to use gels, and much, much more,. You don’t need much, other than an SLR, a flash, and knowledge of the basics (“what is aperture and shutter speed and how do they work”)—but I can even teach you those if you like. See http://learning.photography or give me a call on +1 416-875-8770 and never look back. I can teach you remotely, too, using Google hangouts, too, even if you are in, say, Australia.


Just want to go on record to say how much I enjoy lessons with Michael. One-on -One with him is great, I get MY questions answered clearly, patiently, in detail. He makes it so easy ! I am no longer afraid of small-flash photography, I love it!- and if I have further questions, I know that I can reach him easily and will get a prompt reply.
Thank you Michael for yesterday’s very enjoyable , informative and fun lesson.
See you again soon.
lisa Mininni
My pleasure, Lisa. You’re a great photographer and that makes the process very enjoyable indeed!