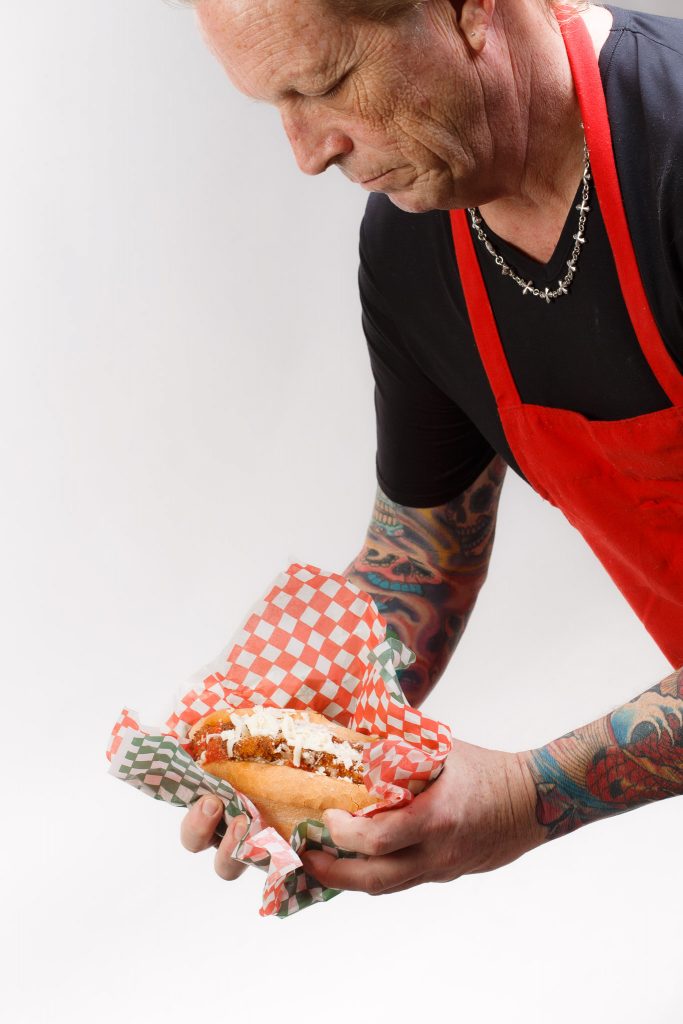
When do I tilt a photo? Whenever I feel like it.
Like in this 2020 photo of TV Chef David Adjey, where the toilet makes it look like he is cradling a little baby.. his baby the culinary creation:

When do I tilt a photo? Whenever I feel like it.
Like in this 2020 photo of TV Chef David Adjey, where the toilet makes it look like he is cradling a little baby.. his baby the culinary creation:
I have always recommended shooting a roll of film every now and then. Film – that stuff they used like in the 1800s. And if you are artistic, black and white film.
So I shoot a roll of film every now and then. Because it’s cool. And because I remember to respect the click. Every time you shoot, you spend a few dollars. And you need to get it right: no feedback, no second chances. So you think about photos.
I use my Nikon FE:

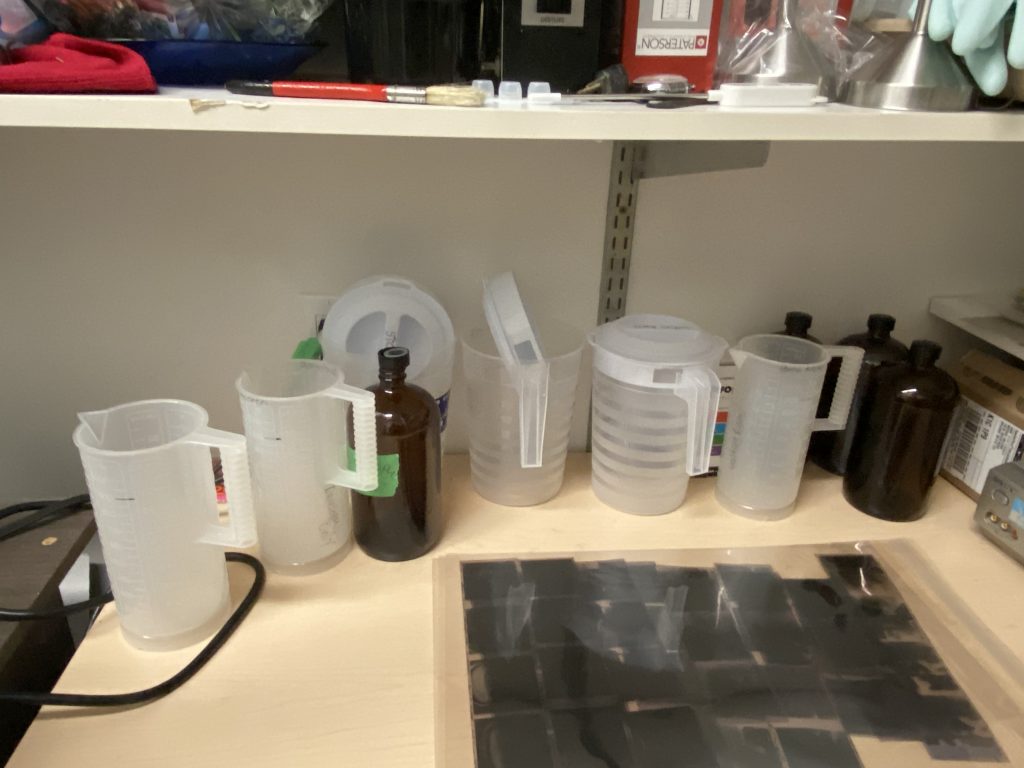
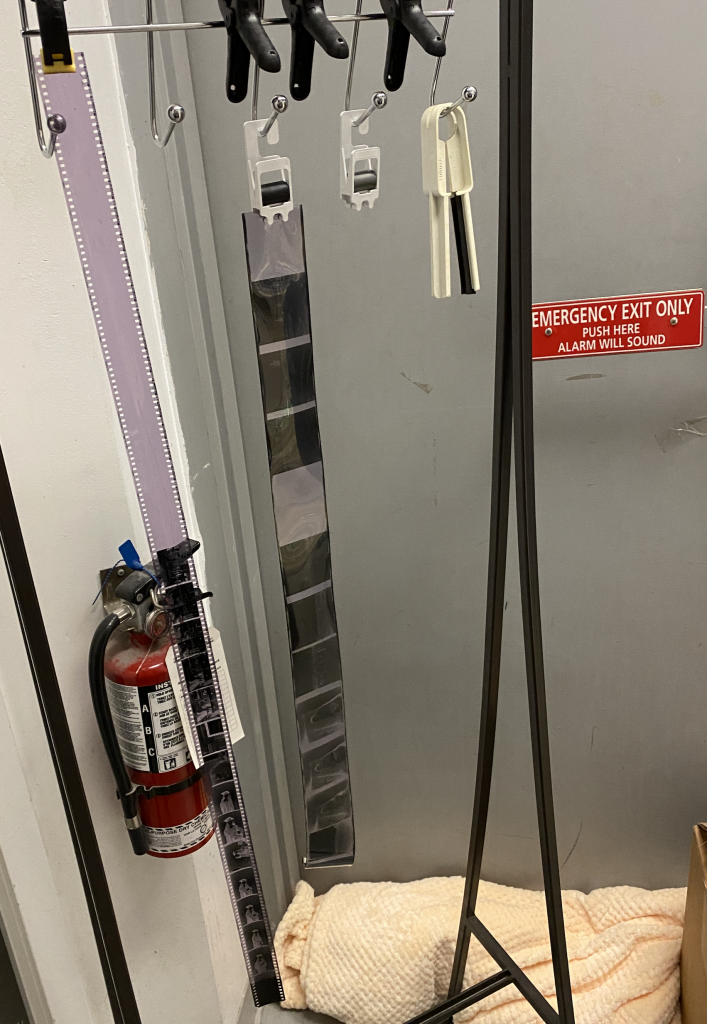
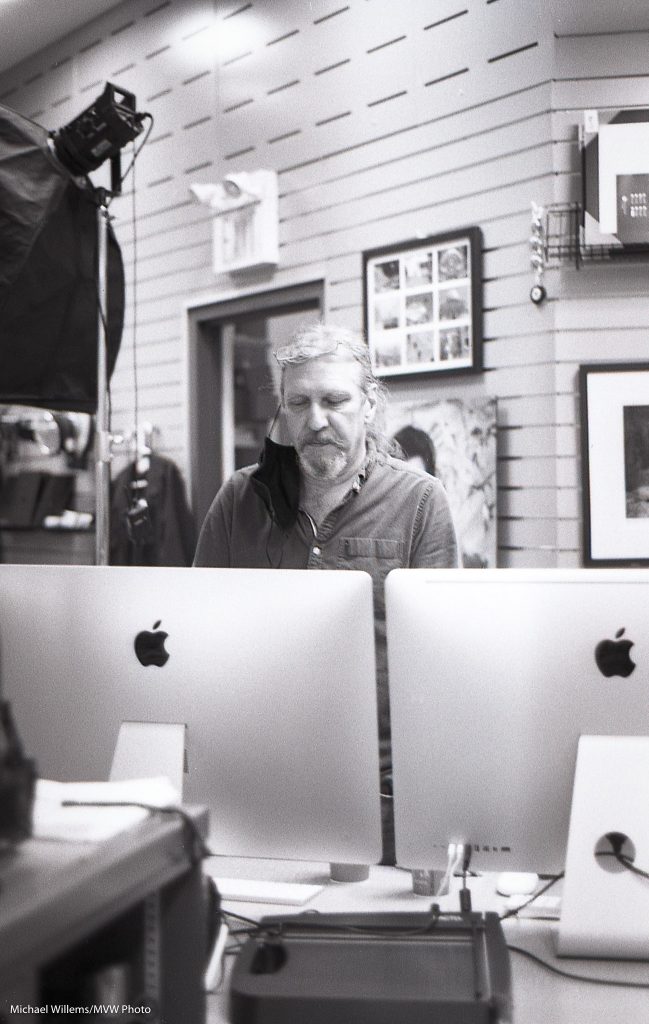
And that’s why in my store we also develop film – and in the case of most black and white film, we even do this in-house, right in the store. Here’s some of the equipment, and today’s film drying (35mm as well as 120):
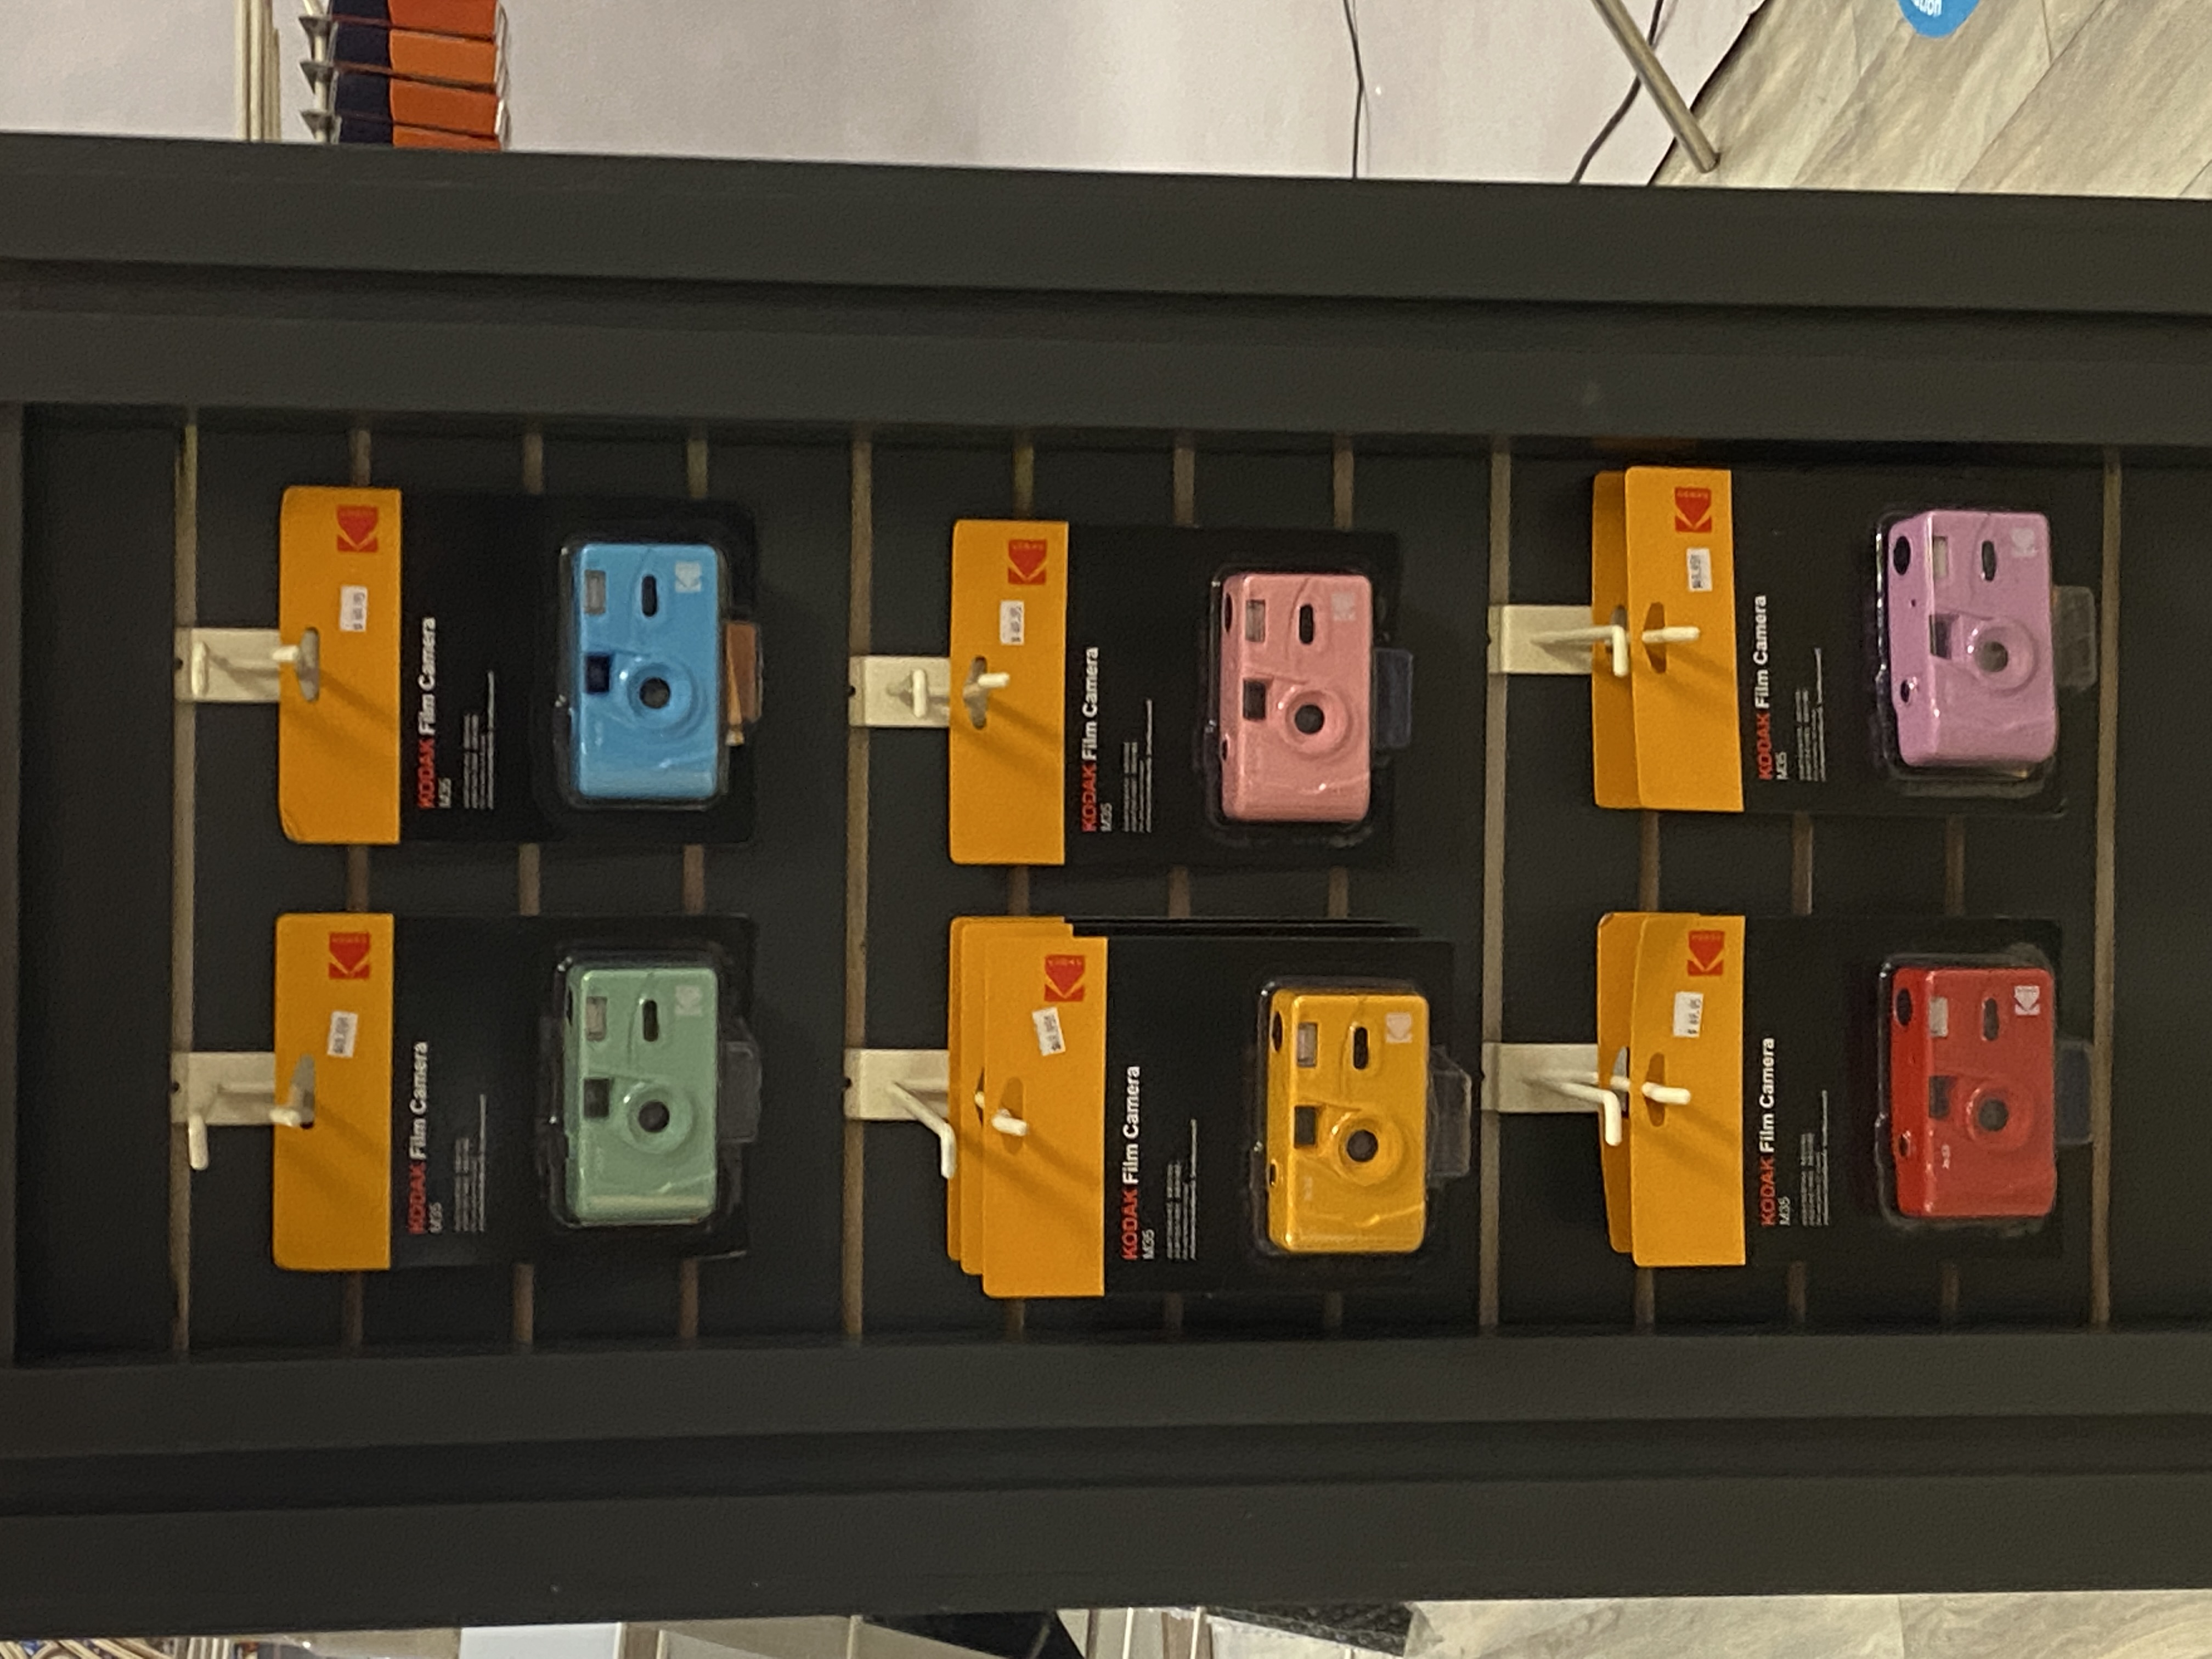
But you don’t need a pro camera… sure, hipsters use cameras like mine, but young women instead love single-use cameras, or better, the simple brightly coloured Kodak snapshot cameras (yes, and we sell them):
And here’s why:
I love my local Facebook “foodie” group, and it is for that group that I would like to give a few tips for food photography.
A few suggestions, then, to make your food photos great – even when you just use an iPhone:
Then continue with the rest of the rules:
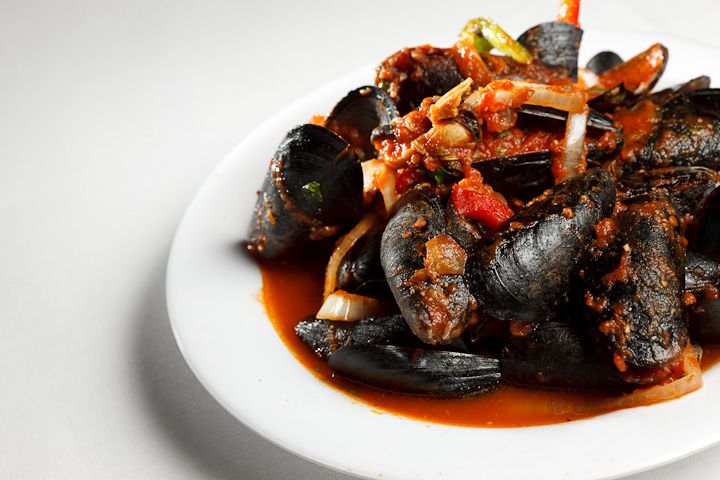
Often enough, an iPhone will do just fine. The closer you get, the easier it is to get a blurry background. And remember, simplify. Everything you take out, is good.
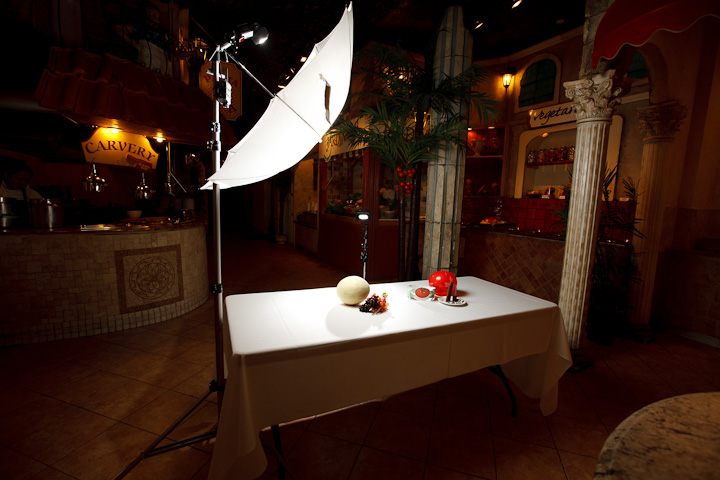
If you have pro equipment: one umbrella or soft box above the food; one flash behind it aimed toward you:
Which leads to:
If not, simply use a window, or whatever else you have available.
Did I mention it is wise to simplify?
Finally: do the post work you need, in Lightroom or Photoshop, to perfect the photo.
I tell all my students to shoot a roll of film every now and then. Because you have to think. And you value that click. And it’s fun to see “what you got”.
Young people have realized this too, which is why these are so popular all of a sudden, and why I now carry them in my shop:
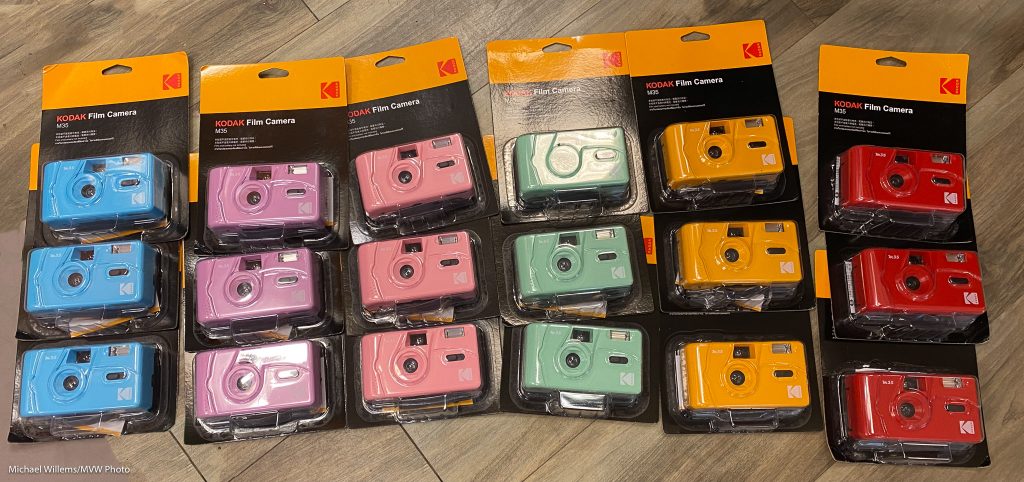
Kodak M35: Re-usable (not single use) film cameras, in fun colours. And since I imported them directly from, um, yeah, China, they are affordable too.
Who’d have thought: back to film!
I am having a lot of fun with passport/ID/Visa/Residence photos. As I mentioned before, every country is different…:
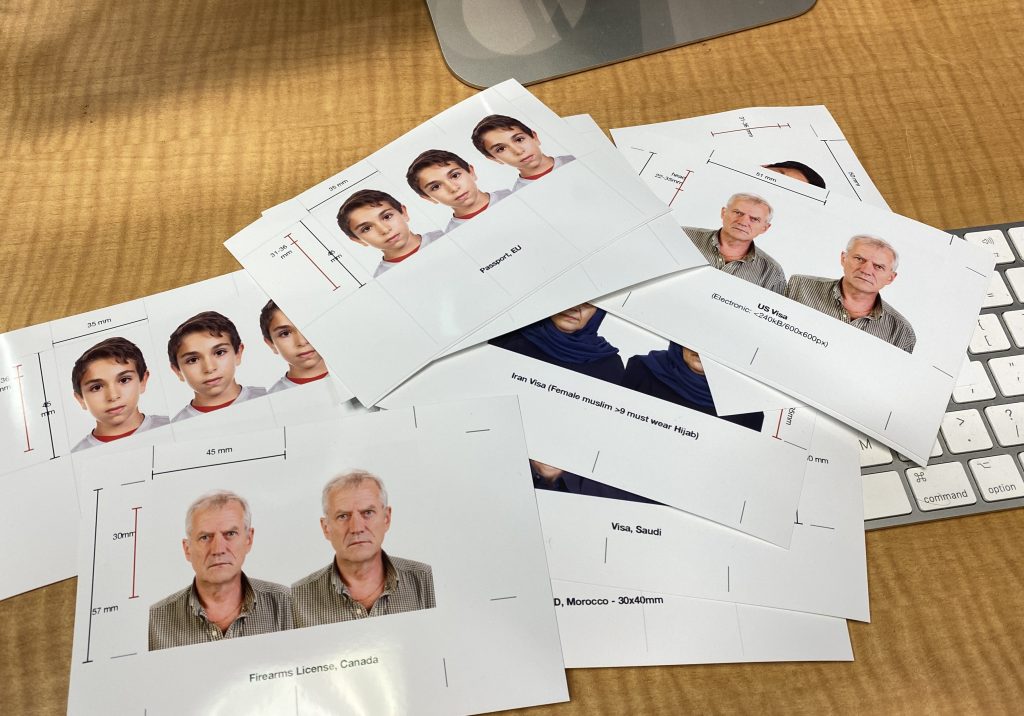
And the fun is to see a lot about a country by the requirements. As in…:
Fun stuff! And we love doing them… and the one thing they al have in common is: no smiling, “neutral expression”… don’t blame us for that one!
…of which right now I have quite a lot. My store/studio (www.michaelwillemsphoto.com) is still open, but only for passport/ID photos and curbside delivery/pickup, so the days are super slow.
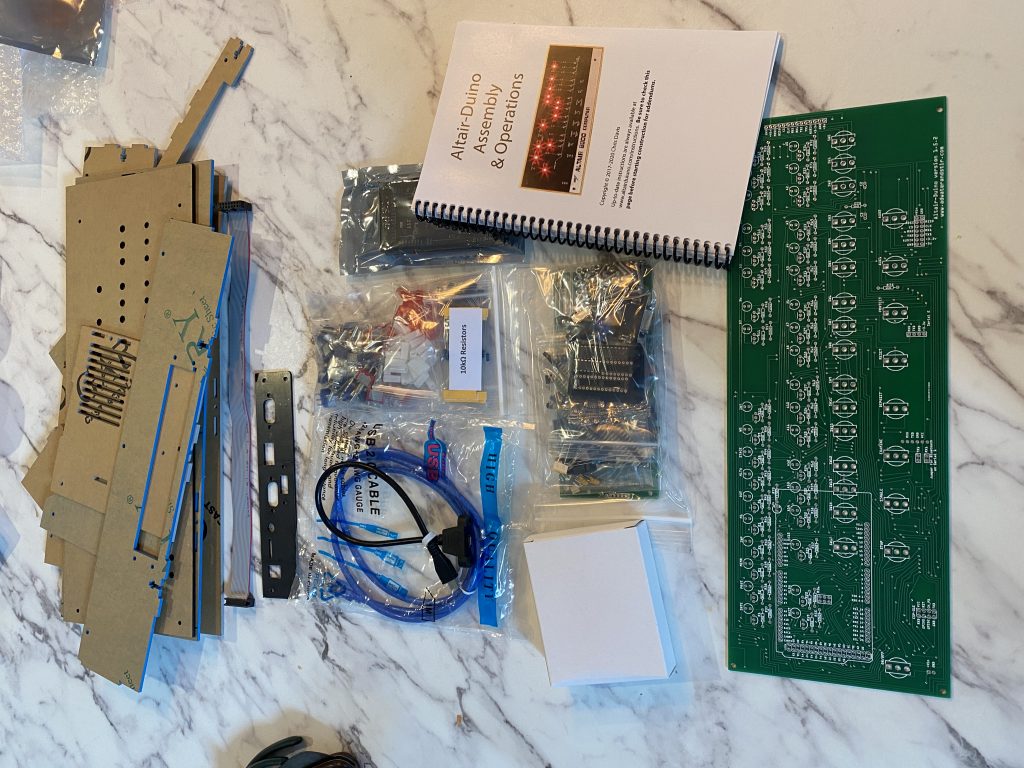
So I get to do some hobby stuff. And my hobby intertests are wide. They also include electronics and computers, and the other day, I bought an Arduino-based Altair 8800 simulator kit (from www.adwaterandstir.com). An excellent kit, by the way, highly recommended.
The Arduino is a modern microcontroller, and the Altair 8080 was really the first personal computer, way back in 1974.
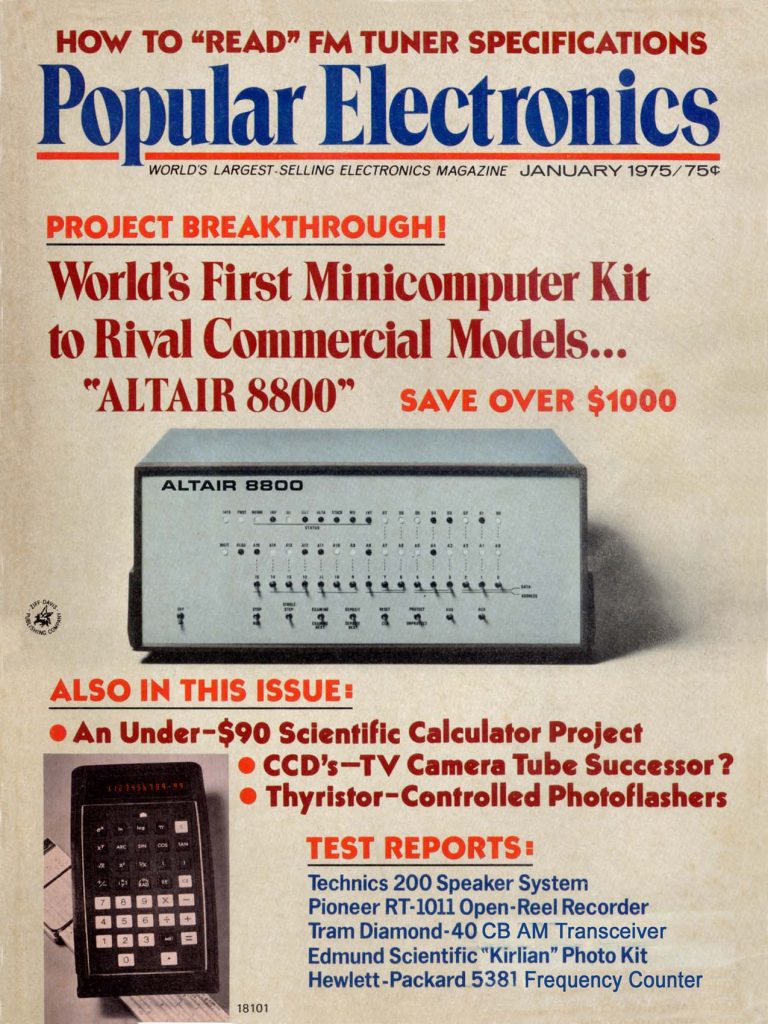
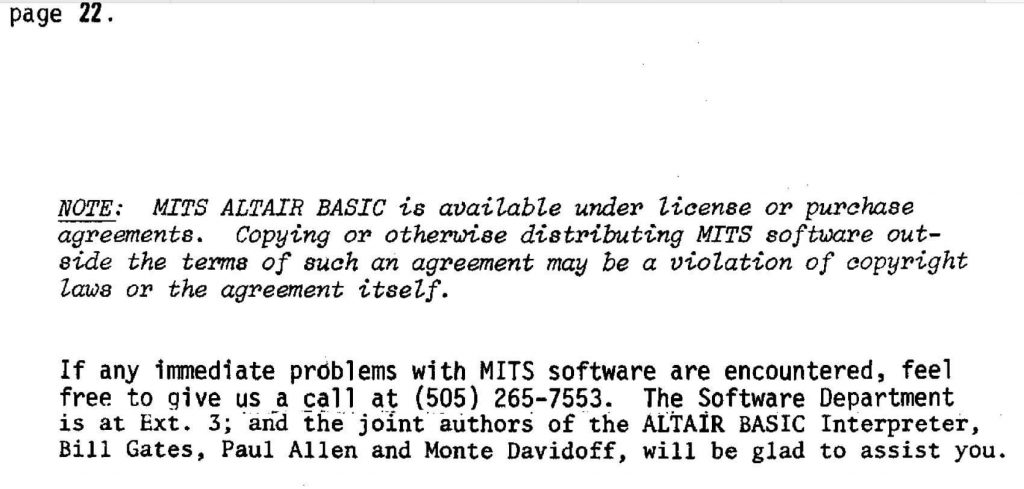
After seeing that article, a couple of young students from Harvard decided to write a BASIC interpreter for it, and the rest is history – you may recognize the names in the Altair BASIC manual:
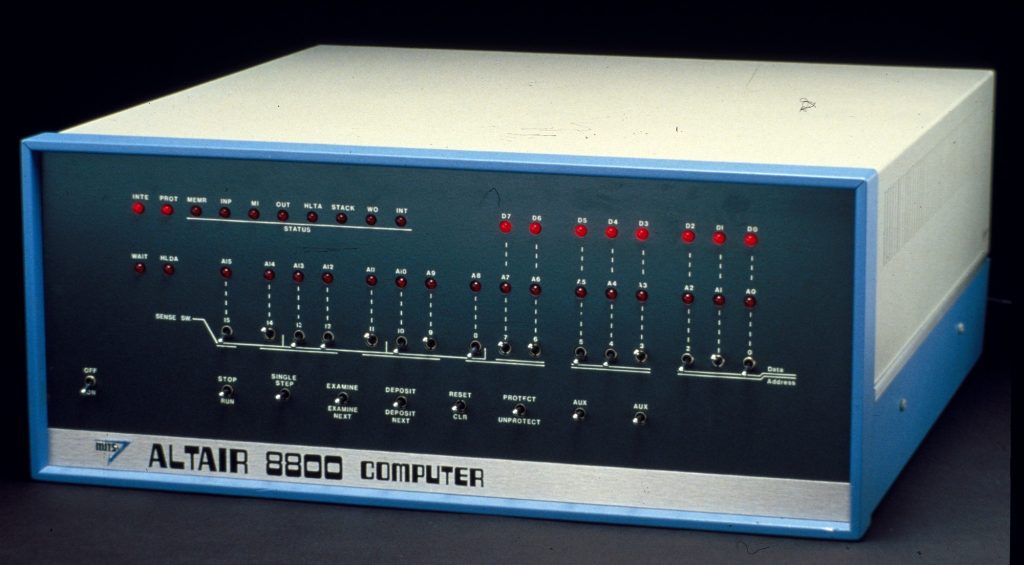
Anyway, the Altair looked like this…:
And the simulator I built looked like this:
And then it looked like this:
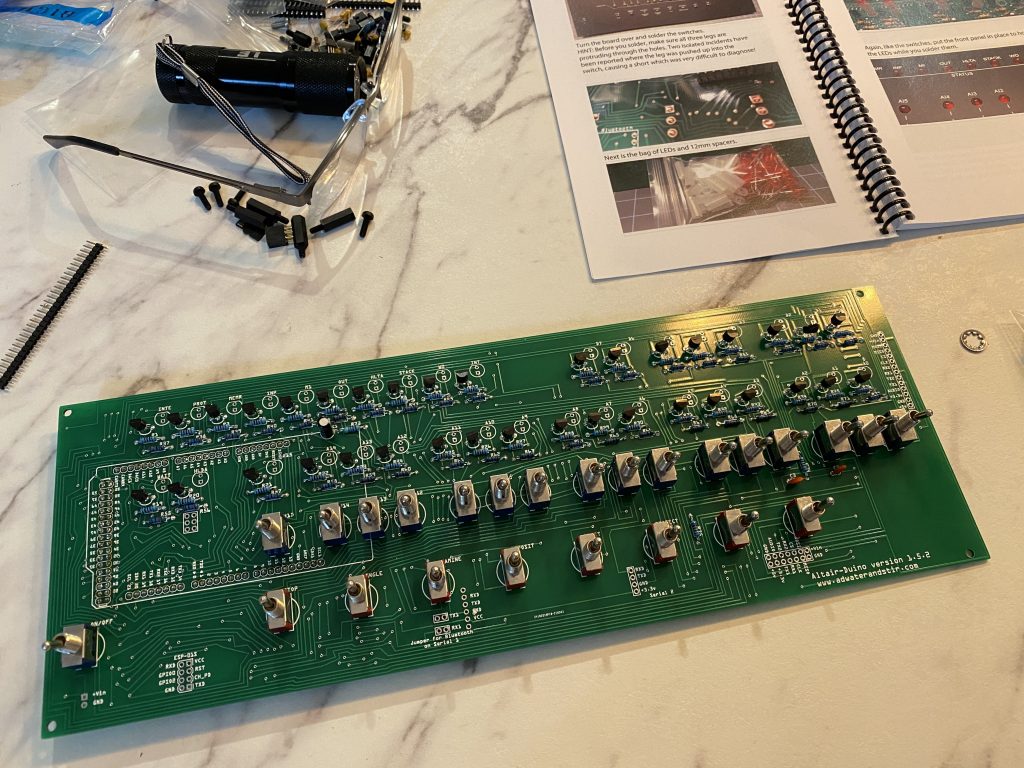
And now, after seven hours of soldering and constructing, looks like this:
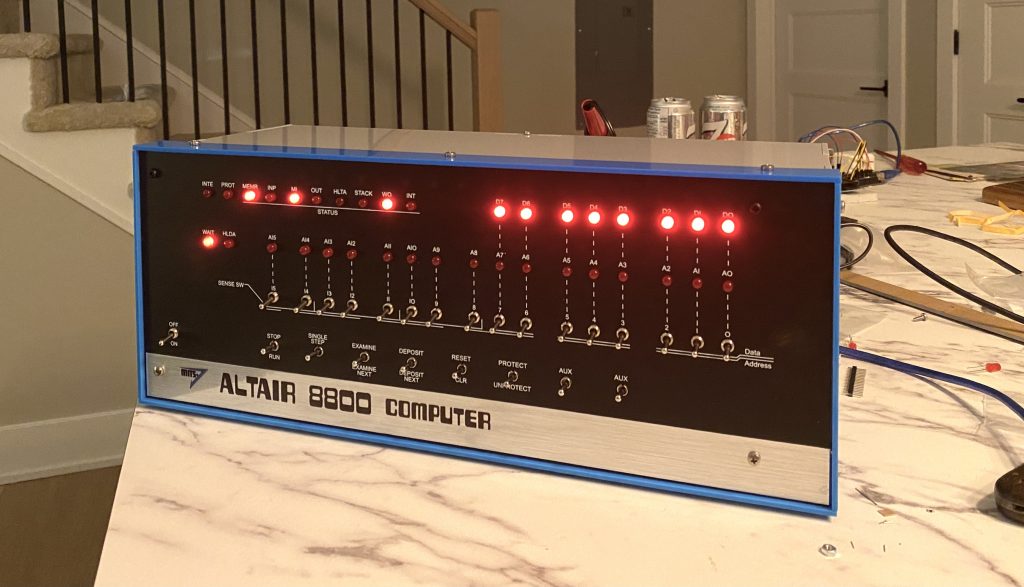
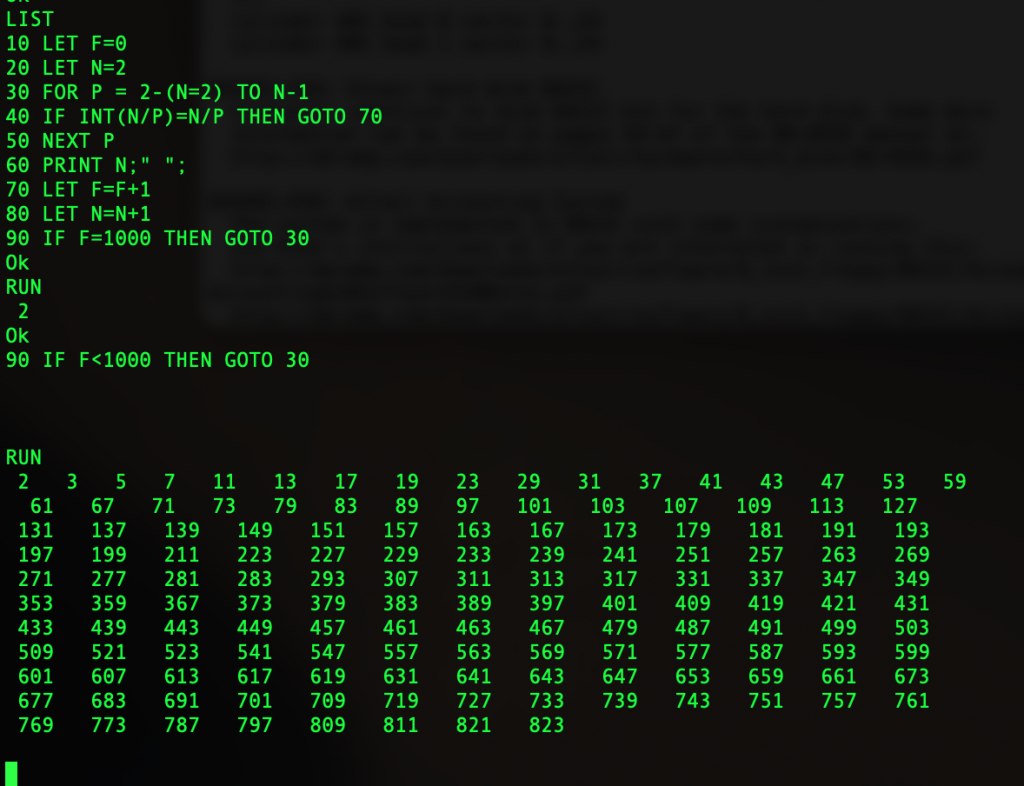
And it works! So now I can watch blinking lights (loom up “blinkenlights“). And I can program some BASIC to calculate primes:
..and I can rum CP/M, play Othello and Star Trek and Zork, and in general, do the things you could do in 1977.
Why on earth would I want to do this?
Because it’s a cool conversation piece. And it looks super cool: the Altair with its lights and data/address switches was based on the Data General NOVA.
And because it’s a special thing to run the original Bill Gates/Paul Allen Basic (even “Micro-Soft” did not exist yet) – the project that made Gates $100 billion, and that is responsible for most computer stuff you have now. And to type the same “PRINT 2+2” command that Paul Allen typed in New Mexico to demonstrate the project to MITS, the makers of Altair, and to see the same “4” appear that impressed them enough to buy this BASIC, is quite an experience too.
And above all else, because just like photography, this takes me back. Back to the 1970s and 80s. I feel like I am 20-odd years old again!
And it’s always handy to know prime numbers. I guess.
One of the most important things to do in photo composition is to decide the crop.
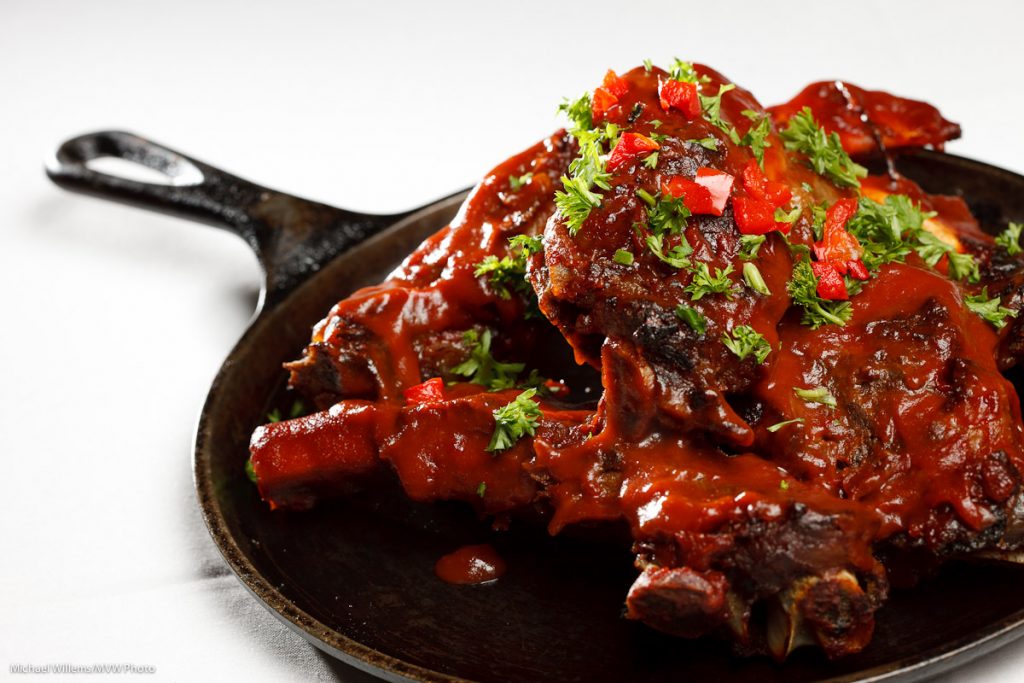
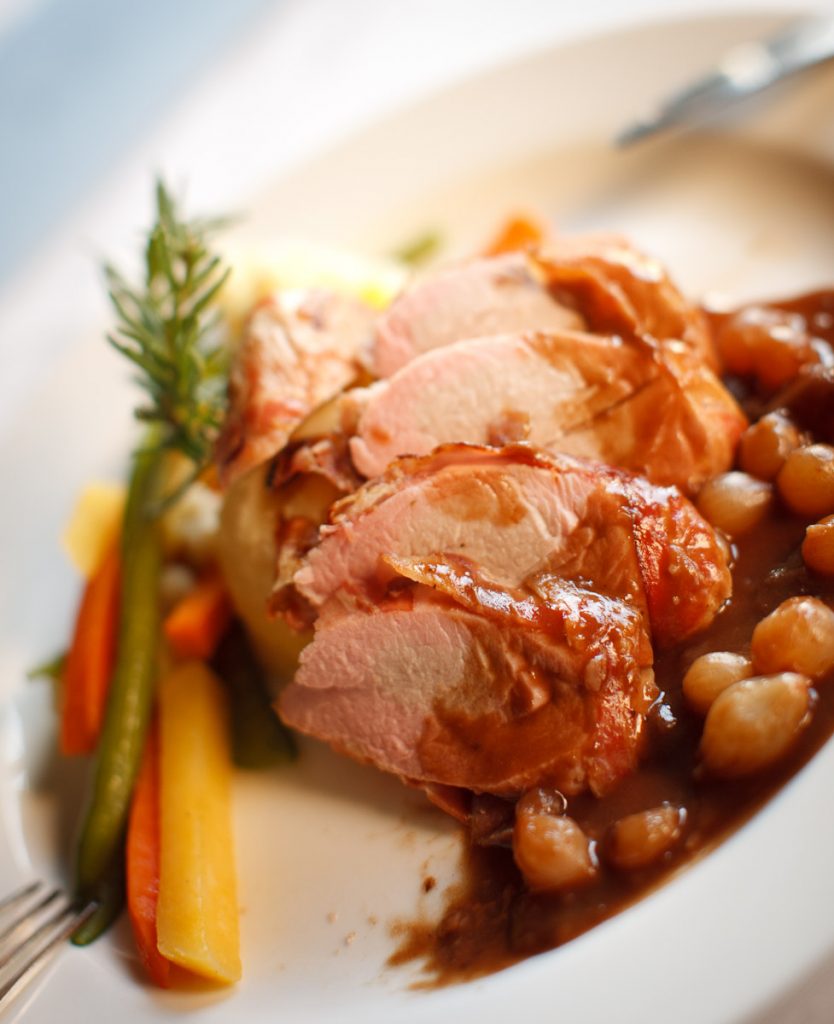
A tight crop can be good, like here in my dinner last month:
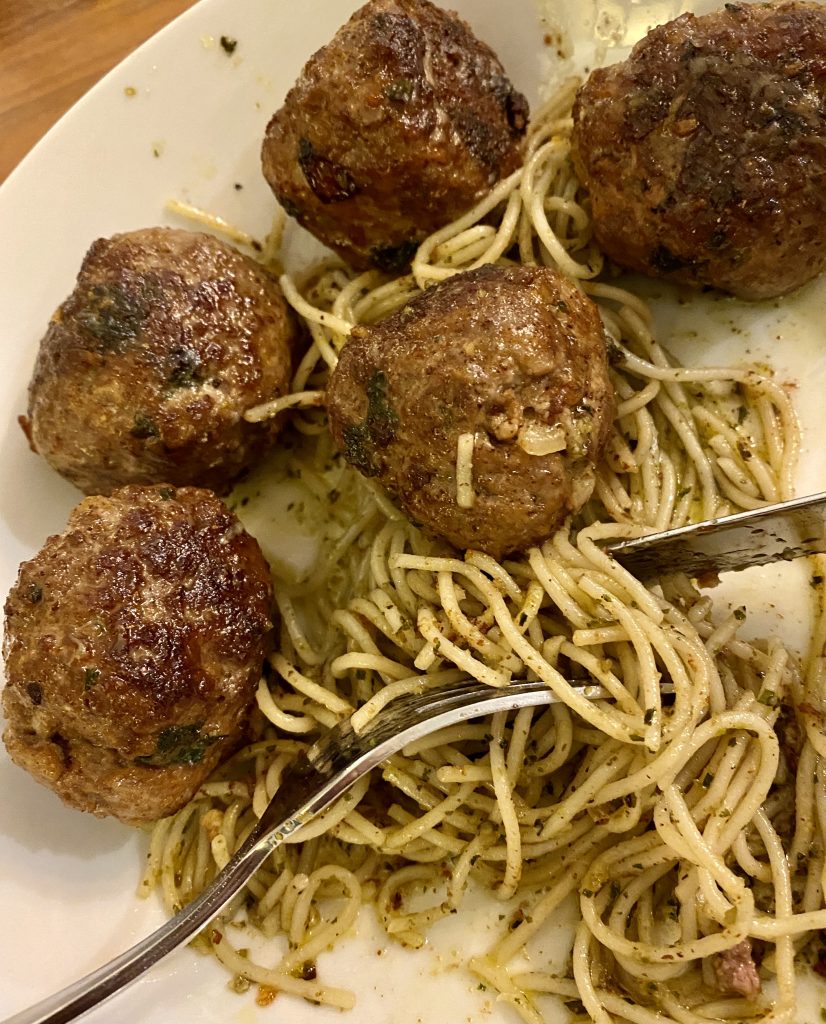
That tight cop makes it simple, and simplicity is everything in photos – and it draws attention to the subject win a clear manner. So that’s a good crop.
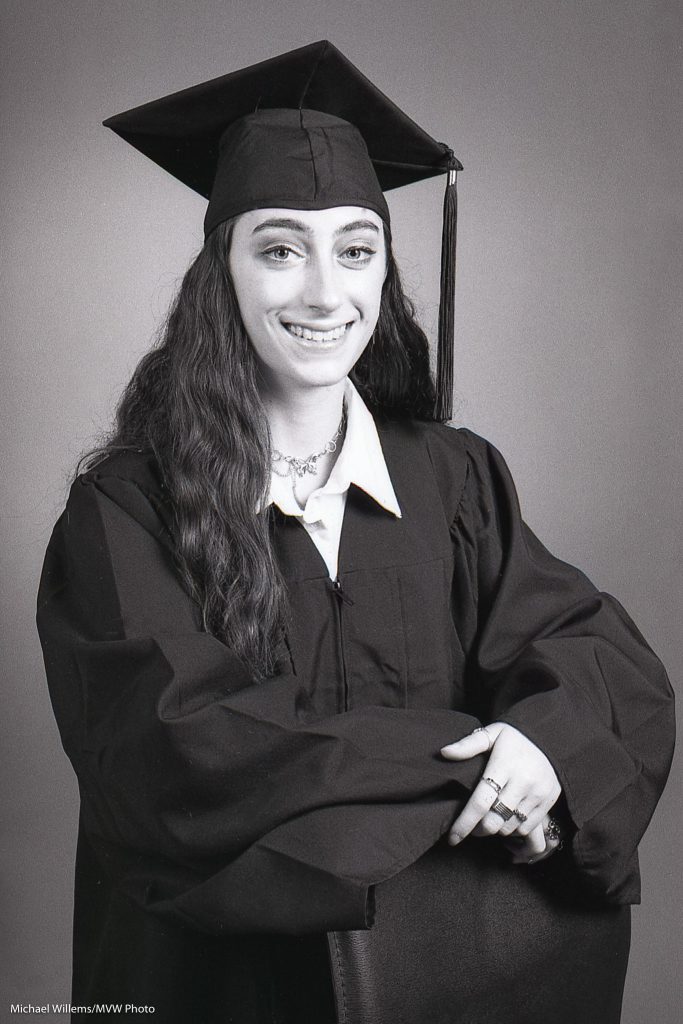
Other crops are less obvious. For example this photo:

That’s all good – except if you were to frame it. The frame’;s mat would cut off the photo very close to, or even on, the top of the head.
Also: you need to crop for the frame. And a 4×6 has a different shape from an 8×10, for example.
So the wise thing to do is to shoot a little wide, so you can crop the image to size later. Do not have your subject touch the edges of the photo, in most cases!
We can often add extra sides to your photo that we fill in to look natural, by the way. Like when you ask us to print a 4×6 as an 8×10! But if you shoot wide ion the first place, it isn’t necessary, and that saves you money!
Yesterday, we shot Orleans’s X-uvia Soccer Academy. And we put both kids and adults in front of a green screen, like so:
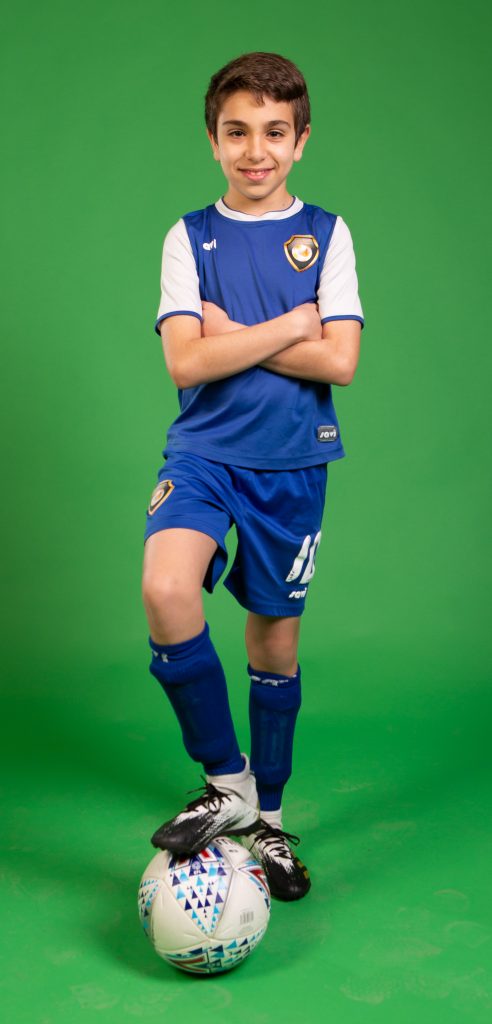
Because that way, we can put the kids where they belong – on a soccer field.
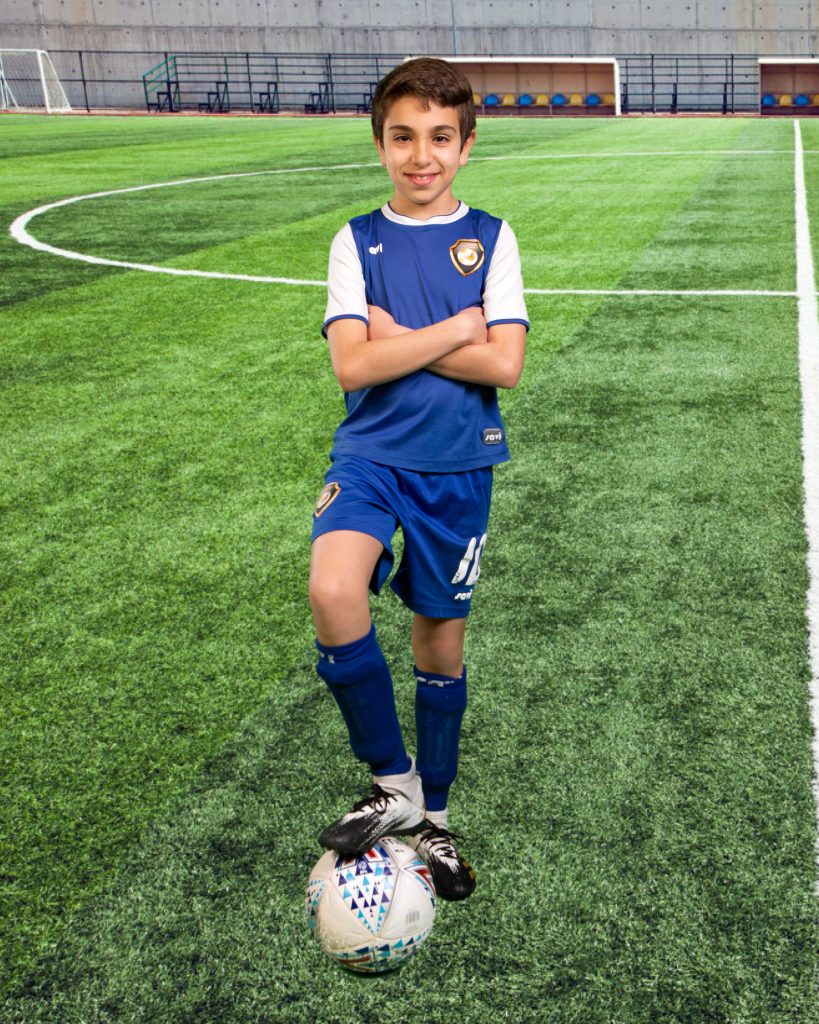
To shoot “green screen” like this, you use a chroma green background, and then you use software like Photoshop (with a technique explained previously on this blog), or, like in my case, dedicated Green Screen software to put the background behind the subject.
To do this, keep in mind that the subject must not wear green – or they’ll be transparent. But often forgotten: also avoid things that reflect green. You can see some of that effect in the soccer ball above.
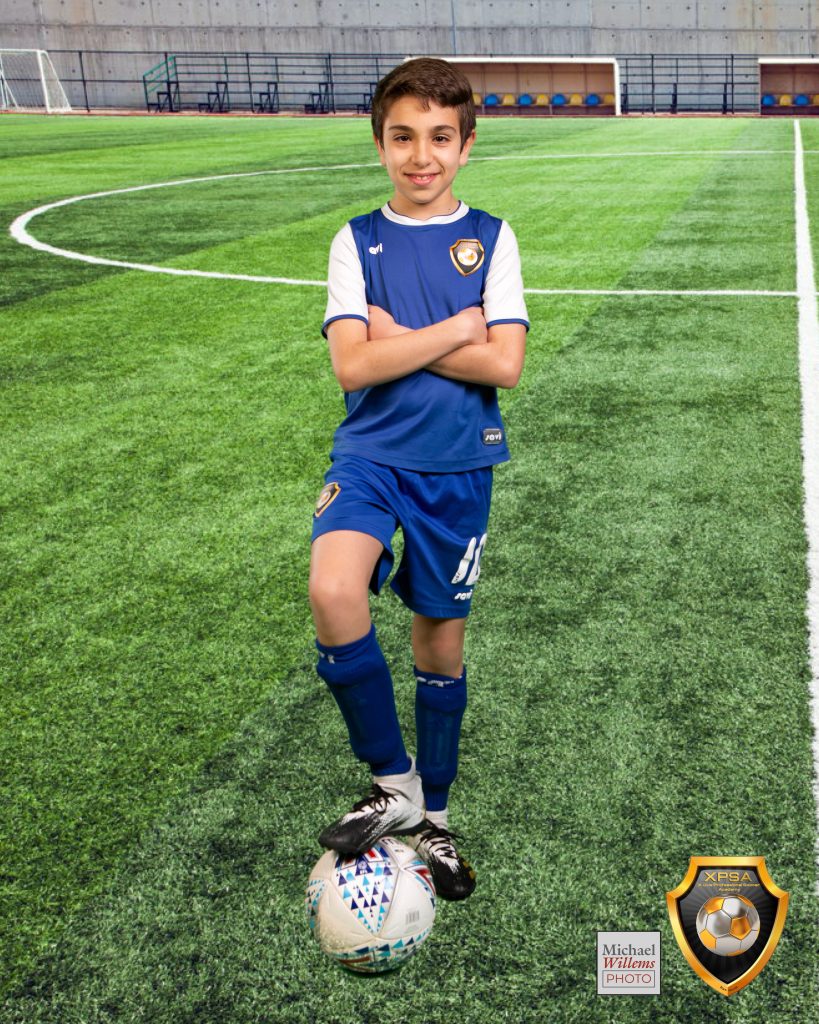
As a finishing touch, let’s add logos (which is easily done in Lightroom):
Of course you can also take a way the background completely…:
That way, if you save it as a .PSD file, the image can be put on a web site or in a publication with text all around the subject.
And that’s hoop it’s done! Now, back to finishing the images…