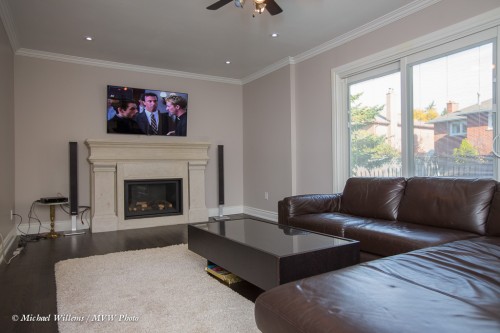
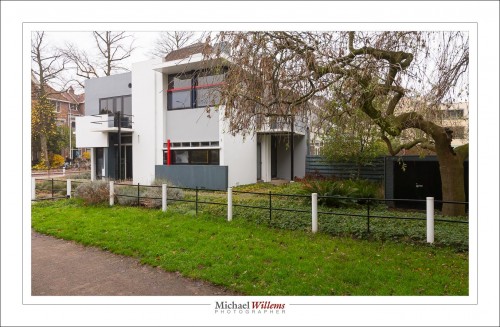
You may have heard of “tilt-shift-lenses”. These are lenses that.. well, tilt and shift. You can tilt the lens to the right or left (or up and down), and you can shift the entire lens up or down (or left and right).
Today, I am using the Canon TS-E 45mm f/2.8, a lens I borrowed from my friend Kristof, a very talented photographer. You can see that lens reviewed here, on The Digital Photographer: I shall not bother to add to that.
What I will briefly explain is this. A tilt-shift lens is not just used to bring converging verticals back to vertical. Yes, that too: but as many people point out, you can do that in Lightroom or Photoshop too. Same, I suppose, with the crazy weird “dollhouse” focus effects a Tilt-Shift lens can give you.
What you can not do in Lightroom or Photoshop is this: focus in a plane that is not perpendicular to your camera.
I mean this. Let’s look at a picture of some of the spices and condiments I use when cooking:

They are lined up front to back… the back is farther away from me. So at f/2.8, the back is way out of focus (click to see large: you will see by how much). Even at very small apertures like f/11 or worse, I would still see this effect (because I am so close); plus, I would lose the blurred background I want.
So here is where Tilt-Shift comes to the rescue! When I tilt the lens to the left (so it is more perpendicular to the desired plane of focus), I can shoot with everything sharp. In this case, a shift to the left of just 2.5 degrees did it:

Problem solved – all sharp where I want it to be, even at f/2.8.
So why not use Tilt-Shift lenses all the time? Well, for one, they are expensive (partly because the larger image circle needed means more glass). Also, they are manual focus lenses: no autofocus. And you need to take the time to get the effects right, and to focus accurately. You will want to use a tripod, and you will want to take your time.
But for many shots there is no substitute – like portraits where you want both eyes sharp, but the background blurry; architecture; and many types of studio product shot – even the shifting comes in handy there since you can shoot up or down without converging/diverging verticals.


