Cool colour

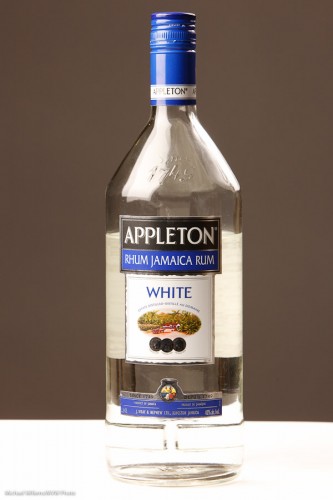
I shot some demo product shots with my student Merav today, and I thought I would share them here to underline the importance of colour.

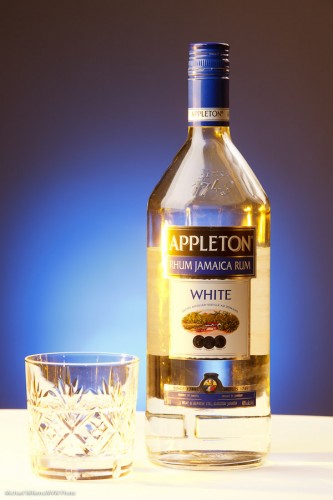
Here’s one, a simple one. Lit by a softbox on the leeft, an umbrella on the right, and against a grey backdrop. That gives us this:

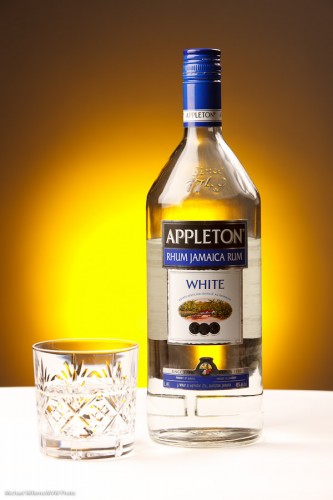
Bit boring? Yes it is. So I add a gridded, “egg-yolk yellow” gelled speedlight aiming at the background. (I use the excellent Honl Photo grids, gels, and other small flash modifiers):

Product Shot (Photo: Michael Willems)

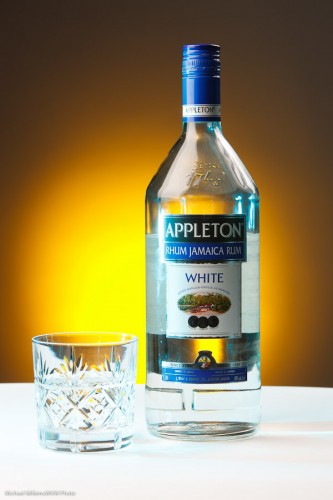
Much better. Then we added another light – a green-blue gelled speedlight shining in from the left:

Product Shot (Photo: Michael Willems)

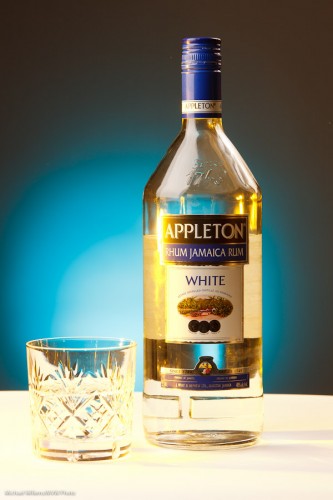
Then we reversed the gel colours:

Product Shot (Photo: Michael Willems)

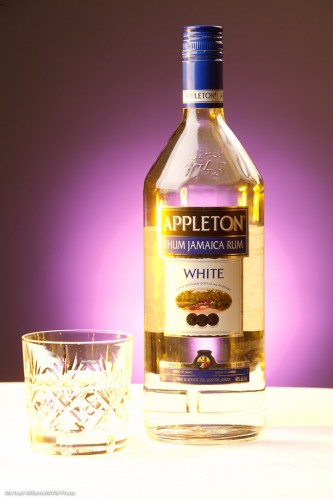
Then, tried another background colour, rose purple:

Product Shot (Photo: Michael Willems)

And finally got to a background coloured Just Blue, which had been Merav’s idea all along:

Product Shot (Photo: Michael Willems)

Which one did you prefer? Can you see how different they all are?

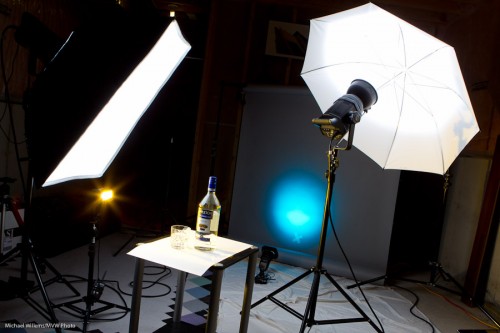
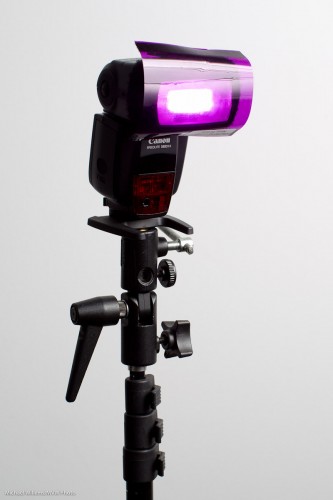
To shoot this I used this setup:

Product Shot Setup (Photo: Michael Willems)

This works as follows:

  1. Put the bottle on a table, with white paper underneath
  2. Put up a grey backdrop, far from the bottle so it does not get any light
  3. Get the main lights right – use a light meter to set them to your desired values (I used f/9 and 1/125th second at 200 ISO). Main strobe is fired with Pocketwizard; secondary strobe by its cell.
  4. Add a background light: a small flash also fired by a Pocketwizard, through a Flashzebra cable. Set to 1.4 power. Equipped with a 1/4″ Honl grid and a gel.
  5. Add a side light: a small flash also fired by a Pocketwizard, through a Flashzebra cable. Set to 1/4 power. Equipped with a gel.

Simple. Once you know!

Why the rum? It was the only bottle I had in the house. Amazingly, for the first time I can remember, I had not a single bottle of beer or wine or anything else available in the house. Time to hit the liqor store!



Consider a splash…

…of colour for visual interest?

Take this off-camera flash picture, for example (taken with speedlites, of course):

Good, because it is using off-camera flash. But you might try to add some colour by using gels. I use the excellent HonlPhoto gels, part of the Honl Photo small flash modifier systems.

No, not like that.

But perhaps like this:

Much better, I think. And all that is needed is a simple gel on the background flash (ask me about the Honl Photo discount, by the way, if like me you are considering those flash modifiers).


Colour technique

Take a room lit by light bulbs. You have probably noticed that these often turn out slightly orange/yellow in photos taken with the automatic white balance setting (AWB).

But this can be solved: you can set your white balance to Tungsten or Incandescent (the “lightbulb” symbol). Then you get neutral colour (i.e. white looks white, not yellow):

But what if want this, and I also want to use flash?

Then I would put a CTO (“Colour Temperature Orange”) gel onto my flash, and it would look the same as the rest of the light. So the picture above would not change at all in terms of colour.

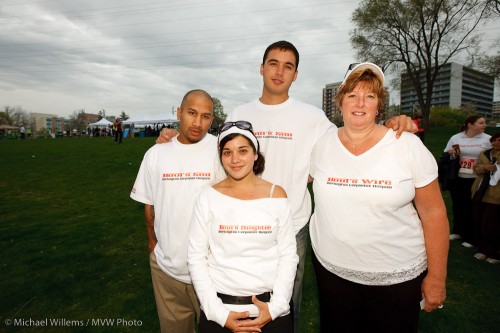
But when shooting events, I like a different look. I like the background to be warm, while the close-by subject is a neutral white. So I do in fact like a colour difference.

To achieve that, I do the following:

  1. I use my flash, without a gel.
  2. I put my camera’s White Balance setting to “Flash”.

Now, the background is warm (it is yellow with respect to flash light, and it shows as yellow), while the foreground subject is neutral. Like this:

Now that is my personal taste – yours may validly differ. The important thing is that you know how to create colour differences, or to minimize them.


The Colour Purple

I always try to use colour appropriately. What that means is up to me – and up to you. Photography is art, and there is no arguing over art. But there are some simple things to keep in mind.

First, consider using colour, period.

You do this with gels, when you are using flashes. For small flashes the gels are simple: you use the affordable, simple-to-use and extremely sturdy Honl Photo gels, like this one on my speedlight:

Simple. And I often use to use such colour in my backgrounds. To do that, the steps are as follows:

  1. First, make sure the background is dark enough. “Saturated colour” means “colour not mixed with white light”. Either move back from the wall, or use a dark wall or backdrop.
  2. Test this.
  3. Then add background light. Choose your colour well. I use complementary colours, usually.

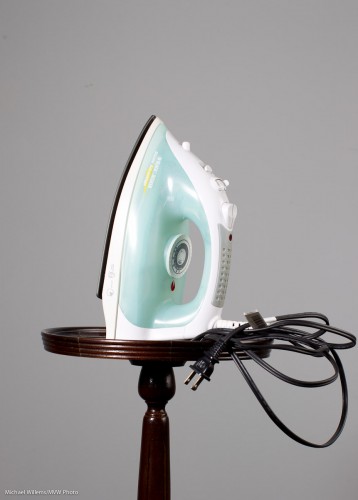
So here’s an iron with no background light and a dark enough background (Step 2):

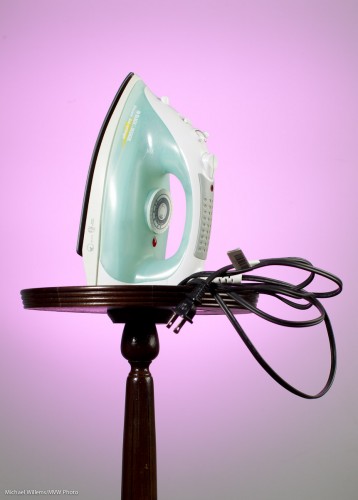
And here it is with a bit of complementary colour added (a gridded speedlight):

For that sea green, I used Rose Purple as a background colour.

Tomorrow, Saturday at 11AM in Toronto, David Honl, the inventor of those gels, joins me as Guest Star for my signature “Advanced Flash” course. You can possibly still book, I think here are a couple of spaces left: click here.

Warm up the colour

When the light is very dull and you want to add some quality, you can add a bit of flash outdoors, I am sure you all do this.

But do you also think about colour?

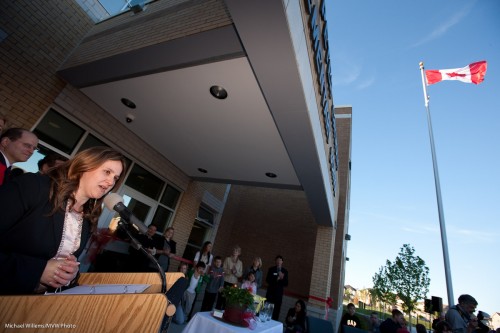
I often add a gel for a little colour. Like in this image:

A family celebrating their late father, Burlington, 2010

Burlington, 2010: A family celebrating their late father and husband

A half CTO gel (CTO means “colour temperature orange”) allowed me to warm up the light on the family here. I use the Honl Photo speed strap and gels: incredibly easy system that has revolutionized small flash use.

Make sure that if you want the effect in the image above, your white balance is set to “flash”.

TIP: If you use a CTO gel and set the white balance to Tungsten (light bulb), the family would look normal – but now the background would turn blue.

(I probably don’t have to mention it again – David Honl himself is joining me as Guest Star in Toronto on March 19, at the School of Imaging, for a special four-hour “advanced flash” course! Book now – there is still some space).

I’m Gellin’

A very short article today about gels.

And by the way, I apologize for the recent short posts, but having 100 things to do, and being the proud owner of a to-do list that extends more every day, I must prioritize. Finishing “Event Photography” (stay tuned here, and keep checking the Henry’s School of Imaging as well) and “the art of photographing nudes” (see www.cameratraining.ca – one week to go!) come first. Filing my taxes comes down the list somewhere.

Gels are little coloured pieces of plastic. They used to be made out of gelatine, hence “gel”. You put then in front of the flash to colour the light. As in this shot, where I used a quarter CTO (“colour temperature orange”) Honl Photo gel on my speedlite:

Event, lit with CTO-gelled flash

And as in this one, where I used a full CTO:

Event, lit with CTO-gelled flash

The CTO gel, in these cases,makes the flash-lit subject look like it/he/she is lit by beautiful setting-sun “golden light”. A quick and easy way to lend your images a bit of pizzazz.

Colour your season

The drab dark days of December can get to you – except if you take charge. That is why we put up trees, and icicles – and that is also why you can use gels.

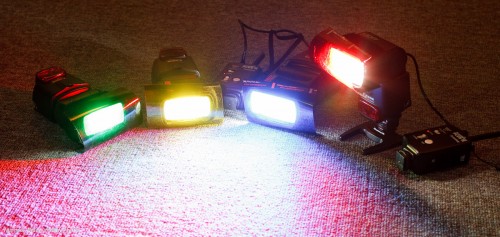
Like these Honl Photo gels, which I use on my speedlights all the time:

Fun with Gels

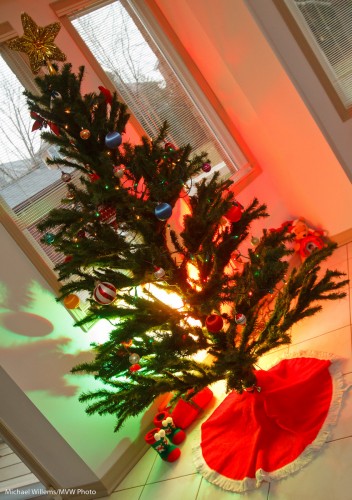
Red and green are the seasonal colours that can make a boring scene into an appropriately brightly coloured one.

Especially with the remote flash technique I metioned a couple of days ago:

Fun with Gels

So your assignment: today, go take a few pictures with a gelled flash – or preferably with two gelled flashes.

Add a splash

Further to Thursday’s post, I thought I would brighten your day with some more colour.

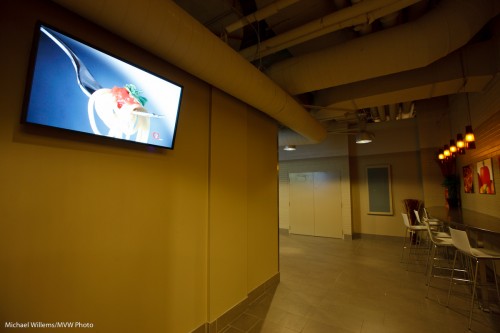
You see, sometimes you need to shoot things that are a bit, well, drab. Like this wall – the screen is great but the wall is a bit dull:

Wall with screen

So then, as you also saw two days ago,  I shot it again, this time with two speedlites:

Wall with screen with gels

How was this rainbow effect achieved?

  • These two 430EX flashes were fired with TTL using a 580EX on my 1D MkIII.
  • They were aimed at the wall, one above the other, aimed in the same direction (good idea from my assistant).
  • They were fitted with Honl speedstraps and with a Honl gel each: red for the bottom flash, green for the top one. No other modifiers: other than the gels, they were bare.
  • The ratio between red and green was set on the back of the 580EX until I was happy.

That was simple, and I think you will agree it’s a better shot.

Doing the impossible

Often, as a photographer I have to do the impossible.

That is, of course, an overstatement. But there is a core of truth in it: photography is problem-solving.

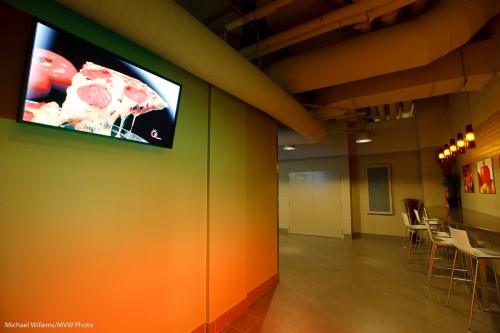
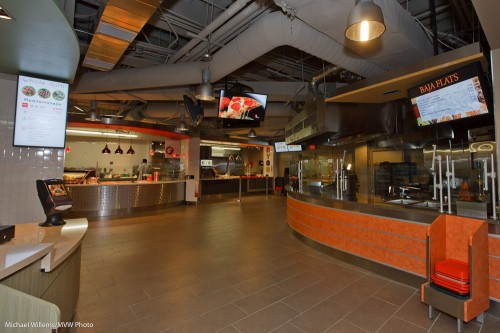
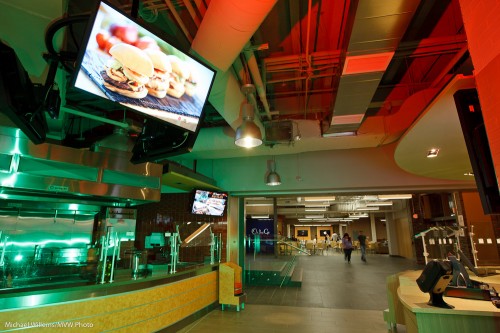
The other night I shot an excellent Digital Signage installation. Innovative screens, powered by EnQii software, in a self-service restaurant.

The problem is: the screens are bright and need to be seen. And the restaurant is dark compared to the screens. Expose for the screens and the restaurant is dark. Expose for the restaurant and the screens overexpose.

There are three potential solutions:

  1. Turn down the screens. Not an option here…
  2. Light the restaurant with flashes. Lot of work, and not practical in a working restaurant.
  3. Shoot RAW and bring bright and dark together in post-processing.

I used a combination of 2 and 3.

More 3 than 2 in this shot:

Digital Signage

Digital Signage

And more 2 than 3 in this shot – with coloured Honl gels on my speedlites:

Digital Signage and gels

Digital Signage and gels

As you see, an impossible-to-shoot scene is possible.

  1. Do a test shot or two, in some automatic mode. Ensure you shoot RAW.
  2. Ensure you use a tripod if necessary (and it will be).
  3. Now first, expose for the screens. Expose to the right, but do not lose detail. Use the histogram and the “blinkies” to gauge this.
  4. Use a tripod if necessary.
  5. Then add light if necessary.
  6. Then in post-production, use “recovery” to decrease brightness in the screens, and “shadows” to increase brightness in the darker areas.

Try it – it is really not all that difficult!