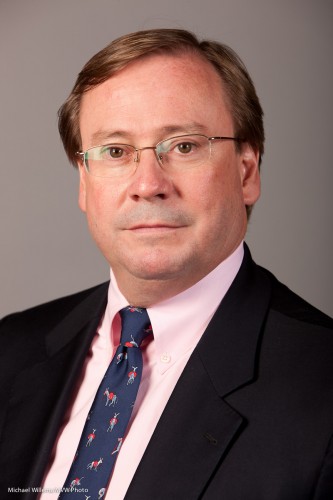
More than looking pretty

When I photograph people, there is often a conflict involved. There usually is, I might even say.

Why? Because I want to show the person’s character. Their inside; their conflicts;perhaps, their deep issues; their happiness, or lack thereof; their age; their life experience. I want the image to be evocative, to raise questions, and even, if possible, to tell stories. But mainly, I want it to raise eyebrows and to make people think.

The person photographed, on the other hand, usually wants to look like a supermodel, or like a person younger or happier or thinner (usually, all three) than in fact they are. And that is often in direct conflict with what I want.

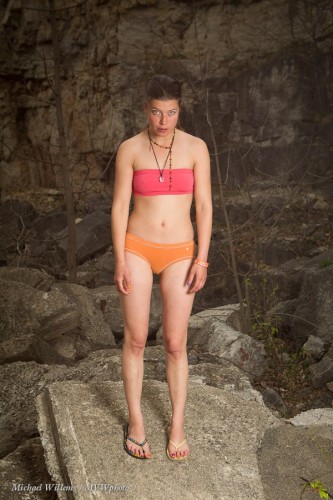
Take a photo like this, from 2012:

That photo is in fact a tribute to Dutch artist Rineke Dijkstra (see here). In it, the model does not look like a glamorous model; instead she looks almost like an insecure teenager. There’s insecurity, embarrassment almost, awkwardness for sure, body awareness, also.

Of course, the model does not like this portrait, and nor do her friends. (As I mentioned here last year, I was amazed that in The Netherlands, several people, when seeing this image, immediately said “That’s a Rineke Dijkstra”! Europeans really do have a great sense, and knowledge, of art.)

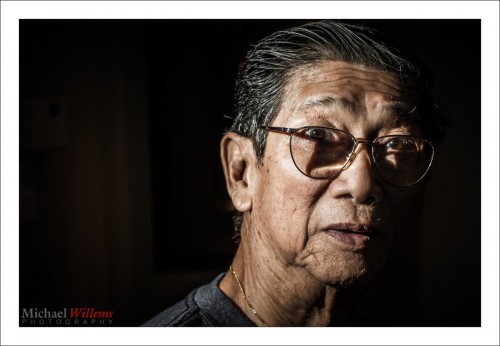
This portrait shows someone with life experience:

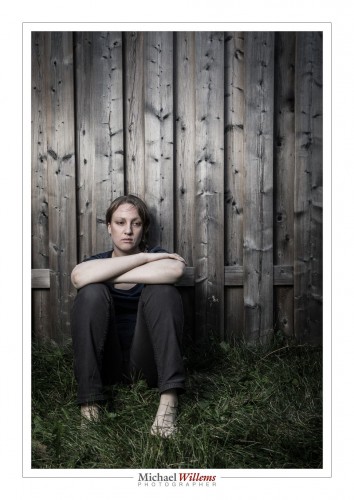
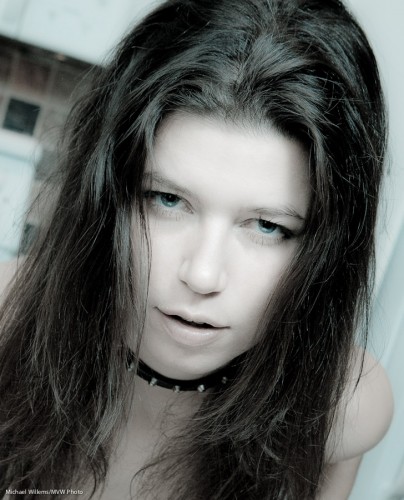
This shows a young woman thinking, and not happy:

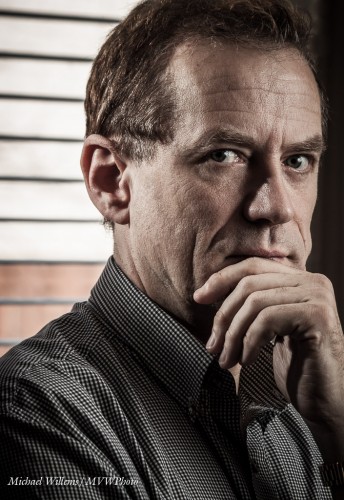
None of these are happy snaps (no smiles, see?). But they are good portraits. And here’s me in a few of last year’s self portraits:

So when you are about to make a portrait, first ask yourself the most important question:

Whom is this portrait for?

It could be:

  • You.
  • The subject.
  • The subject – but 20 years from now.
  • The subject’s kids.
  • People who read a magazine the picture will be in.
  • Future generations.
  • Colleagues and friends.
  • An art competition’s judges.
  • Some combination of the above.

Then, when you are clear on that, decide what you want. The audience will lead you to the picture. Yes, you should also ask what the person portrayed wants – but it does not always matter. Karsh’s famous Churchill portrait was made seconds after Karsh removed Churchill’s cigar, and shows his resulting grumpy expression.

Then decide on a way to do the portrait – perhaps a compromise, or just for one party, or whatever – as long as the answer is not “I dunno”, because then, no great work will result.

Very often, just asking and answering this question will lead to a good photo.


Kids

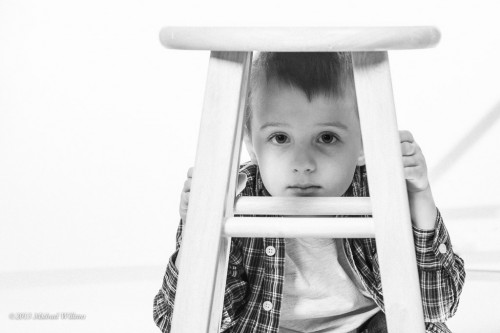
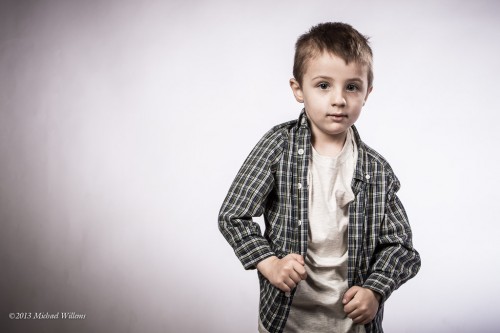
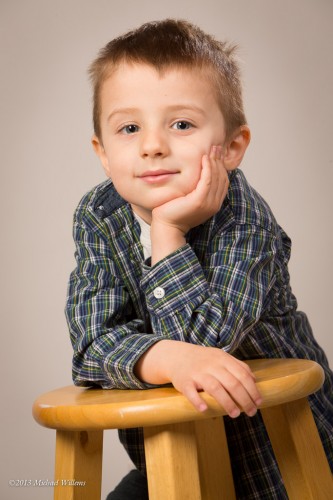
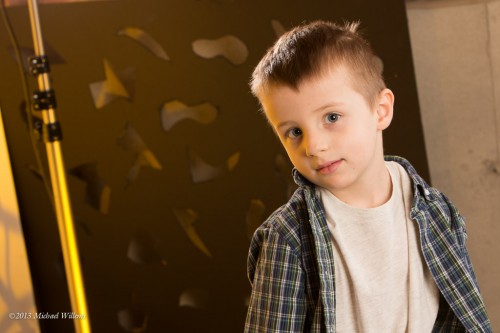
When shooting kids, it is important to shoot a lot of different ways, to see what will work. Take a lot, and see what works, then refine that. Best to use simple studio lighting. I try to engage the child in the shoot, allowing him, for instance, to choose some of the gel colours.

Here’s a few from that portrait shoot this morning:

Kids move, so a nice prop (like a stool, in the example above) is good.

Do not be afraid to get close and fill the frame!

Try desat or otherwise changed colours in a few images.

And try different positions.

Simple backgrounds are good, because the emphasis should be on the child. But I sometimes just change my position to get a difefrent background, like the grungy one here:

Bribery helps, too!

If you do not have a studio setup, use a prime (fixed) 50mm lens and larger aperture and 1600 ISO indoors in reflected light. Either way, you will end uyp with good images. Do it – your child is young only once. And do also consider going to a pro – if you come to me, I will teach you some useful photography skills while we shoot!


Faceless faces

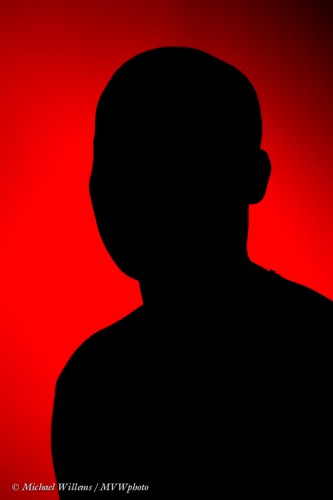
Here’s an exercise for you. Capture expressions without visible faces.

Huh? How? Is that even possible?

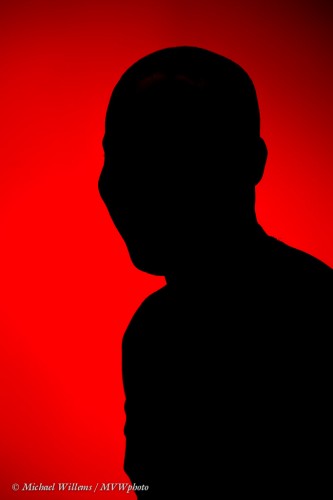
Yes. Look at this silhouette from Monday’s class at Sheridan College:

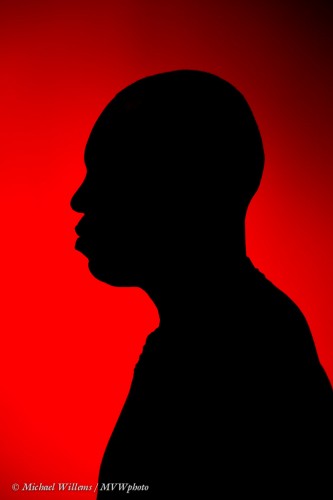
Now let’s make it slightly different:

Now let’s make him into a sad Homer Simpson:

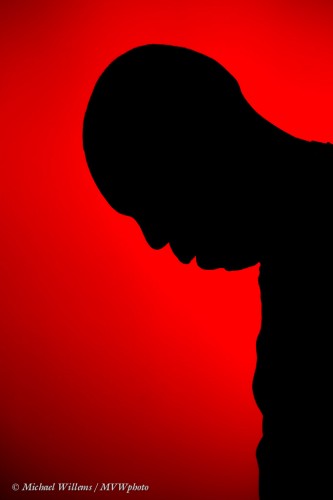
Now.. can you tell what he is doing in this one?

That’s right.. he is smiling. You can tell he is smiling from this image without anything else. Amazing. No eyes, mouth, nose – but you can tell he is smiling.

An exercise like this is fun and can be very instructive in seeing how expressive faces can be. Go take some pictures like this – your exercise for the day.

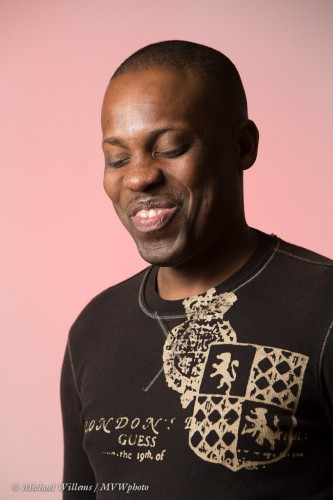
Oh, and and as in yesterday’s post: here’s what Kingsley looks like with his the face lit.

A very expressive and personable person – easy to shoot.


A simple chiaroscuro portrait or two

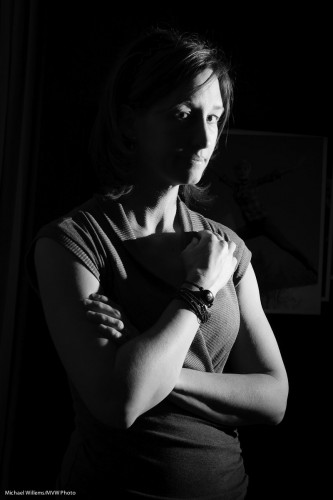
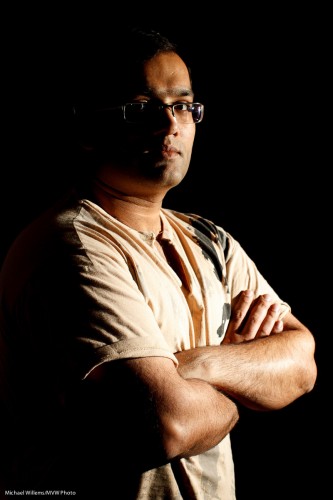
In the last few days I took two people’s portraits using just one off camera flash. Here’s Michelle and Adnan, respectively:

How did I take those?

First, I set the camera so that the ambient light looks dark. The room was not dark – it just looked dark to the camera, because I had set the camera up specifically to achieve that. 100 ISO, f/5.6, 1/200th second. You could use any combination of ISO-Apertyure-Shutter that gives the same brightness, but keep in mind:

  • High aperture or low ISOs mean the flash has to work harder, and it may not have enough light
  • The shutter speed cannot achieve 1/200th second; your camera’s fl;ash sync speed.

Then I added the flash. I used an off-camera speedlight on our right. I could have used TTL remote control or pocketwizards: I used TTL in Michelle’s portrait and Pocketwizards in Adnan’s. Light is light! Note that I put a Honlphoto Grid on the fl;ash, else the light would have lit up the background too. The flash (fitted with the grid) was aimed directly at the subject. To get the right exposure, I metered the Pocketwizard-driven flash, and I “flash exposure compensated” the TTL-driven flash.

Then I positioned the subject properly. I wanted the light to hit them just about from their front, with their face turned to get short lighting. I also wanted to see both eyes, even if one is only just visible.

And that was all. A one minute portrait, and a pretty cool one, no?


Not too shallow

I hear people say sometimes that “you cannot shoot portraits at wide open apertures”.

So then how this available light portrait, shot on a full frame camera with a 50mm lens at f/1.2 (yes, f/1.2!)?

Well yes, it is shallow, but not too shallow.  Because I have enough distance.

Remember: depth of field (“DOF”) is a function of three things: aperture, distance, and lens focal length. The closer I get, the lower my f-number, and the more I zoom in, the more I get shallow depth of field.

So  portrait like this, with the person small enough like this, gives me plenty of DOF. Of course I would not want to do a full headshot at these large apertures, but in this type of portrait the shallow DOF is not too shallow, and the super blurry background makes things better.

So  -get yourself an affordable 24- 35- or 50mm lens!


Look in my eyes

..or, do not!

What I mean is this: for a character portrait, you do not necessarily need eye contact.

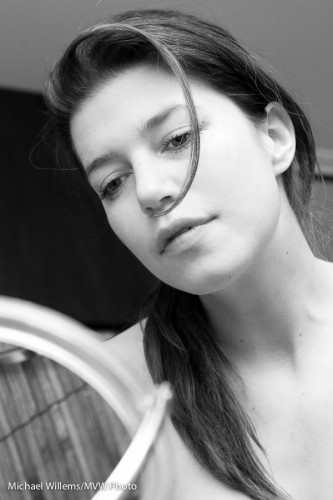
In fact, often, there is more of a story – more intrigue, more for viewers to work out for themselves, i.e. a more successful picture – if there is no eye contact. Like here (still from that shoot a few days ago):

Kim and Mirror (Photo: Michael Willems)

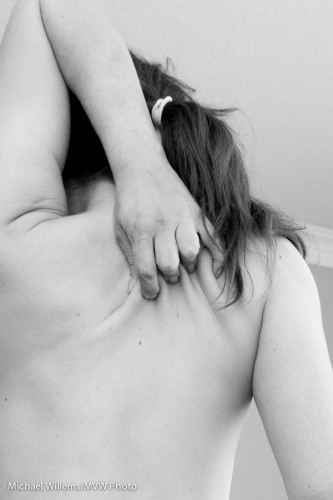
Or, let’s go crazy and not even incorporate the face at all:

Kim's Back Scratch (Photo: Michael Willems)

Can you see that these are good people shots?

Now of course I am not saying “never show eyes looking into the camera” – of course not.  But do try to not just shoot people looking into your eyes.

If you want homework: do a portrait without eye contact – one that makes me work out the story.


QTOTD: Music

Or “Quick Tip Of The Day”:

I am setting up for a portrait shoot, and his reminds me to mention to you the following quick tip:

Always have some music on the in the background when shooting a portrait. Age- and person- and shoot-appropriate music. This way you set the mood, you relax, and you avoid awkward silences.

Now to that portrait shoot and talk to you in a few hours.


Angle

A word about a very important aspect of people photography: angle.

When I make a portrait, one of my main tasks is to find the right angle. People have flattering angles, and less flattering angles. Angles that make them larger and angles that make them ssmaller. Angles that make them friendly, and angles that make them intimidating. My job is to find the very best angles.

Like this angle, in a shoot a few days ago of model Kim:

Kim Gorenko (Photo: Michael Willems)

And look at me, photographed on Wednesday by David Forster. Less beautiful, of course… but that makes it more of a challenge. First a neutral angle:

Michael Willems Portrait

Now, an angle from above, with the camera tilted a little:

Michael Willems Portrait

See how different that looks? I like it much better – I look better when seen from a slightly higher viewpoint, it appears.

And finally, the first one of those two, but now tilted a little to the left in post-production:

Michael Willems Portrait

Much better than the first one, no? Not like the second one, but better than the first one.

A little angle adjustment can make a huge difference and cause a huge improvement in your images. So – experiment with viewpoint, with person angle, and with camera angle.


Forbidden word

A forbidden word when doing portraits, especially of men: “SMILE!”.

I say that for two reasons. First, you do not necessarily need a smile in every portrait. Art portraits, glamour: fashion, personality: there are many categories that do not need (that actively should not have) smiles.

Secondly, people, especially men from age two upward, are usually not good at smiling on command.

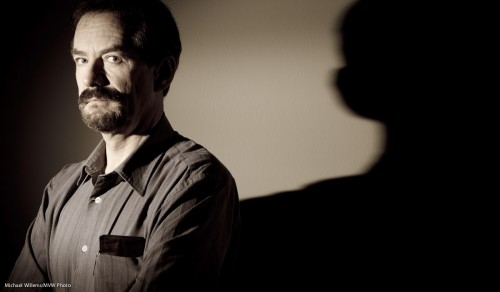
Here’s me, photographed the other day by student David Forster in his studio, using his D90:

Michael Willems

That is kind of a wry smile – and it certainly works, for me. If David had called out “smile” I would have looked much more awkward.

The lesson:

If you want smiles, make your subjects smile – do not tell them to smile.

The shot was lit with speedlights with Honl Photo modifiers: a grid for the background light, and a snoot for the hairlight. A softbox was used for the mainlight and an umbrella for the fill light.


Glasses are not a problem

In a shot with glasses, avoid reflections – and it is easy. Move the lights (umbrellas, softboxes, whatever you use) 45 degrees to the subject’s side, and 45 degrees up.

If you see a reflection, like this:

..then do the following:

  • move the lights a little further up
  • or ask the subject to aim his head down just a little.

And often, “simple” is all you need. Just remember to pay attention to possible reflections!