Watch Out

Someone recently asked me “how do I take good photos of my wristwatch?”

Good question. A lot of people have hobbies that they can practice while quarantined at home. And two of those are (a) nurturing a wristwatch collection, and (b) photography. So the combination of the two is a logical thing to engage in.

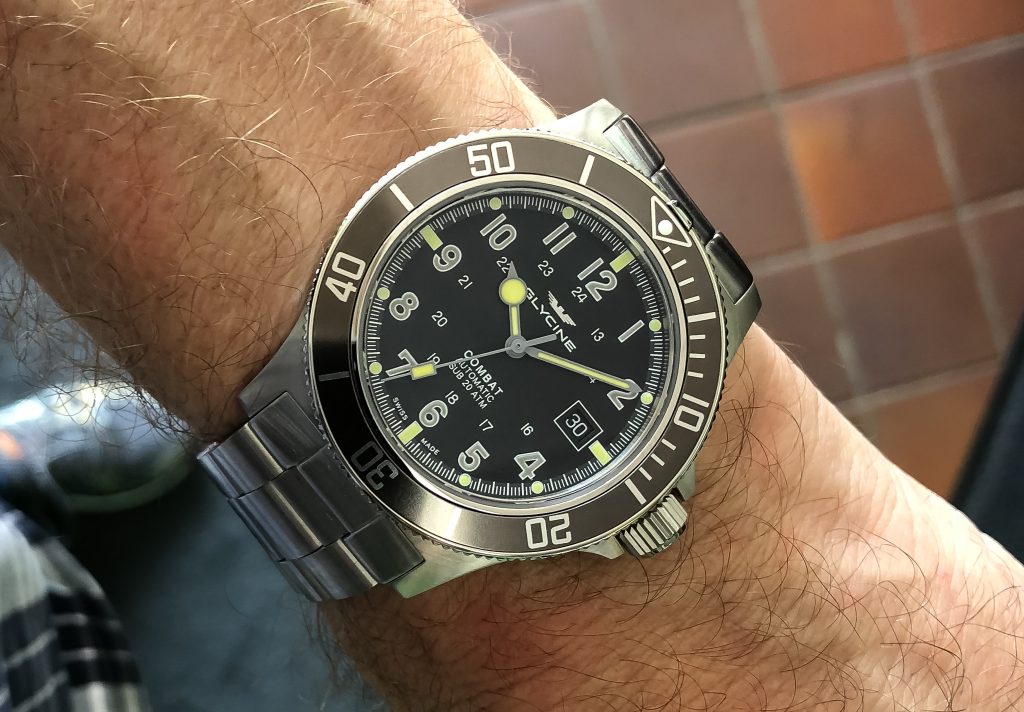
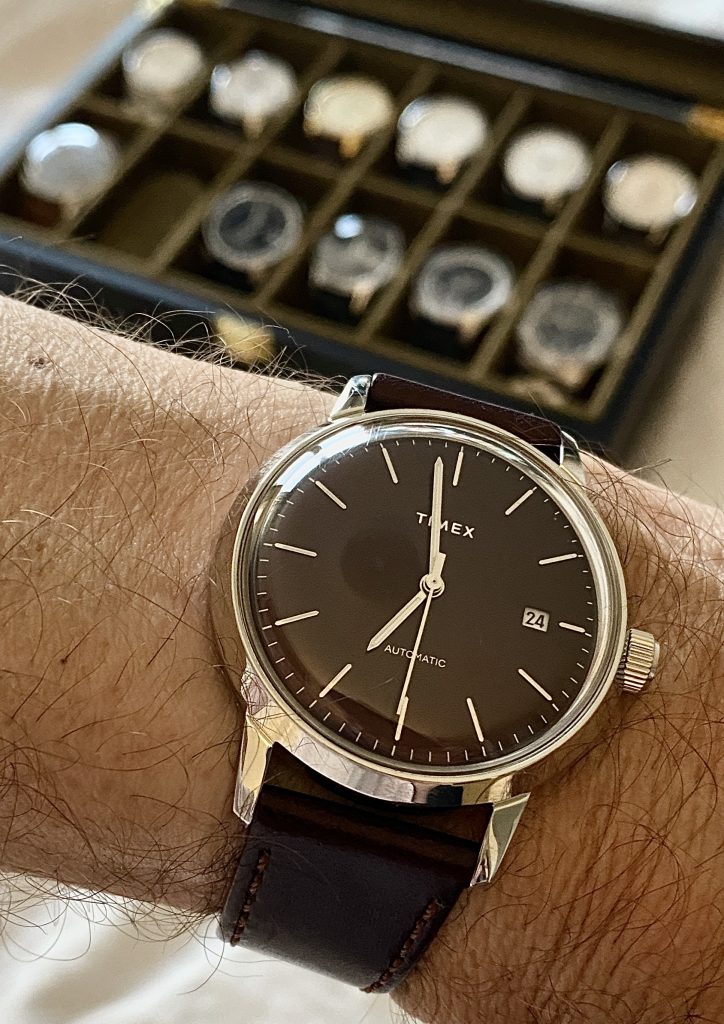
Here, for the record, is what I am wearing on my wrist today:
So how do you do it? As so often, there’s not one answer: there are a few. Here are some of my quick recommendations. I will give you technical tips for SLR as well as for cell phone cameras; a few composition tips; and a few words about post-production.

Technical: SLR

If you are using an SLR or other sophisticated camera, especially using flash, these are my technical recommendations.

  • Use a macro lens if you can, so you can get closer. But not too close, because that will give you limited depth of field and image distortion.
  • Use an aperture of at least f/8; when using a macro lens, start around f/16 if you can.
  • If you are not using flash, especially if using a macro lens, you must use a tripod.
  • Using available light? Make sure there is lots of good diffuse light, e.g. from a north-facing window (no direct sunlight).
  • Use an ISO value as high as you need: when using flash, 200-400 is fine; when not using flash, you may need to go up to as much as 1600 ISO or more if not using a tripod.
  • Using flashes: Use off-camera flash, modified by softboxes or umbrellas; or use an on-camera flash by bouncing it off a white ceiling/wall behind you. Use manual exposure mode. 1/125 sec.
  • if using a tripod, focus manually (using live view preview).

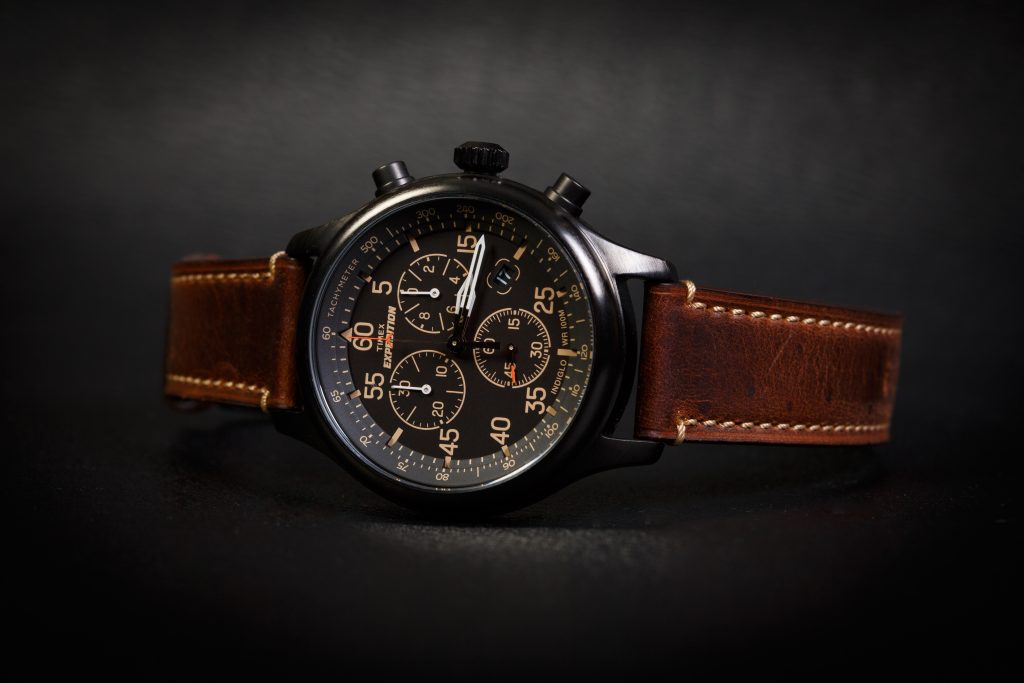
An example, lit with two flashes equipped with softboxes, both 45º above the watch:
Technical: Cell Phone

It is perfectly possible to use a hand-held cell phone, as long as you do the following:

  • Light, light, light! There’s no such thing as too much light. The brighter your room, the better your picture. Why? Because when it is bright, the resulting faster shutter speeds result in less motion blur, lower ISO results in higher quality, and smaller apertures result in more depth of field).
  • Avoid direct sunlight, though.
  • Shoot from a little distance away and crop later. This gives you easier focus with less error, and greater depth of field. If you are close, focus is unreliable and depth of field is usually too shallow.
  • But sometimes you will want to be close in order to get a blurred background; see the compositional tips below.
  • Focus on the watch, if necessary by tapping it on the phone screen to tell the phone “focus on this”
  • Hold the phone – and the watch! – very still while you do all this.

Compositional:

Composing a good picture is the most important thing you can do after the technical requirements are met. Some tips:

  • A good picture is a simple picture.
  • Did I mention: A good picture is a simple picture. “Simple” means everything in your photo is there to tell the story – or else it should not be in there. “Simplifying” is the most important difference between a snapshot and a “professional” photo. Crop off anything that should not be in the photo. You’ll see the difference!
  • Consider using the “rule of thirds” (look it up) – although watch photos can also have the subject in the centre. make it look good.
  • 10:09:31 is the prettiest time for a watch. All watch adverts have the watch set to this “aesthetically most pleasing” time. Just saying.
  • Turn the watch, turn yourself, reposition everything to minimize the refections in the crystal. Especially with watches without anti-reflective coating, this is important. Find a simple dark background, like a neutral dar wall, if the watch reflects it.
  • Have background objects help you “tell the story”. Your car, your suit, your hand.
  • Consider blurring out the background. You can do that without portrait mode, by being close to the watch, perhaps in slightly subdues light. (Yes, that flies in the face of the prior advice: yup, life is complicated and you have to decide what is more important for you!)

For example;
Post-processing

It is very important to post-process your image. This includes cropping and exposure, but also white balance (colour temperature), definition, and sharpness. Your phone can edit photos very nicely: especially recent iPhones do a truly excellent job.

but for a “pro” photo, dust removal is also needed. For this, use Adobe Lightroom or similar. See this post for more about this essential step: https://www.speedlighter.ca/2019/11/05/product-work/

Conclusion

It really is not difficult to make good photos of your watches, jewellery, or other small objects. Follow the tips below and go have some fun. I am looking forward to seeing your results!


Michael is an experienced photographer and educator, who teaches photography courses that are now available live, interactively, online. Check them out and learn more about Michael, his books, and his courses at www.michaelwillemsphoto.com

A product shot or two

Today I taught Merav, a student, a few product photography tricks. Perhaps I can share one or two insights here and take you through how to do this.

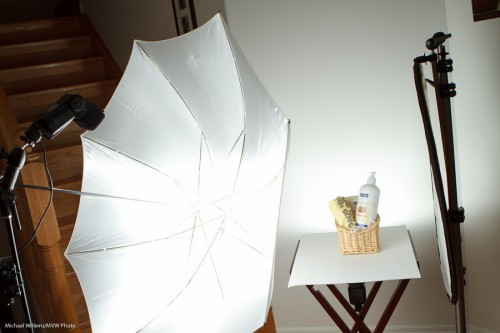
The brief was: shoot some products using simple means. “Simple” to me means speedlights (bad knee – don’t ask). So the setup I decided on was simple: a table, a white cover, and the product. The white wall serves as a backdrop.

And the lights?

  • We used one main light, a 580EX flash controlled through a Pocketwizard, through an umbrella. (A Flashzebra cable was used to connect the Pocketwizard to the SB-900 flash).
  • The fill light was simply a reflector. Held in place with a stand.
  • We lit the wall behind the product with a Nikon SB-900 flash in SU-4 mode.

The setup was thus:


You can make out the background flash behind the product.

  • You first set the camera to f/8, 1/125th sec, 100 ISO.This means the ambient light does little or no work, just the way you want it.
  • Then try the main flash at, say, 1/4 power. Meter using a light meter set to flash mode, 100 ISO and 1/1/25th second.
  • The light meter showed a close-enough value (f/6.3). Moving the main light closer made it f/8.
  • The reflector was just moved closer to make the light nice.
  • The background light was set at 1/8th power, so the background blew out completely (but only just). A bit of trial and error and the “blinkies” on the camera LCD display was enough to get this done: no metering was needed.

Bingo, end of setup.

  • Now make sure every product is the same distance away (even an inch farther = darker!)
  • Focus carefully, using one focus spot.
  • Use a tripod to ensure all images will have the same layout.
  • Do not forget to minimize distortion by using a long-ish lens (70mm on a crop camera, in this case).

The resulting shots looked like this:

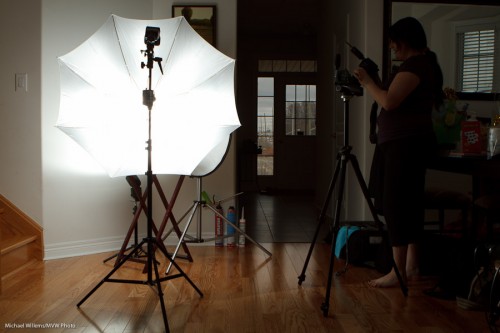
Easy, and portable. And it can all be done in a living room:

If you have never done product photography, please give it a go. It is fun and rewarding.

Studio tips

Two studio/product lighting tips for you, prompted by me shooting a few product shots just now for upcoming reviews. Shots like this:

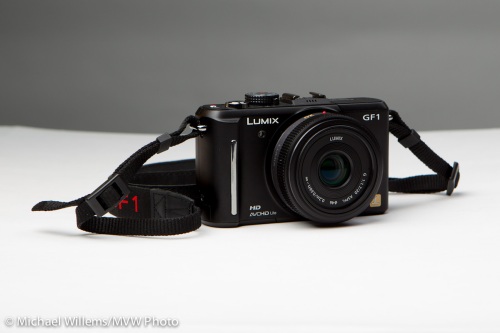
Panasonic GF1, photo Michael Willems

Panasonic GF1, photo Michael Willems

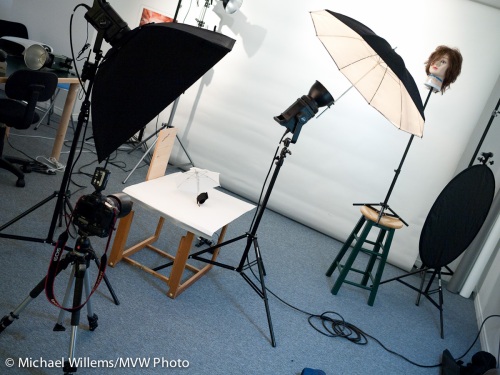
That was taken here:

Product Photo

Product Photo Setup

Which, when seen from behind, looks like this:

Product Setup

Product Setup, with background flash

So what are the tips?

First, avoid stray light, especially on your background. Saturation means “how little white light is mixed in”. A saturated colour has no white mixed in. An unsaturated colour has much white mixed in.

So use a grey backdrop if you can, or just use distance and directional light. Of course since I am using an umbrella and a softbox, much light will stray. So I keep the background far away (you all remember the inverse square law).

So, not this:

Product, too much background light

Product, too much background light

But more like this.

Product, less background light

Product, less background light

Then set your camera to what you like (f/9 and 1/125th for me), and get the background right.

First take a picture with no flash, to ensure that is black; then shoot while activating the background light only. Now get the flash power right: too little and you get a dark background; too much and it turns white. For me, I found this about right:

Product, only background light

Product, only background light

Then you get the rest right, i.e. set the right power for your main lights, and finally, shoot the shot.

Second tip: always use a brush or compressed air to clean your product. Otherwise, hours of photoshopping will result.

A quick product shot

Today, I am sharing a quick product shot.

Here’s the shot, of my “nifty fifty”, a 50mm f/1.4 lens:

And here’s how I shot it:

  • I used a Canon 5D camera on manual at 100 ISO, f/4 and 1/125th second.
  • The lens was on a table with a white sheet of Bristol Board underneath.
  • The background was an improvised white background (I used a reflector).
  • I used a 430EX flash with a Honl grid, diagonally above the lens, as the main light. The grid causes the dropoff from the centre.
  • I used a 430EX flash with a Honl blue gel and a Speed Gobo to illuminate the background.
  • I used e-TTL to fire the flashes, from my 7D’s pop-up flash (the 7D will support this, like Nikon cameras. On other Canon cameras I need to use a 580 EX flash on the camera to drive the remote flashes).
  • I set a flash ratio of 8:1 a:b, where A was the main flash and B was the product flash.

All of which looked like this:

Simple. It only took a few minutes to set up, which is good since I was tired.

One tip: when shooting this type of product clean it well using a soft brush, or else you will spend hours in Photoshop or Lightroom aftereard, cleaning dust.

Jewellery

Thanks to fellow local photographer Anita, I shot Jewellery yesterday, on location in St Catharines. This was the setup in the store:

An improvised table with a curved white background, lit by two speedlites in an umbrella, with an opposite reflector; then one”sparkler” speedlite in a Honl snoot to aim at the jewellery.

I used

  • A 580EX II on the camera
  • Two 430 EX flashes in an umbrella
  • Wireless TTL with +2 stops flash compensation
  • A 100mm f/2.8 macro lens
  • A Canon 1D Mark IV camera.

A few tips:

  • Use aperture in the 5.6-16 range. More is better, except when you go much above f/8-ish, most lenses get blurrier again.
  • Use a tripod!
  • Focus using manual focus. Use Live View and x10 magnification to set this focus accurately.
  • Expose carefully, using flash compensation as needed. Use the histogram and “highlight alert” to verify.
  • Use the sparkler straight on to add life, especially to diamonds.
  • Watch reflections carefully
  • Use a black reflector if needed to add the black reflections in diamonds.
  • White balance carefully.
  • Clean the jewellery well.
  • Use Photoshop to clean up any remaining dust. Jewellery photos need to be finished in photoshop.
  • Use Play-do to mount rings, etc.
  • Consider an acrylic stand to separate jewellery from the background – this avoids shadows.
  • Black acrylic works too – nice reflections. Black slate can work, too.
  • Did I mention you should use a tripod?

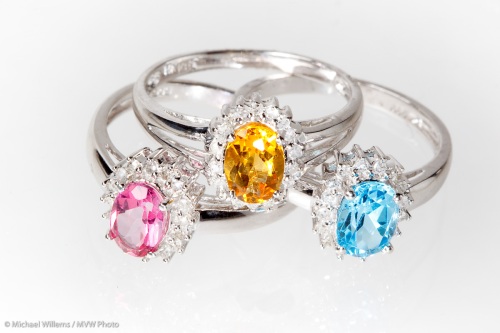
This got me shots like this one:

Jewellery can take many hours to shoot, so yesterday worked out well – 20 products shot in four hours.

What time is it?

When photographing a watch or clock, it is always nine minutes and 31-and-a-half seconds after ten. As in my watch the other day:

MVWS0101

That way, watches look most appealing. Look for it. Almost every watch is photographed at this “rule of time” position.

yet another one of the ten thousand tips that make a photographer!

And can you see that I used a 35mm f/1.4 lens in available light?