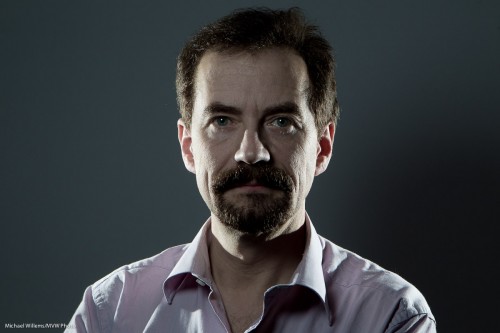
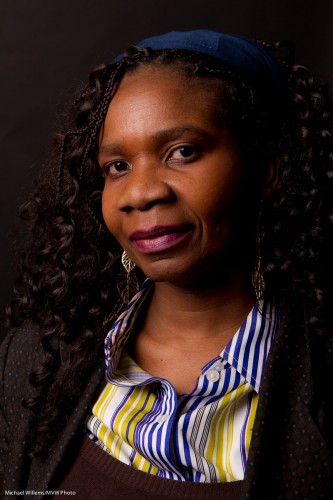
Since some of you asked: a few more things about that type of flash portrait I talked about yesterday (and that David Honl and I showed some of you during Saturday’s workshop):
Here’s how this shot was made:
- It is lit with two speedlights with a grid (left and right)
- …as well as a speedlight above and slightly off-centre in front, equipped with a Traveller 8 softbox.
- I fired all three flashes with Pocketwizards.
- The camera was set to my standard studio settings of 100 ISO, 1/125th sec, f/8.
- Side lights have a grid fitted, and are overexposed by about a stop.
- The fill light is underexposed by about a stop.
- To achieve this, side lights were set to 1/16nd power.
- And the front light to 1/32nd power. Why? They are all about the same distance away – why so high? Surely that should be lower, like 1/128th power? Ah – no. The softbox loses you a stop or more, so you need to increase power to compensate for that.
- TIP: the flash in the softbox should have its “wide” adapter out.
This is done in my case by trial and error and experience, but you can of course meter the lights to get really accurate settings.
How did I manage to focus on myself? I focused on a light stand, then set focus to manual and used the 10 second self timer and while it was counting down, moved myself where the stand was.
Finally: in “post”, I used the HSL “saturation” setting to decrease orange saturation somewhat. That makes this into a “desat” portrait.
And now I am already preparing for the next few workshops: “The Art of Photographing Nudes” with Joseph Marranca on April 2, “Shooting Events” on April 3, and the last Mono workshop, “Advanced Creative Lighting”, also with Joseph, in Mono on April 23. Booking is open for all three, and they are all strictly limited in numbers.


