An HDR from one RAW shot

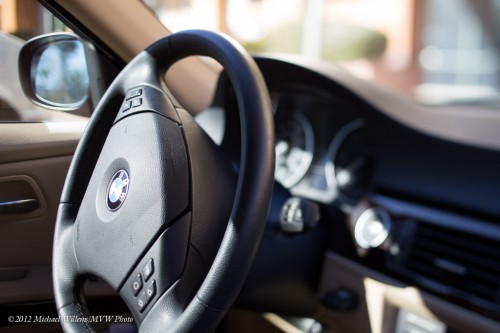
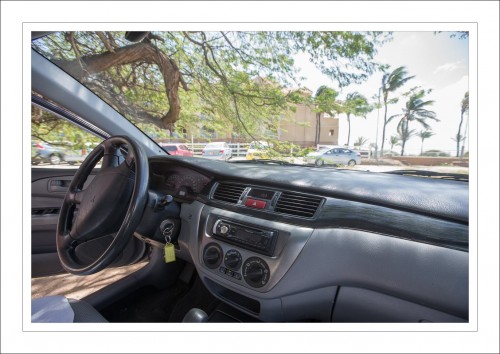
Consider this image from Aruba, of a rental car inside:

Without a flash, a dynamic range like that is difficult. So look at the before/after:

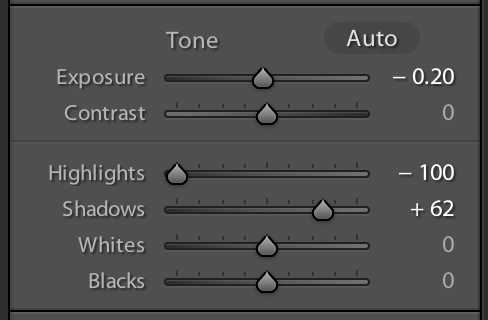
And so yes, from that image on the left with its very black blacks and blown out whites I can still get back to a reasonable picture—provided I shot in RAW, of course. Here’s my develop settings:

This gives me a sort of one-image HDR.

What lens what used, you ask? My standard ultra-wide, the 16-35mm f/2.8 lens set to its widest 16mm zoom. Shot at 1/100th sec at f/5.6, 200 ISO.


Zoom zoom zoom!

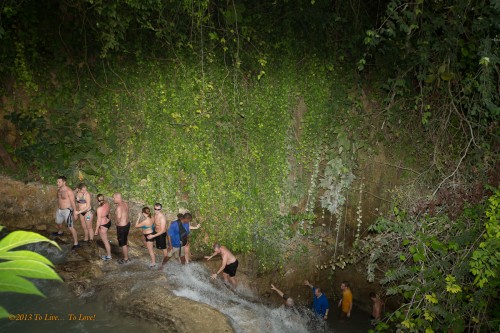
The documenting of Kristen and Dan’s wedding continues, and so, of course, does the photography. Today at Dunn’s falls:

So, how did I light that?

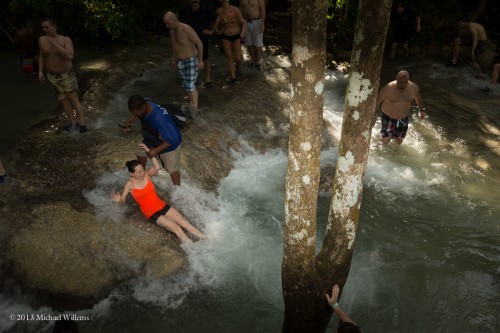
With an on camera flash aimed straight ahead – yes, you can do that outside, when the flash is being mixed with ambient light. On-camera, straight-ahead flash. Which is often a sin, but not here.

But it was flash with a special setting: I zoomed in the flash to the “135mm zoom” setting, while shooting 35mm wide angle (yes, your flash has a zoom setting). That had two effects:

  1. The light is concentrated “flashlight style”, i.e. it is centered, leading to this great vignetting.
  2. The light is more concentrated, and that is what I needed to beat the f/11 at 200 ISO.

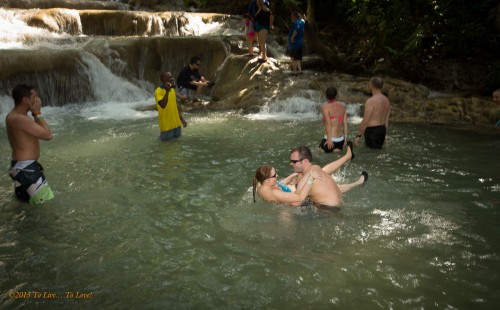
Another couple of examples:

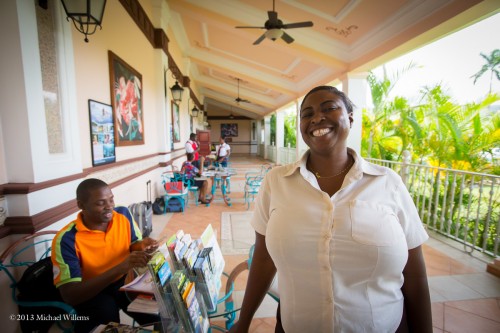
Jamaica is wonderful, and the people are wonderful.

Ya man!


Detail, detail

When travelling, I like to take snaps, like any other tourist.

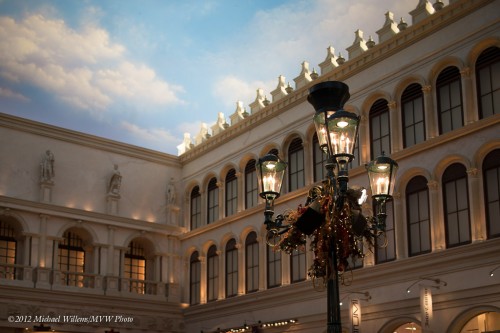
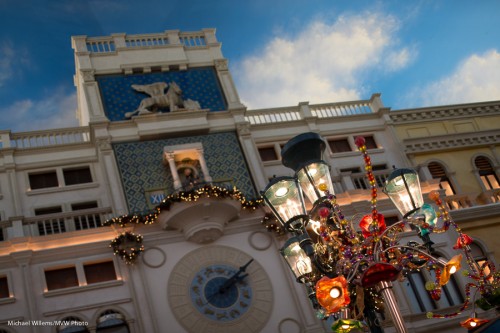
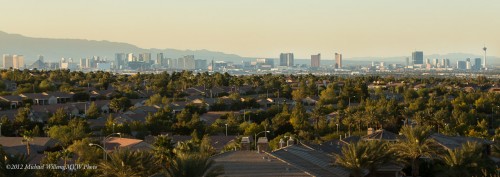
But I often make sure I get no other tourists in the snaps. I do that by tilting, zooming, and moving myself. Like these, in The Venetian:

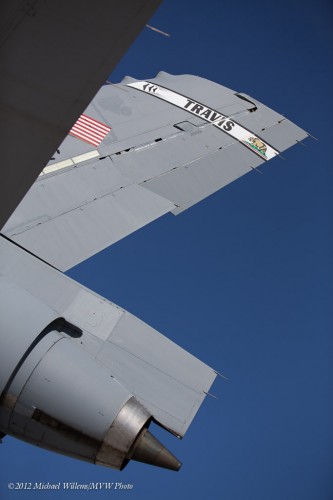
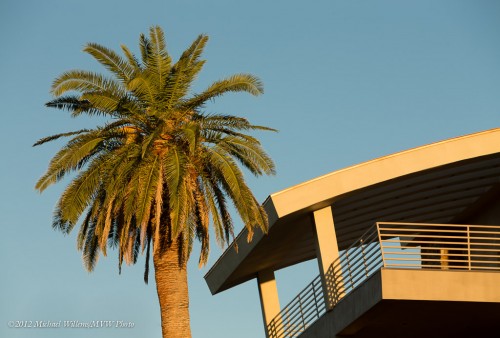
And this, the sky in Henderson, NV:


And some more:

These are nto your travel images per sé. But they are great as background, “storytelling” images. The kind you use in your book, when you make a book of the trip. Perhaps as supporting or even background images. Remember, above all: keep them simple. Simple is good. Blurry background, zooming in, tilting, all great ways to keep them simple!


Snaps with thought

It is important, when taking a snap of, say, a tourist destination, to think for a few seconds.

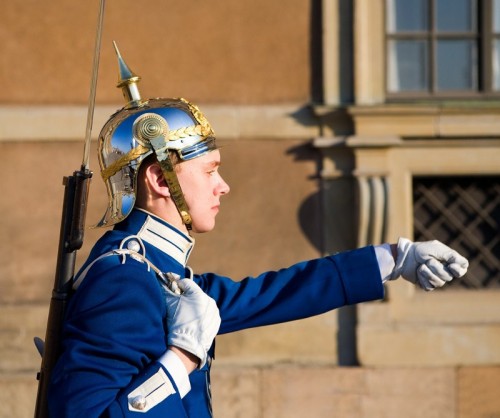
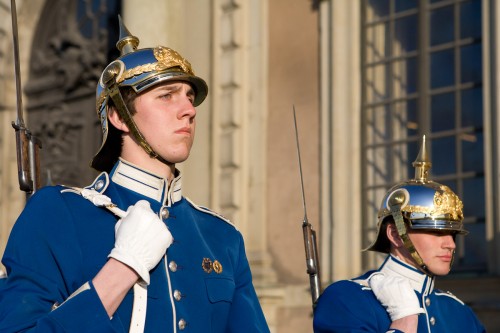
Take this image, of a guard at Stockholm’s Royal Palace:

Stockholm Palace Guard (Photo: Michael Willems)

A snapshot, but one I thought about for a bit.

  • I got close enough to fill the frame.
  • I ensured that I shot when the sun was lighting his face, not the back of his head.
  • I placed the palace he is guarding behind him, not the parking lot.
  • I blurred out that palace.
  • I used the “rule of thirds” in the composition.
  • I shot at the right moment, when his arm was outstretched.
  • I had started by looking for a guard who looked not unfriendly.
  • And I ensured the blue sky reflected in his helmet.

A little thinking makes your shot from a snapshot into a photograph. Just think of subject, context, background, light, and composition.


Travel Picture

An oldie here. This is the marina at Port Credit, shot from an Air Canada aircraft about to land at YYZ (Toronto’s Lester B. Pearson airport):
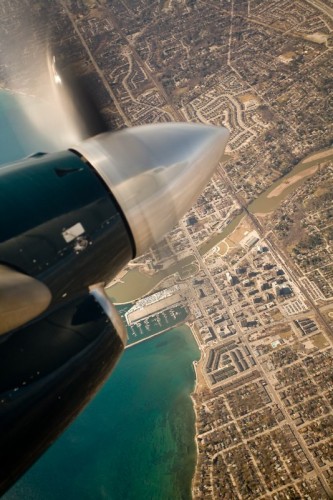
Port Credit (Photo: Michael Willems)

How do you take such a picture?

Mainly by being ready.

  • My camera does not live in a bag – it lives underneath the seat in front of me.
  • I do not have a lens cap on the lens – but I do have a lens hood.
  • I do not turn the camera off, I just let it time out.

So when the aircraft turns, I grab my camera, set it to a wider angle in order to be immune from shake and to get extended depth of field. I do not want it too extended (window imperfections should be out of focus), and I do not want a very small aperture since that would lead to a slow shutter.

Then I get as close to the window as I can without actually touching it, and shoot. I check my work regularly, and if exposure needs adjustment, I adjust.

When the nice cabin attendant lady says “put that away, sir”, I put it away. Until she is gone. A camera will not endanger a plane (but I will put it away just before landing in case of a hard landing).

This image shows that it’s not over til it’s over. Keep your camera at hand at all times, and you will get some surprising shots.

 

Tell the story

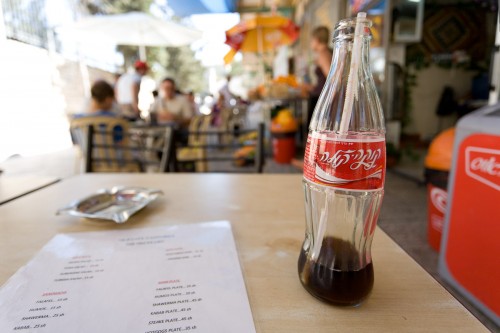
Here’s an image from a 2007 trip to Jerusalem:

Jerusalem 2007 (Photo: Michael Willems)

A typical “B-roll” picture – a picture that helps…

  1. …set the scene – where we are;
  2. Tell something about the environment;
  3. Make the viewer “work it out”;
  4. Provide a visually interesting image.

In this case, elements are: the blurred scene in the background (people eating and drinking, the waiter, the umbrellas); the Hebrew on the coke bottle; the menu including shoarma; the sunny background; and the three-dimensional feeling created by the “close-far” technique.

When you next travel, try to take lots of images like this. You’ll be amazed how much easier it is to tell the story.


A few travel snaps

I thought that perhaps today I would just share a few travel snaps.

Can you guess which city I took these in?

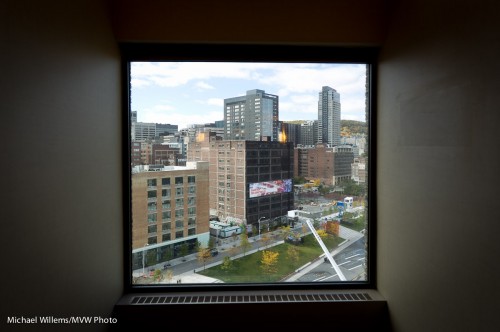
Using available framing:

Quartier Des Spectacles (Photo: Michael Willems)

Quartier Des Spectacles

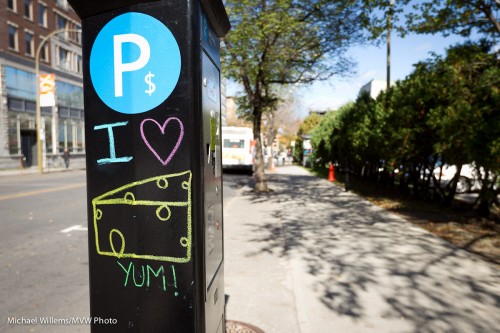
Emphasizing by using selective depth of field:

Yum!  (Photo: Michael Willems)

Yum!

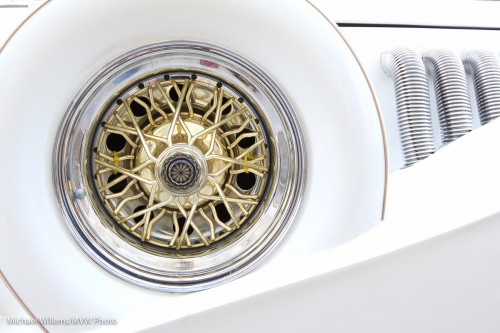
Using detail and simplifying by getting close:

Limo  (Photo: Michael Willems)

Limo

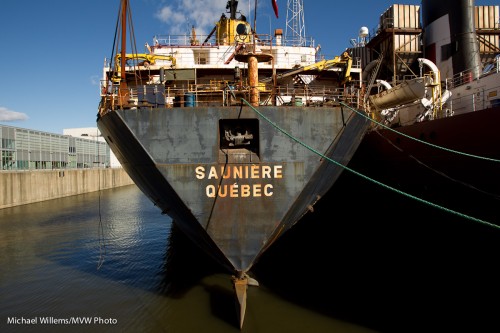
Using colour by exposing well:

Ship  (Photo: Michael Willems)

Ship

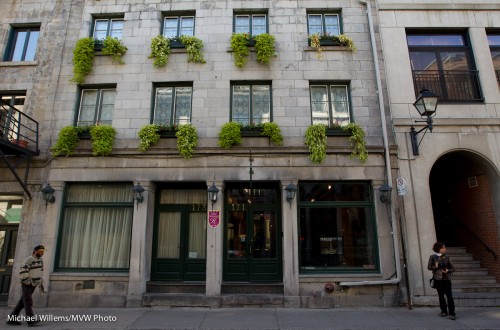
Showing people:

Snapping a snapper (Photo: Michael Willems)

Snapping a snapper

You have guessed which city this is, by now, perhaps ?