I shot a corporate event the other day, and it taxed me. I shall explain how, and how you can get good (meaning sharp, well lit and well exposed ) shots in bad light.
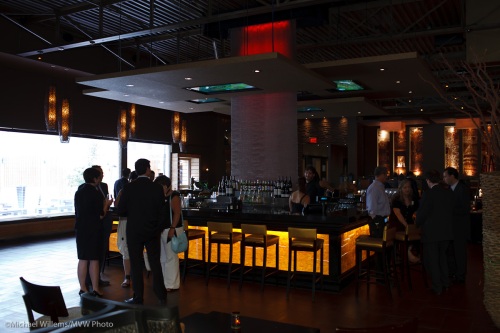
When I walked in to the venue, I saw the problems:
- Extremely bright on one side (direct sun); very dark on the other side (too dark to see the camera)
- Virtually no bounce (high black ceilings and walls)
Like this:
Except with 300 lawyers and corporate clients.
So I set to work. And here’s what I did.
Mitigate the problem:
- Shoot by the window using natural light and high-ish to very high ISO if anyone looks at the window
- Shoot outdoors, when people move outdoors.
- Find one or two spots where the light does kinda work and concentrate on those.
- Move people to a wall where you can bounce a bit.
Handle the problem:
- Use super high ISO if you must.
- Use fast lenses.
- Shoot RAW.
- Use TTL – and know it.
- Watch your meters carefully.
- Avoid moving too much – even when you move half an inch it can put people in totally different light. See the previous point!
- Be ready quickly. I carried three cameras with three lenses. Ouch. a 1Ds MkIII with a 35mm f/1.4, a 1D MkIV with a 16-35mm f/2.8 lens, and a 7D with a 70-200 f/2.8 lens.
- I used bounce cards (Honl Photo reflectors, and outdoors,a 1/2 CTO Honl Photo gel) and a Fong thing (I even used a Fong Lightsphere with a Honl bounce card Velcro’d behind it – worked am charm).
- Work out your best settings for each area and if the area is consistent as an area, set those in manual mode.
- Shoot a lot.
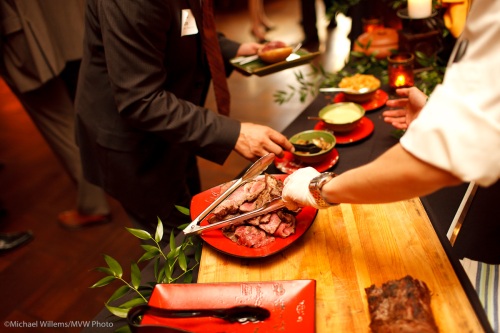
- Also shoot things that do not move, like food and furniture.
- Do more then usual post-production. Yes, some prints will be under-or over-exposed all or part, but if you know your craft and get “close enough” in camera, then you will be able to finish them on the computer.
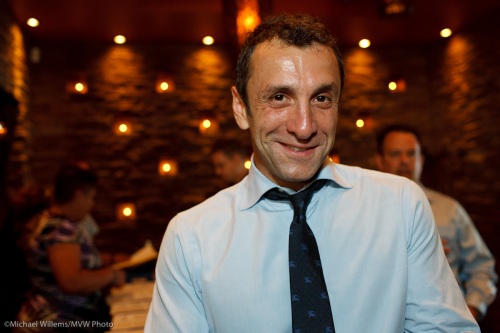
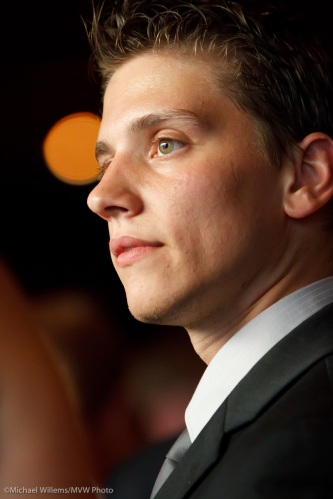
This way I got prints like:
Indoors, in a good(-ish) area:
Outdoors, with a half CTO gel:
Indoors, long and with a 7D at 3200 ISO using available light:
Food:
At this event I used all the tricks I know, and it was hard work. But I got good pictures, of course.
If you want to learn some of the lighting tricks of the trade, and hone your skills in the flash area, join Joseph Marranca and me in Mono, Ontario tomorrow, Saturday 26 June. There are only two places left!


So, at events like these how exactly do you go about approaching, or even positioning people for shots like these? Interrupting a conversation seems like a bad idea, but most people do seem eager to have their picture taken.
Oh, first, half are photojournalistic shots. The “grip and grins” are easy too. Mostly automatic: in Canada, when people see a camera, they assume the position and smile. If not, I wait until I cat their eye and grin broadly: they know what that means. Sometimes they need encouraging… And that is my job too, to encourage and motivate. (and I love it).
Pingback: D175: Ahead « SimplyKuni