The Social Network

Sunday I spoke at a large Social Media show in Toronto – one of the world’s biggest, at Ryerson University.

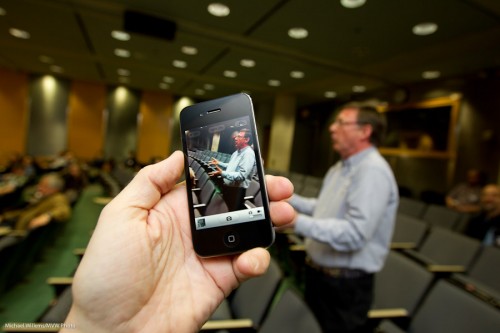
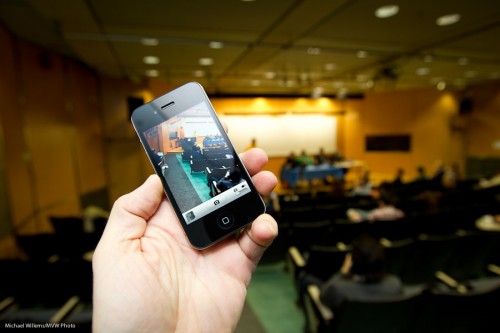
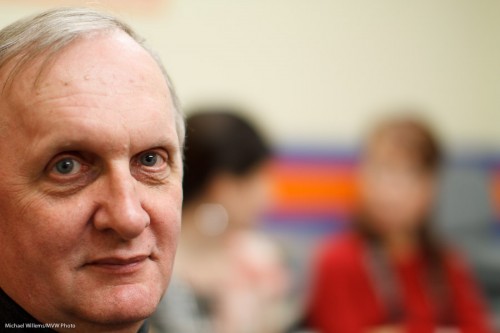
Peter West talking in a social media forum (Photo: Michael Willems)

Peter West talking in a social media forum

With my friend Peter West, pictured above in an image that stresses the importance of iPhotography, I talked to an audience about photography for social media. Small World: Ren Bostelaar and Mark Shannon, two of my Henry’s friends, were also on several of the forums, as well as in my audience.

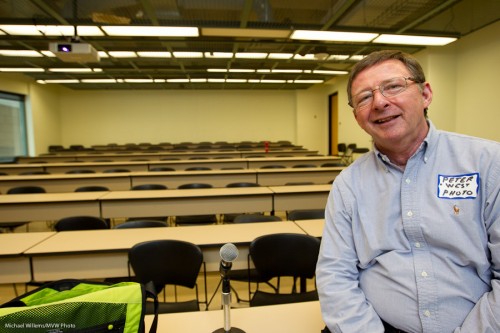
Peter West at Ryerson, before a Social Media workshop (photo: Michael Willems)

Peter West at Ryerson, before a Social Media workshop

The interest (and, um, yes, the room filled before we started) shows that social media are interesting to, and understood by, not just young people but also people as old as 25.

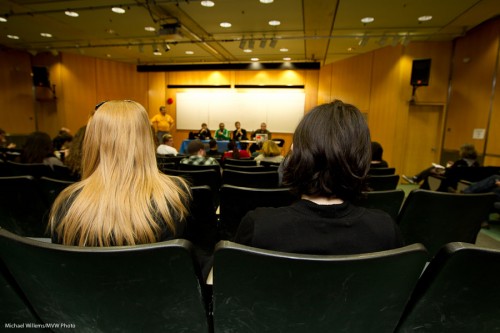
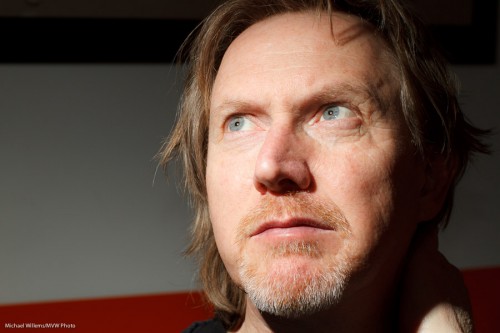
Social networking Forum (photo: Michael Willems)

Social networking Experts at work

Okay, I kid. Peter and I are at least 30.

My talk was not just a 45-minute photography lesson. I had two additional main themes:

  • You can do a lot on an iPhone. You can compose well, focus where you want, and even expose on a chosen point.
  • Social media (like this blog post) are just better with photography.

When some people say photography is dead, I do not believe it at all. When others say “everyone can now do it”, I do agree – but only if they learn at least some of the same skills I, and every other professional photographer, had to learn.

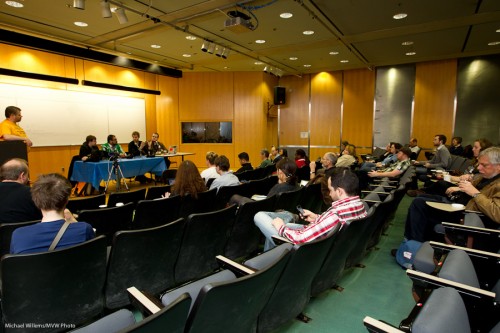
Social Media Forum (photo: Michael Willems)

Social Media Forum

For the images above, I used a fairly standard recipe:

  • Camera on Manual mode
  • Flash in TTL mode, aimed behind me, 45 degrees up
  • 400 ISO
  • 1/80th second at f/3.5

Those settings gave me an exposure reading just over a stop below zero on the meter – meaning the background is just over a stop below ambient, and the flash lights up the rest, namely mainly what’s in front of me.

Social Networking Panel (Photo: Michael Willems)

Social Networking Panel

And I think you may agree those pictures tell the story better than just words would.

Ideal Aperture

The ideal aperture is like really large, yes, a small F-number?

Depends.

Well then, at least in a portrait it is, yes?

It can be. But you need to think about this carefully.

Look at this image of some students who kindly volunteered the other day:

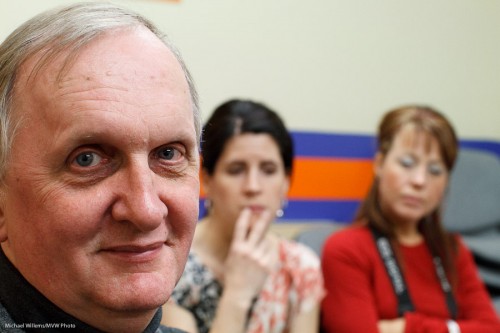
f/5.6:

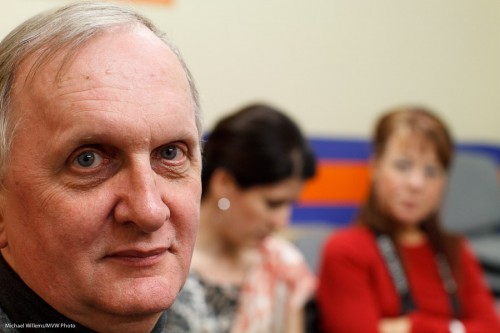
f/3.5:

f/1.8:

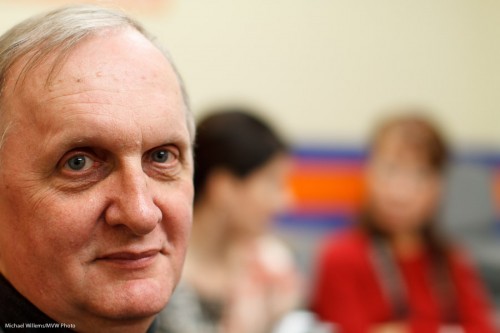
f/1.2:

Which one do you prefer?

I think you may agree with me that a blurrier background is better. But so is a sharp face. Often, the extremely shallow depth of field (e.g. the DOF you get at f/1.2) is too shallow for comfort. Personally, I would say that for this kind of close-up hand-held available light portrait, f/2.8 to f/4 is great.

One is a great number.

As you know, for a good flash picture you need many flashes. Or at least several.

False.

Sometimes you want to do it the dramatic way. In that case, the number of flashes is not very important; the location of the flash, however, is.

And the worst possible location is “on your camera”.

So you take your single light source off the camera. If you own a Nikon camera, or a Canon 60D – or the Canon 7D I took this picture with in yesterday’s Canon 7D class in Toronto, it’s simple.

  1. Using your camera’s menu, you make its pop-up flash into the “master” (Canon) or “commander” (Nikon).
  2. Ensure that you disable the “master’s” own flash function: it should only fire commands (“Morse code”) at the remote flash (430EX, 580EX, SB600, SB800, SB900, etc) that you are holding in your left hand…
  3. …which you have set to “slave” (Canon)/”remote” (Nikon) mode.
  4. You then ensure that the cell on the slave flash (on the front of a Canon, on the side of a Nikon) can see the command flashes emitted by the master.

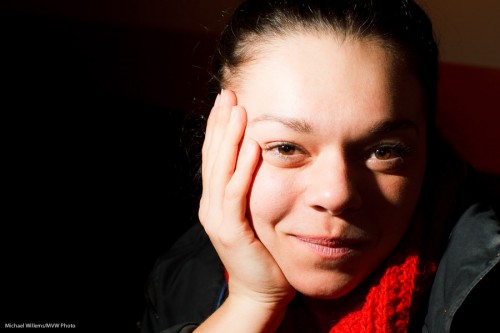
A lot of words. What it means is that with just the right camera and a simple single hand-held flash you can create dramatic side-lit images like this, of a student in last night’s Toronto course:

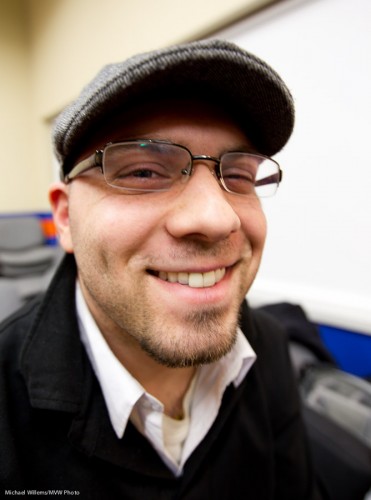
And this, of another student:

Aren’t those great images? They show, I hope, that you can indeed take interesting images with a single flash aimed straight at your subject. As long as that single flash is not positioned on top of your camera.

About the settings. I set the camera in Manual exposure mode, and I made my settings right to create a dark background – i.e. I wanted to basically see only the flash light in the image.That meant 400 ISO, 1/125th second, f/5.6 on my 50mm f/1.2 lens. Razor sharp and dramatic light.

A note. I just want to remind you all that to learn these and many other advanced techniques, you have one chance to learn from me and, all the way from Los Angeles, my special guest star David Honl (the inventor of the great range of Honl Photo modifiers) on March 19, in Toronto. Just click here to book – in one day, just three weeks away, learn how to use flash, the most exciting light. There is still space, but to be assured of a spot, you need to book now. I promise you will be delighted with what you learn.

Beginner’s Tip

A tip for beginners today, about a subject that can confuse.

I constantly hear people confuse focus with exposure. I hear things like “I focused on the face”, when they mean “I exposed for the face”, and vice versa. Or “I used one focus point to get the right exposure”.

Clarity of language leads to clarity of thinking and hence, to better understanding. So here for beginners are a few definitions – you will find these helpful if you are just getting into photography.

Focus:

  • “Focus” means “what is sharp”, particularly “what distance is the sharpest”, and also “what range of distances is acceptably sharp” (we call the latter the “depth of field”). Your camera cannot make everything, from 5cm in front of your lens to the infinite distance, sharp. That is why we talk about it.
  • You focus by aiming focus spots, or preferably one chosen focus spot, at your subject and then pressing half way down before clicking. Your camera now sets its focus distance to the object you point at.

This does have anything to do with, or affect, exposure. They are entirely separate.

Exposure:

  • “Exposure” means, in practical terms, “how dark or how bright is my picture”.
  • Exposure is also measured when you press half way down – but it still has nothing to do with focus.
  • You can base your picture’s exposure on an average of the entire scene (we call this “average metering”) or intelligently (“evaluative metering”, or “3D Color Matrix metering”), or in one small area only (“spot metering”).

The fact that the camera measures and decides on focus and exposre at the same time is what leads to the confusion. But realise that they are different, and independent.

“How sharp a picture is” has nothing to do with “how dark or light a picture is”. One is set by the lens moving its elements, the other is set by adjusting ISO, aperture or shutter speed.

If these things are not clear, ask me!

Lenses

Take a headshot portrait (one where the head fills the page) using a 20mm lens.

Go on, do it. You know you can. And I mean a real 20mm lens, so if you have a 1.6 crop camera like a Digital Rebel you would use a 13mm lens; on a Nikon you would use a 14mm lens. Or that setting on your wide angle zoom lens.

You would get this – and thank you to the student who kindly volunteered to be pictured with, um, an enlarged nose:

Because that is what happens when you use a wide lens, because you have to be so close.

You see, it is not the lens that has the bad magic. It is your position right in front of his face.

Now use an 80mm lens (that would be a 50mm lens for crop factor camera users). That forces you to step back a couple of metres. Now you get this:

That’s a lot better, eh?

So the moral: portraits are best taken from a few metres away. Either that means you use a longer lens (80-135mm), or you avoid headshots where the subject is large so you have to get close.

And therefore yes, you can use a wide lens – just with a small subject, in the middle. So an environmental portrait with a wide angle lens is fine, if your subject is small and not near the picture’s edges. Otherwise, a long lens. On a crop camera, 50mm and longer!

Picture more

Today, a simple tip for you all: take more pictures. Pictures document your life and the lives of those around you, and this is of course well worth doing.

Look at this link (click): people in old snapshots, and then in the same picture, shot the same way, many years later (compliments to the modern photographers for making their image quality as bad as in the originals, which is quite a feat). Talk about time. Meant to be funny, but in fact profoundly interesting, even moving. You owe it to yourself to document your life.

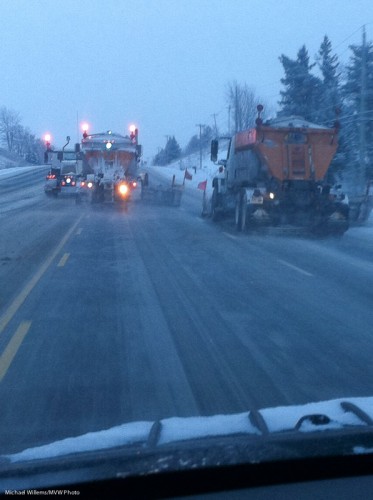
And not just the big things. Little things. Like the drive to work.

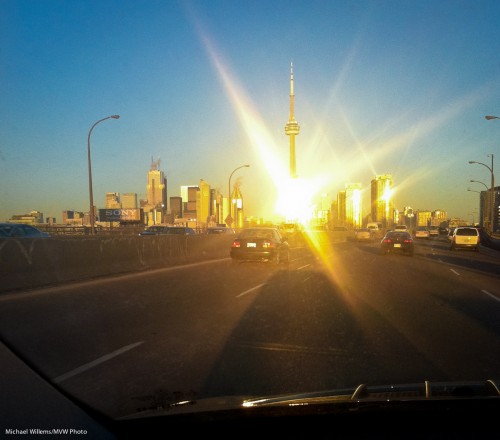
Or the drive into the city.

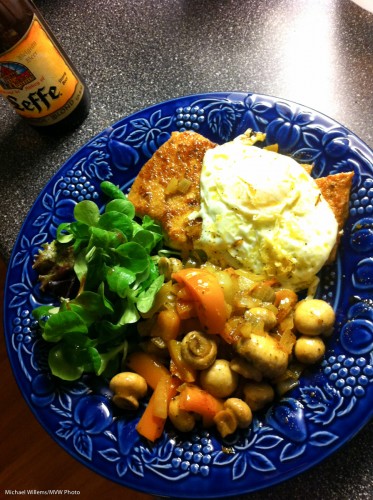
Or dinner.

Or even the sauce that is about to become dinner.

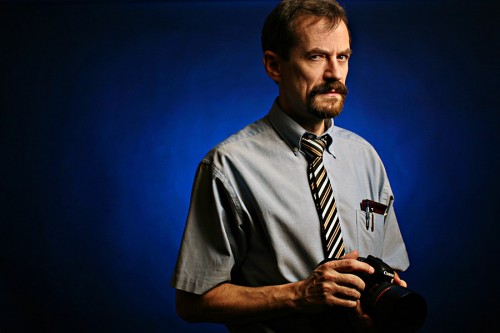
You will of course have noticed that all these are recent iPhone pictures. The best camera is, as the saying has it, the camera you have with you.

A few tips on iPhone photography:

  • You can focus where you like, by clicking on the screen in the desired area prior to taking the picture
  • When you do this, the iPhone also exposes for that area. So a normal snow pic will be too dark, but if you focus on your car’s dark dashboard, the picture will be well exposed.
  • You cannot zoom (except electronically, which ,means cropping – do that in Lightroom instead). So instead of zooming, do a lot of diagonal images to compose. That allows you to get close and get a lot in. Trust me, tilted images are OK.
  • An iPhone includes the GPS coordinates automatically with every picture.

So my advice: do carry your iPhone and do occasionally take pictures – and do look at those as a chronicle of your life.

Judge not, that ye, etc

Actually I especially like judging. I spent tonight judging photos for a contest at the University of Toronto’s Rotman School of Business.

Invited to do so with three other photographers, I judged 200 images – we quickly narrowed it down to 20, and ranked those.

This job was remarkably easy, because so many people make very basic mistakes. If you want your photo to be good, at least make sure it makes it though that first sifting. To do that, do a few simple things.

Here’s the “baker’s dozen better-get this-rights”:

  1. Ensure that your photo is in focus.
  2. Straighten horizons.
  3. Keep the image simple
  4. Crop as needed.
  5. Expose well.
  6. Make sure there is light on the subject’s face, not back.
  7. Use the rule of thirds (or at least compose appropriately, and avoid centering).
  8. Avoid “tension points”, where you cut off just a small part of a hand, say.
  9. Avoid clichés (the CN tower has been photographed before).
  10. Avoid HDR unless it is really needed.
  11. Avoid badly dodging and burning – “halos” around a subject are a dead giveaway.
  12. Avoid obscuring important parts of the image. A beam across your subject’s eye means the picture is a loss, much as you otherwise like it.
  13. Do not oversaturate the photo.

So many otherwise great photos dropped out instantly becasue of those. And they are easy to get right.

Blue

I thank Lilly Erkoc for this pic, which she took during a course I taught last week. Shot using wireless TTL. One Canon speedlite through an umbrella; one Canon speedlight aimed at the black background with a Honl 1/4″ grid and a blue gel. And that’s it!

I love that image!

Preparing

I am preparing for several courses, including the special version of my signature “Advanced Flash” workshop. which you may recall I teach in Henry’s School of Imaging location in Toronto on March 19 with Special Guest Star David Honl (Yes, the David Honl).

Dave is doing this in Canada for one day only – sign up now!).

I am also preparing more runs of my new signature course “Event Photography”, which I ran Sunday and will run at Henry’s School of Imaging as a featured course repeatedly, starting soon-  stay tuned.

And this brings me to “preparing”. One of the subjects I teach in all my courses is how to prepare. Preparation is half the work. Preparation takes time but it guarantees great results. Doing it on the fly is less successful and more stressful.

So today’s tip: create checklists per situation. Three of them:

  1. An event preparation checklist. This has names, addresses, parking details, shots you must get, etc.
  2. A gear checklist. This contains all the equipment you need for that event.
  3. A day-of-shoot checklist. This needs to contain names of people to shoot; moments to expect; shots you must not forget; camera settings for situations you expect; behavioural stuff; tech things to remember: everything you need to remember on the day. You carry this in duplicate – like everything else important.

Do you have those yet? If not, here’s your homework: go do it, make three checklists for a typical event you shoot. Questions welcome (and wait for my article on this in the June issue of Canada Photo Life magazine).

One.

One light can be enough.

Look at this great image. How was it made?

The answer is: one flash. Yes, that is all.

In this case it was a strobe, fired through an umbrella. But it could have been a speedlight.

The difference between those two options:

  • On a strobe, I measure the light with a light meter, and set my settings on the light and on the camera accordingly. And they are set for the entire shoot. So whatever the subject, the settings are the same. Done!
  • If I am using speedlights, however, the camera meters every shot. And it meters it by measuring light reflected off the subject. So the subject matters. A dark subject will fool the camera into overexposing, so you need to use negative exposure compensation. A very bright subject, the opposite – you will need positive exposure compensation.

Those are very essential differences. Read the above until you understand it, or ask me if you do not.

They have consequences:

  • If the subject distance will be static, use strobes/manual. If, however, the distance changes, then you should use TTL.
  • If the subject brightness changes from shot to shot, use strobes/manual. If, however, the subject brightness is the same between shots, TTL may be useable.

Confused yet? It is really very simple, once you know it. But then, the same applies to brain surgery.