A picture

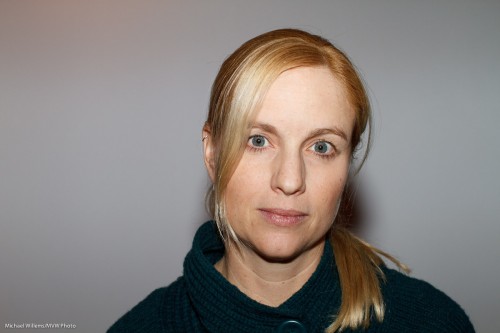
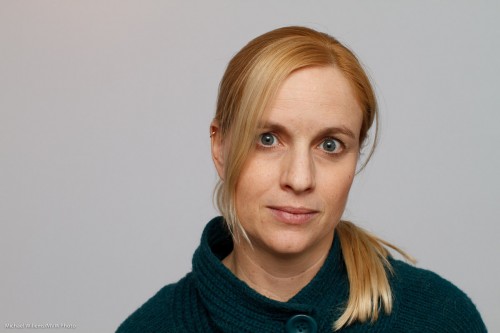
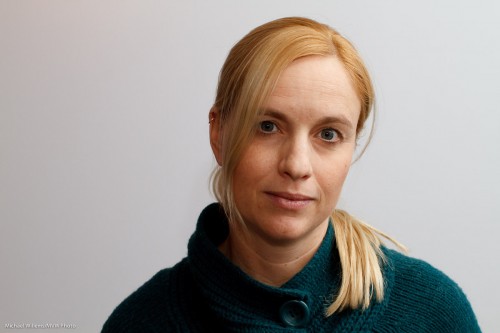
I would like you to look at this picture and see if you can tell how it was lit:

Tara Elizabeth (Photo: Michael Willems)

Tara Elizabeth (Photo: Michael Willems)

So I’ll give you a few. It is all artificial.

  • The main light is a strobe in a softbox on our left. This leads to nice soft light onto the model’s face.
  • Then, a flash with a grid, on our right, behind Tara. That gives us the oh-so important rim light.
  • Now look at the fireplace. Is that a fire? No – the wood would not light, so it is a speedlight fitted with a red Honl Photo gel. Those gels are incredibly useful!

The mottled light on the wall – that is more involved. Think cookie cutter (it too is artificial), and take one of my advanced lighting courses one day (see www.cameratraining.ca).

Also, keep March 19 open for a special Advanced Lighting course I am putting on in Toronto with David Honl (yes, the David Honl) as my special guest! The location and further details will be announced soon.

In the mean time: start thinking about how to light a scene with multiple lights.

Post soon

No time until tonight. But In the mean time, a note: Watch the June issue of Photolife magazine, Canada’s premier photography magazine, for an article about event shooting. Just saying…!

Also keep 19 March free for a special Toronto workshop with special guest David Honl!

Another reader question

A few days ago, reader David asked me this:

Just wanted to get your input on a upcoming event I will be shooting on Friday night. The events will be group shots (family and player) at a high school basketball game for their ‘Senior Night’. Since it will be in the gym with very high ceiling, bouncing off the ceiling does not seem to be a viable option. I was thinking about bouncing using a gobo card. Since the room will be filled with lovely (not) florescent light and wonderful (not x 2) swamp lights overhead, I could bounce the flash as a fill light to help get rid of the awesome green tones. The second option is to use an off camera 580EXII with a Honl Traveler 8 softbox (close to camera center maybe). The third option (since I believe in the power of 3) would be to use my Fong Reporter Whaletale with and on-camera flash. I am interested in “what would Michael do?” (As a a side note: I typically use a gray card to get a good white balance. I shoot everything in RAW, so flexibility in post-prod adjustment is not an issue.)

Good question, David.

For basketball I would say the following. First, here’s an example of a basketball pic I shot.
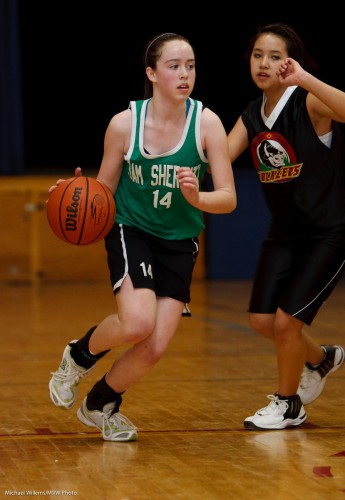
That was 1600 ISO, f/2.8, and 1/300th second.

And… oddly for the Speedlighter, I used flash, straight-on. As you correctly surmise, ceiling bounce or wall bounce can be difficult.

So this is one case where, if it is allowed (Ask the coaches! In high school basketball it will often be allowed) you can use straight-on flash to fill in the light. Of course this means recharge time between shots,  but if allowed, you may want to do it. Also watch out, you could get red-eye – easy correction of course, but still, you have to do it.

Alternately, you can bounce of a larger bounce card. That will mean less power and more recharge time, but it can be viable.

Of course you can also choose to live with the light that is available.

You other options are good to try, too. Off-camera is not likely to be much help though since at the distance you are shooting at, it’s close to the camera even if held a few feet away. The softbox, ditto, and you lose light.

Also, the long lens is great but do not forget the wide lens for close shots. And:

  • If you can, bring two cameras
  • Ask the coaches if you can use flash
  • Get close ups
  • Shoot under the rim, but be careful behind it – balls will hit!
  • Shoot vertical shots
  • Get the back of shirts to get the numbers
  • Shoot emotion: happy, sad, angry
  • Shoot action: close up
  • Shoot static for each player too

I hope that helps… and yes, I did answer this reader before that Friday!

A few travel snaps

I thought that perhaps today I would just share a few travel snaps.

Can you guess which city I took these in?

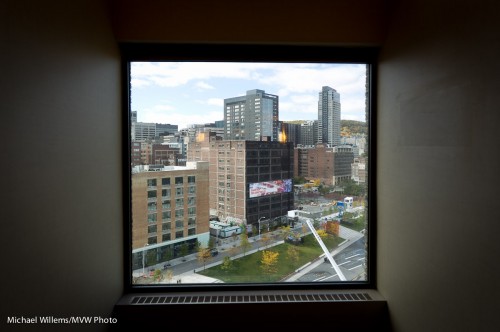
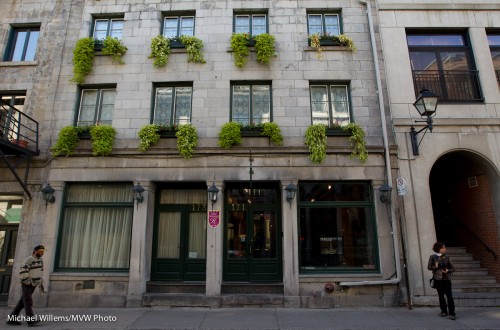
Using available framing:

Quartier Des Spectacles (Photo: Michael Willems)

Quartier Des Spectacles

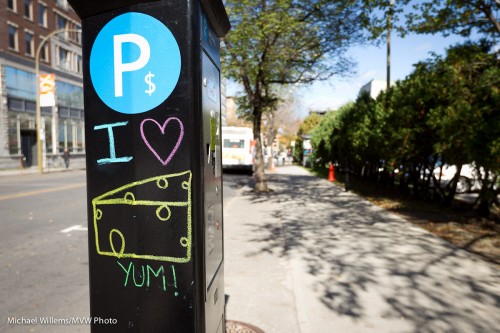
Emphasizing by using selective depth of field:

Yum!  (Photo: Michael Willems)

Yum!

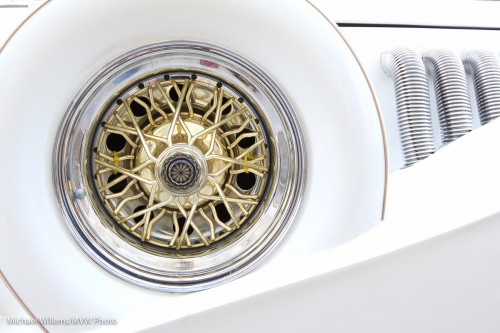
Using detail and simplifying by getting close:

Limo  (Photo: Michael Willems)

Limo

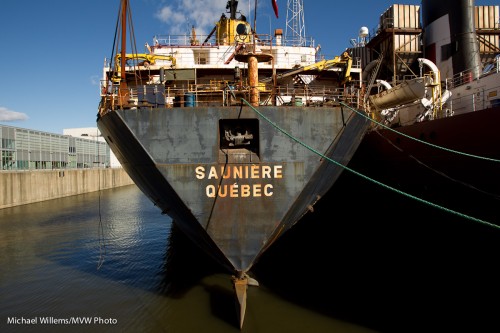
Using colour by exposing well:

Ship  (Photo: Michael Willems)

Ship

Showing people:

Snapping a snapper (Photo: Michael Willems)

Snapping a snapper

You have guessed which city this is, by now, perhaps ?

Ask not what speedlighter can do for you…

…okay, that is cheesy. But I just thought I would point out that I would like my message to go out widely, and that if you like this daily teaching blog, you can help:

  • Click on the “share” link under a post to share it on Facebook, etc.
  • Tell your friends.
  • Link to the blog or to posts you like.
  • Read comments; Comment yourself; and comment on other comments.

Shukran jazeelan! (That means “thank you very much” in Arabic).

Dreaming.

Professional Canon shooters used to have a thing called “CPS” – Canon Professional Services.

For years, I was a member. All you had to do was to be a real photographer, have your portfolio etc OK’d and buy (And prove that you bought) lots of Canon gear, like pro lenses and bodies. In return you would get loaners and slightly faster service, and a separate lineup at the Canon service desk: consumers to the right, pros to the left.

Why you need spares

Why you need spares

Then in 2010 someone had a bright idea.

“Hey – these pro shooters only spend maybe $40,000 on Canon equipment. And they upgrade all the time. None of that is enough – surely we can squeeze more money out of them? They need us, so let’s make them pay for real service! Instead of us supporting them let’s have them support us! Let’s charge $100 a year in some countries (or in Canada, $250)”

I think CPS is free in some countries, and I think Canada is the most expensive country (Canon, please correct me if others have to pay even more). Also, service levels differ: in Canada they are pretty vague: Canada “Platinum” has a “Service turnaround target” (i.e no commitment) of 4 days, and a 30% discount of an unspecified service cost.

Needless to say, I did not renew. At first, before I saw the conditions, I tried – but when they “could not” (i.e. refused to) accept Amex, I gave up. Just as well.

I keep getting emails with a link to a European please renew page – but no way. If anything breaks I’ll wait, use a spare (you all have spares, right?), or use my excellent Henrys extended warranty.

So Canon makes great cameras, but if you were expecting goodwill here – no way. After paying tens of thousands of dollars over the years, being sent a bill for what should be provided in the first place is simply insufficient and disappointing.

Question Time

Time for a reader question, I thought. So… reader Lisa asks:

I searched through your blog before I thought about sending this email. I have been reading a lot of online information about the Canon 5DMii having focusing issues, unlike the old Canon 5D.  I found nothing on your blog about focusing issues. I do a lot of pet photography for non-profit organizations and I cannot afford focusing issues, but I want to move up to a full-frame semi-pro camera (that’s affordable to me). If this is the case, what is your opinion if you’re willing to offer it up, on purchasing a used 5D to get reliable focusing as opposed to a new crop like the Canon 7D? I have been using…ah hem…my little XSi (been collecting professional lenses and saving up for a new body). Should I just invest in the 7D and wait until a new 5D comes out?  I really want the full-frame, but I need focus reliability.

Excellent question, and one with a few different answers.

First: the rumours. I generally take these with a pinch of salt. Canon cameras do have the occasional focus issue, believe me – but the Mark II having such issues is more of a “meme” than reality, I think (Meme? look it up. Google is your friend.). Often, people who complain do not understand how to use the equipment. In general, I would not be put off unless you are sure that for your types of photography, a camera will not do.

Now, some notes in response to your questions.

  • There is a big difference in focus systems, and the 5D MkII has the old system, while the 7D has the best focus system I have yet seen on a DSLR. Fast, flexible, great options. Much more modern than the 5D’s (either 5D).
  • That 7D focus system is especially good when you are shooting sports. It is fast. For animals – if they move, a newer focus system is great. Not the most important thing, but great.
  • You shoot in controlled conditions, so noise (one advantage of full frame) is less important to you I expect.
  • You shoot in controlled conditions, and at f/5.6, so focus will be good too.
  • The original 5D is a bit of a dust magnet. I would say a newer camera would be beneficial. Also – the focus system of the MkI and the MkII is essentially the same.
  • Yes – I agree, full frame is great. But for you, I would say it makes less of a difference. Low noise, not a great issue.

So if the choice is 5D (MkI) or 7D, I would vote 7D. On the other hand, if you really want full frame, then 5D Mk II would be my choice.

The moral, for everyone here who faces similar choices: there is often no “best” choice. In this particular case, all the options are good in different ways, so you will be delighted whatever you choose.

Hold it!

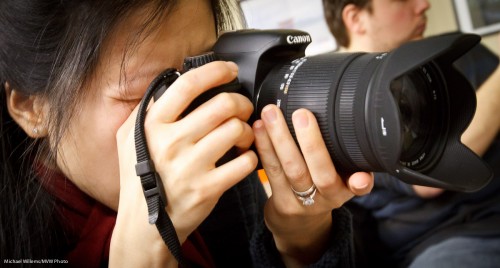
Everyone who has done courses with me knows that I explain ad nauseam how to hold the camera.

And this is how:

Why?

  • It is steadier. This is the main reason you do not move your left thumb underneath the lens, since steadiness means absence of camera shake and the resulting blur.
  • It is easy and quick to adjust focus or zoom without having to move your hand back and forth – i.e. you save time.
  • It is easy to switch to portrait orientation: only your right hand needs to move (up, in case you are wondering).
  • And we may as well add: you look just like a pro.

That’s why!

You know this.

But I want to show you again – and emphasize it once more:

Flash needs to be bounced.

I shall illustrate with three snaps of a kind volunteer in last Sunday’s camera course that I taught in Oakville.

Snap one shows that aiming your flash straight at your victim ought to be a federal offense. (The young lady was warned and kindly agreed to be pictured this way, with a 580EX II flash straight into her face, using TTL, but knowing there would be better snaps to follow):

Not that she doesn’t look great, but the photographic qualities leave much to be desired.

  • Shadows under her ears;
  • And under her chin, a hard shadow;
  • “Deer in the headlights” look;
  • Skin looks reflective;
  • Face is flat;
  • Background is dark;
  • The catch light is in the centre of the pupil.

So then I turn the flash up at a 45 degree upward angle right behind me. That way the light comes from 45 above in front, from her perspective, and this is typical beauty lighting:

This is still using TTL, so all I had to do was to turn the flash behind me, and bang. A portrait instead of a snapshot. All the problems solved in one go!

You could also turn the flash to the right or left, so she gets light from the side, above:

Now the face is more three-dimensional and sculpted.

I would normally use more straight-on lighting (pic 2) for women and more side lighting (pic 3) for men (because the latter tends to show “character”, which can be a euphemism for “age”).

Either way, though: avoid flash on camera aimed at your subject. This is why your pop-up flash is evil, and why my 1D and 1Ds bodies do not have one.

And with modern TTL flashes and cameras, you do not need to do anything other than “turn the flash head”.

Macro, anyone?

A definition for you, today.

“Macro” (or as Nikon calls it, “Micro”) means “showing ordinary things large”.

But true Macro, following the official definition, means the ability to obtain a 1:1 ratio between the object’s size and the size of the image on the sensor. So a 1cm long bug casts an image 1cm long onto your sensor.

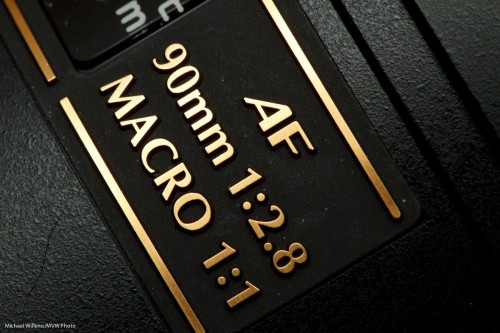
A lens can be a normal lens (not macro, usually 1:5 or worse, meaning a tiny bug image on the sensor), or a “macro featured lens” (perhaps 1:4, so that would make the bug 1/4 cm long on the sensor), or a true macro lens, like this one:

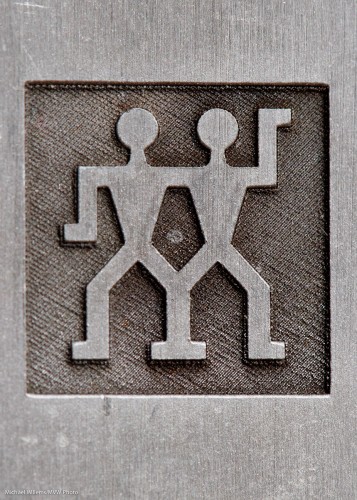
See the “1:1” marking? This, as you have seen, can give you cool images of day-to-day objects in a new light. Like this, the top of a knife:

Or this:

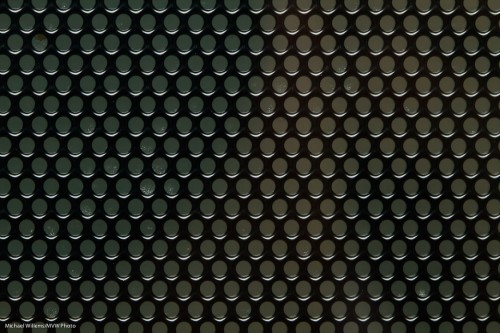
Yup. That’s the front of a microwave.

Or finally this:

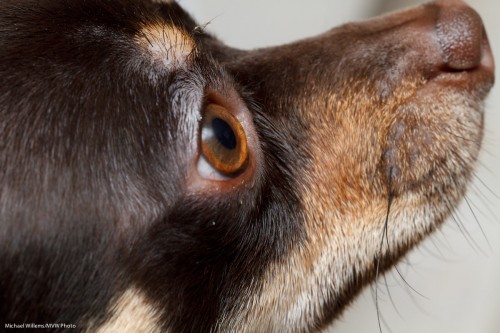
Cute eh?

If you have a macro lens, try to shoot a few normal objects close-up, in your kitchen.