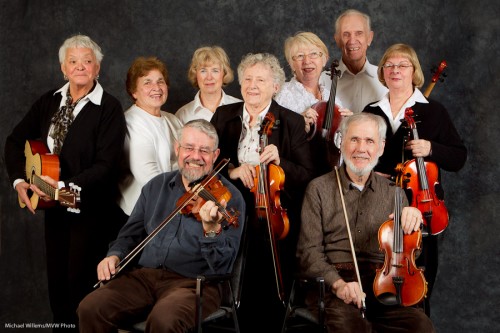
Prompted by the work I did today for this past weekend’s Music and Dance School shoot, I think today I might once again point out how great Adobe Lightroom is for a photographer’s workflow. It is no exaggeration to say that Lightroom has enabled my business to exist. I can now organise and edit, as well as produce output, in batch mode; quickly and efficiently.
One thing I do in Lightroom is organize. Here is my workflow:
- Import the images and have Lightroom copy them to a location of my choice.
- Select the images I think are good enough to use (e.g. I exclude blurred images or images where people blink).
- Make those into a collection.
- Edit them in that collection.
- Sort the collection.
- Make outputs (eg large JPG files for printing, or direct prints).
And a few tips for you:
- One thing I always do is pick winners. To do that I use the compare view (the X/Y “candidate” view in the Library module) as well as the “Survey” view, in the same menu. If you are not used to using those, please start. They are fabulous.
- If you use more than one camera, to facilitate sorting, ensure they are set to the same time.
- If, however, they are not, no problem. Activate the filter bar (“\”) and by selecting one camera, filter to see just the images from the camera that has the wrong time. Select them all (Command-A). Now from the menu select Metadata and Edit Capture Time. You can now select “Shift by set number of hours” and select +1 or -1, say, if you have forgotten to adjust your camera.
- Learn the shortcuts. Like “G” for “switch to the Grid view in the Library”, and “D” for “Switch to Develop”.
If you ever come home with a few hundred pictures at the same time, then every hour you invest in learning Lightroom will pay back manifold.
Finally, a couple of images from this weekend’s shoot.


Michael,
First of all, I love reading your blogs. I have learned so much from you, and one day soon I hope to take one of your classes!
I used to use Lightroom with my old PC, but since buying a Macbook Pro, I have been using Aperture 3. I quite like Aperture 3, but there are definitely things I miss about Lightroom. What, in your experience, is the better software, especially for editing photos? Are there any differences between the two when it comes to exporting photos as JPG? (For example, I felt as though my JPG files were larger when I exported with Lightroom than with Aperture 3, but I could be wrong…) I have tried doing a lot of research on this subject, however it seems to be 50/50. If Lightroom is a better program, I will buy it for Mac.
Thanks so much.
Antonia
Thanks, Anonia!
I used Aperture as well. Loved it, and there are things that are better, like integrated photo book export functionality, but you will find that Lightroom is used by many more photographers. Aperture was less reliable and made it tougher for me to organize my files the way I want, not the way Apppe wants: Lightroom shines here. Also, noise reduction is better. As for JPG export, that is just a setting. I’ll blog about that soon, good idea.
So while both are good, on balance, yes, I do prefer Lightroom.
Antonia,
If you own Lightroom for PCjust call adobe and you can de-register it and then activate it for your Mac for free.
🙂
I love Lightroom. The noise reduction and the quality of the JPG files make it a very worthwhile investment. For me, the drawback is the speed. With an older computer, it is a pain editing large RAW files.
Just wondering…what are the benefits to using Lightroom over, say, Photoshop?
Thanks,