Hold it!

Hold your camera, that is. And hold it the right way. Holding your camera correctly ensures that you minimize the shaking, and you make adjustments as quickly as possible, without losing time.

And how do you hold the camera?

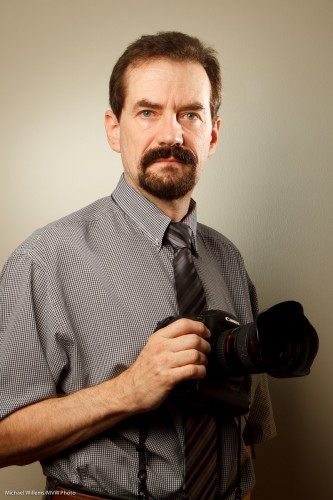
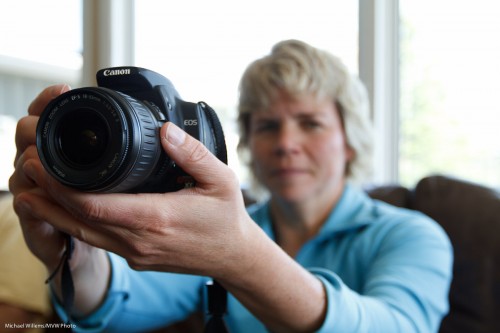
You support the lens with the palm of your left hand, thumb on the left side (not under the lens). I.e. you support the camera like this:

(Of course when you are taking an actual picture, and not just demonstrating, like today’s student, then you would ensure the viewfinder bumper actually touches your face.)

Note how I used “off-centre composition” – the rule of thirds. The subject (the camera, in this case) is not in the middle. Only Uncle Fred puts the subject in the middle in every picture.

You would also consider turning the camera 90 degrees to the left, to get it into vertical position (i,e. the shutter is on top now, not at the bottom). Shoot vertical when shooting vertical subjects, like towers – or people, like me:

Photographer Michael Willems

(Oh, and one more benefit to holding the camera right: you look like you know what you are doing).

 

More self-portrait, and notes

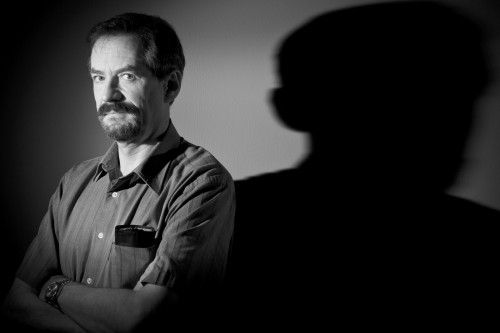
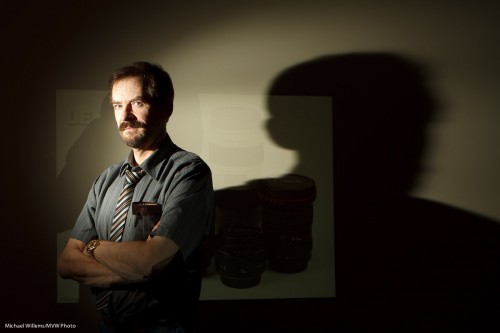
Here, another self portrait: “self with shadow”.

I want to point out a few compositional things about this image:

  • Black and white allows me to concentrate on the subject (that would be me), not the colours.
  • Contrast is important, so I carefully positioned myself to cast the right light so my face and head stand out.
  • I composed so the entire shadow fits.
  • The image uses a typical rule-of-thirds composition.
  • In what may look like a break from tradition I am facing out of the frame (but I am looking in so it is OK).

As you can see, even in a simple two-light portrait, some thought is applied to make it good. And some trial and error. Note that some post cropping and rotating is OK if you cannot get it right in the camera.

One more tonight:

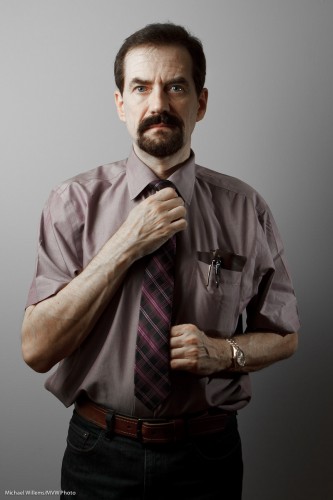
Here as you see I have desaturated red and orange slightly using “HSL” in Lightroom. Less drama, to, since I am now using an umbrella rather than a grid. So the umbrella casts light onto the background.

These self portraits are fun and I urge you to do one, using off-camera light (flash or natural).


An underestimated mode

One mode is underestimated today – black and white.

As I have pointed out here before, black and white can make your images much more powerful by allowing the eye to concentrate on your subject – not on coloured objects.

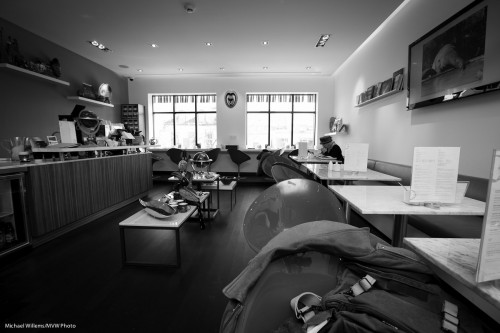
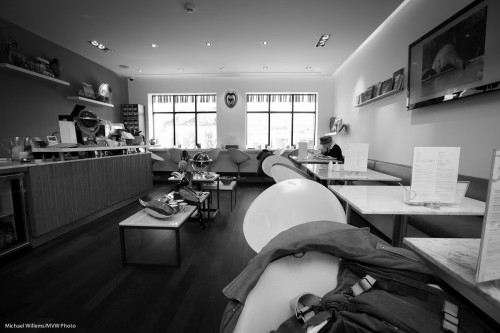
This image works better in black and white:

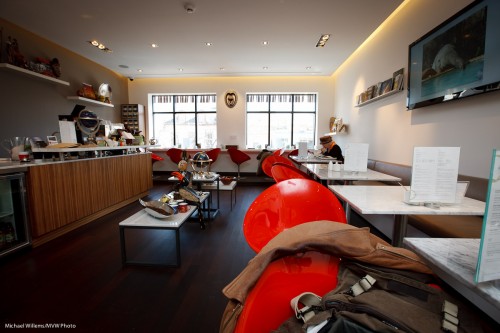
Because in colour, the red chairs draw the eye towards them instantly. You do not see the forest for the trees:

So when your subject is not the colours in your scene, consider using black and white. When colours would distract, use black and white. When you want to convey a certain mood, use black and white.

And when you use black and white, convert afterward, in Lightroom. That way you can tune the relative brightness of colours – this is like using filters in the old days.

So by using the HSL control to tweak the red colour, you can, if you wish, make it look light like this, say:

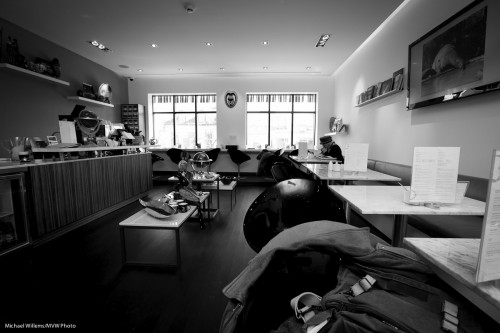
Or dark like this:

And the same goes for all other colours.

All those reasons are why if you are not yet using B&W, you should start. Shoot RAW and do the conversion later. And have fun.


Designing a one-light self portrait

Here is a self portrait, and the process that went through my head making it. I thought that would be good to share. Here’s how to make a dramatic self-portrait in ten steps.

  1. First, I thought “let’s do a quick self portrait, indoors, lit by simple TTL flash”.
  2. I then thought “But let’s make it off-camera flash”.
  3. I went on to think “I want a dramatic image, so let’s use only flash light: available light should play no role”.
  4. To achieve that, I set my camera to manual exposure,  1/125th second, f/5.6, ISO 100. I took a test shot: black. Good, just what I wanted.
  5. Next, I aimed a single 430EX flash in slave mode at the wall diagonally from the side.
  6. Next, I attached a 1/4″ Honl Photo grid to the flash to avoid lighting up the whole wall; instead, I cast a nice parabola. That grid is my most used accessory, I think.
  7. I added a projected image of a set of lenses, only just visible.
  8. Now I put myself into that parabola: light straight into my face. Diagonal to the camera.
  9. I selected an almost-standard lens length (28mm on a Canon 7D, meaning a “real” 45mm) and off-centre composition, with a heavy shadow dramatically cast by me onto the wall.
  10. Finally, to take the shot I would have used a tripod, but since I had a student available, I asked her to shoot for me (Kayleigh, you know who you are).

And the result? Here it is.

Photographer Michael Willems

Photographer and educator Michael Willems, Oakville, 16 May 2011

(For best results, click and  view at original size)

What do you think? Me to a T, eh? This entire shot took just a few minutes to set up. You can do this too!


More on those lenses

Fast lenses, and why do you need them for portraits?

“Fast” lenses mean lenses with a large aperture, i.e. a low minimum “f-number”.  Like an f/2.8 lens, or even an f/1.4 lens. These lenses allow shallower depth of field, but they also allow in more light.

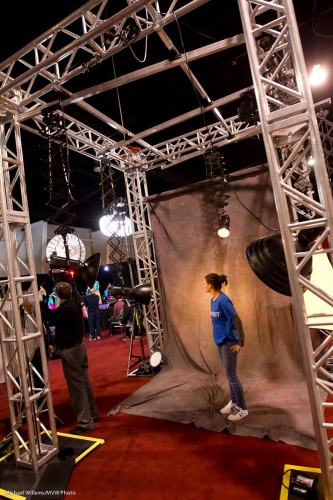
Imaging shooting in a studio. Like this, at today’s Imaging Show, at which I spoke about lenses again:

All sorts of lights, operated by Pocketwizards. Yes, true, you do not need a fast lens for this. A simple f/5.6 lens will do since you will shoot at f/5.6 – f/8. (Though a fast lens stopped down will be sharper than a slow lens wide open).

But. Imagine you want to shoot there using available light. Not the flashes, but the available modeling lights. Or perhaps window light in your room.

This you can do only if you have a fast lens. Set it to f/1.4 and it lets in so much light that in that situation above you can shoot at 1/100th second at 100 ISO (or if you wish,  1/400th second at 400 ISO):

Isn’t that amazing? handheld, Canon 7D, prime 35mm f/1.4 lens, set to f/1.4 at 400 ISO and 1/400th second. And it looks like a studio shot. Due to my use of a fast lens.

(Oh – why did I shoot as I was, at f/1.4 and 400 ISO? Because I was carrying a heavy bag with speedlights and lesens, and two cameras, and a laptop. So I had no spare hand. That’s why!)


Lens thoughts

Lenses make all the difference to your picture. Talking about lenses in the four presentations I wrote for the Digital Photo and Imaging Show at the International Centre makes me realize this more acutely than ever.

And the most important thing, of course, is aperture. A lens needs a large aperture, meaning, as I am sure you all know, a low minimum “f-number”.Like f/2.8 for a quality zoom.

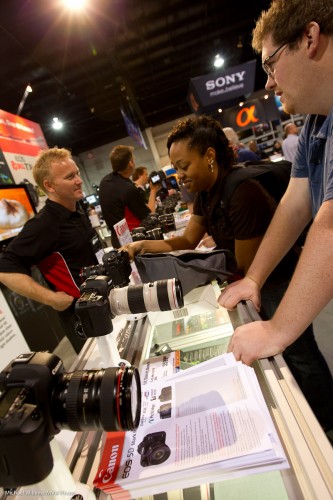
Many people today tried out the various lenses money can buy:

One reason you need fast lenses is the low-light ability of these lenses.

Let me say here now: there is (almost) never enough light.

Let me illustrate what I mean.

With an f/2.8 lens I can get a picture like this at 800 ISO and 1/100th second:

If I had had an f/5.6 lens, that would have been either 3200 ISO, or 1/30th second – both of which would have spoiled the image.

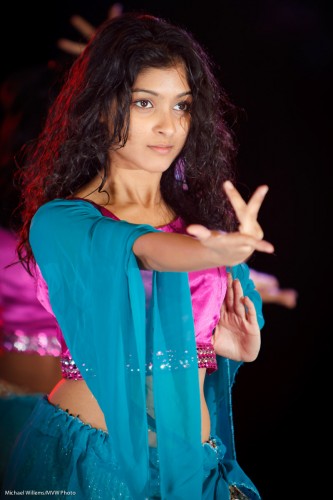
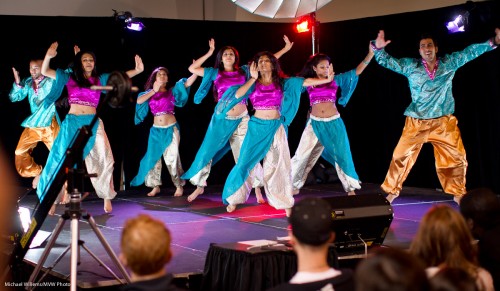
f/1.8, on the other hand, in this type of light today gave me as fast a shutter speed as 1/320th second for some shots, which is enough to show dancers blur-free as they lift off the floor:

And there really is little alternative. If I have to shoot faraway moving objects in low light, therefore (like animals at dusk), I can only do three things other than go to a lower “F-number”:

  1. Add light.
  2. Tell the subject not to move.
  3. Shoot at very high ISO values.

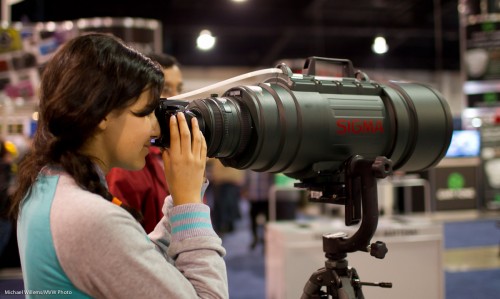
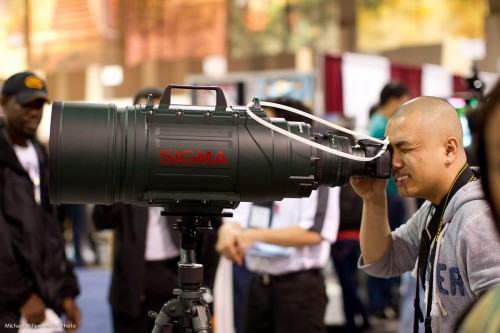
So if I feel wealthy, I might want to buy this, a Sigma 200-500mm f/2.8 lens.

Beautiful. Here it is one more time:

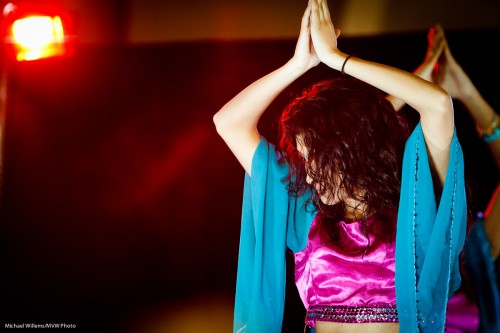
(Of course I also shot those images with a fast lens: a 50mm f/1.2 lens set to f/1.8).

One last picture – again, f/2.8 at 1/100th and 800 ISO.

I could not have done this any other way without getting too much grain, or too much motion blur.

More about this tomorrow at the show: I present Portrait Lenses at 11:45 and unless I am mistaken, 1:45 is Travel Lenses.


Imaging Show

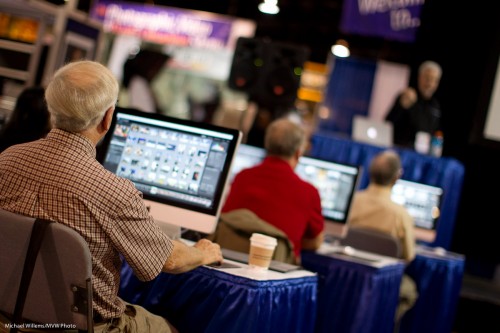
I taught at the Photographic and Imaging Show in Mississauga today and met many interesting people. I wrote four “choosing the right lens” workshops, which I teach there all weekend.

So on that theme: what is the lens I should use for a trade show?

While I usually shoot with flash, at a show like this of course natural light is often a better option. So I want fast lenses.

800 ISO is fine, with a modern camera. And that is enough for 1/500th second at f/1.2 with a super-fast 50mm prime lens. On a 1.3 crop camera, this gives us an effective 65mm:

This type of slightly longer than standard lens focal length gives us slightly compressed perspective while still retaining a natural look.

If instead you want a more dramatic three-dimensional perspective, use a wide lens.  A 16mm zoom set to 16mm (meaning, on this camera, a 35mm equivalent of 20mm), gives us this:

(This was also 800 ISO, but now 1/60th sec at f/4 – meaning an equivalent exposure, just shifted up)

Both images were, as you see, tilted to compose well, and to simplify.

So if I had to give you a quick answer, I would say: “wide or standard, and above all, fast, like f/2.8 or faster”.

More tomorrow!


Batteries for speedlights

A reader called to ask: “what batteries do I use for speedlights”?

Good question. And a very important one. Here are my thoughts:

  1. Bring enough of them. Twice as many as you think you may need. Then some more.
  2. Ensure that they are charged before the event.
  3. Swap them often – after every part of every shoot.

And now as for which ones:

  1. Use NiMH rechargeable batteries. They deliver more current (lower internal resistance while charged) than Alkalines. And they are cheaper since they are reusable.
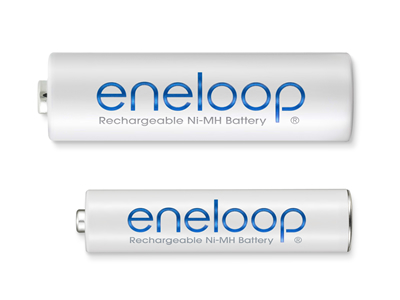
  2. Use “low self discharge” batteries. These are marked as such, or they are marked as “ready to use”. Sanyo Eneloops are the most famous battery of this type.

And now for a very important last factor:

Get a conditioning charger, like a LaCrosse or Maha charger (Google; or just try amazon.com). This type of charger can discharge your battery before charging again; doing this every now and tehn ensures your batteries never develop a memory effect; i.e. they will stay better, longer.

I am off to sleep, since for the next three days I speak at the Imaging Show at Mississauga’s International Centre.


Tulip Mania

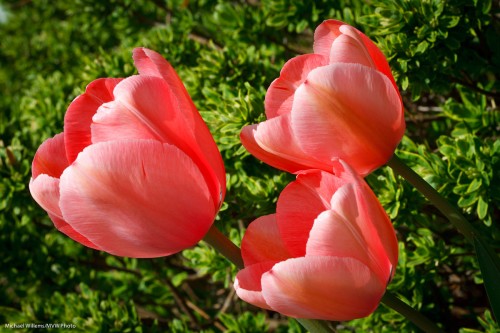
The front porch is full of tulips. Beautiful. And we will have Vancouver-type weather (i.e. rain) for the next seven days so I shot a few snaps while I could.

Tulips in the front garden

Tulips in the front garden

I used a macro lens.Handheld, which is bad. And I used the light you should never use: direct sunlight. And yet, I wanted a few pics.

So what are my strategies to deal with this? here are some of them.

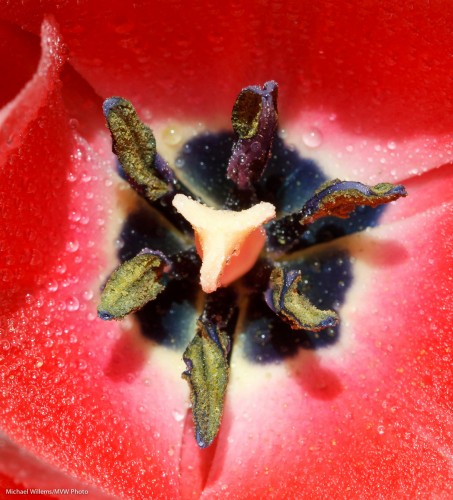
Shoot close up. Use a macro (Nikon: “Micro”) lens if you can and capture detail.

Tulips in the front garden - detail

Tulip sex organs

Select a small enough aperture. A small “F-number” like 5.6 or 4.0 will give you way too restricted depth of field. You may need to shoot at f/8, f/11 or even f/16 or sometimes beyond.

Tulip (Photo: Michael Willems)

Tulip

Watch the wind. Shield the flowers from it, or shoot when they are momentarily still.

Use a high enough ISO. That way you can get the shutter speed up to, say, 1/500th of a second, while keeping a nice small aperture.

Shoot through the flower if you can. Nice saturated colour will result, instead of washed-out overexposed colour.

Tulips in the front garden

Tulips in the front garden

Watch the backgrounds. Simple is good. Simplify, simplify, simplify.

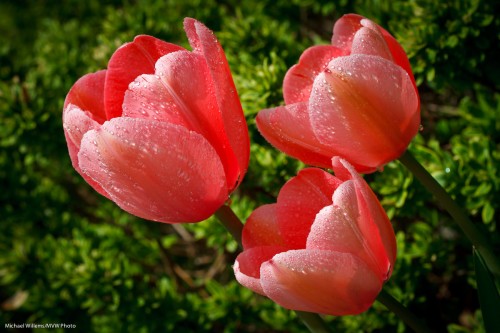
Select contrasting colours. Red and green. Or colours that go very well together like purple and green, my favourite combo.

Tulips and background (Photo: Michael Willems)

Tulips and background

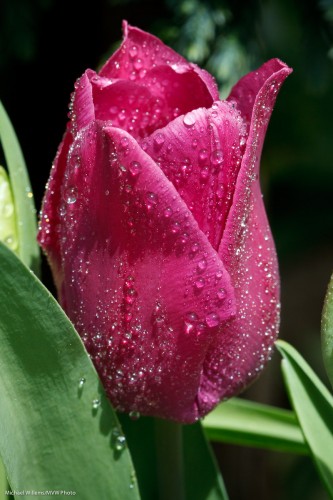
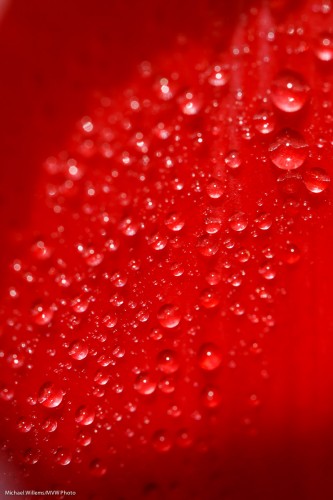
Wait for a rain shower. Gentle spring rain looks good:

Gentle Spring Rain (Photo: Michael Willems)

Gentle Spring Rain

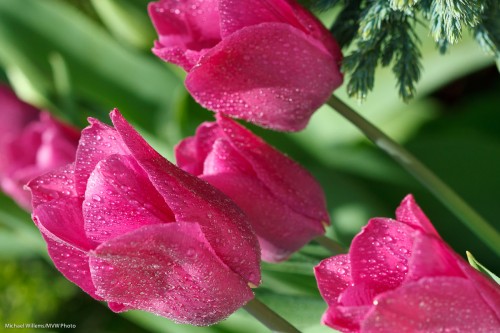
Alternately, do not wait. I have two secret words for you. Spray bottle, and water mixed with glycerine (available from any drugstore). OK, that’s six words.

Gentle Spring Rain (Photo: Michael Willems)

Gentle Spring Rain

Go on, go have some fun. Even if you live in Vancouver – sunlight bad, overcast good, for flowers.


Use the right tool.

“You can only use a 50-150mm lens for portraits”.

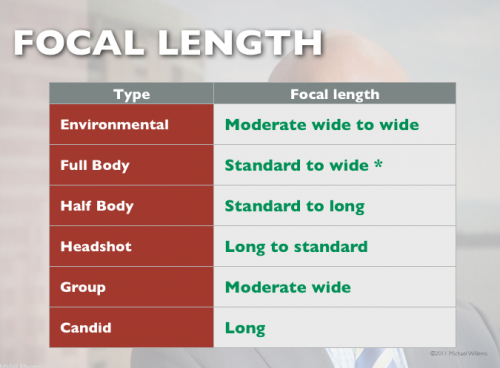
Nope. You can use any lens, just about. It’s a matter of matching the kind of portrait to the most suitable lens. Somewhat like this:

So you do not shoot a headshot with a very wide lens. But as you see, almost any type of lens can be used for portraits of one sort or another.

  • For stand-alone portrait, the longer the better. But you may not have space to use a 200mm lens.
  • For groups, wide or very wide is OK . Keep people away from the edges or they will stretch.
  • A Macro lens makes a good portrait lens.
  • For available light photos, you use a fast lens.
  • For environmental portraits, you use a wide lens, making sure your subject is not too large in the image.

I am going to be at the Henry’s Imaging show in Mississauga all three days, Friday to Sunday, talking about “the right lens for the job”. Come see me if you like!