Before and After: Why we use light

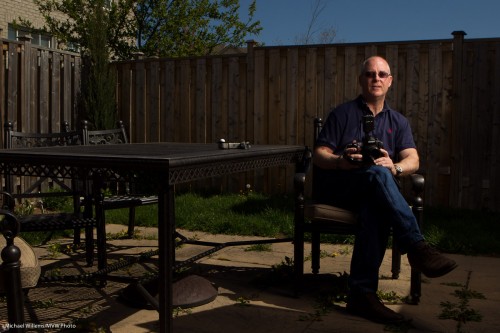
The following shots of yesterday’s student are a good example of why we use flash to create dramatic portraits outdoors, on a sunny day.

Say you take a snapshot, in automatic mode, of a person on a sunny day around noon. You get this:

A snapshot. Composition is fine, but the person is half overexposed, half underexposed; the sky is washed out. It’s why people say you cannot take photos at mid-day on a sunny day.

But flash comes to the rescue.

  1. Set your aperture, ISO and shutter speed to get a nice darker background. I like dramatic, so in my case this is a very dark background. Dark colour is saturated colour. Start by going to the fastest shutter speed you can use when using a flash (e.g. 1/250th second), then set aperture and ISO to get darkness. (I used manual mode, and set my camera to 200 ISO, f/13 in my case).
  2. Use a flash in a modifier – to “nuke the sun” (overpower sunlight). This needs to be a powerful strobe, or a speedlight very close to the subject. I used a Bowens strobe with a softbox, powered from a Travel Kit battery.
  3. Now meter the flash, using a flash meter (or trial and error). Adjust the strobe until you read the same aperture you just set.

Now you get this:

Isn’t that much better? The subject is now the “bright pixels”. And bright pixels, as you know, are sharp pixels!

 

Focus: Help is Nigh

When you cannot focus, you cannot take a picture.

And to focus, you need

  1. A subject (lines/contrast)
  2. Enough distance (depending on your lens(
  3. Enough Light

There is often insufficient light. And that can make focusing very difficult.

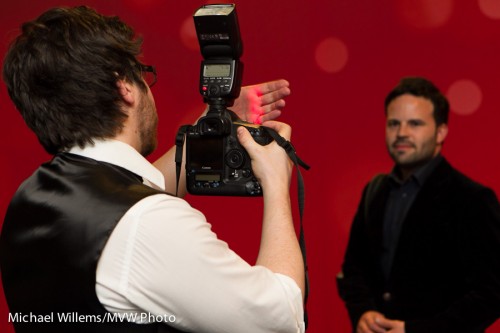
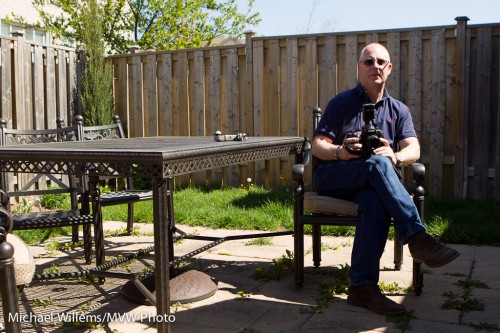
One thing that can help is your flash. Look at the photographer here, a colleague at a recent shoot:

As you can see on his hand, the flash is emitting some red lines. Those red lines are thre “focus assist” lines. The flash emits these when there is insufficient light. You can even use this function when flash firing is disabled: the flash can be useful in more ways than you thought!


Flash 101 reminder

There are two ways to use flash. Always keep that in mind, because you decide which one it is for any given shot.

2. Flash as the only light source. You would do this in a studio setting.

If you want this, select an aperture-shutter-ISO combination that makes the available light go dark. Like 1/125th second, f/8, 200 ISO:

2: Flash mixed with available light. You would do this at a party.

If you want this, select an aperture-shutter-ISO combination that makes the available light show up too – maybe two stops below normal. Like 400 ISO, 1/40th sec, f/4 (the“Willems 444 rule”):

Simple, once you realize this: the flash is separate from the ambient light. In TTL mode, flash is metered separately.


On the shoulders of giants

When people ask me “how do I learn portraiture and composition”, I always have a simple answer. Study what others have done. In particular, study classical painters. Go to an art museum!

Look at the work of Rembrandt and Vermeer. Velasquez. Or more recently, John Singer Sargent, a genius of portraiture. Or the impressionists. These people knew portraiture, they knew light, they knew composition.

And learn from photographers whose work you like. Avedon, maybe, or any of the other greats. This is the way to learn. Try to figure out exactly why you like certain works.

Another tip: ask yourself “what feeling does my photo represent”. If you do not know, chances are that the image is not optimal.

Using these learning opportunities, chances are that you will improve your work soon.

Sin against the rules?

Two questions.

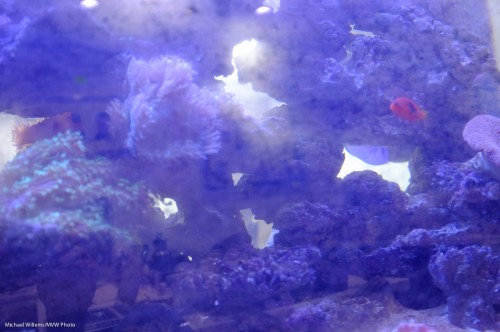
First: Can you shoot an aquarium whose glass is dirty? Like this?

Furthermore, can you do that using a wide angle lens instead of a macro lens? And when there is little light? At high ISO? Surely not.

Yes, you can. Provided that you:

  1. Get close to the glass – very close. This defocuses the dirt.
  2. Do not overexpose (underexposure makes black blacker, and hence helps make grey dirt go away).
  3. Ensure that behind you, it is dark, so you avoid reflections.
  4. Shoot at fairly low F-numbers.
  5. Are patient.
  6. Are willing to do a little post work if needed (to makes blacks darker and whites brighter).

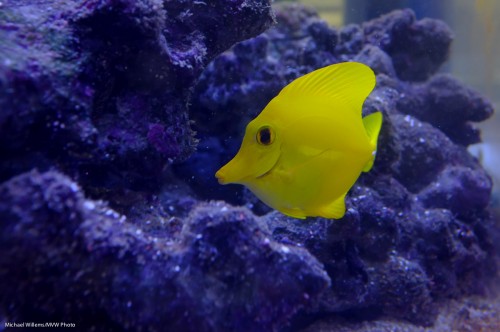
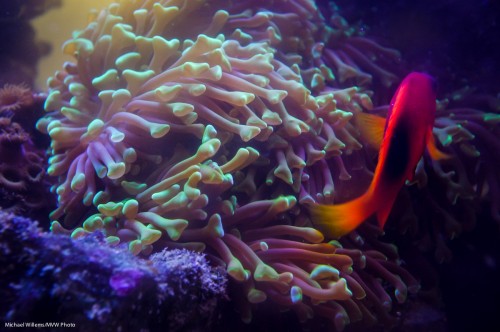
Examples here – shot this morning with my Fuji X100 camera with fixed 23mm lens (equivalent to 35mm), at f/5.6, 1/60th second, at 800 ISO.

800 ISO? Is that not grainy? Well, apparently it is quite acceptable.

(More aquarium tips elsewhere on this site – search for “aquarium” on the right.)

Next question. Can you shoot JPG and get quality?

No. Yes. Wait. Of course you can. As long as you get the shot right!

On the Fuji I tend to shoot JPG, against all my usual advice – because I tend to get everything right (white balance, exposure, and so on). And these are usually not client shots, hence I feel I can just shoot JPG, unless they are for publication.

So the above shots were shot as JPGs. So yes, it can be done – though I would normally recommend RAW, since more mistakes can be fixed more easily. But when you have to, and have the ability to consistently get “close enough”, you can indeed shoot JPG. QED.


What you do not light

Lighting is all about what you do not light.

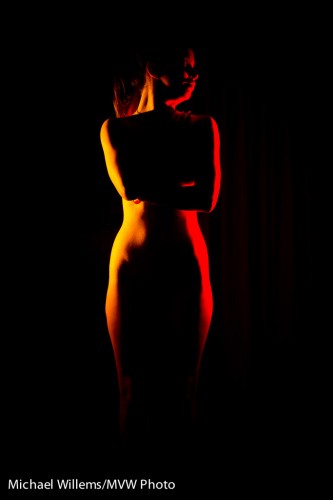
Like in this “implied nude” shot from the other day:

How did I light this?

  1. Camera on manual, with settings guaranteed to make the room look dark (it was not, but the camera makes it look like it was): something like 1/125th second, f/5,6, 200 ISO.
  2. One flash on the camera disabled, except for sending commands (“master”).
  3. One TTL “slave” flash on our left, slightly back aimed forward a little, with a grid to stop light spilling, and a yellow Honl Photo gel.
  4. One TTL “slave” flash on our right, slightly back aimed forward a little, with a grid to stop light spilling, and a red Honl Photo gel.

Easy technique, and a lot of fun. Try to not light everything all the time. A few flashes, grids, gels: all you need!


Lenses and Fun

Why do we use wide or long lenses?

One reason is to change perspective, as you all know if you read this site.

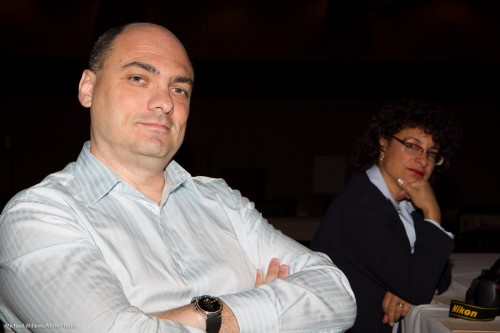
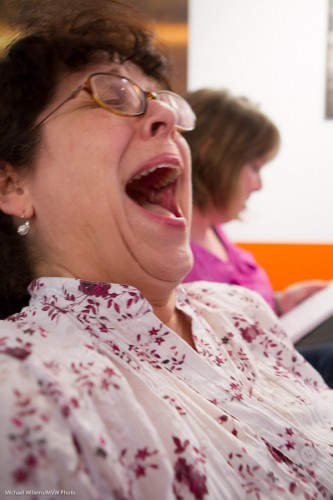
Here’s another illustration. I took a happy shot of a student yesterday, with the lens set to 24mm (apparently my courses can be fun):

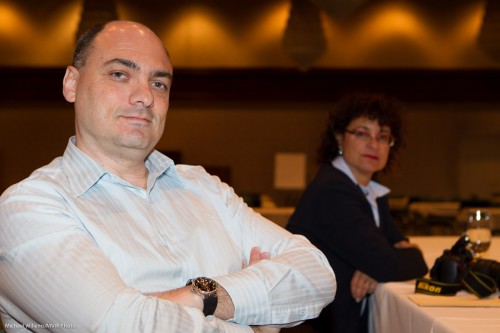
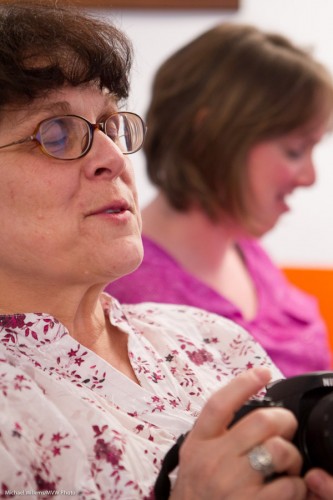
When I pull back and zoom in, to use a 70mm lens focal length, look at the student in the background:

Much larger. Because the relative distrance between foreground and background is greater.

It is the vantage point that creates the different look, not the lens length per se. The wider the lens, the closer you get, and hence, the smaller the background will look.


Africa…

Check out this page.

In August 2012, international photog Kristof is doing photo training during an Africa Safari trip. And great news: I will join too, if we get enough signups!

This is the trip of a lifetime, both as a trip and as photo coaching. Check out the page and contact me or Touch de l’Afrique if you are interested: come and I’ll be there too, so Kristof and I can help you with two teachers present through the trip.

Bett still: Monday evening, in downtown Oakville, an information evening about the trip. Follow the link above and RSVP to Kristof to ensu your place!

Kristof and I will teach Travel Photography, wildlife, lenses, light: everything you need for a perfect memory of the trip, plus a great boost in your pro skills!