Keeping It Clean

It is very important to keep your camera’s sensor clean.

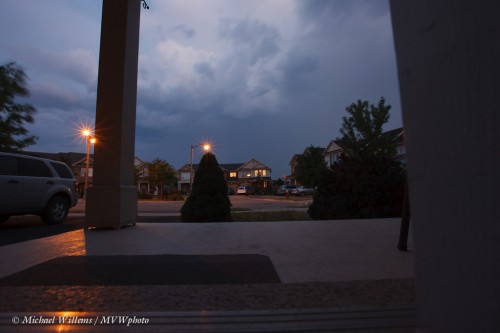
Dust shows at small apertures, like f/16:

f/16, and that looks OK until you look at the small

See those dark dots? That is sensor dust.

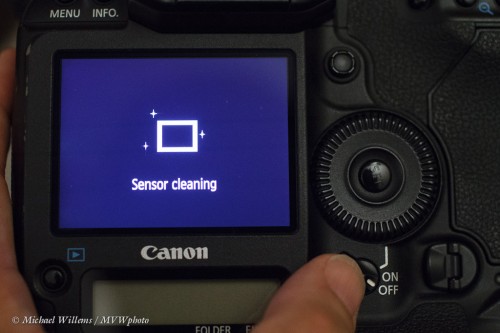
You can try to get it off with the self cleaning mechanism, see the top picture. Or with a blower (be careful – use a full battery). Or with pads and liquid, but that is potentially dangerous – one mistake and your camera is toast.

So the best way is to keep the dust off in the first place, and to minimize the effects

  • Use the self cleaning mechanism.
  • Avoid lens changes unless necessary
  • Shoot at larger apertures if it’s all the same to you 🙂
  • When changing lenses, try to do it in a safe dust-free place
  • Hold the camera upside down (-ish) when doing it, so that large dust falls out of, rather than intio, the camera

I regularly clean my sensors -looks like my 1Ds is ready for another cleaning, from that photo.

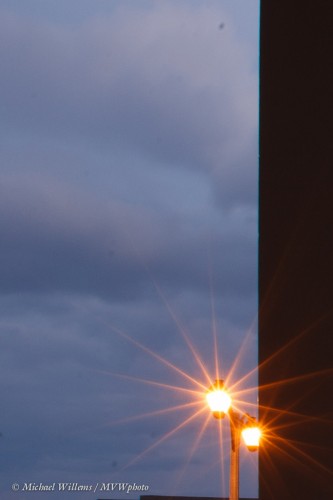
Bonus question: how do you know I was shooting at a small aperture?

Answer: because of the starburst from the street light. The smaller the aperture, the more starburst effect.


DOF in product photography

I was asked several times in the last few days about a previously made point (yes, since you ask: I repeat things quite frequently, since repeating is the way we learn – especially if, as I do, you explain in a slightly different way each time).

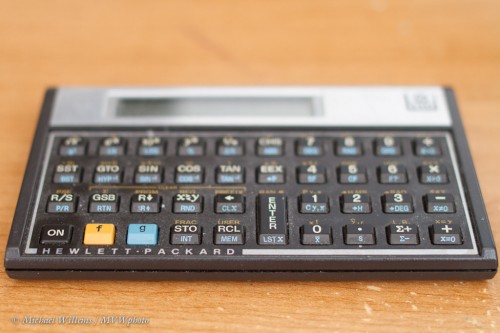
In product photography, you often want great depth of field (“DOF”) – i.e. everything is sharp from front to back. Like in this picture of one of the best calculators ever made, and shame on HP for stopping production: this is still the best calculator I have ever owned:

Oh, but we cannot see the calculator at the back. DOF is insufficient. Well, I suppose we could shoot at f/45 if our lens allowed it, but that would lead to slow shutter, fuzzy pictures, and might still not be enough even then.

So? The tilt-shift lens to the rescue. Resulting in this, at the same settings, including an aperture setting of f/3,5!

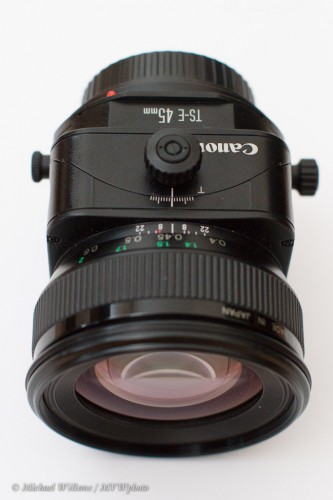
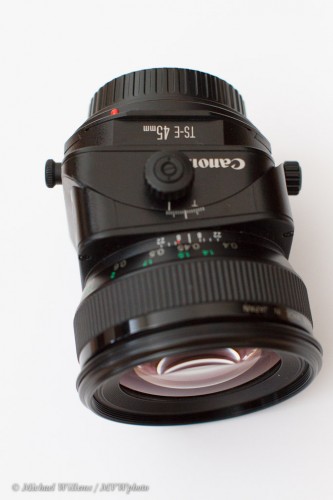
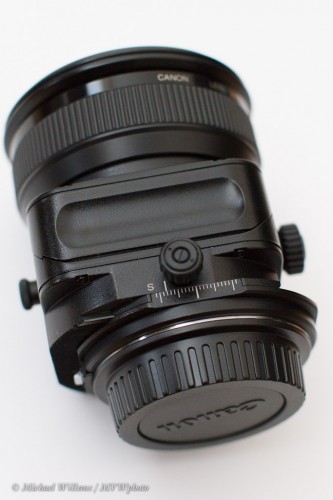
This is that lens:

It is a manual focus only lens that allows tilting, which moves the focus plane, like for the shot above:

And it allows shifting, for occasions where you point up or down or left and right, like in architecture, and you do not want verticals to converge.

It also allows turning by 90 degrees, so your tilting and shifting can be along any axis, horizontal or vertical or diagonal.

The last adjustment is interesting: unlike the DOF, this you could usually also do in Lightroom (or PS if you feel so inclined), but why bother if you can do it while shooting?

Tilt-Shift: A specialized lens, but invaluable (meaning valuable – the English language is illogical) for product shots. Real product photographers should own one, so if you need product shot and you do not own this type of lens… call me!


Limits

When you determine exposure for a photo, the principle is simple: only three things make a photo brighter, assuming everything else remains the same (which is the case when you are in manual mode, so this is how you should learn):

  1. Higher ISO
  2. Larger aperture
  3. Slower shutter

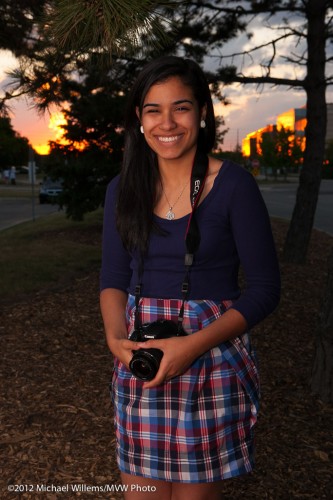
So it should be simple to get a beautiful darker background like this one here, in a recent picture – taken two weeks ago of one of my Sheridan College students:
It is simple – once you realize a few things.

Darker or Lighter? It may not be obvious to you whether you want the background lighter or darker. In fact darker brings out (saturates) the colour, but you may think brighter is better. Your great advantage is that you have a digital camera, and each click costs $0, so the best thing I can advise you: practice.

What About The Foreground? You may need different light for the foreground. Here, I used an off-camera flash into an umbrella.  My advice is: worry about the background (the ambient light) first, as above; then worry about where you may have to add light.  One thing at a time!

But where do I start? You will soon get a feeling of what settings are in the “acceptable range”. One thing you could do, as a sort of training wheels, is set your camera to P (Program mode); see what ISO/Aperture/shutter settings the camera would suggest, and then use those as starting points in your manual settings. But soon, you will get to know what you want:

  • for motion (blurring or freezing), shutter is your first thought
  • for depth of field, aperture is your first thought
  • for quality, ISO is your first thought

And you will then have only two other variables to worry about. Combine that with ISO starting points (200 outdoors, 400 indoors, 800 in difficult light) and you have only one to worry about.

Learn The Limits. Learn what aperture will give you too-shallow DOF (e.g. f/1.4 when you are 2 inches away), What aperture will give you fuzziness (eg f/45). What shutter speed will give you motion blur (slower then 1 divided by the lens length). And so on!

Put all those together, and exposure becomes much easier. The key: reduce everything to the above very simple principles.

Exercise: this week, shoot only in manual mode. Both inside and outside, so you have big changes to deal with, This is the best way to handle learning exposure, and once you know exposure, photography becomes much easier.

 

Learn…

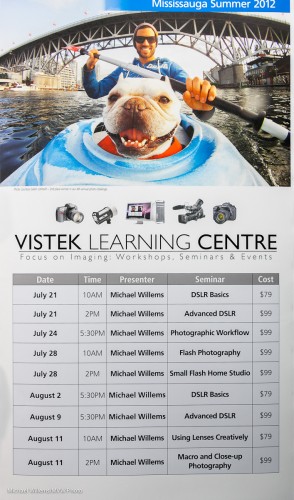
Today I teach DSLR courses at Vistek in Mississauga.

There are open spots, so if you have always wanted a refresher, head on over.. 10AM bascs, 2pm advanced. Both are good: I recommend you do both. see the list, and sign up, here – or just turn up.

Why am I excited about this? Because these courses are my own, they are good, and buying an SLR is nothing unless you learn how to use it, and I can teach you.

Starting with these simple three tips of the day:

  • While it is not strictly necessary to turn off your camera before changing lenses, memory cards, etc, I still recommend it. Because it is good practice, but also because on most DSLR cameras, when you turn off/on, the camera attempts to clean the sensor. And the more sensor cleanings, the better.
  • Charge your LiIon battery daily. Let it run down every month or so – not strictly necessary either, but not a bad idea, and the camera can tell more accurately how full the battery is.
  • Use the viewfinder, not the back of the camera – and make sure the eyepiece is set to your eyesight. The diopter adjustment is meant for this purpose (now you have something to google or look up in your manual!).

Not rocket science, but often, small tips make you a more efficient photographer, so you can concentrate on the really important stuff: moment, composition, and light.


Déja Vu All Over Again

One thing I must emphasize to my students over and over: your pics are a resource to be mined. Again and again. Your emotional involvement with the images decreases, and that gives you a new, fresh look.

After a shoot, I do the post work, meaning largely that I select what I like. But I go back to the shoot later. And later. And later again. Today I found many winners in shots I did six months ago. Years ago, even. That is why it is unwise to delete  pictures. Buy a bigger hard drive instead.

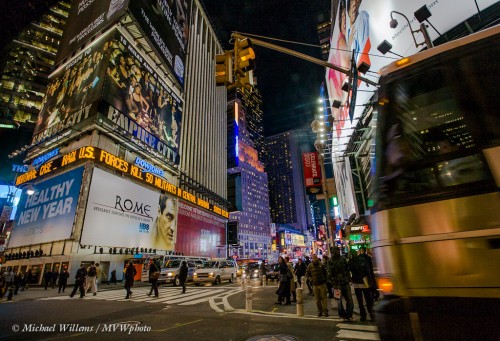
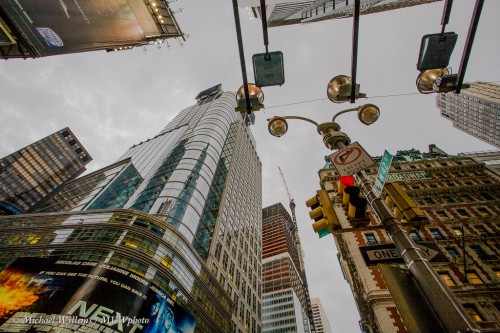
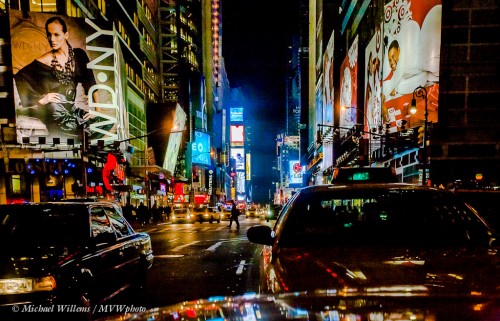
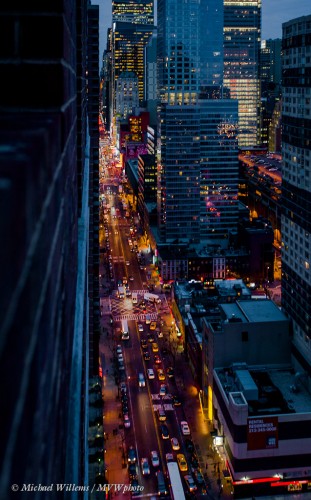
Just now, I went back to 2007 and looked at a few new York pics. And I had a little “post hoc HDR”-fun with them digitally – which I normally do not do, but this time, hey, why not. Here’s four samples:

Just a few fun images that I did not even notice the first six times I looked at this 2007 shoot. Goes to show, doesn’t it? So if you want to have some fun, open Lightroom right now, go the the first ten shoots in your catalog, and see iof youcan find images taht never struck you before. I bet you can.

___Note: Tomorrow’s two courses at Vistek in Mississauga still have open spaces. Sign up now, or just turn up tomorrow morning (Digital SLR Basics) or afternoon (Advanced Digital SLR use). You will not regret it! Space is limited: see the list, and sign up, here.


Macro Tip

For close-up photos, I have four quick tips.

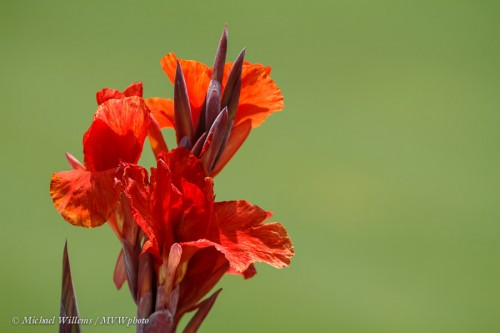
First: you may not need a macro lens. Yes, of course it’s great to have one, and for small objects like bugs you need one – but there are many types of macro shot you can do without a macro lens. Small-sensor cameras (point and shoots) can get very close without any spacial lens. So can long lenses, like my 70-200mm lens, which takes pictures like this, from the Oakville walk the other day:

Second tip: use simple backgrounds. Again. like in the pic above. I defocused the grass by shooting at f/2.8.

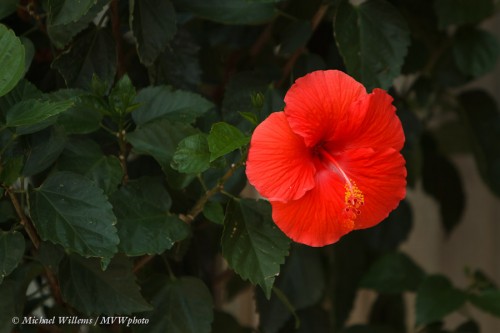
Third tip: use contrast to make your subject stand out. Like in the shot above, where I used colour contrast. Or in this next one, where I used brightness contrast:

This time, I simply selected a dark background. You can hold a sheet of black paper behind the flower if you like, too.

Tip four: avoid direct sunlight if possible, though translucent flowers are nice. Else, soften the light, e.g. by using a diffuser.

Go try – point-and-shoot, or SLR with large lens: go take a flower picture right now. Questions? You know where to find me.


Warming!

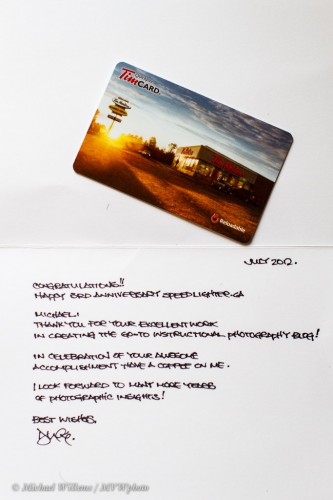
I recently announced that this daily blog celebrated its third anniversary – and a number of you have very kindly taken me up on the “buy me a coffee?” that I mentioned. This is heartwarming, and here is the latest one – in today’s mail. Thank you Duke!

And I look forward to continuing this free resource, hopefully for many more years!

Michael

PS and here’s a tip: to take a photo of a piece of writing like this, use a longish lens (50mm on a crop camera, for instance), and use an ISO that ensures you get a fast enough shutter speed (at least “1 divided by the  lens length”, preferably twice as high). If using an automatic mode, use exposure compensation +1 to +2 stops (it’s white paper, after all).


What should I buy?

A common question that I therefore hear often:

“I am going to buy a [new] camera. What should I buy?”

Followed often by:

“Oh. Isn’t there anything cheaper?”

Starting with the last question: there’s no free lunches. As for the first – that’s like asking “what car should I buy”. I have noi idea what car you should buy – it depends in needs, budget, availability, and so on.

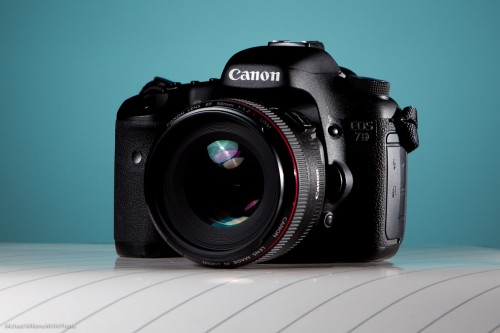
I have two small cameras: a Canon G9 and a Fuji X100. And three SLR cameras:  A Canon 7D, a 1Ds Mark3, and a 1D Mark4. They each have pros and cons. All I can give you is some pointers.

You buy a compact camera if:

  • You have a restricted budget.
  • Size and weight are more important to you than flexibility and quality.
  • You will replace it every few years.
  • You do not need special lenses (wide angle, telephoto, macro, etc).
  • You shoot mainly static subjects.
  • You want to be inconspicuous.

You buy an SLR if:

  • Quality is paramount.
  • You are willing to learn.
  • You want to be able to shoot quickly once you aim at a subject.
  • You will shoot a lot of “difficult” subjects (sports; night scenes).
  • You are willing to invest for the future.
  • You wil by extra lenses.
  • You need to be able to use a big flash.

A few recommendations, then:

  • Think carefully about what your requirements are. What will you use the camera for? What do you need it to do? What do you expect from it?
  • If you buy a compact camera, look for one with a large sensor. These are available nowadays – small sensor cameras produce graining pictures, especially in the dark, and have trouble producing those blurry backgrounds we all love.
  • If you buy an SLR camera, I would recommend a Canon Digital Rebel – but that said, there are no “bad” cameras. Nikon and Canon are the pro brands, but Olympus, Pentax, Sony, and in the compact cameras, brands like Samsung, are just as good. Sony wants to be one of the big boys. Samsung is innovative. And so on.
  • So go hold the camera. Try the controls. Try how it feels. Fall in love – else you will not get most use out of the camera.
  • Make sure the controls are easy and convenient. I find, for example, that touch screens are gimmicky and inconvenient – you keep hitting the wrong thing all too often, and you have to take your hands off the camera to set anything.
  • If you buy an SLR, consider not getting the “kit lens” – these are not very good – but invest in a better lens or two.
  • Include a “portrait lens” – 50mm f/1.8 or f/1.4.
  • Read dpreview.com for a review of your chosen camera.
  • Have realistic expectations. A compact camera will not do for sports shooting, for example.

Does all that help? Yes, some thinking is required, and compromising – just like when you buy a car.


Wide Lens Caution

I am a big fan of wide lenses – 16-35mm on my full-frame camera, or 10-20mm on your crop camera.

But there is one thing to watch out for: do not get too close to people. Especially, do not put them into the corner: here is volunteer student James on Sunday:

Avoid the corners!

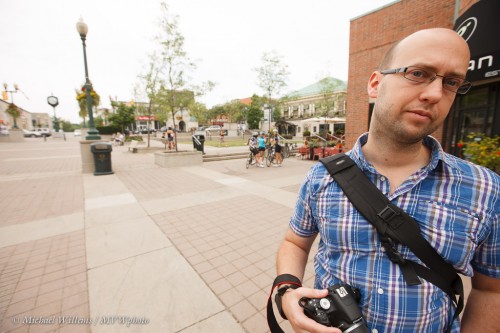
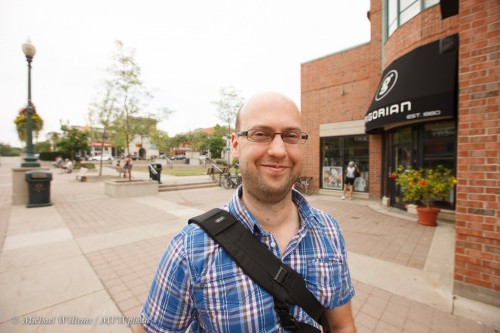
And avoid getting too close in general. As in this one, which is much is better, but the extreme proximity to my subject still distorts his face:

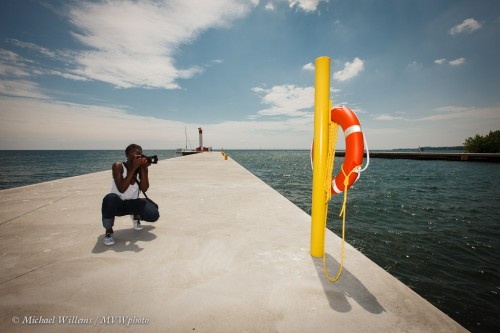
Wide lenses rock, as long as you avoid this gotcha. What they do do is give you diagonals. depth, perspective, and a few technical advantages also: the ability to shoot at slow shutter speeds, and almost infinite depth of field. so if you do not yet have a 10-20, go buy one, and shoot this kind of image:

QED.