In my “quickly building a…” series, here is another one: building a traditional standard studio portrait.
Set your camera to manual, 100 ISO, 1/125th second, f/8.
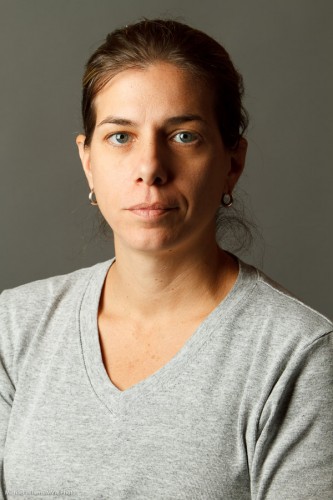
Start with one light, the main, or “key” light. 45 degrees off to the side, and 45 degrees up. Using a diffuser like a softbox or shoot-through umbrella. Use a flash meter to do this and you get:
Good light, good catch lights in the eyes.
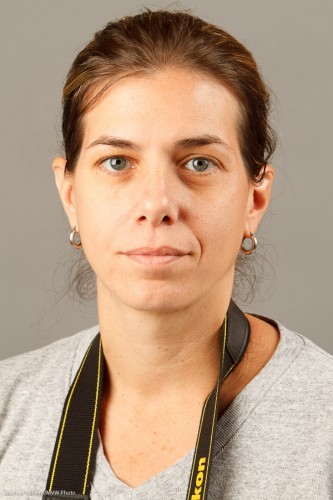
OK, so now add a fill light, say, two stops below the key light. Use a bounce umbrella or some other diffuser.
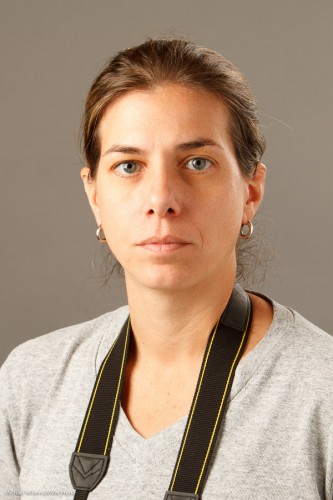
Oh, that is a little too bright. Turn it down a little, and then add the next step: a hair light. From behind, to give the hair that look of flowing shampoo awesomeness. Use a snoot or grid, so the light only goes where you want it to.
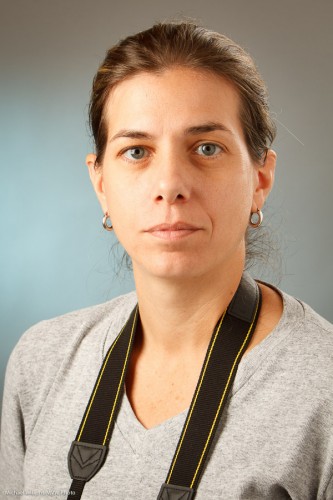
Good. Almost done. Now add a background light, aimed at the background. Consider using a gel, and again, perhaps a grid.
I like to have a bit of a pattern to it, a dropoff, as you see.
And that’s all – simple, if you take it methodically. If you start with all four lights, you will get muddled.
And thanks to the pro “chick that clicks” student who volunteered for this the other day during a light coaching session.


