How quickly things change.

The thin veneer of civilization… I am sure it has been mentioned enough to be a cliché. But just like truisms, clichés are true – that’s why they are clichés. Civilization can change, turn bad, or disappear quickly. I reflect on this these days.

And change is what we are seeing now. My store is closed for the duration and I am at home. Fortunately, I can teach from here, interactively via the web.

So let’s see the silver linings. This is a good time to learn. (My ebooks, incidentally, are temporarily on sale for just $49 for the collection: go here and use checkout code “COVID” at the end to get a $30 discount.)

Another thing to do? Get creative. Take out your camera and a flash (or two), and make some documents of this time. We are documenting, and even making, history here.

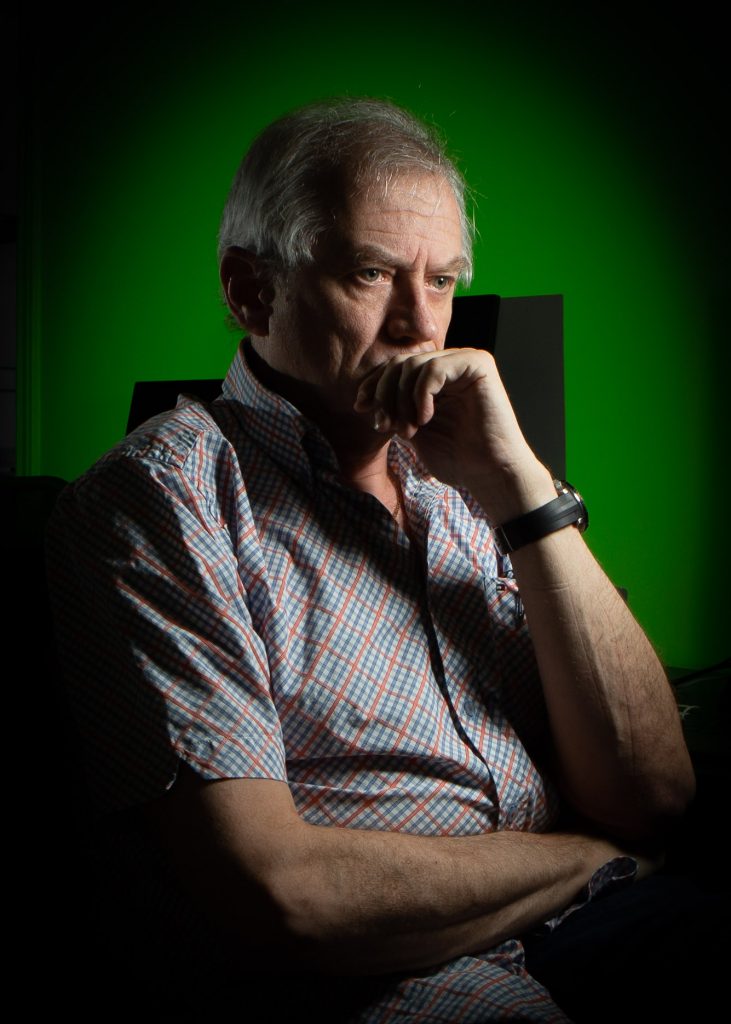
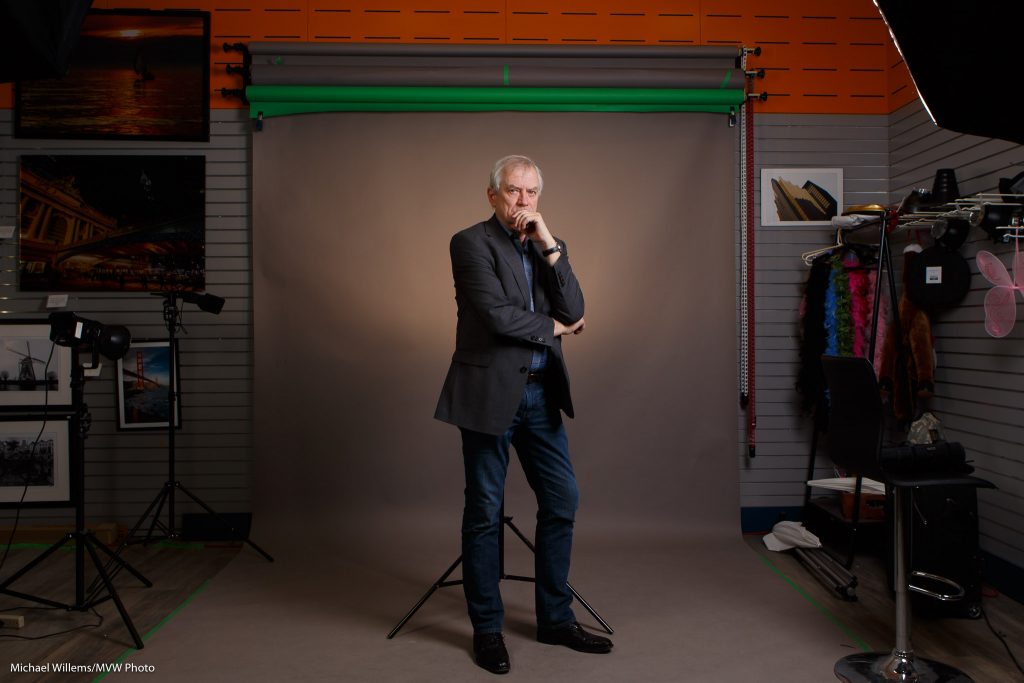
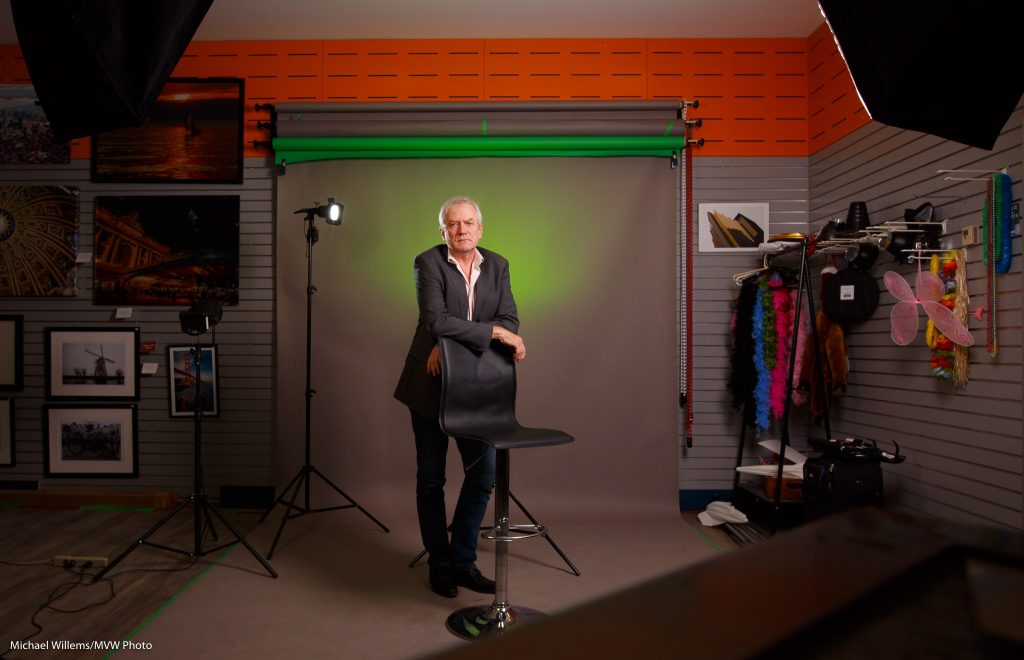
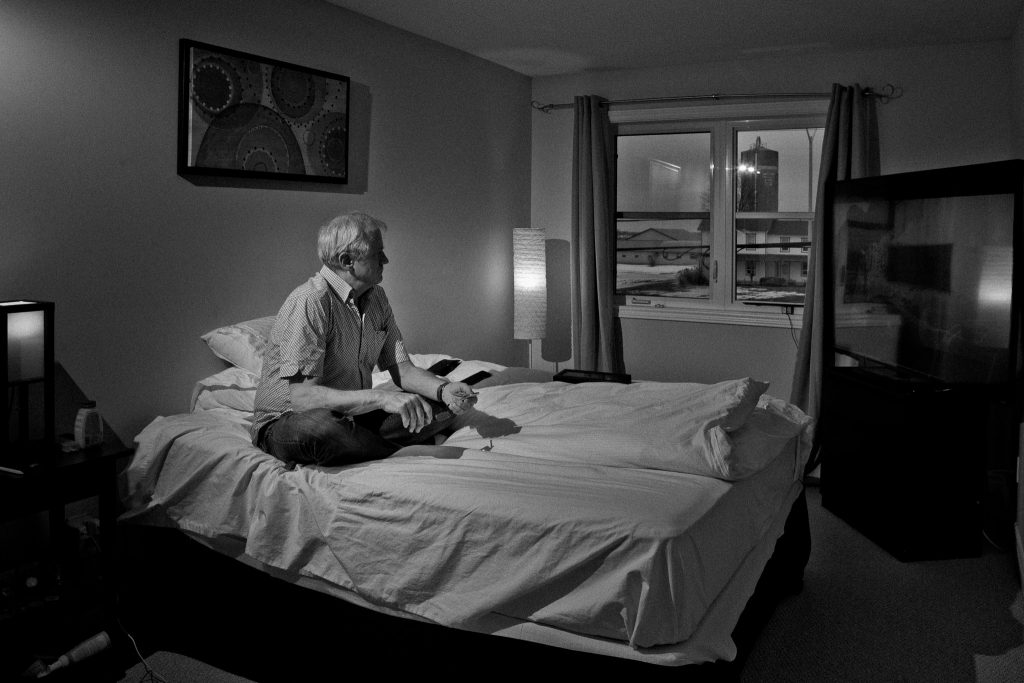
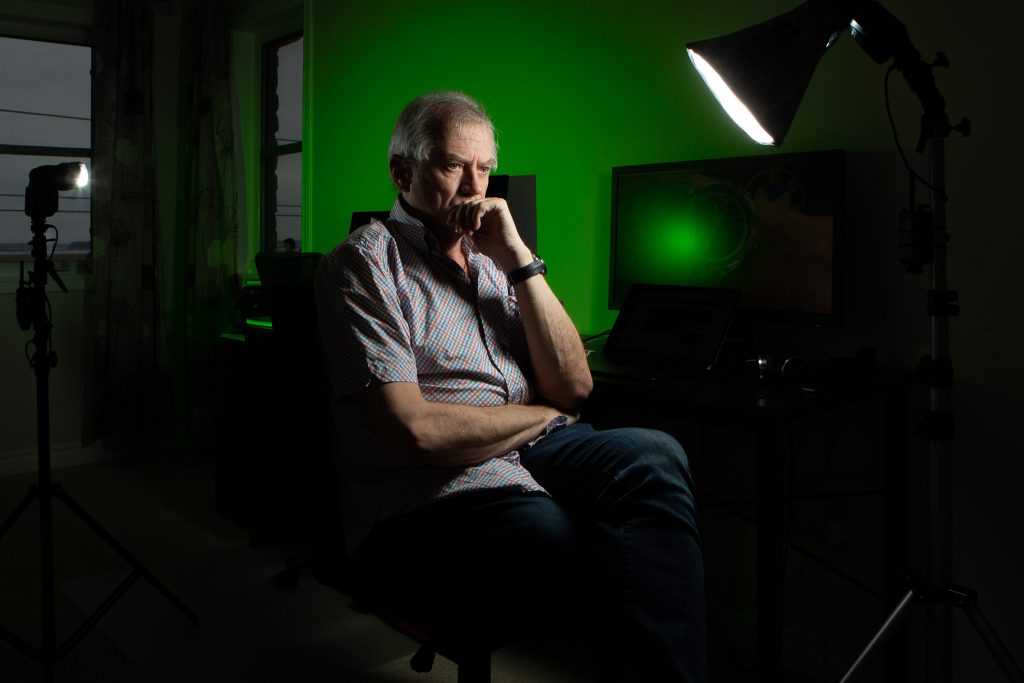
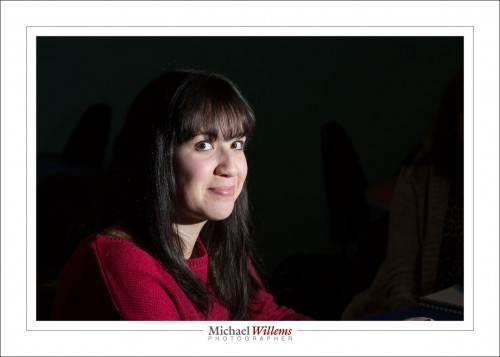
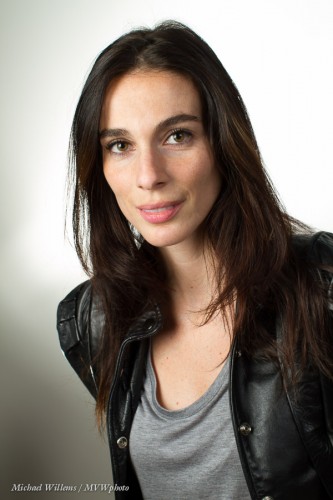
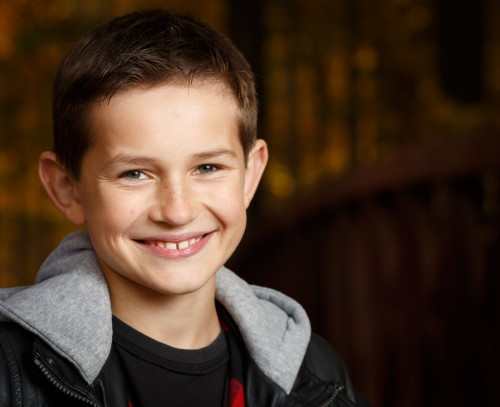
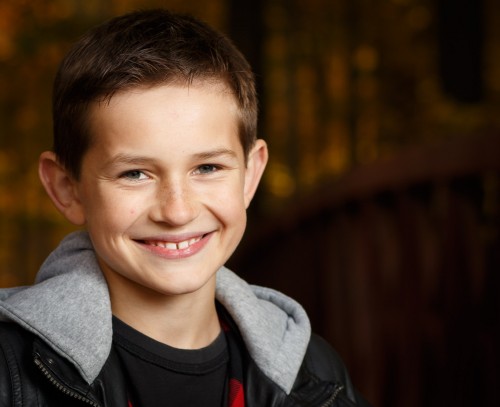
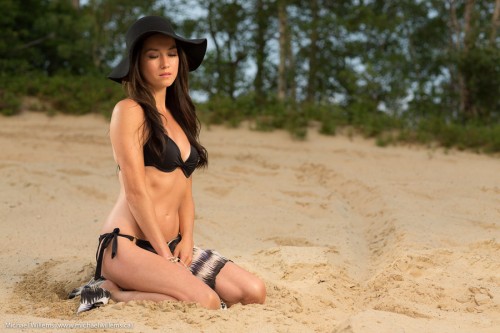
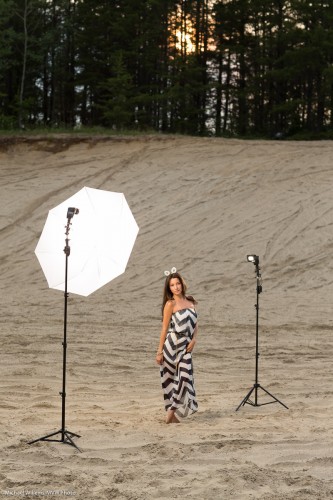
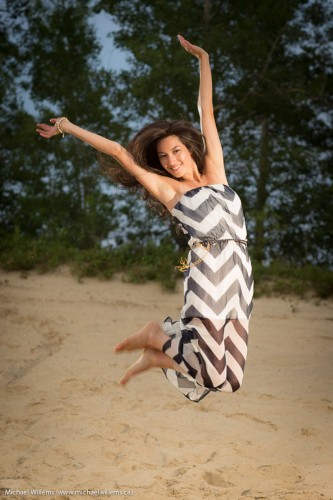
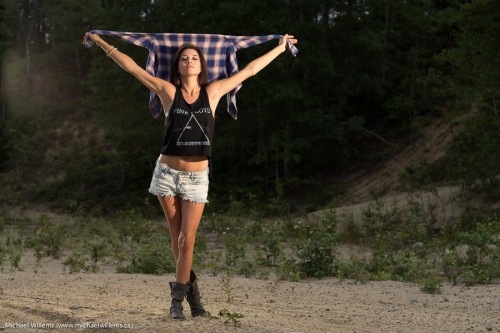
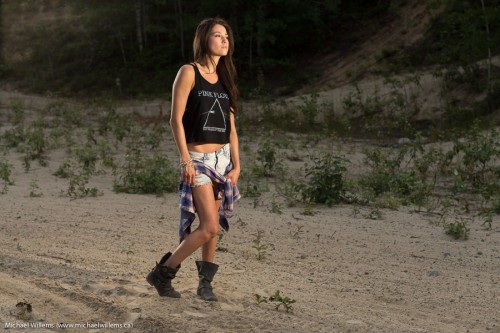
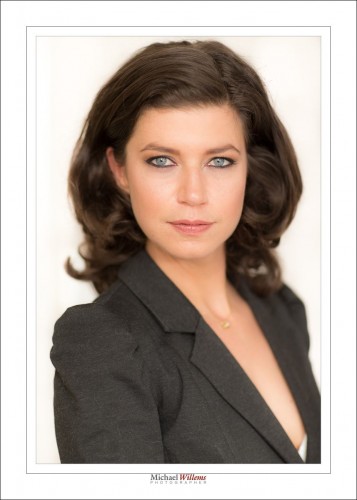
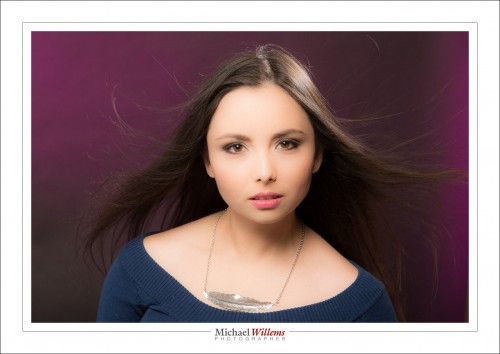
As for me, I am going to do a portrait every day. Here are the first four:

Because I am a photographer, you can see the equipment. In the last photo, for example, that is two manual speedlights fired with Pocketwizards. The left one is fitted with a Honl Photo Aurora Borealis Green gel; the one on the right is equipped with a Traveller-12 softbox. (See them here). In the second image you can also see a Honl Photo 1/4″ grid in use as the hairlight. Yeah, let’s get creative in these terrible days. Learn flash!

Michael

PS: I’ll teach a flash course online live next week; contact me for details or for future dates.

“Smile”…?

“Opa en Oma Willems”

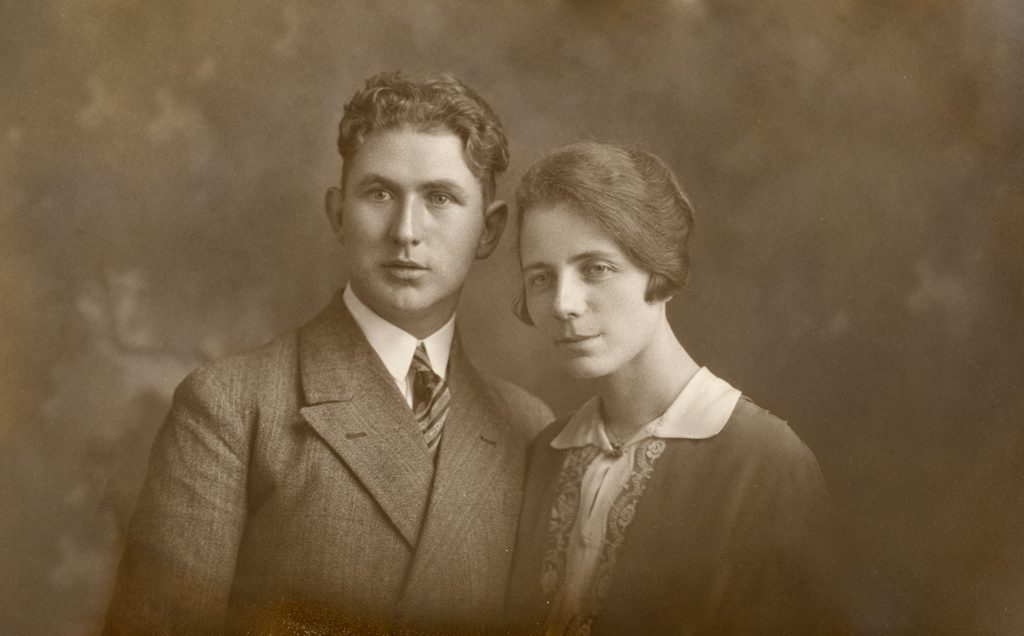
To emphasize what I wrote yesterday, look here. My grandparents, in 1928 in Tilburg, the Netherlands. In other words: just before they were to set sail to the Dutch East Indies, or “Ons Indië”, as they called it at the time: “Our India”.

They were headed to the city of Batavia, where they settled down, both teachers, and had a family, namely my father and his two younger sisters.

Batavia is now called Jakarta, and the entire family has long since passed away. None of them made it to a very old age, all dying in their 60s or early 70s, probably at least in part due to their experiences for a number of years in several of Batavia’s Japanese concentration camps, including the infamous Camp Tjideng “hell on earth”. The entire family survived, which was not all that common, but they were marked. They never talked about it much: the little I know, I heard from my father’s younger sister Chris.

Willems, G.B.H.7733643, 13, 11, 93853

In the photo, they were of course unaware of what was to transpire. The line above shows their record in concentration camp Tjideng in April 1944: mother and three children. (A couple of months later, at age 14, my father was transported alone to the “men’s camp”.)

After the war, they were held in the camp by the British for “security purposes” – my father always resented this, almost as much as he resented the Japanese and in particular Emperor Hirohito, in whose name all this was carried out. Not being one to listen to authority, he escaped and walked back to Tjideng–not a very safe thing to do at the time. Shortly after they were eventually released, they were all put on a ship to The Netherlands (which my father had never seen, of course) and handed 25 Dutch guilders and told, basically, to get lost.

In any case, the photo.

First, of course old photos are an invaluable way to travel back in time, and they should be valued as such. Priceless. And they should be preserved (the above version is my restored version of the original, where I fixed scratches, fading, sun discolouration, and so on. If you have old photos, have me restore them.

Second, the actual portrait. A fabulous professional work. Perfectly lit (the technical terms are “Rembrandt Lighting” and “Broad Lighting”. Great expressions. And they are not standing there posed military style, smiling at the camera. They are looking out, to we know not what—their future in the East, perhaps? Or are they looking back at the first half of their lives? She seems more apprehensive than he, pensive, perhaps a little sad, even. He is more “bring it on”, but is holding back somewhat at the same time.

This is what a great portrait should do. So while I understand the liking for “stand there and smile”, it is also a great idea to consider some more artistic portraits, that bring out the subject’s personality. Posterity will be very grateful.


See www.michaelwillemsphoto.com for information about the store/school/studio in Orléans, Ottawa. See you there!

Smile?

Ever wonder why models never smile in advertising photography? Why they always look so serious… aggressive even, sometimes?

Because they want to look perfect, that’s why.

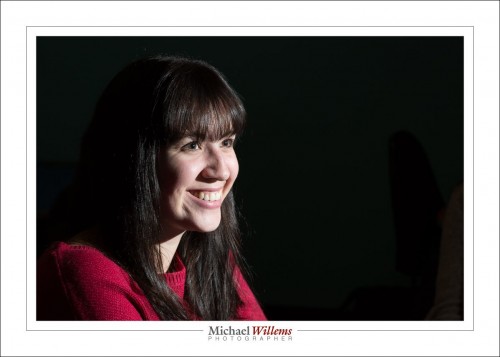
Smiles create smile lines… but unlike you and I, photo editors, Cosmo readers, and models who want perfection call these lines “wrinkles”. And they dislike them, and the shadows they create. Like so:

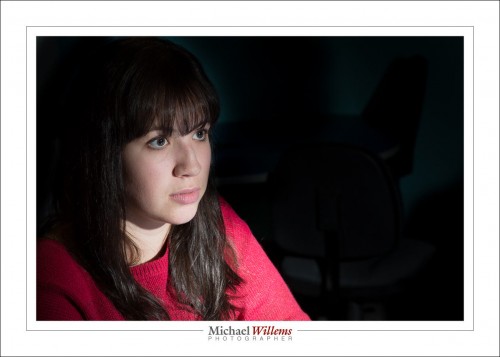
The aforementioned (and, truth be told, most women) usually prefer this, a very “no-shadow” neutral look where skin is perfect:

If you are shooting traditional model shots, like for a portfolio, that’s what you do.

  1. Puff out some air, like when you voice the letter “P”.
  2. Let face come to a rest; this takes 1-2 seconds.
  3. Leave mouth ever so slightly open.
  4. Ensure that all facial muscles are 100% relaxed.

Result: skin is flawless. No shadows, no unevenness, no wrinkles. No personality is shown. Just beauty.

But wait. The look you want depends on what you are shooting. When you want to depict personality, you can have a person looking angry, surprised, sad… even happy. Like this:

So relax and shoot what you want. Do not shout “smile!” for every shot; but do not avoid all smiles either. If only because your model will feel better. But also because you may indeed want to show different sides of a person’s personality.


“My first… etc”

I very often hear people who are a little ahead of themselves. They do paid portrait shoots before learning how to focus, that sort of thing. They do not want to learn formally, for instance from a course, or books, or seminars; and yet they expect the knowledge to come to them for free, somehow.

Wishful thinking, and you know it. So let me grab a few of these things by the horns. Starting with portraits. You are doing a studio portrait; you have a backdrop; but the rest is mystery. So your images end up:

  • Badly lit.
  • Under- or overexposed.
  • With a background that is sharp instead of blurred.
  • With the subject not separated from that background.
  • Out of focus.
  • With the background white, not coloured even though you use gels.

That is because you never learned the basics. But there is good news: studio portraits are simple. All you need to learn is:

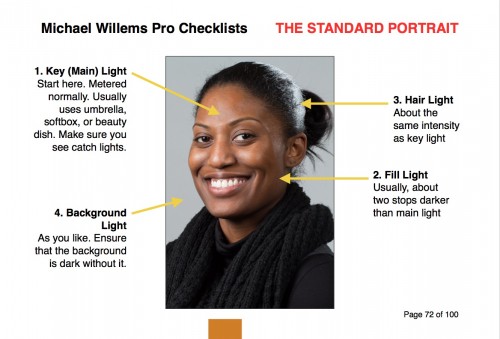
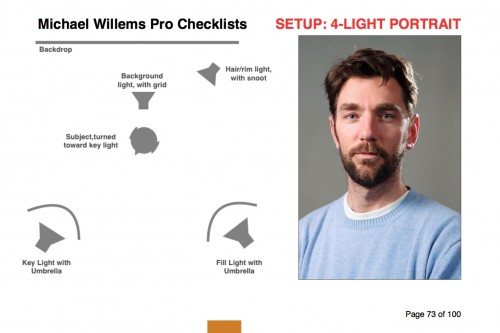
  • Lighting. A main light, 45 degrees away from subject. A fill light, same on other side. Hair light, opposite main light. See diagram, from my new book:

  • Exposure. Set your camera to manual mode, 1/125 sec, f/8, 100 ISO.
  • Turn the flashes to half way (obviously  the flashes are on MANUAL too).
  • Now meter the main flash. Adjust main light until it reads f/8.
  • Same for hair light.
  • Fill light: meter this to f/4 (i.e. adjust this light until meter reads f/4 when it flashes).
  • Background light: same as main light, again.
  • White balance to “Flash”.
  • Focus using one focus spot. Focus on the eye using that one spot.
  • Use a lens longer than 50mm. I prefer my 70-200 or my 85mm prime.
  • Move subject from background as much as you can. Then you can gel the background light. If, whoever, much of the normal light falls on the background, you cannot gel. Test this by turning OFF the background light: the background should be dark.
  • Turn subject toward main light, then head slightly to you.

Like this:

That really is all. Click., You have a competent portrait.

What you must not do is pretend that no learning is necessary. Go find a course, go buy my e-books; read this free resource www.speedlighter.ca; take private training; sign up at Sheridan College; : whatever you can do, do it now.

It really is simple. But not as simple as “I just bought a camera and next week I am shooting a wedding”—and believe me, I have heard that very statement more than once.


Big News!

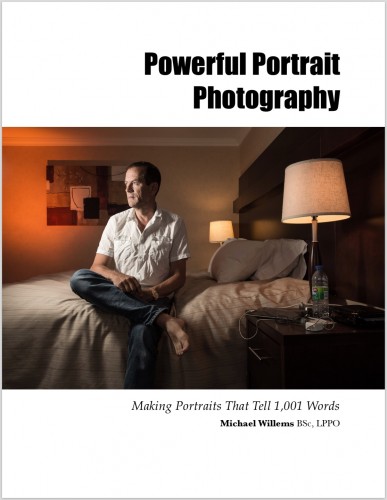
OAKVILLE, 24 November 2014—After many months of preparation, Michael Willems has tonight released his sixth and latest e-book, “Powerful Portrait Photography: Making Portraits That Tell 1001 Words”.

This book is available for immediate download now from http://learning.photography.

If you, like most of us, are attached to people, you will find enormous satisfaction in shooting their portraits. But only if you do it well. This all-new e-book takes you through the jungle of terms, shooting techniques, lighting schematics, posing techniques, and types of portrait and for each one, outlines in a logical fashion what it is you need to do to perfect your technique. From equipment to psychology, award-winning photographer and educator Michael Willems leads you through it one step at a time.

This extensive and richly illustrated e-book is $19.95 plus applicable taxes: it comes as a PDF file conveniently optimized for freely viewing on your iPad or other tablets, computer, small cell phones and similar platforms.

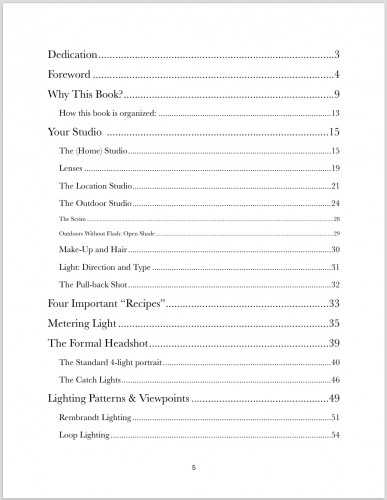
The Table of Contents shows that the subjects will teach you everything from technical needs and lighting schematics to psychology and special tools and techniques:

The book is available for immediate order and download.

But Wait! There’s More! The set of all six of Michael’s books is now also available at $79.95, a $40 discount over the regular price of $120. What better Christmas present for yourself or a loved one? Or even better: get them now so you can shoot great portraits during the upcoming festive season.  Head to http://learning.photography/ now to order your downloads or DVDs.


A small, important detail

The catch light in someone’s eyes are essential: no catch lights, no portrait. And that catch light needs to be not in the centre, as when you use a pop-up flash (can you spell “deer in the headlights”?), but in the upper left corner, or the upper right corner, of the eye (in the “10 o’clock position” or in the “2 o’clock position”). Like here:

If you do not have a catch light showing in at least one eye, the subject lacks that little “sparkle of life”, and looks strangely lifeless.

Your catch light usually comes from your main light source, whatever it is. And “whatever it is” is important, because it affects the picture.

Take, for instance, a beauty dish, which like an umbrella gives you a circular catch light (albeit with a slight dot in the middle):

A reflected umbrella would be a white circle with a big black blob in the centre (the flash). That looks odd, which is why I prefer to shoot through an umbrella.Whatevery you do, make sure

Or take a softbox, which, like a window when you use available light, results in a square catch light:

The moral is: in portraits, ensure that there is a catch light, that it looks good, and that it is somewhere in the upper half of the eye. Preferably, if you can., in both eyes.

Portraits are fun, and yes, there is a lot to be learned.


TIP: Have you thought of a training gift certificate for a private custom lesson with me as a gift for this coming season? A gift which is not only fun, but leads to your loved one making better family photos. And you’re done with shopping immediately. So everyone’s a winner. Go to http://learning.photography to order your gift certificate now.


Gelling!

In yesterday’s shoot with Vanessa Scott in Timmins, Ontario, I used gels to recreate the sunlight that was fast fading below the hills. All shot with Canon’s amazing 85mm f/1.2 len.

(1/200th, f/4, ISO100)

Vanessa looks like she is in that light, because I put a CTO (Colour Temperature Orange) gel by Honlphoto on the main flash, like so:

You will see also that I am using a second flash, fitted with a grid, for the hair light. Two flashes driven by Pocketwizards—that’s all.

One more from this amazingly versatile young woman:

1/60, f/5, ISO100 — I had to adjust for fading light


Again, the flash allows me to offset the subject against the background, which I keep dark. Without the flash, I would lose the nice colour and I would have to make everything, including that background, very bright.

And that’s how the cookie crumbles.


Fit for purpose

Portraits need to be fit for purpose.

Take this picture. A résumé picture:

I have shot this model clothed, nude, in studios, outdoors, traveling: every picture is different.

A resume picture needs to be professional (the jacket, the hairdo); show beauty in the case of a woman (the overall make-up, the low cut, the eye shadow), but not excessively so; be perhaps a little sexy (the white top) but not overly so (the necklace, the businesslike jacket again). The expression should be friendly but neutral. Yes, some thinking goes into this.

As it should go into every portrait you make. Always ask:

  • What is the photo for.
  • Whom is it for?
  • What are they expecting?
  • What is the person being pictured expecting?
  • What are you expecting?
  • What demands does this put on the photo?
  • What problems need to be solved? What needs to be de-emphasized?
  • What do you want to emphasize?

If you ask yourself these questions, you will come up with answers all by yourself. Answers about clothing, setting, light, expression, and so on.

But if you do not ask, you will not come up with answers; or worse, you will come up with the wrong answers.

For those of you who are interested, after the “more” break, two civilized nudes from the very same shoot as the photo above:

Continue reading

A simple, but effective, trick

A simple trick, used by photographers the world over, is this. Can you see what we did in this shot from two days ago, a portrait of Liz Medori?

Yup, we used a fan. A simple cheap fan; I usually use an industrial fan from a home supplies store. That fan makes the hair do its wild sexiness thing, which you will see in many model photos.

And the good news: You need to know no technique for this. Even if you are a total beginner, nothing stops you from aiming a fan at your long-haired subject.

What else did I do in that photo? We had a make-up artist, Melissa T. We lit the model with one overhead softbox straight in front of her, plus one hair light aimed at us, for shampooey goodness™, plus one background light with a purplish gel aimed at the background. And I shot with a 70-200mm lens at the typical studio setting of 200 ISO, 1/125th second, f/8.

But even if you do not know what that means; go for it with the fan!

___

NOTE:  As usual, this content is brought to you free of charge. As are all the other blog posts (the entire four-year searchable archive); the articles; and things like the free book chapter from my latest book – the entire chapter on Exposure (go to http://www.michaelwillems.ca/e-Books.html and click on “download sample). Yes, in addition I sell e-books and training and photography sessions, but this content is provided free of charge.

Since this is a business, though, let me ask you to so something in return: please send this post to three friends who may be interested. That way even more people benefit from this advice and these free lessons.

Fair deal?


The Thinning Lens

As a photographer, I photograph a lot of people who are reluctant.

Usually, they are reluctant because they do not like their looks. They want to be Jennifer Aniston, and in their mind they are Jennifer Aniston, but in fact they are middle aged, ordinary people. They are usually, but not always, women, who are generally more aware of their looks than men. A very common question is: “oh, you can only shoot me if you put on your thinning lens”.
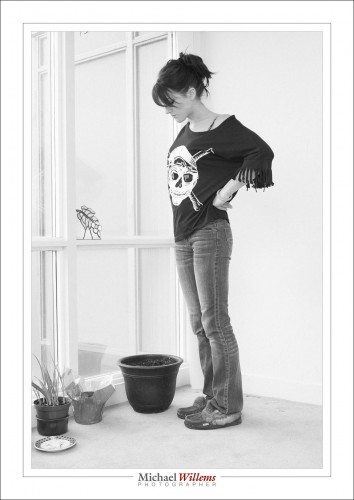
No Thinning Lens Needed Here

These people will be disappointed when they see their photos. And as a photographer, I do not like it when my clients are disappointed. So what do I do?

What I do not do is “put on a thinning lens”; i.e. edit the picture to the extent that the person is materially different. My rule of thumb is that if I cannot do it in Lightroom, I do not do it – that is the reason I have not been in Photoshop all year. I am happy to remove blemishes, especially temporary ones, like pimples and bruises; perhaps even lighten the odd wrinkle a little; but that’s it. No distorting, no making breasts bigger (or thighs smaller) or making people thinner than they are.

But there are other things I can do to get the most out of what a person has. That means things including the following:

Lighting brightly: bright light makes wrinkles vanish into the top part of the brightness, where they do not look obvious. The more high key an image, the better skin will look.

Finding the right angles: everyone has good and bad angles. I would give examples here, but one cardinal rule is that I never show the bad angle pictures to anyone – client or anyone else. Hence, by the way, the fact that I do not like clients asking to “see the pictures” on the back of the camera, unless they are very young and pretty and confident (those three do not always go together).

Modeling: when I can, and when someone is a little overweight, I try to light from the side rather than from the front.  Look at this example of a model’s legs: one lit primarily from the front, and the second lit mainly from the side, using an umbrella and speedlight. This model needs to lose no weight, of course, but you can see the principle: by selectively lighting you can give objects and people shape, and make broad objects appear narrower.
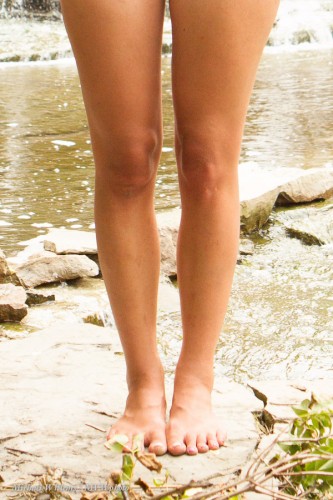
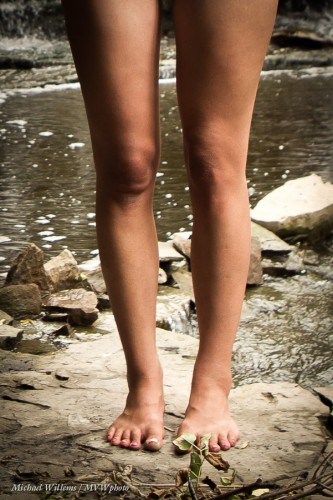
Selectively lighting – in general, I try to light good bits, while keeping less perfect bits in relative darkness.

Use a minor electronic adjustment – I am happy to use Lightroom’s Clarity adjustment to slightly smooth skin tones. A clarity adjustment of perhaps minus 15 is hardly consciously visible – except it does make skin clearer, wrinkles less obvious and hence makes the person look better.

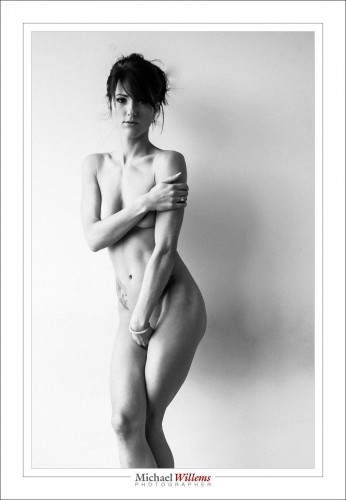
Finally, use the right lens! A wide angle lens can make large objects look “puffy” and will make close shapes look larger. Close shapes can, for instance, be the nose, or the thighs if the person is sitting, or their arms if they are closer to you than the face. Using a long lens, on the other hand, will give a much more neutral, undistorted look. My 70-200 lens is my favourite – provided I have enough space. Fashion photographers tend to also use this lens as a favourite. So I suppose in a sense there is a thinning lens!
No thinning lens needed here, either

In the end, of course, if someone is not happy with their looks, well, then there is little I can do – I cannot make them into something they are not (like Jennifer Aniston). That is one reason I am happy to photograph a lot of young women: it’s not that I prefer to (the challenge of shooting someone older is great!), but they tend to be more accepting of their bodies, for obvious reasons, and more accepting of reality of there is something not perfect.

And guess what: no-one is perfect. I am guessing that if you saw Jennifer Aniston get out of bed in the morning and groggily walk to the bathroom, you would not be impressed. We are all human. One reason I thoroughly enjoyed doing portraits of naturists at Bare Oaks naturist park the past two summers is that they understand this, and are happy with their bodies, whatever they look like, short, tall, big, small, young, old, whatever – seeing people naked, one realises that no-one is perfect like the fantasies we see in magazines where the photographers do materially alter things. Ahh.. so refreshing for a photographer!

___

NEW: You can now sign up for a June 20-30, 2014 photo tour of North Wales with me: go here and read all about it, and if you are interested, call the travel experts and sign up. Let them know you may be interested as soon as possible: this will be a great trip with photography, travel, sightseeing; doing and learning all mixed in together!