Softening Recipe

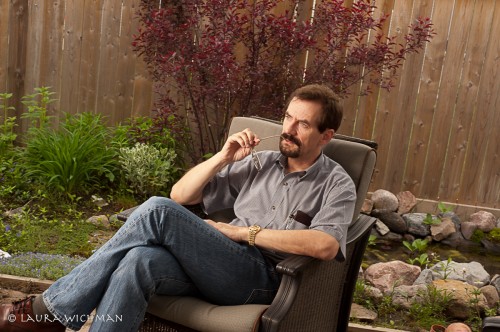
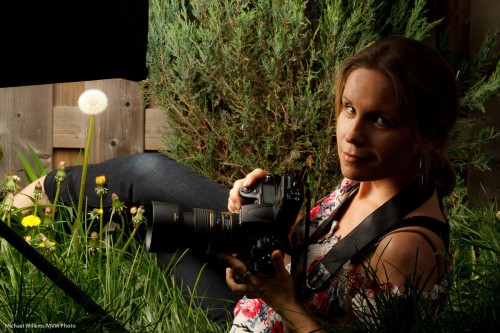
Here’s a simple recipe for a dramatic flash shot outside. Like this:

Look s”photoshopped”, yeah? Well, it isn’t. It was shot like that. And for that, you need:

  1. An external flash on top of the camera
  2. A sunny day
  3. You in very close proximity to the subject
  4. The possibility to set flash (Canon system) or camera (Nikon system) to High-Speed Flash (Canon) or “Auto FP Flash” (Nikon)

On a sunny day, you now shoot as follows:

  1. Camera on manual mode
  2. Flash on TTL mode
  3. Camera set to 100 ISO, f/4, and 1/2000th second
  4. Honl or similar softbox on the flash
  5. You very close to the subject’s face (otherwise, there’s not enough power).

“High speed flash/FP flash” allows you to go to a shutter speed of 1/2000th, which normally you cannot do (normally, you are limited to around 1/200th second).

As a result, you now get dramatic light with nevertheless a blurred background.

Why do you have to be very close? Because high speed/FP flash diminishes the power of your flash very dramatically, more the faster you go.  And the softbox diminishes it even more. Hence – be as close as around 10 inches from your subject, or the flash will not show.  But when you get it right, it is a very cool look.

___

There. Another secret free to you from The Speedlighter. Want more? Come see me do my Flash workshop at Vistek in Toronto tomorrow, Saturday Oct 5. And get the flash e-book!

More Modifiers

Today, another look at flash modifiers for you.

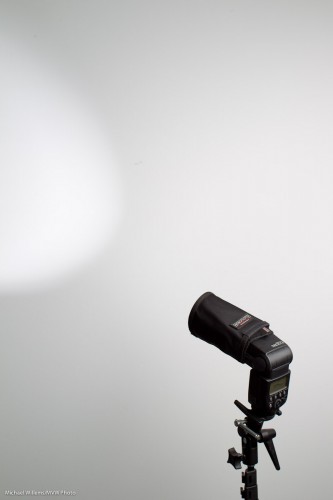
Here’s a smaller snoot (again, I am using the excellent range of Honl Photo modifiers):

This also makes a small well-delineated light area, but it is larger then the one from the large snoot.

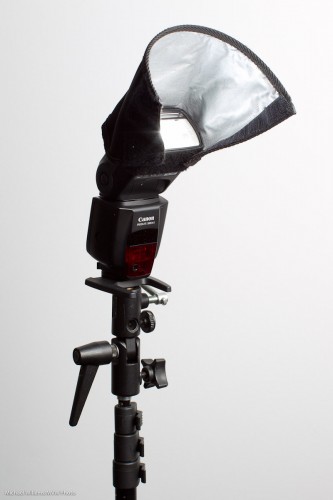
A small reflector. This allows me to direct the light somewhat; it also softens the light a little:

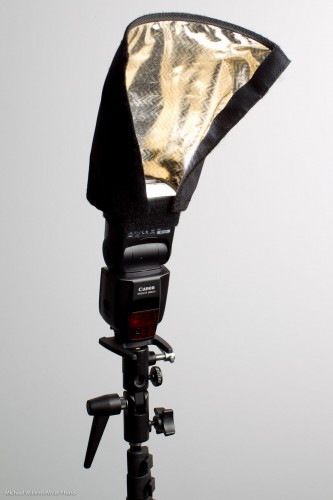
And a large reflector:

Observant readers will notice this is the same device as the long snoot – just not rolled up. This particular one is a CTO version – “colour temperature orange”, giving it a warm, tungsten-like bounce.

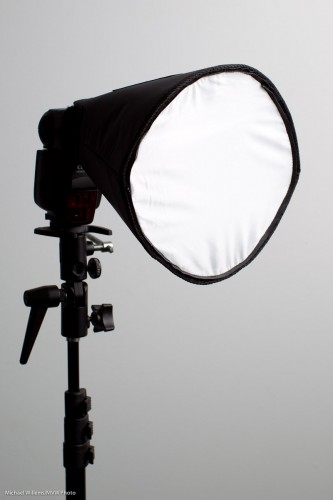
And finally a small portable softbox (this is the Honl “Traveller 8” – there is also a larger version):

This creates wonderful, soft light.

Without a softbox, this would have looked like this:

See that annoying side shadow? The softbox would have taken care of that.

___

As you know by now, my Photography “recipe” book is out: this 108-page (non-DRM!) eBook is available for purchase right now for just $19.95 –  see www.speedlighter.ca/photography-cookbook/


Portrait lesson

A quick portrait lesson today.

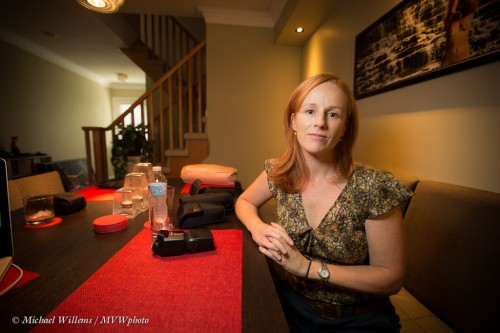
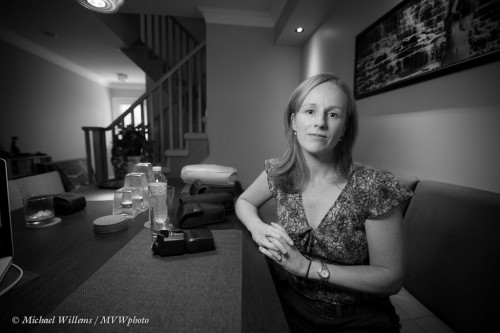
Here’s student and photographer Emma, in a coaching session on Friday:

For this photo I used a 16-35mm lens, set to 16mm. On my full-frame Canon 1Dx camera, that is a proper wide angle lens – like a 10mm lens on your 5D, 60D, Rebel, D90, or similar.

So first, let’s put paid to the adage that “you cannot make portraits with a wide angle lens”. Yes you can: environmental portraits, where you do not fill the frame with the subject. Distance between subject and photographer is the only important thing, not lens angle. A wide lens gives you that wonderful “wrap around” effect that we love in this type of portrait – the subject in, and as part of, her environment, rather than as a standalone object.

So that out of the way, what about camera settings?

I used the Willems 400-40-4 rule for indoors flash. Since our indoors environments are often roughly the same brightness, a manual setting of 400 ISO, 1/40th second, f/4 will give you a starting point that is ambient minus two stops.

Which is what I want if I want to see the background, but not too brightly: just like Rembrandt, I want to make my subject the “bright pixels”. Because as a reader here you also know Willems’s Dictum: “Bright Pixels Are Sharp Pixels”.  So that means a slightly darker background.

OK,  so that is the background  taken care of: -2 stops, give or take. How about Emma?

I used an off-camera 600EX speedlight, driven by an on-camera 600EX that was set to only command the other flash (using the new radio interface). I equipped the flash with a Honl  photo Traveller 8 softbox for that wonderful light – and that wonderful circular catchlight in Emma’s eyes:

Good, so we are set.

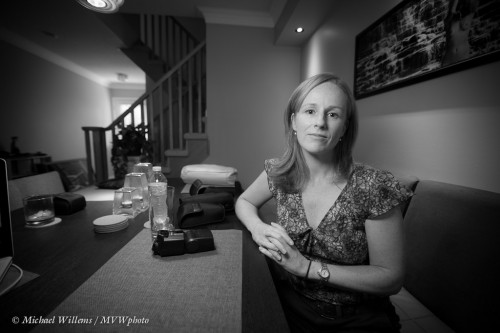
But what about the idea of making it a monochrome image, to stop the red distracting us? In Lightroom, simply select “B/W: in the Develop module:

You may or may not prefer that to the colour image. If you do, then consider dragging the red to the left a little in the B/W module. That means red light will be used less in the conversion, i.e. it will be less bright in the black and white image:

Now we have gotten rid of the red place mat almost entirely, allowing us to concentrate on Emma. That is often a good reason to go to black and white: you get very extensive creative options.

Mission accomplished, in a very simple-to-do shot that is miles beyond a snapshot.

Yes, simple – once you know how (this is what I do, and it is also what I teach).  Invest some time and effort in learning these techniques – you will love what your new photography allow you to do creatively.


Add flash to darken your photo.

Yes, you read that right: add flash to darken your photo.

Take this image, shot as a demo for me by photographer Laura Wichman the other day:

Well exposed, well lit, all good.

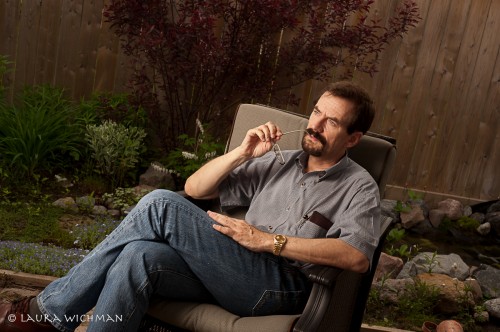
But you have heard me say many times: “bright pixels are sharp pixels”. So how about if we make this more dramatic?

The use of flash allows us to decrease the ambient exposure (first try faster shutter speed; when you get to your sync speed, e.g. 1/200th second, then carry on and use a lower ISO setting, and finally go to a a higher “f-number”). The background now gets darker:

But because a powerful flash (Bowens, with Travel Pak battery pack, equipped with a softbox) lights me, my exposure does not need to be affected. I can remain as bright, by turning up the flash (needed only if ISO or aperture are changed).

So now we have made the background darker and hence made me the “bright pixels). Using flash to darken most of your picture, in other words.

News Flash: Photo Life Magazine June/July issue is out: in it, you will see my article “Flash: 10 Problems, 20 Solutions”. Go get your copy today, particularly if you shoot flash at events.


Best light for macro

Today, allow me to talk again about “best light”.

And I would like to do this because quite often, there is no “best” light -just alternatives. Sure, there are big differences in light. But the best light, as so often, “depends”.

Take Macro shots. Sure, the conventional wisdom is that you should use cloudy-day light. And that is often true: lack of harsh shadows, and colours that “pop” with wonderful saturation.

But there are circumstances where direct sunlight is best, because it is bright. Bright means

  1. Small apertures (needed for macro)
  2. Fast shutter speeds (also needed, since the wind keeps moving the plants you are focusing on with millimeter accuracy).

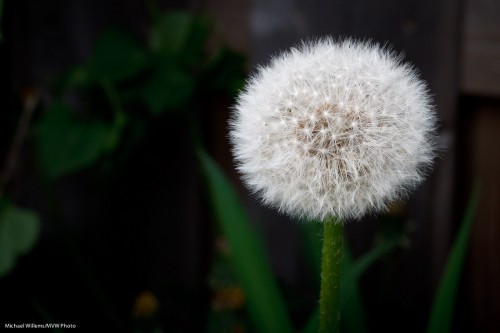
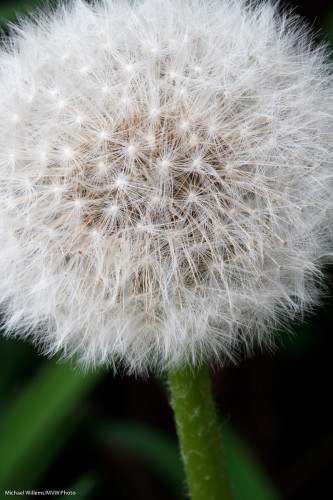
So a shot like this…:

… can be lit with direct sunlight. Because:

  1. The dandelion is lit by a shaft of direct light, while the background is not
  2. Because the seeds are not large leaves, so they do not throw shadows.

Another example:

Are there alternatives?

Sure. Sometimes the wind blows too much, so the shutter speed you get will not stop the motion. One way to handle that: increase the shutter speed. But how? Well – increase the effective shutter speed, by using flash light.

You see, if you shoot outdoors at, say, 1/200th second, that would be the shutter speed, 1/200th second. But if you use flash, whose duration is perhaps in the order of 1/2000th sec, then never mind your shutter: that flash duration becomes your “effective” shutter speed. Like in this shot:

So I now shot at 1/200th, but because I used flash, I got an effective 1/2000th second. And because of the greater light intensity, I was able to shoot at f/16 or higher – in this shot, f/20. Which in macro shots, I often find I need.

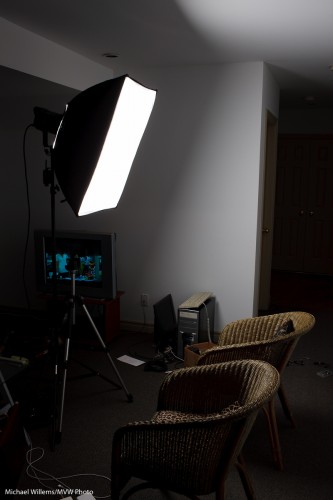
Here’s the softbox being used – top left corner:

And yes, this is a sunny day. A sunny day at 1/200th and f/22 at 400 ISO looks black to your camera, so your only light source is the flash. I used a Bowens 400 Ws light with a battery pack for outdoors use.

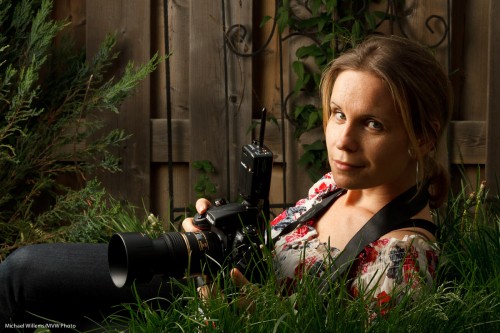
And that also gave me some nice portraits, like this:

So here an outdoors shot is lit with flash light,which gives me better light than cloudy day light. And the macro shots looked better with direct sunlight than they would have looked in cloudy light.

There is no one source of light – there are many alternatives, and sometimes the best choice is not the obvious one.


Softly softly.

For last night’s picture, what did I use?

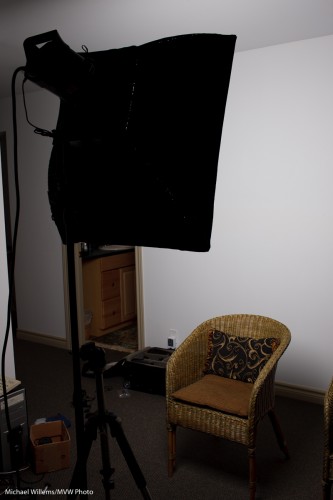
Here’s the answer. It was a simple softbox. This one:

Bowens Softbox

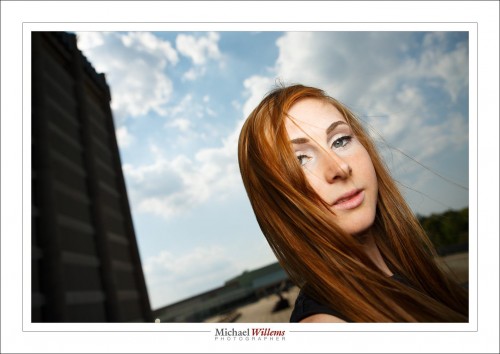
That gives a beautiful and soft-yet-directional light – which is why softboxes are the gold standard for portraits.

Bowens Softbox

Can you see in the shot above how the light drops off beautifully and softly?

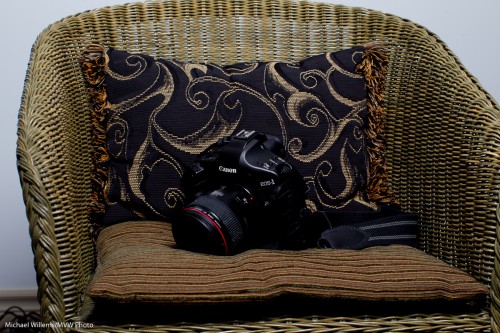
Camera lit with softbox

In a small room, the softbox alone is enough. For a beauty portrait, of course, I might add any of the following:

  • A reflector, underneath the model’s chin, to bounce light back.
  • A hair light (using a snoot).
  • A a background light, perhaps with a gel to change the wall’s colour.

But those are optional: quite often a standard beauty light softbox is all you need. So there you go.

A softbox is better than an umbrella because

  1. It is much more controllable.
  2. It does not throw (spill) light all over the room where you do not necessarily want it.
  3. Being double diffused, a softbox produces a softer light than an umbrella.
  4. It produces a more even light, and avoids hotspots more.

True: it is less convenient because it is bigger and heavier, does not fold into a tiny area, takes longer to set up, and costs more. But considering the advantages above, a softbox may still be the way to go.

Try using a single light with a softbox, and see how you get on!

A shot from the course

At the Mono “Creative Light” workshop,  we do different portfolio shots every time.

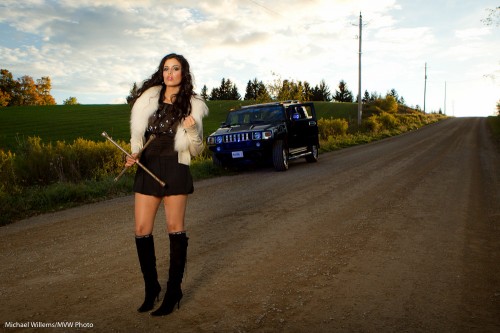
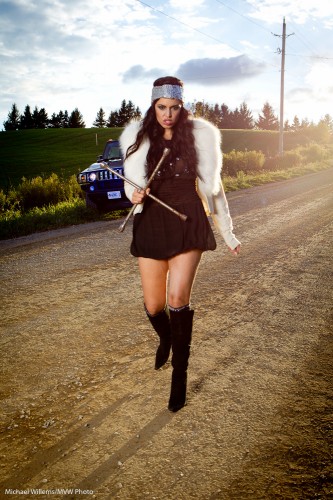
So imagine our delighted on Sunday when a student turned up in a Hummer. This was immediately put to use by model Tara:

Tara Elizabeth and Hummer

Tara Elizabeth and Hummer

That was lit how?

This is how: with a softbox, to our left. And a small speedlight to our left aimed straight at the car – with a blue Honl gel. Both were fired using pocketwizards (the speedlite using a Flashzebra cable). Metered using a light meter, of course.

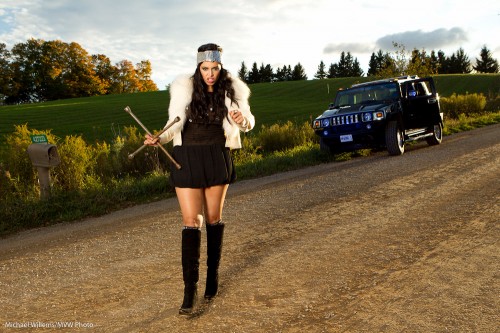
Here is an alternate take:

Angry Tara Elizabeth, with Hummer

Angry Tara, with Hummer

That was taken just a few minutes before. Can you see how every minute counts when shooting in beautiful late day light?

Okay, one more. Just to show that lens flare – which should normally be avoided – can sometimes be OK:

Angry with tire iron

Angry with tire iron

You avoid flare by:

  • Using a lens hood
  • Shielding the lens with your hand
  • Avoiding lens filters
  • Pointing slightly away from the light source

Have fun!

One more quick recipe

Quick recipe for you.

Remember this shot, done in the workshop I taught three days ago in Las Vegas with David Honl?

Yasmin Tajik in Las Vegas, by Michael Willems

Yasmin Tajik in Las Vegas

Shot how, you ask? I mean – at what settings and such?

  • Camera: 1D Mark IV with 35mm f/1.4L prime lens.
  • 100 ISO.
  • Camera on manual, 1/320th second at f/16 (slightly exceeding the 1/300th sec synch speed).
  • Flash is an SB900, also on manual (“M” rather than “TTL”); set to full power (“1/1”).
  • Flash is on a boom, and is fitted with a Honl Photo Traveller 8 softbox (notice the nice round catchlights), and is held a couple of feet from Yasmin’s face.

And you know that at full power, with a softbox, an SB900 will give you those settings.

A 430EX will need to be about twice as close to her face.

Try your own flash at those settings: how close do you need to hold it to ensure proper exposure, using the modifier of your choice. Once you know that, it will always be the same. Simple, really.

Note: the SB900 flash will overheat at these settings, especially in Las Vegas. A dozen shots in you will suddenly get no more flashes. The Nikon flash cannot be used at full power, while the Canon flashes can. With a Nikon SB800/900 flash, I would simply go to half power and live with that. If I needed more light, I would add another flash.

Want to know more? Want to learn all this and go home with a few cool portfolio shots? There is still space on the all-day Advanced Flash workshop Sunday in Mono, Ontario. Book now to get a spot.

Oh, one more thing. Am I cheating? Is this just sunlight lighting up Yasmin?

I think not. Here is the same shot without firing the flash (always a good thing to do to test your settings!):

I rest my case.

Flash tip

When your flash is grossly overexposing your pictures…

  • The flash is not seated correctly, or the contacts are dirty
  • The flash is set to MAN (manual), instead of TTL
  • You are using + Flash Exposure Compensation (or on a Nikon, also Exposure Compensation).
  • You are simply too close.

Those are four obvious starting points.

Here is me, pictured by David Honl in Las Vegas the other evening. Using a Leica X1 with off camera flash equipped with CTO gel and Honl Photo Traveller 8 softbox.

Michael Willems, shot by photographer David Honl

Michael Willems, shot by David Honl using a Leica and flash

Son in car

My son, just now, in a car in broad daylight, in a shot that took only a couple of minutes to set up:

I used three speedlites on light stands; all three were fired using e-TTL light control from a fourth one on the camera.

One speedlite is on camera right, one on the left, and one in the middle using a new Honl softbox to light up his face.

Of course with a few more minutes I would have

  • Moved the softbox so it did not reflect,
  • Positioned the other better
  • Used more gels to add more colour
  • Cleaned the car more

… but with a teenager, even three minutes is a rare gift.