Typical Event Shoot

What do I bring for a typical event shoot?

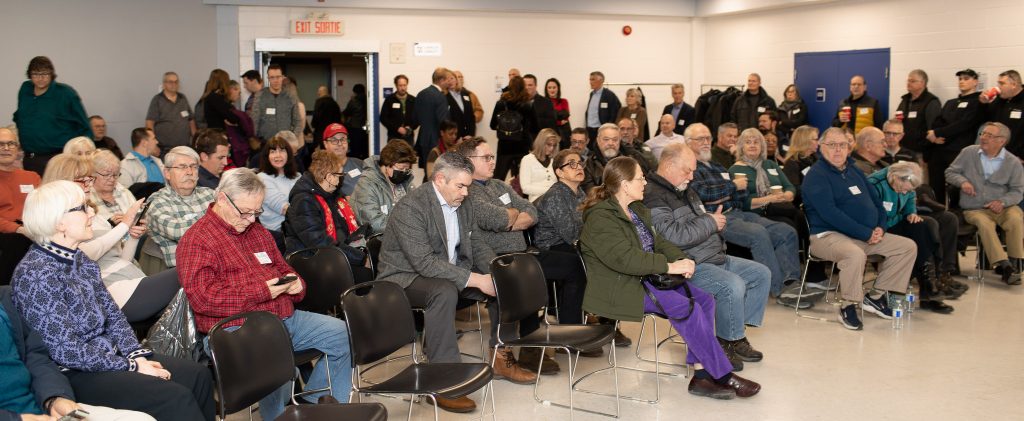
The minimum I can. Which for yesterday’s event, a political meet-and-greet in Orléans, was:

  • A camera (1Dx Mk2)
  • A prime 35mm/1.5 lens
  • a 70-200mm/2.8 lens
  • A 580EX flash
  • Spare batteries, spare flash

Normally a spare camera too.

So what is the reasoning?

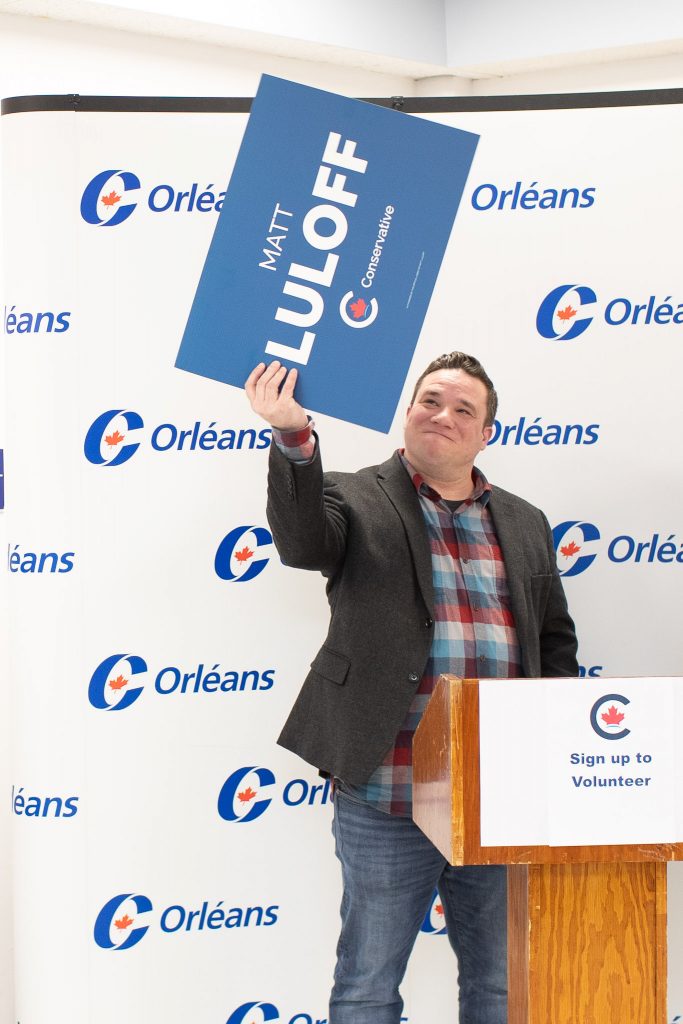
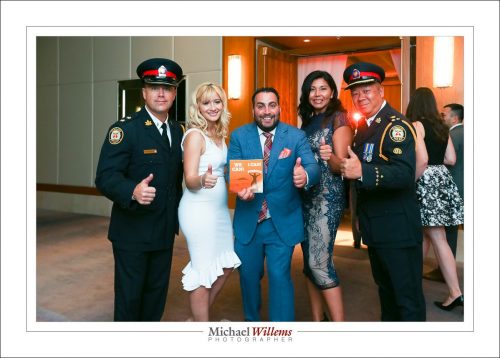
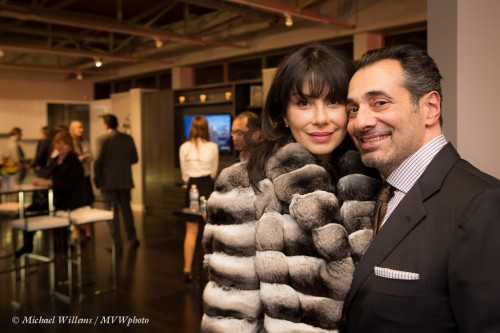
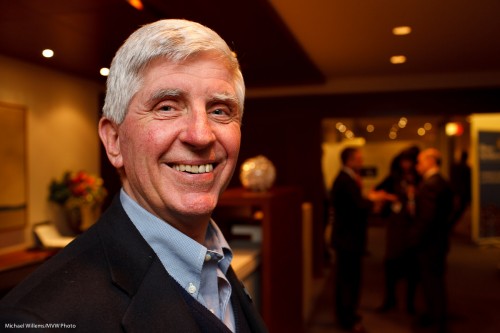
Bounce the flash (in TTL mode) off the ceiling behind you when using the 35mm lens. This means you can light, and you can add modelling – like here:

Matt Luloff, Candidate MP, Camera Set to 1/60 sec, f/4, 200 ISO.

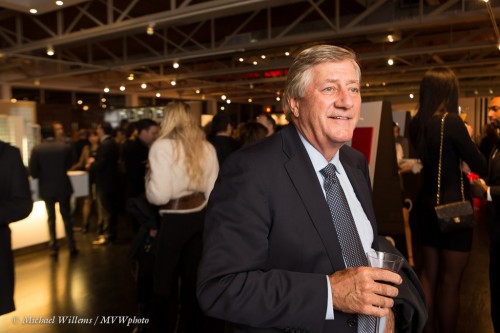
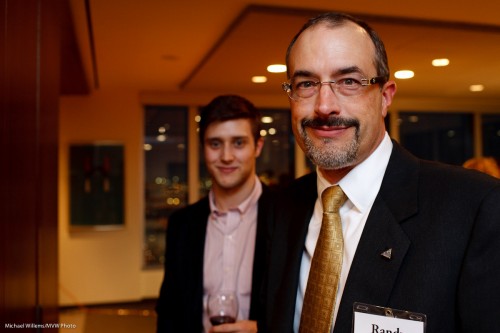
35mm is ideal for events. Consistent geometry, consistent photos. An wide enough to take crowd shots:

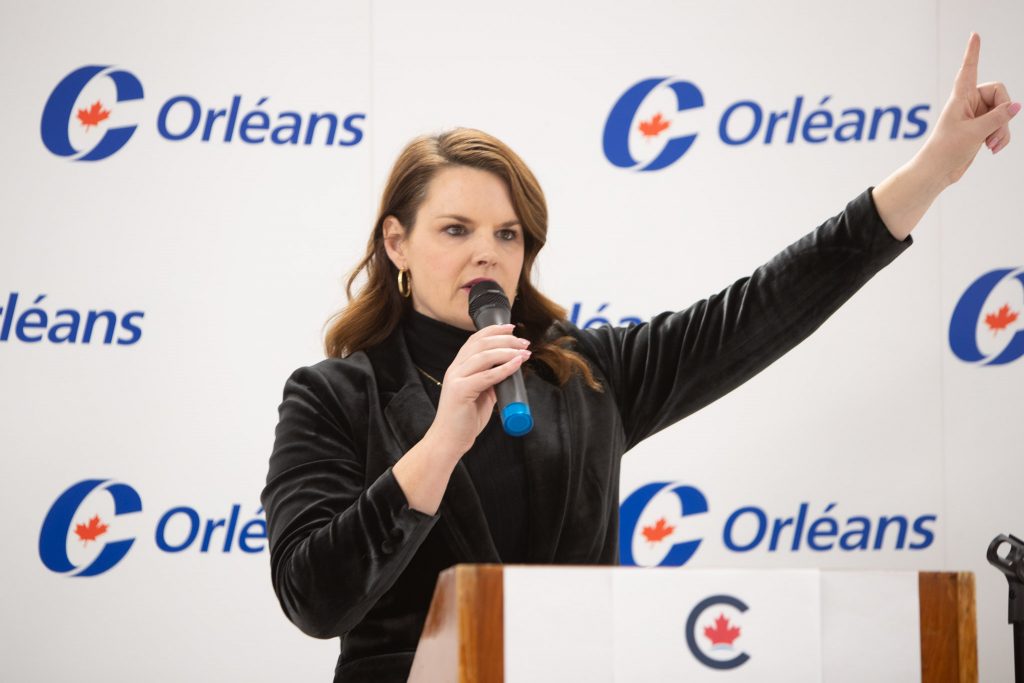
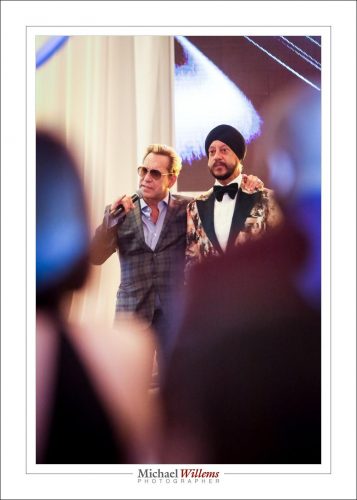
When speeches are part of the event, you use the 70-200mm lens. Without the flash this time. You can go close up:

Or a little wider:

These were taken at 1/80 sec, f/2.8, 800 ISO. Set to the lowest f-number, slightly faster shutter because of the long (stabilized) lens, and then ISO to match.

And you can get fun shots:

How many photos did I take in the hour and a half I was at the event?

75, out of which I chose 60 to share. Avoid the temptation to take 600 photos – all will be the same and it’s just extra work.

Event tip

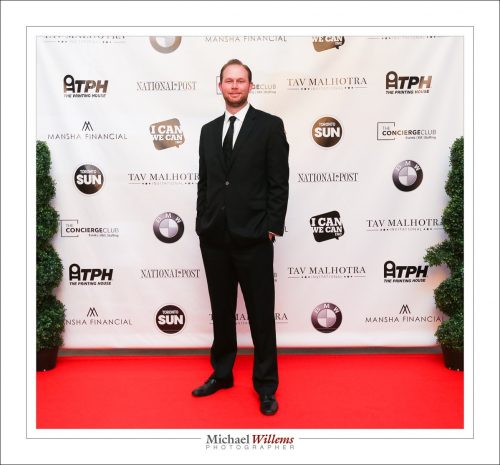
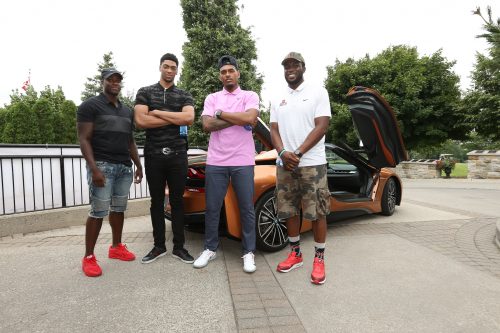
Last night I shot an event with many celebrities. Not being totally in touch with Canadian  popular culture, I did not recognize a single one, while everyone else was fawning over them. F1 race car drivers, famous boxers, politicians, NBA stars: the fact I do not know them is probably, I think, an advantage, because I am not intimidated at all. 🙂

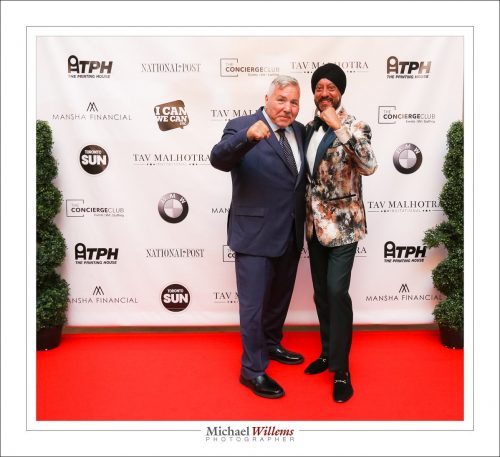
An event photography tip. Problem: I had to shoot the red carpet photos by bouncing against a wood wall. Result: the images would look horribly red. Solution: set white balance to the appropriate colour temperature – by trial and error, yesterday that was 4600 K.


Problems and solutions in event shooting

In 2010, I wrote this:


I shot an event yesterday that prompts me to give you some TTL management strategies. This is a long post – one that you may want to bookmark or even print and carry in your bag.

TTL Management Strategies? Huh?

Yup. TTL (Through The Lens) flash metering is great, but it can have its challenges. Unpredictability, or perhaps better variability, being the main one.

So why use TTL at all? Well, for all its issues, it is the way to do it since you are shooting in different light for every shot, and you have no time for metering. Metering and setting things manually (or keeping distances identical) in an “event”-environment, especially when bouncing flash, is usually impossible. So TTL (automatic flash metering by the camera and flash, using a quick pre-flash) it is.
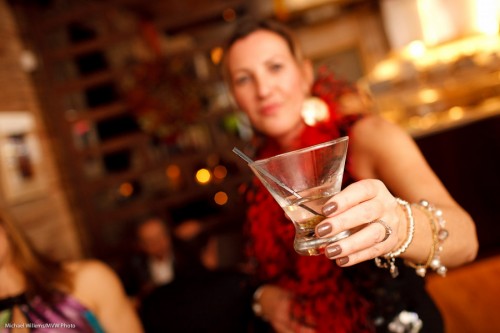
Cheers! (a Michael Willems signature shot)

Yesterday’s event was in a restaurant that had been closed to the public for the night. Challenges for me were:

  1. Light. It was dark. Very dark, meaning achieving focus was tough and settings needed to be wide open and slow.
  2. Consistency. The venue was unevenly lit: parts were light, parts even more dark. Meaning that achieving “one setting” is difficult.
  3. Space. Space was limited: hardly enough space in a small venue to walk around, let alone to compose shots.
  4. Bounceability. Walls were all sorts of colour, mainly dark brown, making bouncing a challenge.
  5. Colour. This also created coloured shots. Orange wall = orange shot.
  6. Predictability. Long lens? Very wide? Fast lens? Every shot seems to need another lens – which is impractical.
  7. Reflections. There is a good change reflections of glass or jewellery will upset your shots, causing them to become underexposed.
  8. Motion. People kept moving (uh yes, especially when the chair dances started).
  9. Technology. Batteries run out. Flashes stop working. Cards get corrupted. Nightmare scenarios we all know.
  10. Time. People were not there for me – it was of course the other way around. So my ability to ask people to pose and to move was limited. They are there for a party, not for the photographer.

So then you shoot and you notice that shots are too dark. or too bright. Or faces are too bright while backgrounds are too dark. But this is all in a day’s work for The Speedlighter… that is what I do for a living!
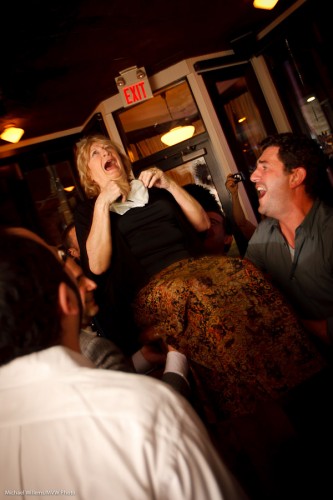
Mazel Tov!

I am sure everyone who has ever shot events is familiar with these issues. To solve them and come up with solutions, I have developed a number of strategies. So let me share some of them with you here.

(Click to continue and read the solutions…)

First, and this is not what this post is about:

Know your camera intimately and use the standard settings. Like a safe start setting of:

  • “Manual, 400 ISO, f/4.0 at 1/30th second”.
  • Aim the flash 45 degree up behind you.

Your objective with this is to get soft flash light onto your subject and warm ambient light into the background. Try to get the meter to “minus two stops indicated” when you aim at an average part of the room.

To learn all about this, read this blog and take one of my courses, a one-on-one, or a Mono course, or do the Flash course with me at Henry’s School of Imaging.

This post, however, is about the next step, which I also teach in my upcoming “Event Photography” course, namely: how to reduce the variability and get consistently great results.

My strategies to achieve this include (and you’d better sit down for this one: there are 20):

  1. Choose lenses for success. A 35mm fast prime (or 24 on a crop camera) is a good start, and this is what I used most of last night, but wider (like a 16-35, or  10-20 on a crop camera) is sometimes easier in tough light and is often necessary when space is tight. Sometimes you’ll want a long lens. I carry two cameras an no more than three lenses at any events.
  2. Give yourself time. Do not allow yourself to panic: I see beginning photographers do this. Instead, take your time, and shoot many test shots; find your happy spot. For me last night it was 800 ISO, f/3.2, 1/30th second. It took me a good while to arrive at this! Shoot, regularly check the shot, and when you see a pattern emerge of good shots at a particular setting, use that setting.
  3. Focus carefully. This is crucial: it is very tough and can be slow in low light. The trick: aim your single focus spot at brighter, contrasty areas (like faces, contrasty clothing), then focus, then hold that and recompose. And watch your distance: focus on something the same distance as your subject. Otherwise you get blurry pictures – also, TTL is sensitive to distance!
  4. Meter off mid grey. When you do this focusing, you are also metering (unless you have separated focus and metering, which in an event shoot is not an obvious choice). So be careful. If you focus and meter on a dark area, the flash will overexpose. On a bright area? Then it will underexpose. Most cameras meter with considerable bias towards your chosen focus point. So try to focus on something that is neither very bright nor very dark.
  5. Avoid hot spot reflections. TTL metering (especially on Canon cameras) is sensitive to this. Result: your entire shot in underexposed. On some cameras you can set your TTL metering to “centre weighted average” instead of “Evaluative” or “3D Color Matrix” metering: some photographers choose to do this. In any case, be aware of windows, mirrors, anything that can cause this issue.
  6. Use Flash Exposure Compensation (FEC). If you know you are metering off a bright white area, turn the flash up a stop. Conversely, if your subject is small with a big background (a person against the room), that subject may be overexposed. In that case, turn FEC down a stop. You will be using FEC a lot in many shoots. During the evening, you will see where you need plus, and where you need minus.
  7. Use your histogram. Avoid judging your shots solely by the preview on the LCD. Use the histogram by checking every now and then. It is OK to “expose to the right” (search for that on this blog, if you do not know what it means).
  8. Do not obsess about previews. Take a look often, but do not obsess. Images will be better on your computer than on the LCD, in all likelihood. You are there to shoot, not to edit.
  9. Find good bounce areas. For every shot, try to find a bounce area behind and above that is bright-ish, and that when reflecting flash, throws light onto the front of your subject’s faces.
  10. Go to a higher ISO. In a dark environment, where you bounce off walls and ceilings that “eat”most of your light, you will want to use a high ISO, like 800. Sometimes even higher: I shoot in clubs at 1600 ISO quite often.
  11. Use rechargeable NiMH batteries in your flash. These charge your flash more quickly. Essential in a fast-moving event situation, so do not use ordinary alkalines.
  12. Change those batteries often. You will be shooting at high power, and soon your batteries will get hot and will stop working. Happened to me last night – so I changed batteries a few times. Do not worry about “but they are not done yet”. Change them while the going is good. Batteries never fail at a convenient time. Take charge!
  13. Do safe shots. You will develop your style and this should include some safe shots. My signature safe shot is the “hold out your drink at arm’s length” shot I started this post with, above. Another safe shot is the food, shot at wide angle. Develop your own safe shots and always get some of those.
  14. Find good places. In an event location, there will be some shots (“in front of that great lit-up brick wall”) that work well for you. In that case, once you discover them, hang around those areas, even try to get people into those locations if you possibly can. The more of those you get, the more your ratio of great versus OK will go up.!
  15. Shoot ratios! This is a crucial point to understand. You are not in a studio environment. Not every shot will work. A failed shot or two is no issue. You are aiming for a good ratio between good and bad. I am delighted if 75% of my shots at an event are good enough to be shown. At a pinch, I will settle for half, if I must. This approach takes pressure off you. A bad shot does not mean you are a bad photographer.
  16. Shoot a lot. The ratio-approach I mention above means that event shooting is possible regardless of your expertise level: just shoot more. Tough light? Shoot even more. I do that too, and for for shots that I must get (mother with son, the happy couple, the main speech – that sort of thing), I always shoot two or three, even if I think the first one is good. So – shoot a lot.
  17. Do not delete bad shots in the camera. This takes time and wastes battery. You should be shooting, Also, you want to be able to tell your ratio of good vs bad – if you delete bad you will never know and you will never see the improvement.
  18. Shoot RAW-  and try to get within a stop. Crucially, you do not need to get every shot right. If you are within about a stop either way of perfect you are just fine and the rest can be done in post. Events need much more post-production than studio work. Many shots will need adjustments: exposure, white balance, crop. Vignette, sharpening, skin adjustments.
  19. Do not worry about white balance. Set it to “Flash” and adjust later.  That is why you shoot RAW.
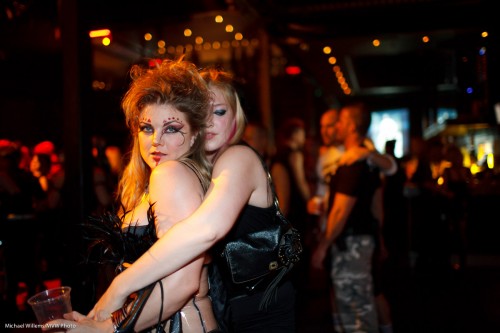
  20. Catch the moment. Often, this is more important than the quality! Choose the decisive moment. “If it smiles, shoot it”. Look for moments and “damn the torpedoes” – shoot! The chair dance shot above is a good example: yes, more light and no “exit” sign and a tighter crop would have been even better,  but the moment beats all that.

Whew. A lot of strategies. Do not forget to have fun. Be a people person. Smile. Whatever you shoot, it will be OK, it will be better than if you do not shoot. get on with people, smile, laugh, eat and drink a bit if you are invited to. Enjoy!
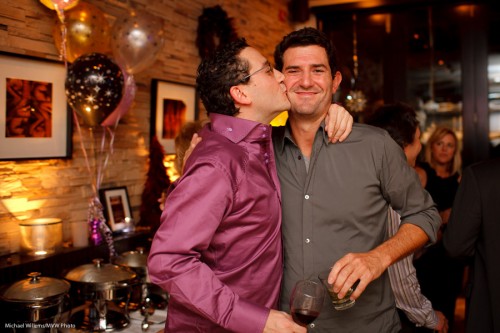
Kiss kiss! The decisive moment.

To learn the strategies, I recommend that you now read this post again, print it, and then start implementing the ideas one by one.

Practice makes perfect, you know what “they” say… and New Years’ Eve will be a great time for you all to practice.


And all that still holds today, of course!

 

Shoot

Last night I photographed a party. Let me take you through that: it is useful to see a real-life shoot as it unfolds.

This was a very quick, rushed shoot: hardly any time at all to set up.

I had two cameras:

  • 1Dx (full frame) with 16-35 lens;
  • 7D (crop camera)  with 24-70 lens.

That means effectively I had 16-35 and 35-105 mm available, i.e. 16-105 in one continuous range. So the lenses were taken care of.

Now the lights. Seeing the need for speed, I quickly set up two speedlights in umbrellas, fired by Pocketwizards. In this example only the one on the left fired:

The final pics look like this:

That’s simple: One umbrella left, one umbrella right. We are looking for competent lighting here, not art. I did not use a meter; just set the lights to 1/4 power and adjusted ny camera settings (ISO, aperture) to that.

Note the mom in the first shot. My shoot was hindered big time by all the moms taking iPhone shots. A trend more than ever before.

Then the rest of the shoot: the 16-35 with one on camera flash bounced against what walls there were.

Easy in some rooms, harder in the ballroom since it had a high, black ceiling. So I started at 400-40-4 modified to 800-40-4: i.e. a camera setting of 800 ISO, 1/40 sec, f/4. That extra stop comes in handy when you are bouncing off high or dark ceilings. Like here, in the middle of the ballroom

Sometimes, I switched to mood lighting: simply increase the shutter speed to darken the ambient light, and the aperture smaller (or lower flash compensation, when on TTL) if you also want less flash:

All in all, a competent shoot.

With some fun too: A panning shot., 1/30 sec and I follow:

The ghosting lends it an interesting effect; and the subject is sharp first because I am panning; second because she is lit mainly by my flash, which is 1/1000 second or faster.

I had just enough time to produce prints for the parents, on my little Selphy printer. All good.

And then quick post work an on to the next assignment!

___

Want Michael to shoot your family event? He’ll quote a competitive price and deliver quality work quickly. See www.tolivetolove.com for details.


Party time

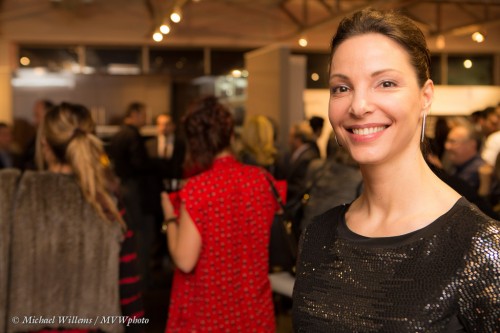
I just shot an event. With a single camera, and a 24-70 lens only. Bouncing my flash, of course, as in this image of incredibly-beautiful-as-well-as-incredibly-intelligent Tatiana:

If you have a camera and a flash, you will have plenty of opportunity this season to do this kind of shooting as well and to get it right. Christmas, Hannukah, New Years’ Day: whatever your favourite celebration is: make great pictures.

I’ll get you started. My settings were:

  1. Camera in manual exposure mode; flash on TTL.
  2. The Willems 400-40-4 rule: but modified to use 800 ISO instead of 400, at the usual 1/40th second at f/4.
  3. White Balance on Flash, with slight adjustment in post every time I bounced off a brown ceiling instead of a white wall. (Brown is just dark yellow, so move the White Balance slider to “Blue” (cold) when adjusting these.)
  4. Flash aimed behind me, straight or at an angle.

To keep in mind, a few notes:

  1. Focus carefully, and yes, in the dark that is difficult and slow. Life’s tough.
  2. Move people to where there is a nice background and you can bounce off a white wall.
  3. In darker rooms, or where the ceiling and wall are higher or less reflective, go to 800 ISO – or higher when you need to! Better to do it in the camera than to underexpose and push in post.
  4. Use the Rule of Thirds.
  5. Think about your light direction. In every shot.
  6. Change flash batteries before they run out, not after they do.
  7. 35mm is a great focal length for people shots (24mm if you are using a crop camera).

More about all this later this month. I took around 300 pictures – fewer than usual because I was a little more selective. We evolve as photographers, and I go up and down in regard to the number of images I make. I like to get them right, rather than fire away randomly.

A couple more samples. Couples in posed shots are great:

Movers and shakers, celebrities, politicians like Mike Harris are used to being photographed:

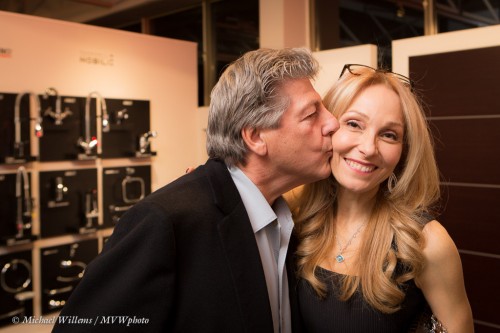
You can ask people to do things (like “Go on – kiss your wife!”):

Shooting events is fun; people will listen to your suggestions and do what you ask; and if your  technique is good, your clients (or family!) will love your shots. Go have some fun this December!


Tip of the day: Events

When shooting “camera-aware” pictures at events, here’s a tip:

Shoot every picture twice.

You should tell your subjects “we’ll do it twice”, and then do two shots.

Why?

  • People blink. But not twice.
  • You may get focus wrong in one shot – but not in both.
  • One or both subjects may relax after shot 1 – or stiffen.

Either way – there is a very good chance that one image will be markedly better than the other. And the better image is the only one you show.

That’s why you do this: it makes you a more successful photographer. Pros cannot fail!


Back to basics

You know that as an event shooter, I use TTL (through-the-lens flash metering, using a preflash) very widely. Much as it is sometimes hard to predict, it is the only thing you can use when things are moving quickly. Like at an event.

But sometimes, things go wrong. I had flash maslfunctions for part of Saturday’s shoots. You see, TTL is not really unpredictable -once you know how it works (metering bias to the focus point, for instance, and an assumption of 18% grey where it meters) it is predictable. So a malfunction is when it becomes actually unpredictable.

As it did Saturday with my dying 580EX II flash. Here’s three consecutive shots – I do everything the same, and yet I got, in rapid succession in the same setup, one dark shot, one light shot, and one OK shot:

Too dark. And the next one, way overexposed:

And the third one, almost OK:

I cannot live with this craziness. So then what do I do? I go back to basics. Actual basics. The basics we used in 1980. Namely, I set my flash to manual power setting (my camera, of course, is already on manual exposure settings).

One quarter flash power ought to do it, I thought, looking at where I was bouncing and what my settings were – and that worked great:

So then for the next dozen or two shots I stayed in the same place, shot people at the same distance, and kept the flash and camera set to the same. Bingo, predictable shots.

So when life hands you unpredictability, force predictability on it If you use the same settings and it’s all manual and your distance to the subject stays constant, the pictures will all be the same.

Sometimes, 1980-style basics work just great. Actually, they quite often do. My camera is very often on the “manual” exposure setting, for instance.


Graduation season

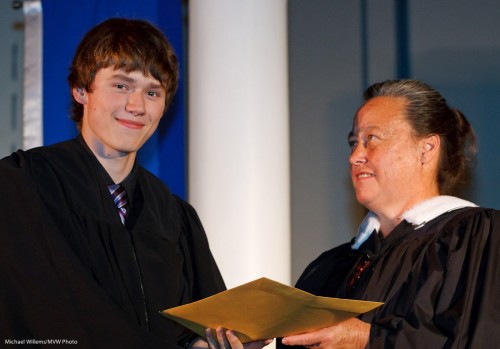
It’s graduation season. Right? So many parents are out to shoot their kids’ ceremony. High School, Grade School, Music School, University: important moments in a life; milestones that really deserve to be photographed. And understandably, you ask “how”.

A High School Grad

A High School Grad

So in that context, here’s a few tips.

You want pictures of graduation ceremonies. Both the “handing out of the diploma” and the crowd going wild. Make it into a permanent memory. Shoot context, too. Challenges: The light is likely to be somewhat low.  Your position may not be great.

Solutions: Use high ISO, a “fast” lens, and shoot lots. Be sure to get the “required” shots – like the one where your graduate is being handed his or her diploma.

Equipment:

  • SLR
  • Long lens over 100mm) for diploma shots
  • Wide lens (24-35mm) for the  crowd shots
  • Use fast lenses (“Low f-number”)!
  • Bring a flash – you may or may not need to, and be able to, use it
  • Bring a Fong Lightsphere: bounceability may be bad, so if that is the case and the light is low, the Lightsphere may be a way out.
  • Consider bringing a monopod. Just in case!

Settings:

  • Mode: Manual
  • Shutter: usually 1/30th – 1/60th sec (see meter)
  • Aperture: f/2.8 or low as as possible
  • ISO: at least 400 (at f/2.8) or 800 (at f/4) or even 1,600 (at f/5.6)
  • Drive mode: Continuous, fast
  • Focus points: Centre focus point/area
  • Focus mode: One Shot/AF-S
  • Metering: Evaluative/3D Color Matrix, or spot

Situation tips:

  • Arrive early, to get a good seat.
  • Be ready for light changes (someone turns on or off the spot lights).
  • Practice on kids who are in the line before yours!
  • Find out if “getting up” and Flash are allowed, and act accordingly.
  • Shoot wide open (largest aperture), at the highest ISO you can stand. Use the centre focus point (it’s more sensitive in low light).
  • Try to catch the graduate on the way up to receive the diploma, and on the way out with it.
  • Tell your graduate to look at you after he/she is handed the diploma. They may forget – or they may not.
  • And especially, get “the money shot”, with the graduate shaking hands and being handed the diploma.
  • Then change to wide or normal lens to catch the crowd,or perhaps “caps in the air”.
  • Catch the exit line near the beginning – not near the end, where it degrades.

These tips should be enough to get you going. And don’t forget: enjoy these once-in a lifetime moments.


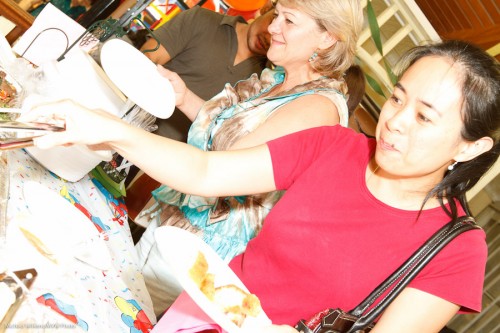
Shooting events

A corporate shoot the other evening, with an assistant/second shooter. A music school shoot all weekend. Many more shoots coming up: lots to do, and lots of fun.

I like shooting indoors events, because with training, it is simple to get consistent results. And as you know, my favourite party lens is the 35mm f/1.4 prime (fixed) lens. It consistently gets you images like this, from the other night:

Event shot, photo Michael Willems

Event shot, photo Michael Willems (35mm prime lens)

I like this style of shooting and it is worth talking for a moment about how this is done.

  • The lens is a 35mm on a full frame camera. On a crop camera, you would use a 24mm lens. Prime lenses are nice and consistent and sharp.
  • The flash is a single 580EX II speedlight, on camera but bounced 45 degrees behind me, slightly to my right to get light onto the subject’s face.
  • The camera mode is manual. It is set to 400 ISO, 1/30th second, f/4. This gives me an ambient exposure of about -2 stops (the meter says “-2” when I look at an average part of the room).
  • The white balance is set to “flash”. That ensures that the subject is natural, but the background, which is lit by tungsten light, is warm.
  • The flash is on TTL.
  • I ensure the subject is close – but not too close. And not right next to the edge.
  • I compose using the rule of thirds – I avoid totally centered subjects here.
  • I look for a background that tells the story (i.e. a corporate cocktail party; people meeting and talking).

Here’s one more:

Event shot, photo Michael Willems

Event shot, photo Michael Willems

That person blurred in the background helps tell the story.

And one more, to inspire you all:

Event shot, photo Michael Willems

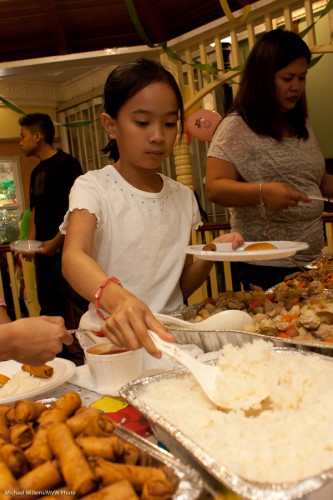
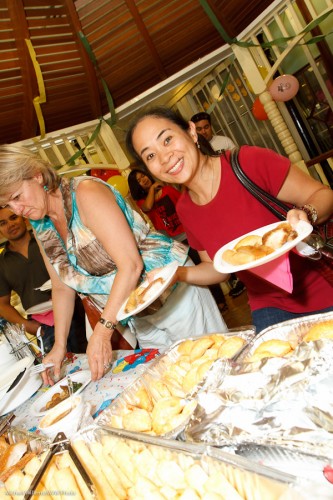
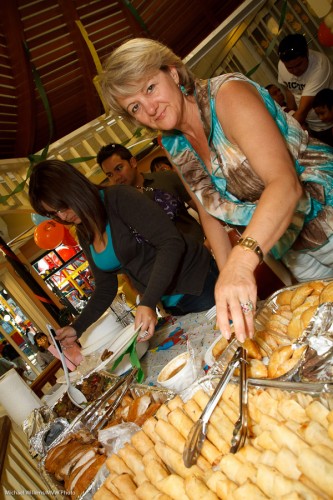
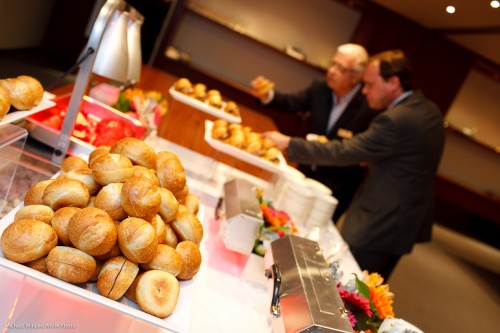
Food - always shoot this.

Do not hesitate: you can tilt. You can shoot the food. As an event photographer you probably should not be eating it, but shooting it is OK.

(These, and many other tips and tricks, are part of my special “Michael Willems’s Events Photography” course – soon as a special at Henry’s School of Imaging, as well as here as a one day special: April 3 in Mono, Ontario. Let me know if you are interested. )

The horror.. the horror…

…of walking into a venue where you have to shoot, only to discover that the ceiling is about 1,000 ft high and the walls are black, and there is zero light.

1600 ISO, 1/30th second, f/1.4

My strategy?

In this order, I:

  1. Reduce Shutter to what I am comfortable with.
  2. Open Aperture to what I am comfortable with.
  3. Increase ISO as much as needed.

That is how I got to those values above. Using, of course, my prime 35mm f/1.4 lens. I reduced the shutter to 1/30th, which is as low as I want to go with a 35mm lens if I can help it. Then I went to f/1.4: wide open (focus carefully!). Then I raised ISO until I got light into the background. Phew!

Learning opportunity! Stay tuned for an exciting new “Events Photography” course – details soon. And there are also still spots on “The Art of Nude Photography”, Sunday January 16, 2011 (See yesterday’s post).