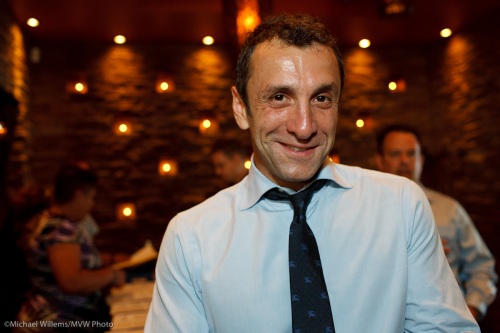
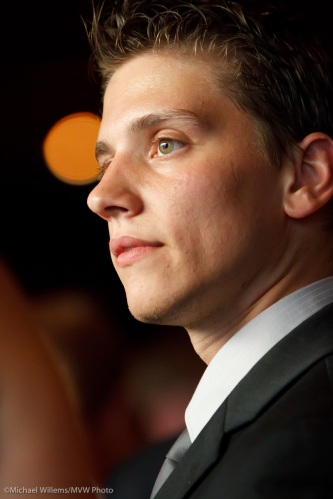
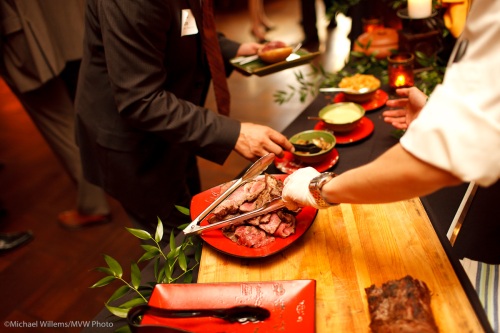
Establish

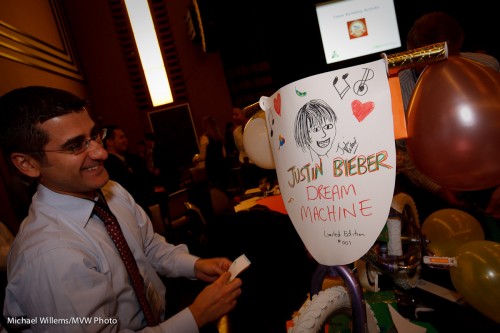
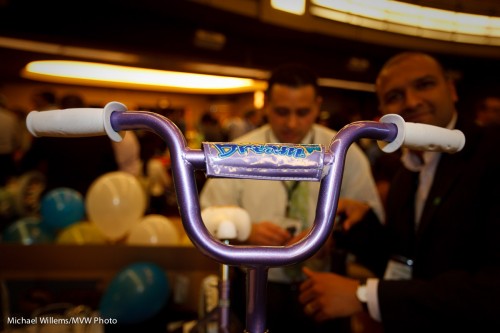
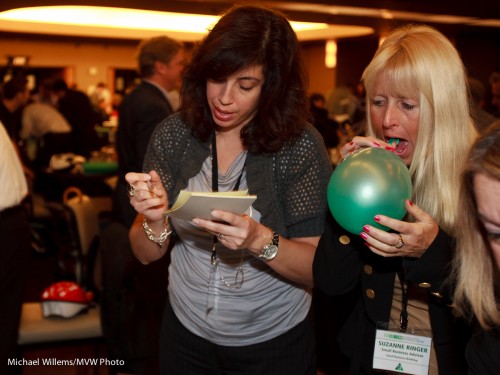
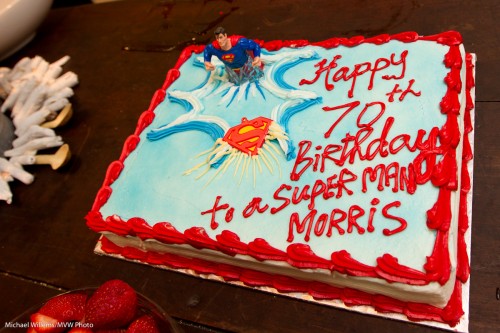
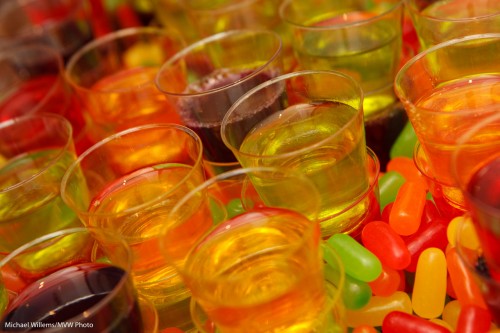
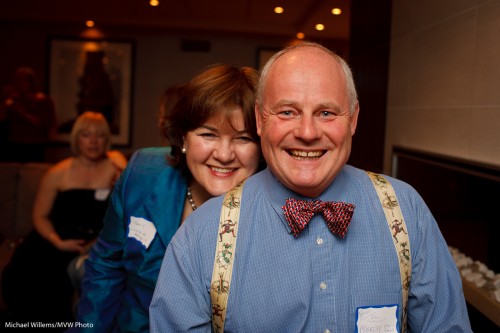
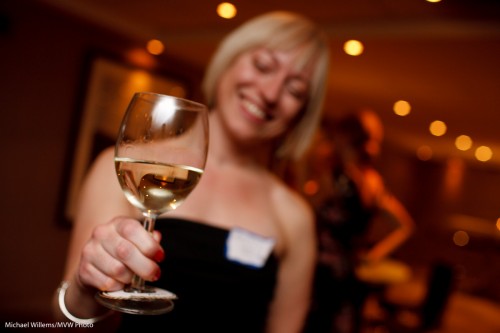
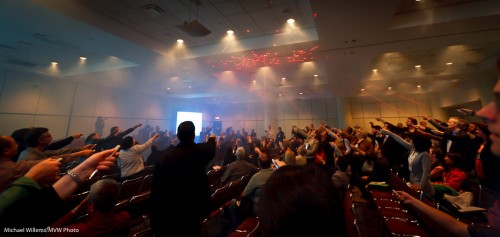
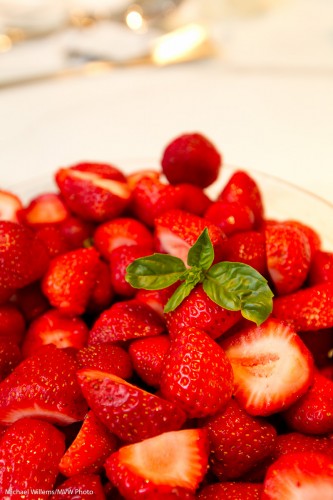
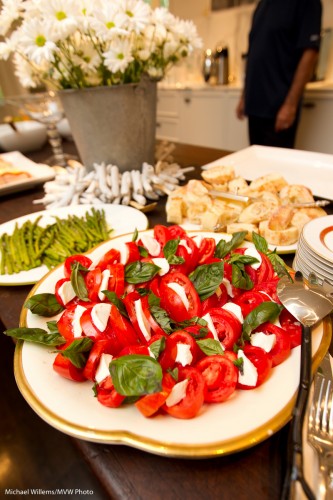
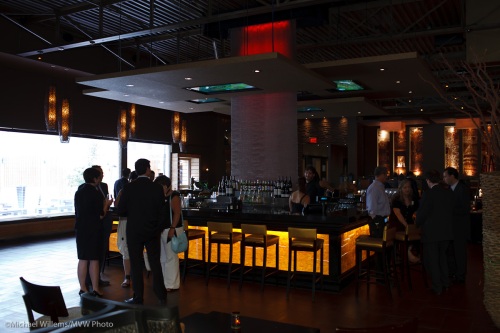
(EDIT): When shooting an event, always shoot a “B-roll” of images, as movie people would call it. In your case, as a still photographer you use your B-roll to help establish “where, why, who, what, and maybe even “when”.

So recent shoots I have done have included the following as shots in the first dozen or so:

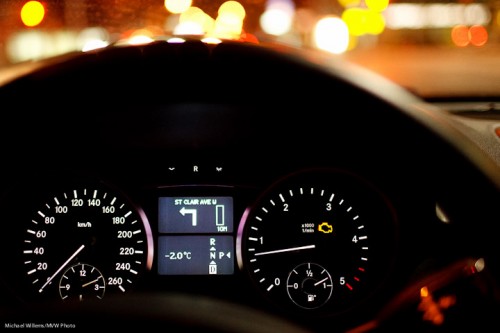
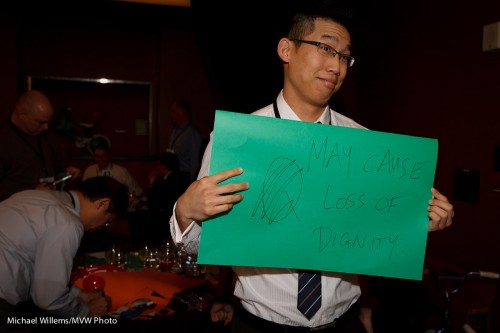
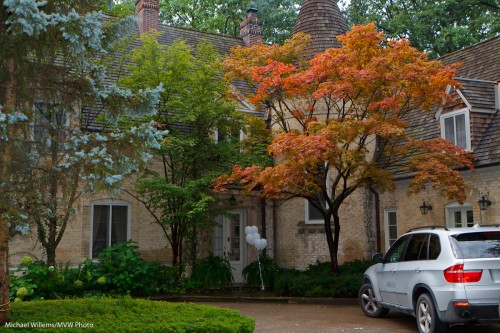
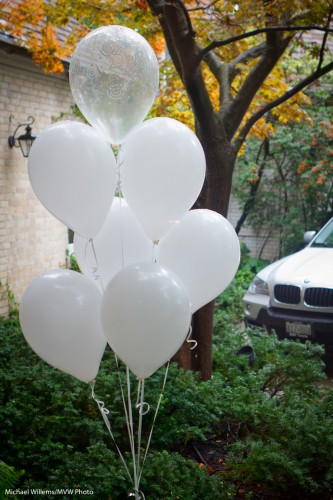
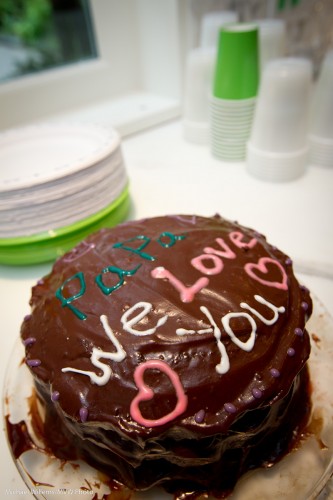
Where

What

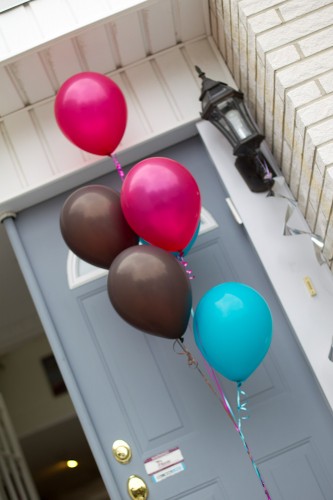
Why

Who

This kind of storytelling is essential for a successful shoot.

Tip: To arrange your images, use Lightroom collections, where you can order things the way you like, rather than folders.

TTL: 10 Problems, 20 Strategies

I shot an event yesterday that prompts me to give you some TTL management strategies. This is a long post – one that you may want to bookmark or even print and carry in your bag.

TTL Management Strategies? Huh?

Yup. TTL (Through The Lens) flash metering is great, but it can have its challenges. Unpredictability, or perhaps better variability, being the main one.

So why use TTL at all? Well, for all its issues, it is the way to do it since you are shooting in different light for every shot, and you have no time for metering. Metering and setting things manually (or keeping distances identical) in an “event”-environment, especially when bouncing flash, is usually impossible. So TTL (automatic flash metering by the camera and flash, using a quick pre-flash) it is.

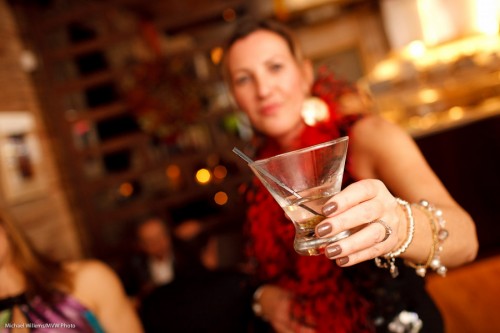
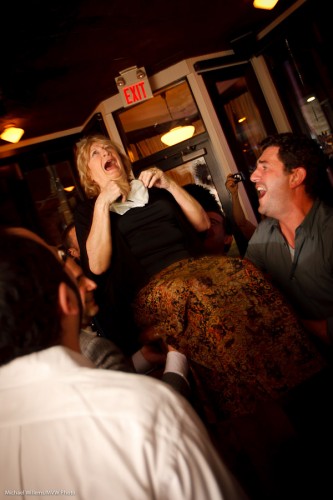
Cheers! (a Michael Willems signature shot)

Yesterday’s event was in a restaurant that had been closed to the public for the night. Challenges for me were:

  1. Light. It was dark. Very dark, meaning achieving focus was tough and settings needed to be wide open and slow.
  2. Consistency. The venue was unevenly lit: parts were light, parts even more dark. Meaning that achieving “one setting” is difficult.
  3. Space. Space was limited: hardly enough space in a small venue to walk around, let alone to compose shots.
  4. Bounceability. Walls were all sorts of colour, mainly dark brown, making bouncing a challenge.
  5. Colour. This also created coloured shots. Orange wall = orange shot.
  6. Predictability. Long lens? Very wide? Fast lens? Every shot seems to need another lens – which is impractical.
  7. Reflections. There is a good change reflections of glass or jewellery will upset your shots, causing them to become underexposed.
  8. Motion. People kept moving (uh yes, especially when the chair dances started).
  9. Technology. Batteries run out. Flashes stop working. Cards get corrupted. Nightmare scenarios we all know.
  10. Time. People were not there for me – it was of course the other way around. So my ability to ask people to pose and to move was limited. They are there for a party, not for the photographer.

So then you shoot and you notice that shots are too dark. or too bright. Or faces are too bright while backgrounds are too dark. But this is all in a day’s work for The Speedlighter… that is what I do for a living!

Mazel Tov!

I am sure everyone who has ever shot events is familiar with these issues. To solve them and come up with solutions, I have developed a number of strategies. So let me share some of them with you here.

(Click to continue and read the solutions…)

Continue reading

Event lenses

What lens to use at an event? I hear this question all the time, and it is a good question.Especially with “events” happening all over, during the next week or so.

In my upcoming “Events Photography” workshop I’ll talk about this topic at length. But today, let me give you a starting pointer or two. Some of this is a repeat from prior posts, but put together in one post it probably has value.

Teambuilding at a recent event

I use the following lenses rather often: and this is on a full-frame camera, so on a crop-factor SLR you need to divide each of these numbers by roughly 1.5:

  • 24-70 f/2.8: General purpose, when I expect a “normal” party or event: i.e. no cramped spaces, no ultra-low light.
  • 16-35 f/2.8: When I expect group shots or cramped spaces. I also use this to get extra perspective, or to get shots with lots of leading lines, possibly angled shots like the one above.
  • 35mm prime f/1.4: When I expect low light, or when I expect mainly “grip and grin” pictures.
  • 70-200 f/2.8: when I expect to be asked for impromptu “fly on the wall” shots and portraits.

So on a crop camera (a low- or medium-priced SLR like a D90 or a Digital Rebel) I would use the 16-35 or 17-40 lens as my general walk-around event lens and I would use a 24mm prime for low-light shooting.

Wide apertures are good

Fast lenses (low “F-numbers”, or “wide apertures” are good for two reasons: they let in more light, and they allow me to blur the background more.

The decisive moment

Yes it may

The most important lesson is: It does not greatly matter. While a wide lens is probably easiest, you can take pictures with any lens. “Fast” is more important than the exact width.

Storytime

When you shoot an event, say a party, remember to tell a story. That means you also shoot, in addition to the “grip and grin” happy faces, the following background shots:

Where? – an “establishing shot”

What? Is it a happy occasion?

Why? What is the occasion?

Who?

And finally, How?

These shots, which you intersperse with the happy snaps, make your shooting so much more valuable.

Most event photographers forget this. If you don’t your shots will be better.

On another note: I need an assistant, maybe an ex student, for a two-hour corporate headshot shoot, tomorrow morning (Friday morning) in north Toronto by the 401, at 8am. If interested, email! (UPDATE: this position has been filled)

Party recipe

There will be many parties in the next few weeks for many of you, so I would like to give you a few tips and reminders for better event photos.

I shall illustrate with a few pictures of an event I shot the other day.

A Recent Party picture

First, your equipment:

  1. Use an external flash. Never the popup.
  2. Aim it behind you – yes, behind you, high so that you bounce off the ceiling, provided there is a ceiling and it is somewhat like white.
  3. Use a “slightly wide angle” lens. I love the 35mm prime (fixed) lens – on a full frame camera, which means a 24mm lens on a typical crop sensor camera.
  4. A prime lens is good as it forces a consistency to your compositions, which will pay off since it also means consistency in your settings.

Cheers!

Then, the settings:

  1. Mode: Camera in manual exposure mode (“M”)
  2. Flash: in its normal TTL mode
  3. ISO: Set ISO to 400 for most venues (800 if it is dark, possibly even higher if the venue is pitch black)
  4. Exposure: Set aperture and shutter speed to a combination of values that gives you an ambient exposure of -2 stops. That is, when you press half way down on the shutter as you aim at an average part of  the room, your meter in the viewfinder points at a value around -2.  A typical combination at 400 ISO is f/4 at 1/30th of a second.
  5. White balance: Set your white balance to Flash. That gives you warm backgrounds, but your subjects will look natural, since they are lit primarily by the flash.
  6. Flash compensation: if your subjects are small in the picture, with a large background, your camera may overexpose the flash portion. In that case, use flash compensation and set it lower: try a value of -1, say.

If you shoot in a very dark venue, you will need to go to a wider aperture, so I recommend fast lenses. I often end up shooting at f/2, or even lower.

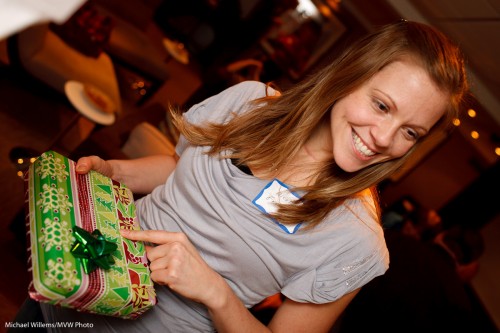
Is this present for me?

And finally, composition:

  1. Shoot “grip and grins” like the first one above: people like those. Heads together!
  2. Also shoot “fly on the wall” pictures. “If it smiles, shoot it”.
  3. Use the rule of thirds – “off-centre composition”)
  4. Tilt whenever you like.
  5. And please also shoot the food, the room, the small details.

The above will give you great images. But remember to finish them in Adobe Lightroom: crop, do minor adjustments, and only show your great pictures!

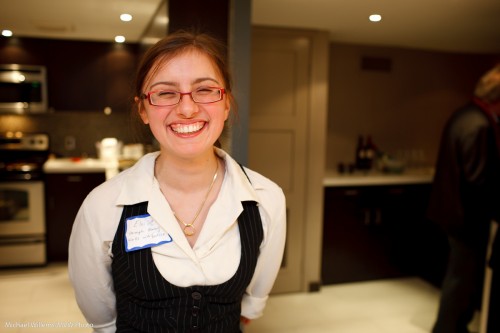
A wonderful smile

Above all: have fun!

Accountants of the wild frontier

Today was a good example of n event shoot.

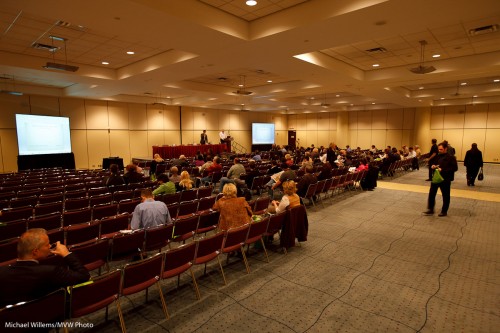
Colleague Joseph and I got to the Metro Toronto Convention centre to shoot a few hundred accountants pointing laser pointers at the ceiling. A very un-accountant-like event!

So we set up ladders and camera with the light just right. We use a combination of ambient and gobo’d flash. Test shots of the room looked like this:

Convention hall

Convention hall

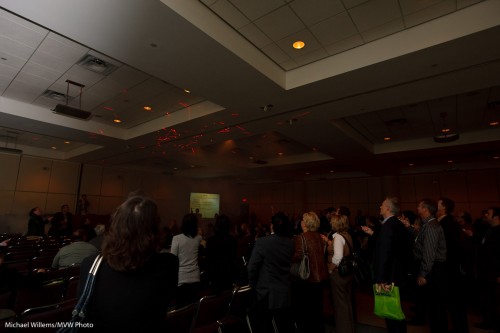
The event starts. And as the fog machine we had arranged starts and on command, the accountants’ laser pointers aim… unexpectedly, someone dims the lights to just about zero.

So we get this:

Convention hall

Convention hall, lights dimmed

No time to say anything: we only have moments to shoot.

So I quickly had to:

  • open up the lens to f/2.8,
  • shoot at 1/15th second,
  • at 800 ISO,
  • I quickly set the flash to 1/16th power manual and bounced behind me (if I had had more time I would have gone up to 1/8th power),
  • ….and then at home, push the exposure another stop!

In the end, this gives this:

Convention hall with lasering accountants

Convention hall with lasering accountants

Not too shabby eh? Ever seen such a fun group of accountants?

The moral of this post: you have to be quick on your feet and problem-solved instantly when someone is hiring you for a shoot. You cannot come home with excuses: need photos instead.

And it never hurts to shoot RAW.

Eat.

OK, do not eat quite yet.

I shoot events. All the time. It is what I love to do.

And these events are organized by corporations, or wealthy people, or governments, or charitable organizations. You name it. People like to get together. And all these people have paid a lot for the food – or sweated, making it.

And food is ephemeral: it’s there – then it’s not.

This is where photographers do a very useful job. One good photo, and that food exists forever. Like beauty, or youth.

And like these delicious strawberries, which I shot at a very nice private event in Toronto on Labour Day:

Strawberries, by Michael Willems

Strawberries, by Michael Willems

There. And this too:

Food Shot, by Michael Willems

Food Shot, by Michael Willems

The way to do this:

  • Set your camera to manual exposure mode.
  • Expose two stops below ambient (choose aperture and shutter so that the meter reads -2. This might be 400 ISO, f/4, 1/60th second).
  • Make sure your aperture is fairly open (that’s the “f/4”).
  • Bounce your flash off the ceiling/wall behind you.
  • Focus on the closest part.
  • Tilt as needed.

Your images will be loved by your client. The book can now include food shots as background or detail shots. The food is now good forever. The investment is secured for all eternity. And the story is a better one: not just grip-and-grin images, but also “background”.

Now what?

I shot a corporate event the other day, and it taxed me. I shall explain how, and how you can get good (meaning sharp, well lit and well exposed ) shots in bad light.

When I walked in to the venue, I saw the problems:

  1. Extremely bright on one side (direct sun); very dark on the other side (too dark to see the camera)
  2. Virtually no bounce (high black ceilings and walls)

Like this:

Venue with difficult light, by Michael Willems

Venue with difficult light

Except with 300 lawyers and corporate clients.

So I set to work. And here’s what I did.

Mitigate the problem:

  • Shoot by the window using natural light and high-ish to very high ISO if anyone looks at the window
  • Shoot outdoors, when people move outdoors.
  • Find one or two spots where the light does kinda work and concentrate on those.
  • Move people to a wall where you can bounce a bit.

Handle the problem:

  • Use super high ISO if you must.
  • Use fast lenses.
  • Shoot RAW.
  • Use TTL – and know it.
  • Watch your meters carefully.
  • Avoid moving too much – even when you move half an inch it can put people in totally different light. See the previous point!
  • Be ready quickly. I carried three cameras with three lenses. Ouch. a 1Ds MkIII with a 35mm f/1.4, a 1D MkIV with a 16-35mm f/2.8 lens, and a 7D with a 70-200 f/2.8 lens.
  • I used bounce cards (Honl Photo reflectors, and outdoors,a 1/2 CTO Honl Photo gel) and a Fong thing (I even used a Fong Lightsphere with a Honl bounce card Velcro’d behind it – worked am charm).
  • Work out your best settings for each area and if the area is consistent as an area, set those in manual mode.
  • Shoot a lot.
  • Also shoot things that do not move, like food and furniture.
  • Do more then usual post-production. Yes, some prints will be under-or over-exposed all or part, but if you know your craft and get “close enough” in camera, then you will be able to finish them on the computer.

This way I got prints like:

Indoors, in a good(-ish) area:

Good area in a bad-light location, shot by Michael Willems

Good area in a bad-light location, f/2.0, 800 ISO, 1/50th sec

Outdoors, with a half CTO gel:

A couple shot at an event, by Michael Willems using a half CTO gel

A couple shot at an event, by Michael Willems

Indoors, long and with a 7D at 3200 ISO using available light:

Naural light shot using 7D at 3200 ISO, and a long lens, by Michael Willems

Naural light shot using 7D at 3200 ISO

Food:

Food at an event, shot by Michael Willems

Food at an event

At this event I used all the tricks I know, and it was hard work. But I got good pictures, of course.

If you want to learn some of the lighting tricks of the trade, and hone your skills in the flash area, join Joseph Marranca and me in Mono, Ontario tomorrow, Saturday 26 June. There are only two places left!

Site of the day

I see that this site is today’s Site of the Day at http://www.1001noisycameras.com/ – that’s great! Welcome, 1001 Noisy Camera fans.

As you will see, on this blog I teach daily – a teaching post every single day. Enjoy, and search back through the past year – many useful tips here from a working photographer and teacher to everyone who is interested!

Few posts of mine come without a snap or two, so here are a couple from yesterday’s shoot – the Hon. Minister Harinder Takhar MPP, a truly charming man:

The Honourable Minister Harinder Takhar, MPP, photographed in June 2010 by Michael Willems

The Honourable Minister Harinder Takhar, MPP

I used three lenses: one long (70-200 on the 1D Mark IV) and two wide (24-70 and later 16-35 on the 1Ds Mark III).

Wine being poured at a reception, photograph by Michael Willems

Wine being poured, photograph by Michael Willems

Manual and with a flash for fill.

Reception Buffet, photograph by Michael Willems

Reception Buffet

Cheers,

Michael

Piecing it together

Sunday, I shot a Bat Mitzvah party. Great fun, and wonderful people: this is why I love photography. Happy people celebrating a life event, and I get to shoot it: a privilege, and I get to do it for a living. What’s not to like?

I shot both formal portraits (using a backdrop and two strobes with umbrellas plus two speedlites for hair light and background light) and photojournalistic party shots.

For the latter, I have a few tips.

  • Use a wide or somewhat wide lens. fast if possible. (I used a 16-35 f/2.8 zoom on a 1D MkIV, so that means I get a 22-46mm range).
  • “If it smiles, shoot it”!
  • Compose well. Use off-centre composition. Tilt if necessary or whenever you like (though not, please, in every picture). Do the “close-far” thing (search for it here if you do not know what this means).
  • Camera on manual indoors and A/Av outdoors, and bounce your flash.
  • Shoot detail, too.
  • Often what you do not see tells the story.

The last points are worth belabouring. Like in a good Haiku, not telling the whole story is what makes it interesting. Implying, rather than saying.

Here, for instance, we do not see the girl, and her dad and family are blurred too:
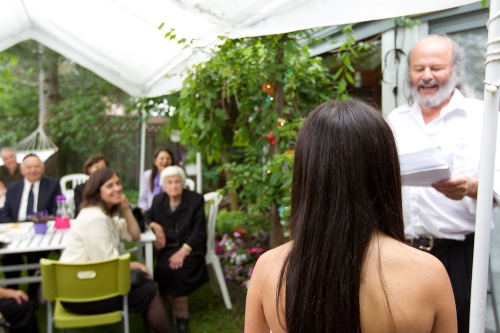
Dad holds a speech for his Bat Mitzvah daughter. Photograph by Michael Willems

Dad holds a speech for his Bat Mitzvah daughter.

But you see the smiles, and you can imagine what is going on. The picture tells a story.

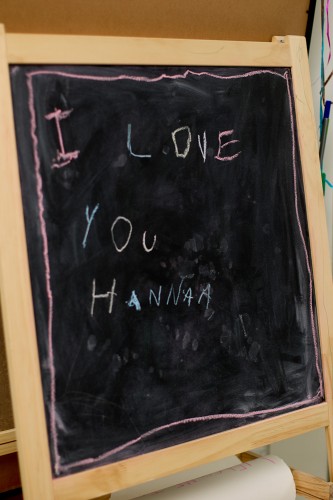
And below, who wrote this? Little sister? The picture asks as many questions as it answers:

Little sister wrote on Bat Mitzvah girl's blackboard, photographed by Michael Willems

Little sister wrote on Bat Mitzvah girl's blackboard

And in the next image, one of my favourite party shots, the drink says fun: the blurred face emphasizes the fun and again, tells a story without telling too much:

Cheers! Girl raises juice glass, photographed by Michael Willems

Cheers! Girl raises juice glass

Another detail shot to not miss: the food.

Fruit, photographed by Michael Willems

Fruit

Here, during speeches, dad looks at his amused Bat Mitzvah daughter. We do not see who is speaking, even that anyone is speaking, but we can piece it together. Piecing it together is what makes a picture interesting to a viewer.

Speech at Bat Mitzvah, photographed by Michael Willems

Speech at Bat Mitzvah

Of course even in the photojournalistic phase you do some set up shots, like the very last shot I took at the event: mum and daughter.

Bat Mitzvah and mom, photographed by Michael Willems

Bat Mitzvah and mom

—-

(Incidentally, if you want to learn theory and practice of creative use of light, there are still spots available on the advanced lighting course Joseph Marranca and I are putting on on June 26. Click here for the link. )