Typical Event Shoot

What do I bring for a typical event shoot?

The minimum I can. Which for yesterday’s event, a political meet-and-greet in Orléans, was:

  • A camera (1Dx Mk2)
  • A prime 35mm/1.5 lens
  • a 70-200mm/2.8 lens
  • A 580EX flash
  • Spare batteries, spare flash

Normally a spare camera too.

So what is the reasoning?

Bounce the flash (in TTL mode) off the ceiling behind you when using the 35mm lens. This means you can light, and you can add modelling – like here:

Matt Luloff, Candidate MP, Camera Set to 1/60 sec, f/4, 200 ISO.

35mm is ideal for events. Consistent geometry, consistent photos. An wide enough to take crowd shots:
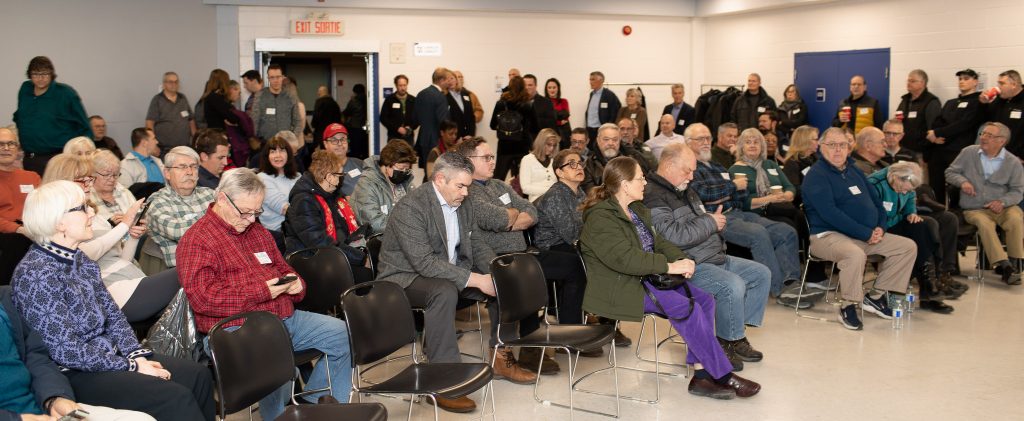
When speeches are part of the event, you use the 70-200mm lens. Without the flash this time. You can go close up:

Or a little wider:

These were taken at 1/80 sec, f/2.8, 800 ISO. Set to the lowest f-number, slightly faster shutter because of the long (stabilized) lens, and then ISO to match.

And you can get fun shots:

How many photos did I take in the hour and a half I was at the event?

75, out of which I chose 60 to share. Avoid the temptation to take 600 photos – all will be the same and it’s just extra work.

Flash!

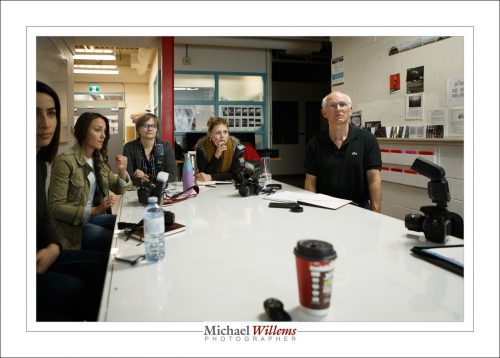
I taught a special flash workshop over the past two days, at Sheridan College. Seven students, great crowd.

Here, a few images:

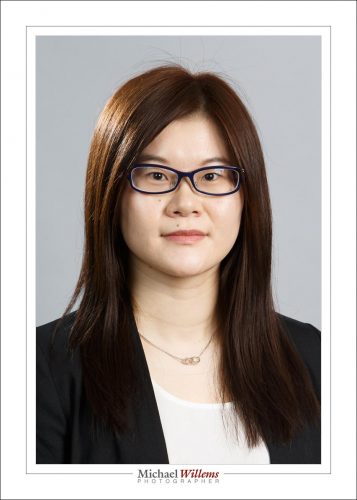
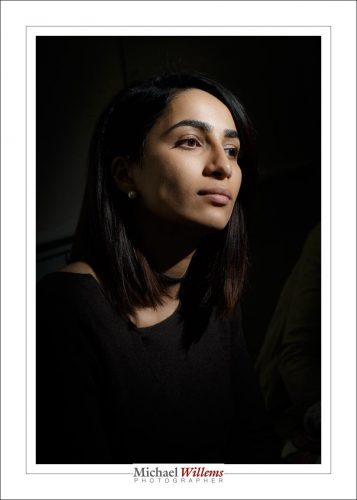
Next, a one flash portrait. Yes, you can do some great stuff using just one flash. The flash was fitted with a Honl Photo grid – without that, it could not have worked. Fired by pocketwizards. This student looks like Queen Nefertiti, we decided:

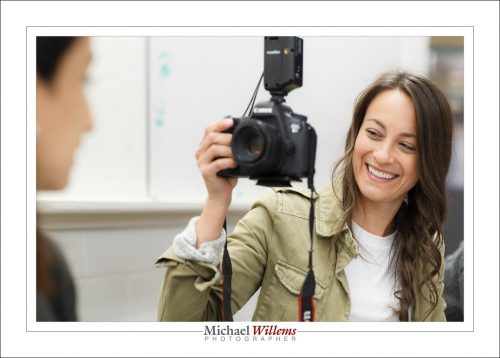
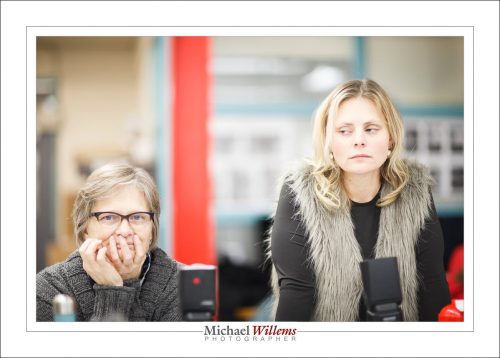
Funny, aunt and niece, who, contrary to what you might think looking at this image, both have a great sense of humour:

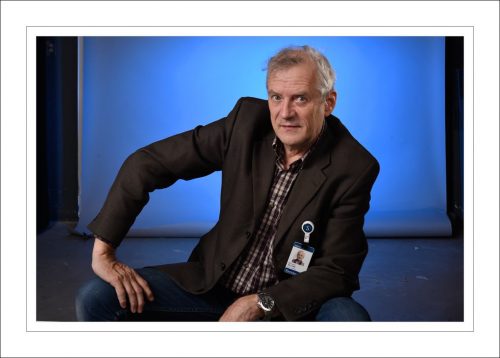
And finally, me, by one of the students. A standard four light portrait:

About this portrait:

  • It uses a key light, a fill light two stops darker, a hair light, and a background light. Four flashes.
  • Key and fill were strobes; the others were speedlights.
  • They were all fired by pocketwizards.
  • The background was light grey. That makes it difficult, to add colour to it, so we used a considerable distance between me and the background. (The background needs to be dark before you can add colour to it).

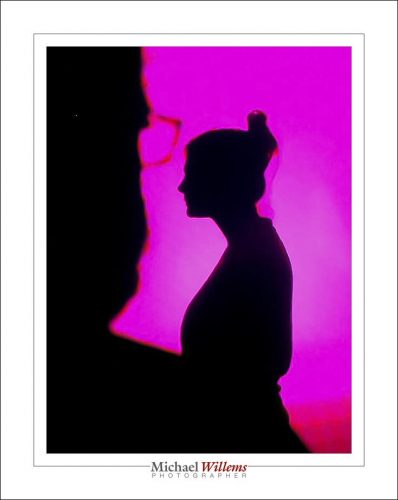
And finally the easiest shot. Now I warn you, the sample below was shot from the back of my camera with my iPhone, and then further mangled by Facebook, so do not look at the quality. Look at the idea instead.

So simple. One flash, located behind the subject, aimed at the backround. And a part Harvey Weinstein lookalike in the foreground.

Event tip

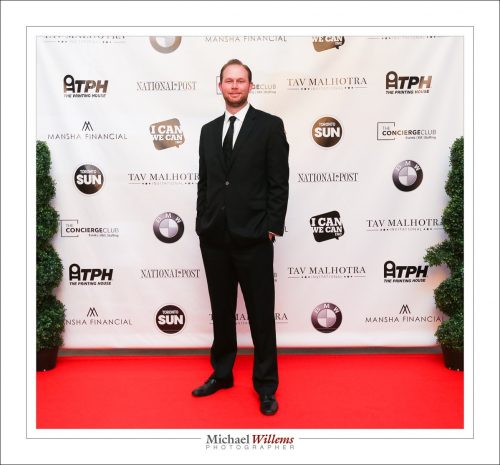
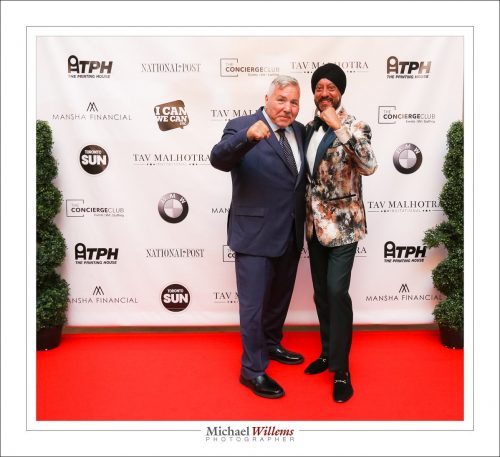
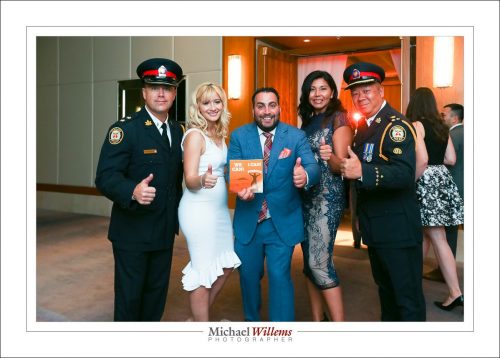
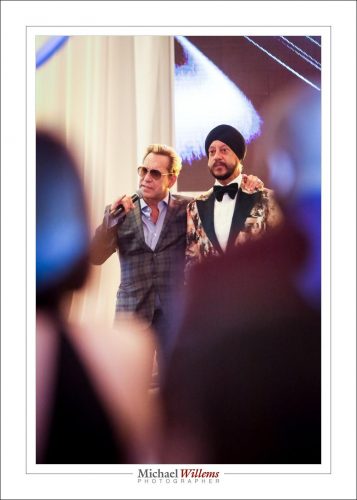
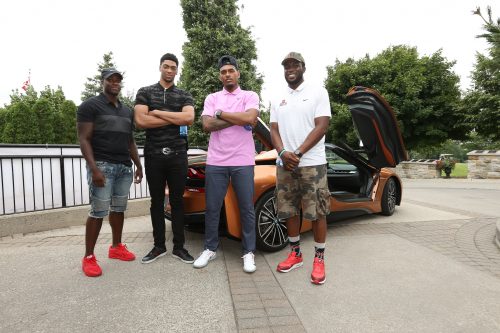
Last night I shot an event with many celebrities. Not being totally in touch with Canadian  popular culture, I did not recognize a single one, while everyone else was fawning over them. F1 race car drivers, famous boxers, politicians, NBA stars: the fact I do not know them is probably, I think, an advantage, because I am not intimidated at all. 🙂

An event photography tip. Problem: I had to shoot the red carpet photos by bouncing against a wood wall. Result: the images would look horribly red. Solution: set white balance to the appropriate colour temperature – by trial and error, yesterday that was 4600 K.


El Carro

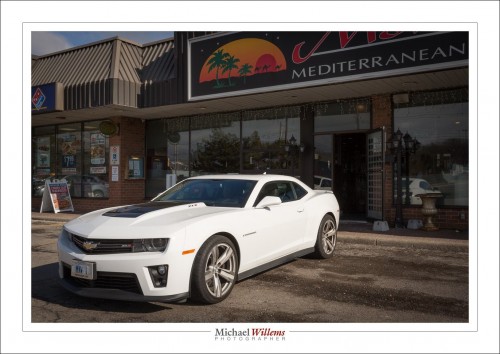
Car pictures. Always fun. Including snaps:

20170328-MW5D3454-1200

That’s my Camaro ZL1, at 400 ISO, 1/400 sec, f/16.

Does anything occur to you when you see those numbers?

Yes, it’s the Sunny Sixteen rule.

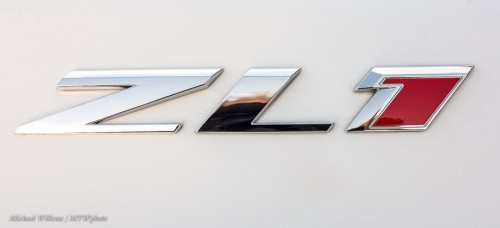
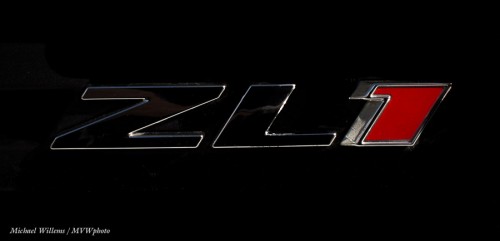
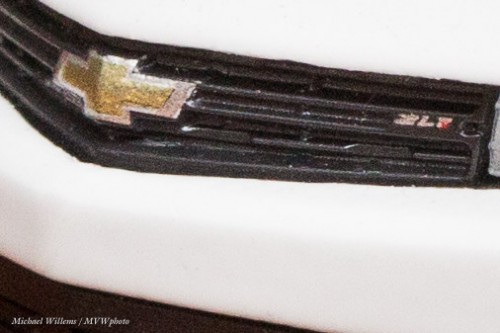
Anyway, the car has a lot of detail, like the badges:

20170328-MW5D3456-900 20170328-MW5D3455-900

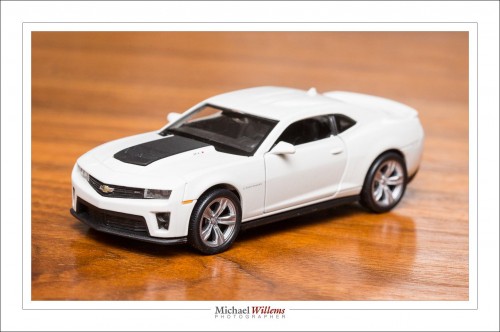
So here is my all-new Camaro. Flash TTL, flash bounced behind me,

20170331-MW5D3475-1200

That is right, a little toy. And it’s my car’s exact colours, too. And that toy has surprising detail. The same badges, for a start.

20170331-MW5D3475-900-4

Note: Over the next while, long term that is, I plan to use this toy as a prop in pictures all over the place, so stand by!

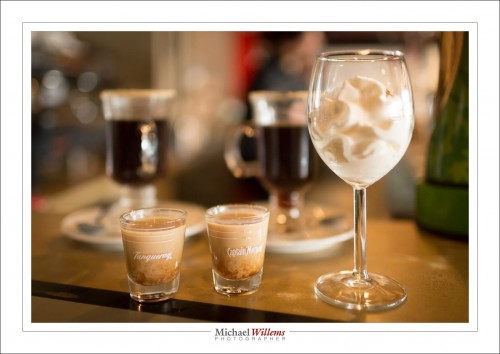
Always carry a camera dept: drinks in the above restaurant, and they looked pretty enough to take a snap:

20170328-MW5D3464-1200

(35mm lens, manual mode, 1/320 sec, 1000 ISO, f/2.2.)

A reminder

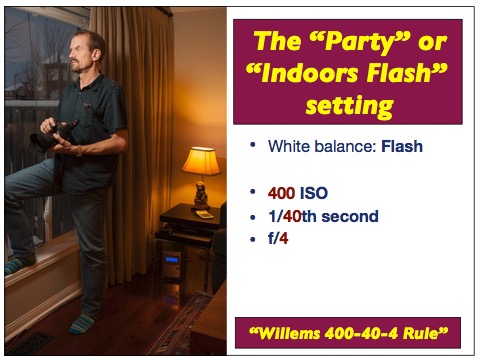
Today, a reminder of one if my magic “Flash Recipes”. Namely, the “Reception Recipe”. Otherwise known as the “Willems 400-40-4 setting”.

It goes like this. Camera on manual. Flash bounced, and aimed 45 degrees up, behind you.

Screen Shot 2017-03-27 at 12.15.07

400 ISO, 1/40 Second, F/4. (the numbers only fit one way: try!)

In most indoors environments that gives you great balance of background and foreground, as in the image above. If the ceiling is high or dark, increase the ISO as needed. Ideally, use a 35mm lens (24mm if you are using a crop sensor camera).

And that’s all. Great party pictures from now on!


The simplest…

Sometimes, when you are immersed in a profession, you forget that not everyone is even familiar with the language used in that profession, let alone with some of its principles and practices. As an engineer who teaches, I try never to fall victim to that thinking. But sometimes even I do. So in the next series of blog posts, I will briefly define some of the basics. Just in case.

Starting, today, with flash modes.

Your small, camera mounted, flash has a “mode” button. That button gives you access to some of the following modes:

  • TTL (also, “E-TTL”, or “TTL-BL”, etc). This means “automatic flash power”. The camera and the flash together sort out how much power is needed for every photo. They do that with a mechanism that I explain in my courses, books, and workshops. That mechanism is called “TTL”. You do not have to worry about your subject’s brightness, at least in theory: the camera and flash sort it out.
  • MANUAL (Also called “M” or “MAN).  In that mode, you set the flash power. You can, for instance, set it to 1/1, or 100% power: the brightest power level. Or 1/2 (half power), 1/4 (one quarter of its top power), 1/8, and so on. On some cameras, you can go as low as 1/128 power, a very low flash level. So in this mode, if your flash is too bright, you would turn it down to a lower level (or move back from what you are lighting); if it is too dim, you would turn it up (or move closer).
  • Repeating flash, or stroboscopic flash. In this mode, the flash will flash not once, but a defined number of times, with a defined interval. You need to define the number of flashes, the interval, and the power level. (E.g. “5 flashes, at a frequency of 10 flashes per second, at 1/16 power”). That allows you to make photos of, say, a runner against a dark background, where you see not one, but ten images of that runner as she moves through your photo.

There may even be modes additional to this. Depending on the flash you use, there may also be a setting that tells the flash that it is a remote flash, and there may be a setting that allows the flash to be used at fast shutter speeds, but at a reduced power level (“High Speed Flash”, or “FP Flash”). There could be other settings as well, like a “dumb slave setting” (Nikon calls this the “SU-4” setting).

All those additional settings are not modes, but they are what I called them: additional settings. I know, that may be confusing to you (“what is a mode and what is an additional setting?”), but if so, don’t worry about it. It’s what the engineers decided to do. The reasons for not calling these settings “modes” are not important right now.

So there you have it. Some flash “basic basics”.

In my flash courses, I explain al this in detail, of course.

Want to learn more: buy the pro flash manual, and if you are in Toronto, sign up right now for the 25 March portrait and model lighting workshop.  See you there?

If you like sharp and crisp…

…then use flash. And if you use flash, then use it off camera.

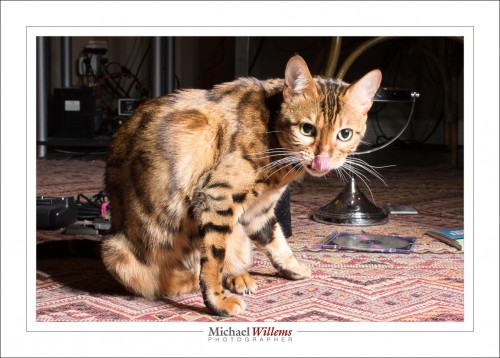
Flash is crisp and sharp. Or rather, using flash leads to crisp photos because:

  • Contrast is perceived as crisp sharpness.
  • Flash lasts 1/1000 sec or less, and that means your effective shutter speed is 1/1000 sec or less.

Like this:

20161015-mw5d1454-1024

Alternately…

20161015-mw5d1455-1024

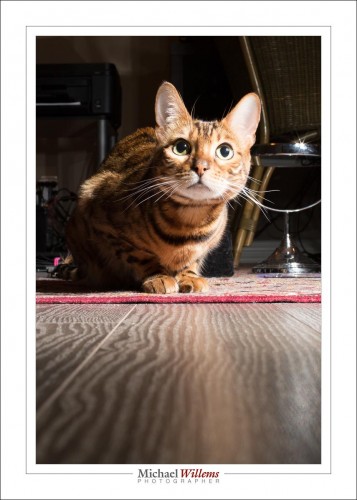
Maybe better: close to the ground to get a ‘cat’s eye view’:

20161015-mw5d1463-1024

1/30 sec at f/11, 400 ISO. Meaning, the ambient light basically disappears. The photo is crisp because although the shutter is slow, ambient light does basically nothing and the flash speed (1/16,000 sec, because the flash is set to 1/16 power) is the effective shutter speed.

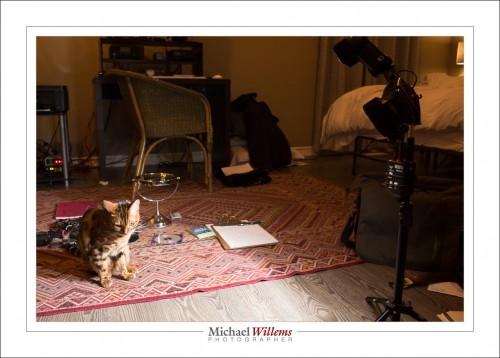
…all of which is made like this:

20161015-mw5d1461-1024

The flashes are on the right: three flashes fired by one pocket wizard.  Note that in this last image, I used a very slow shutter speed (several seconds, if I recall correctly) in order to show some of the ambient scene.

Anyway: can you see how much more lively and “real” these images look than a simple “even lighting” image, such as a “natural light” image that some photographers proudly boast is their only source of light?

One more thing to note: I am using three flashes connected via a three-flash mount (see yesterday’s post). With no softening modifier such as an umbrella or a softbox. The take-away lesson from this: When using off-camera flash, a softening modifier is not always needed.  

Fun with Colours: flashes, gels, mirrors.

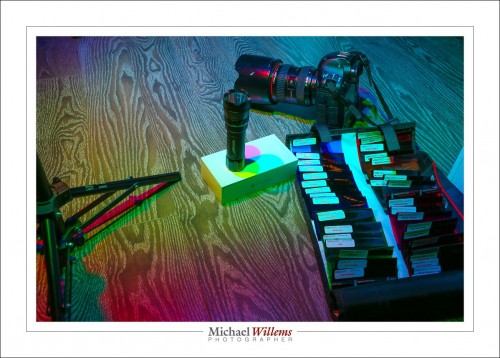
The things some people do in their bedrooms in private! In preparation for tomorrow’s hands-on flash course I outfitted some flashes with coloured gels tonight. 

I used Honlphoto gels, seen bottom right here in a double wrap:

20161015-mw5d1420-1024

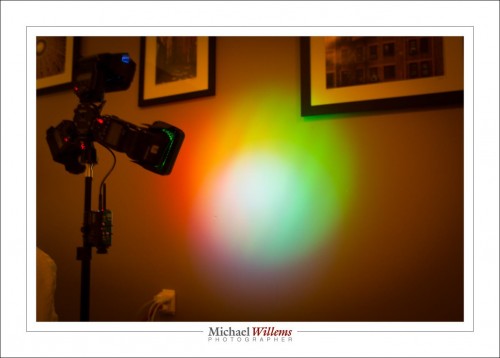
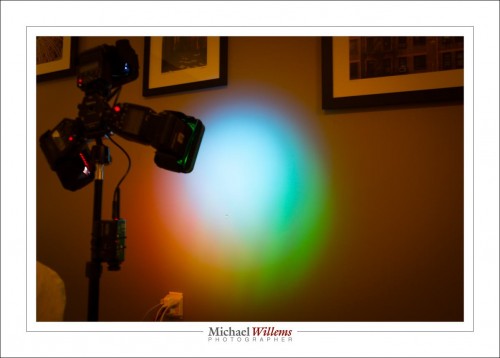
I had three flashes mounted on a stand that uses one radio trigger (like a Pocketwizard) to fire all three flashes (thus saving two radio triggers). I have discussed this three-way mount here before. I also used grids (also Honlphoto) to get three separate light circles.

As said, where all three flashes mix, you get white. After you get the ratios right, that is: the gels take light (also discussed here in a recent post) and you may need to turn one or two of them up to compensate.

Once you are done, you get white. You see it here in the centre:

20161015-mw5d1444-1024

And here:

20161015-mw5d1449-1024

TIP: To get the ratio right, you look at the RGB histogram. The peaks for red, blue and green need to be at the same distance from the edges.

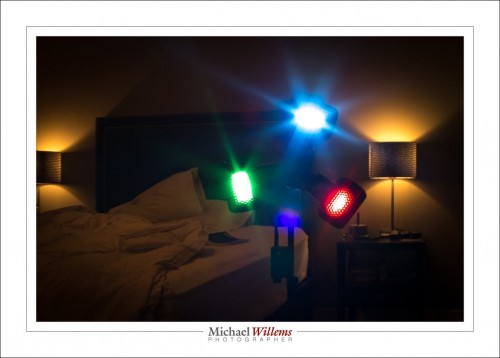
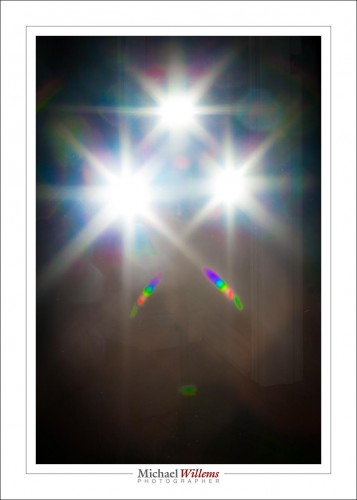
Looking at the flashes you see the three colours I chose:

20161015-mw5d1450-1024

Red, Green and Blue. Surprise, surprise!

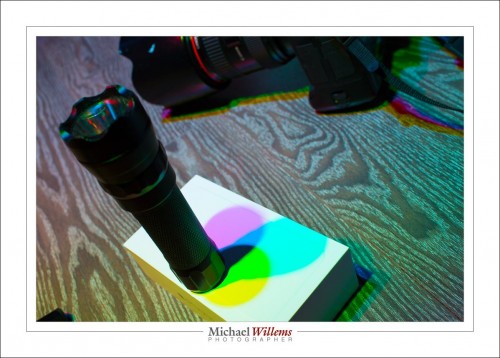
You see, when these colours mix, that once you get the ratios right, you get white overall. But when only two of them mix you get “in between” colours, which include cyan, yellow, and magenta:

20161015-mw5d1421-1024

So now you know why you see RGB and CYMK (where “K” means “Black”) as two alternate ways to mix several basic colours!

I also had unrelated flash fun, of course. f/32:

20161015-mw5d1408-1024

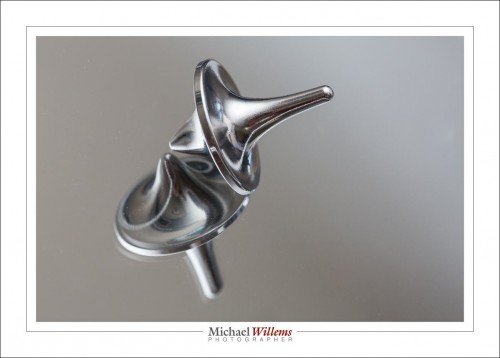
And my spinning top:

20161015-mw5d1389-1024

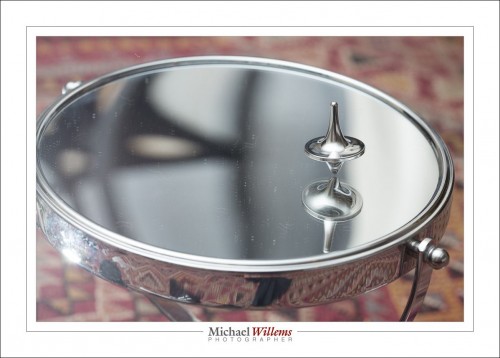
On a concave mirror, that is:

20161015-mw5d1400-1024

The moral of this post?

You should have fun with your photography, and explore, and try out different things. How many of you have gels, and how many of you have used these to mix light in different ways? That’s how you learn about light. So for those of you not coming to tomorrow’s course: go have fun, And sign up for the one after the next one: tomorrow and next week are full up, but 6 November still has a few spots open.

Any way you do it: learn about light, and have fun.


PS for Honl modifiers, which I strongly recommend, go to this link and use discount code “Willems” at checkout to get an additional 10% off.


Lightroom Bug with Sierra

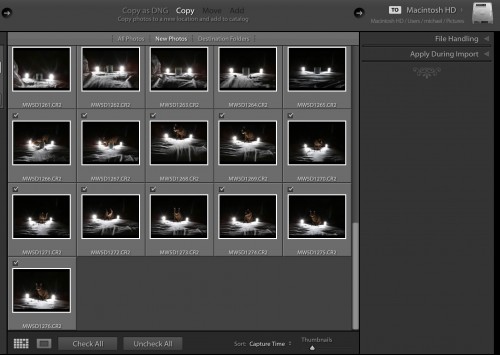
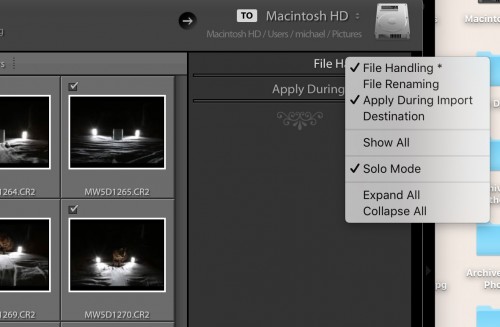
If you have upgraded your Mac to Sierra, the new OS, Lightroom may show a bit of a bug in the Import module.

When trying to import, you see this dialog:

screen-shot-2016-10-12-at-12-34-21

A few things are missing there, aren’t they? “File Renaming” and in particular, the essential “Destination” dialog is missing.

The solution? For now, until the bug is fixed, just right-click on one of the two that do show, File Handling or Apply During Import:

screen-shot-2016-10-12-at-12-34-52

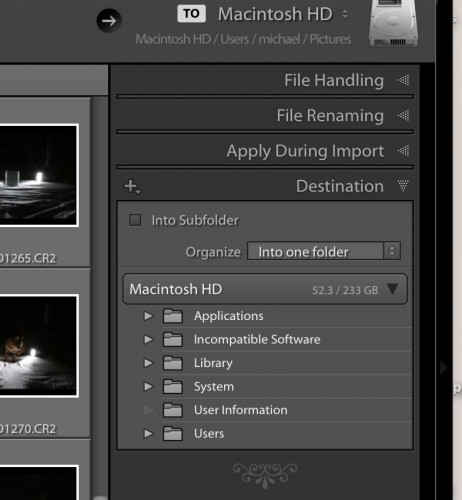
…and then click on the two missing dialogs, “File Renaming” and “Destination” to activate them, so a tick mark appears next to them too.

You now see all four again, and you can set your destination as always:

screen-shot-2016-10-12-at-12-35-10

So although this little bug is annoying, it is easy to bypass.

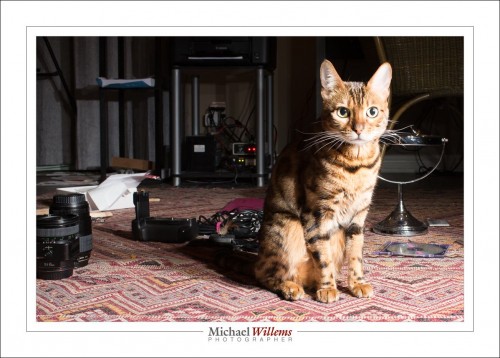
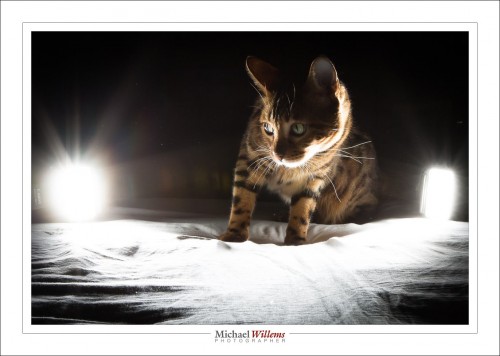
Now to celebrate, here is Mau Mau, surrounded by (and lit by) two flashes:

20161012-mw5d1272-1200

Taken at 100 ISO, 1/200 sec, and f/22, with the flashes set to 1/16 power, using a Yongnuo YN622C-TX on the camera and a YN622C connected to each one of the the flashes.