Happy New Year!

Happy New Year from The Speedlighter! 

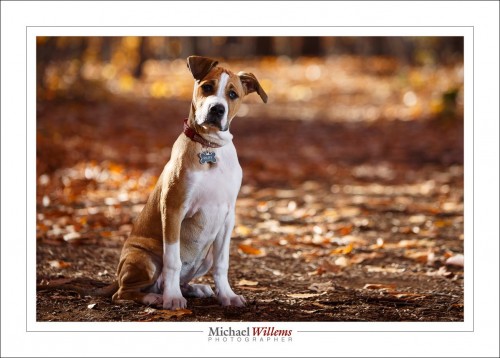
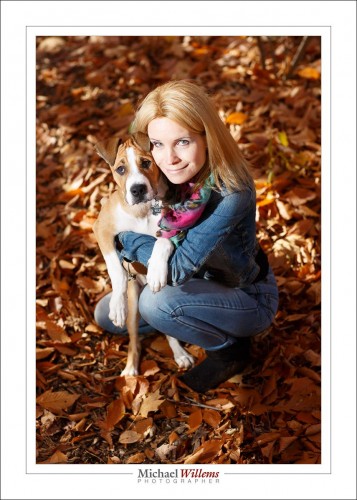
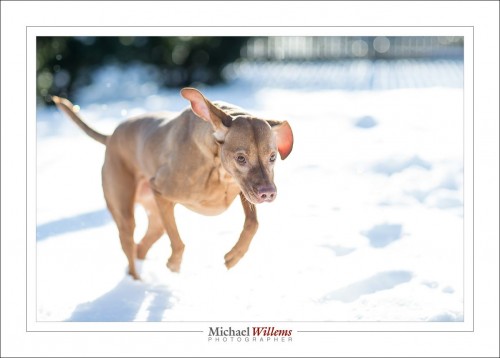
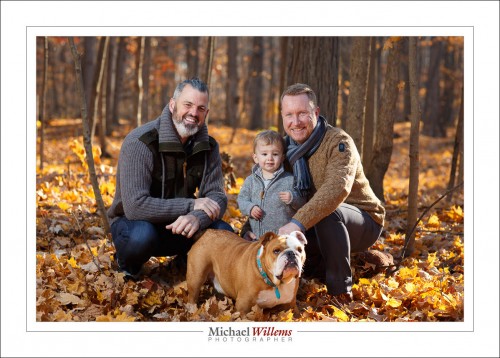
As for your 2017 resolutions, how about this one: Make this the time you finally perfect those skills you always wanted to hone! Skills that allow you to quickly and easily do pictures like the ones I took over the last couple of weeks. These include a few animal (and animal-plus-owner) pictures:

20161110-mw5d1613-1024

20161110-1dx_1783-1024

20161219-1dx_2654-1024

20161113-1dx_1819-1024

All those were made with the 85mm f/1.2 lens, and used a single speedlight in an umbrella.

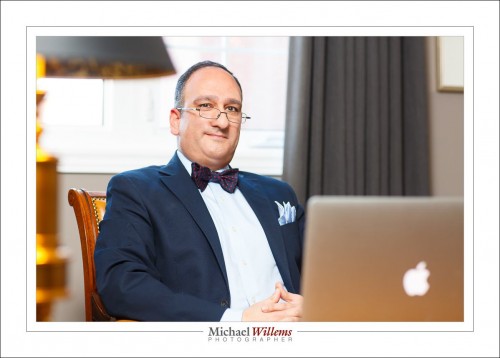
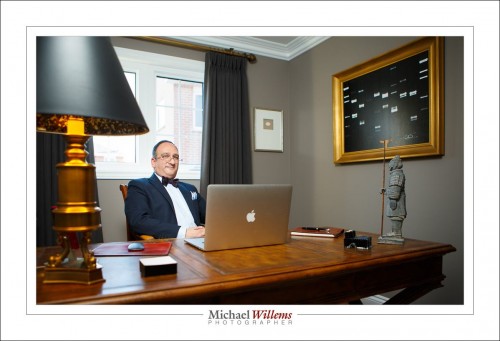
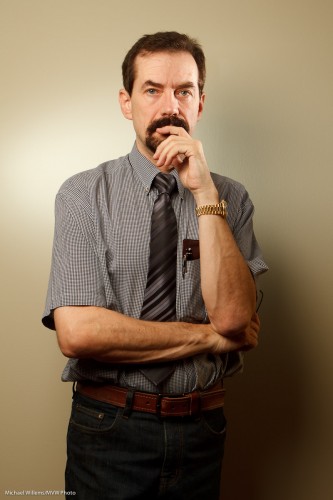
But I also did an executive portrait, just yesterday:

20170101-mw5d2658-1024

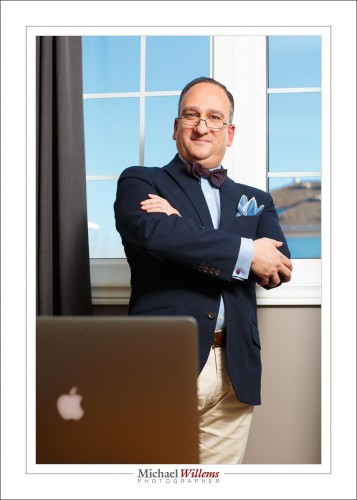
20170101-mw5d2676-1024

Do you see the difference between the two above? For the first one, I did not want to show the outside (boring, homes). Easy, so the picture,like almost all my pictufes, was stright out of the camera.

For the second one, however, I did want to show the blue sky. So I exposed that one less (using the magic Outdoors Recipe–one of the things you will learn if you turn up). Both used flash, of course; fired by Pocketwizards and with their power set manually. The second one used much more flash power because I was using low ISO and small aperture to kill the outside light. I also had to, therefore, brighten the Apple logo in post-production.

20170101-mw5d2655-1024

I would almost call that last one an environmental portrait.

The next ones are certainly environmental portraits:

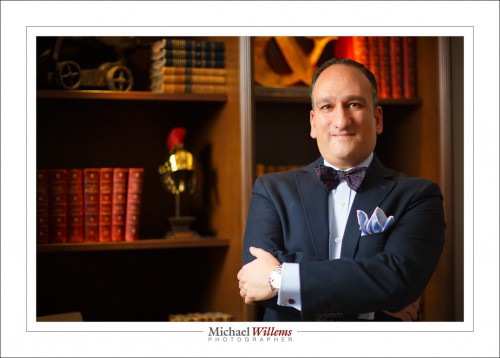
20170101-1dx_3062-1024

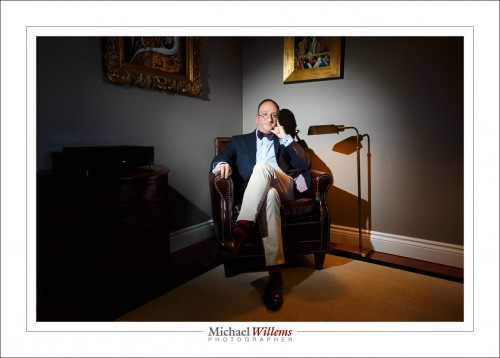
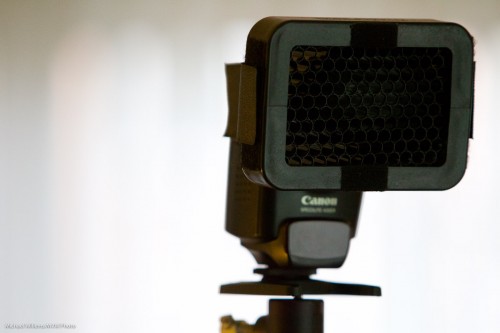
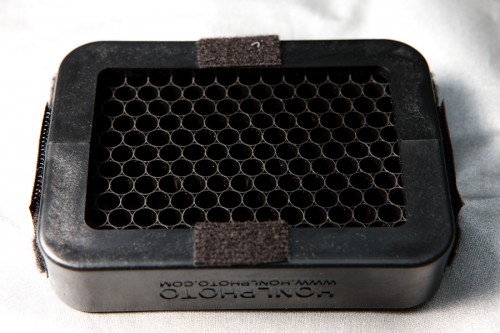
The one above used a 24-70mm lens and a speedlight with a Honl Photo 1/8″ grid. The one below, a 16-35mm wide angle lens and a speedlight with an umbrella:

20170101-1dx_3048-1024

What do they all have in common? Simplicity, good exposure, and a thorough knowledge of the technical necessities.

You can learn this too. Why not do it? I have several great opportunities coming up!

All of these are excellent learning opportunities, and will broaden and deepen your knowledge significantly. Hope to see you there and then. 


Shutter speed isn’t all there is to shutter speed.

“Shutter speed” isn’t all there is to shutter speed.

Uh oh. Michael is The Oracle. What on earth does he mean by that confusing statement?

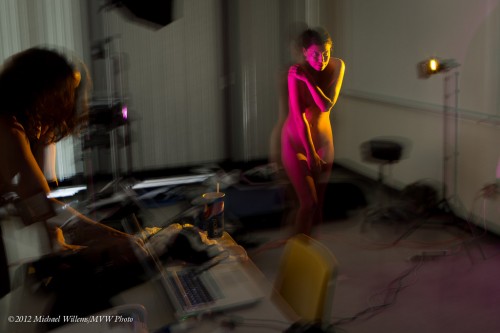
Well, let’s have a look. Let’s set up a couple of gelled and gridded speedlights (using Honlphoto grids and gels) and get a talented life model. Which is exactly what I did in August 2012 at Brock University, during the 5-day flash course I was teaching for the Niagara School of Imaging.

But wait. Because I want to show you the setup, let’s allow in some ambient light. To achieve this we use a really slow shutter speed, of 0.6 sec. More than half a second, in other words. That lets in some ambient. Not a lot, but enough to see the classroom, some of the equipment, and so on.

The picture, showing the setup with the two flashes, below. Look at the two little gelled speedlights, can you spot them? Purple gel on the left and yellow gel on the right:

tumblr_m94klicvuq1qfts2ko1_1280

OK. Great. Blurry as heck, of course: 0.6 seconds is ridiculously slow. Impossible to hold still. Right?

But wait. Lots of blur, yes, all over the picture, but look carefully. Click on the image to see it full size, and now look carefully at the model. What do you see?

She is sharp. No blur on her: she is tack sharp. There’s blur all over, but not much on the actual subject. A little “ghosting”, but she is substantially sharp.

But that’s impossible: the shutter speed was 0.6 seconds. So she must be blurry! Right?

So that’s where I say “‘Shutter speed’ isn’t all there is to shutter speed”. The shutter speed may be 0.6 seconds, but the model is lit primarily (almost exclusively) by the flashes. And the flashes flash at 1/1000 second or faster. At 1/4 power, they flash for just 1/4000 second. So while the shutter speed may be 0.6 seconds, as long as the subject is lit only by the flashes, our effective shutter speed is 1/4000 second!

And that is why you see a sharp model: there is very little ambient light on her, so the effective shutter speed is determined almost exclusively by the flash speed. Which is very rapid.

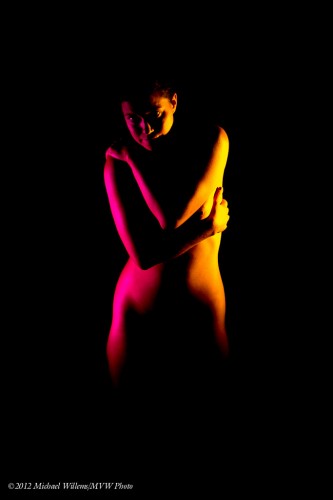
So now let’s do a normal shutter speed, of 1/125 sec, so the ambient light is cut out. And here is the finished product:

tumblr_m94knozSgL1qfts2ko1_1280

So anyway. This is a studio shot. So I want no ambient light: the second picture, in other words.  But when I shoot an event, like a wedding reception, I want to let in some ambient light to avoid those cold, black backgrounds. Instead, I want a nice warm background. To achieve that, I am happy to shoot with shutter speed as slow as 1/15 or 1/30 second. And now you know why I can get away with that.


Filters!

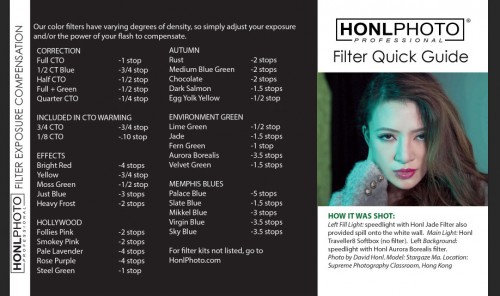
David Honl, whose modifiers as you know I use, and love, just posted a helpful post on his blog. I will show you Part of it right here, namely the corrections you need to make to your flash when using a gel:

image

Those are useful Numbers, these will save you a lot of effort when you’re using the gels yourself. Which as you know I’m a big advocate of. This  will save you a lot of effort when you’re using the gels yourself. Which as you know I’m a big advocate of.

There is one thing I want to point out in addition to this though. Namely:

To turn a background into colorful, it first has to be dark.

It does not matter if the background is in reality gray, light gray, white, or even black; what is important is that to the camera ot has to look almost black. Then, and only then, can you add your gelled flashes. Then, and only then, can you add your gelled flashes.

If you do not do this, and if the background is, say, white, then adding color will add nothing except perhaps a slight tint   LIgor is not like paint: you cannot cover a color by putting another color on top.

For many people this is the biggest revelation when they start using color gels… So now you know. I just saved you a bunch of time. As did Dave with his table.

To  buy,  click on the advertising link on the right, and when checking out use code word “Willems” for an additional 10% discount. You’re welcome. 


Quick portrait

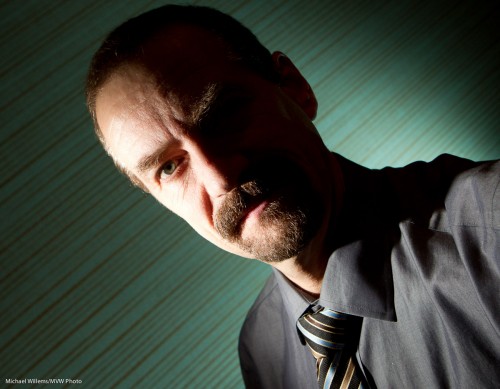
Prior to a class the other day, I decided to do a very quick self portrait or two. Let me share, and explain how.

How? This is how:

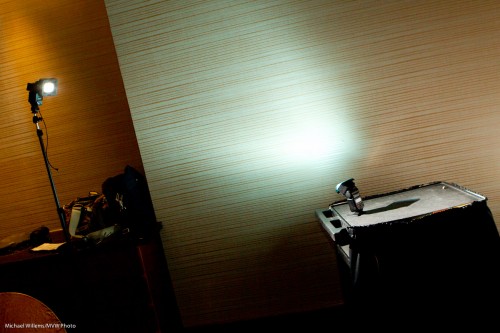
  1. A 1D camera with a 580EX flash on it – with that flash used as a master, and disabled otherwise, so it only drives additional flashes.
  2. The camera set to manual, 1/125th sec, f/5.6, 400 ISO.
  3. An additional flash A on our left: a 430EX on a light stand, with a HonlPhoto grid to avoid the light spilling onto the wall.
  4. An additional flash B on our left: a 430EX on its little foot, equipped with a HonlPhoto gel.
  5. A 1:1 ratio of A:B flashes.
  6. The camera set to choose its own focus point for once, since I am holding it myself!
  7. The camera in my outstretched arm, tilted for diagonal line effect.

Not bad eh?

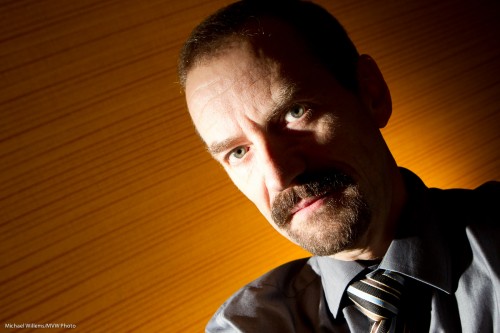
Finally, one more with a different gel on the background flash: egg yolk yellow, my favourite colour.

Total time taken: Maybe two, three minutes.


Studio light note

Welcome, all, including new students and reader.

Continuing in the studio lighting technique series of posts, today, let’s look at the effect of a background light.

A simple portrait (yes, as you see, I am my most patient model):

That was lit with one strobe in a softbox on our left. Simple, nice, soft light.

But wait. Perhaps a little more light on the background would help offset the model from the background a little better. For this, we use a speedlight, with a grid (so as to avoid the light going everywhere).

Like this, using a 430EX (similar to a Nikon SB600) fired with a Pocketwizard, and fitted with a Honl grid:

And that gives us very different light.

Now we could turn that background up, or down; or change the direction.

The point is that this allows us to play with “foreground versus background” a little. Offsetting your subject from the background is always good – dark background and light subject or light subject and dark background are both good. There’s no one way – it’s more that there are a number of ways of doing things. And by controlling liught, you control those ways.


Designing a one-light self portrait

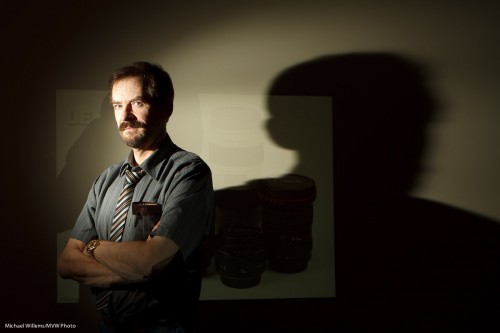
Here is a self portrait, and the process that went through my head making it. I thought that would be good to share. Here’s how to make a dramatic self-portrait in ten steps.

  1. First, I thought “let’s do a quick self portrait, indoors, lit by simple TTL flash”.
  2. I then thought “But let’s make it off-camera flash”.
  3. I went on to think “I want a dramatic image, so let’s use only flash light: available light should play no role”.
  4. To achieve that, I set my camera to manual exposure,  1/125th second, f/5.6, ISO 100. I took a test shot: black. Good, just what I wanted.
  5. Next, I aimed a single 430EX flash in slave mode at the wall diagonally from the side.
  6. Next, I attached a 1/4″ Honl Photo grid to the flash to avoid lighting up the whole wall; instead, I cast a nice parabola. That grid is my most used accessory, I think.
  7. I added a projected image of a set of lenses, only just visible.
  8. Now I put myself into that parabola: light straight into my face. Diagonal to the camera.
  9. I selected an almost-standard lens length (28mm on a Canon 7D, meaning a “real” 45mm) and off-centre composition, with a heavy shadow dramatically cast by me onto the wall.
  10. Finally, to take the shot I would have used a tripod, but since I had a student available, I asked her to shoot for me (Kayleigh, you know who you are).

And the result? Here it is.

Photographer Michael Willems

Photographer and educator Michael Willems, Oakville, 16 May 2011

(For best results, click and  view at original size)

What do you think? Me to a T, eh? This entire shot took just a few minutes to set up. You can do this too!


Let there be light.

When you shoot a studio portrait, you can use big studio lights – or small speedlights.

Because they are smaller and lighter, I tend to use small speedlights whenever I can.

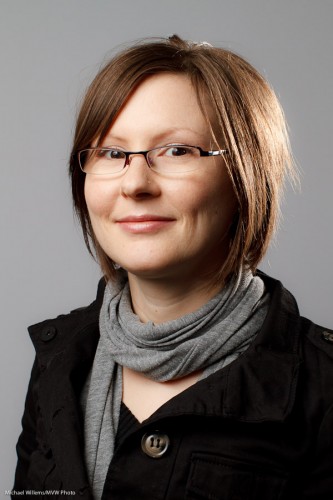
And that does not mean compromising quality. Take this example. I took this shot of a very nice model and student during a course the other day, using TTL speedlights:

How is this done?

  • One flash on a light stand into an umbrella (the “A”-flash), on our left. High enough to give us nice catch lights in the eyes, but no reflections in the glasses.
  • The hairlight is one snooted speedlight (the “B”-flash) on the right (using a Honl photo snoot). I made sure this hairlight only lit of the hair, not the cheeks. That is what the snoot is for.
  • I used a Canon 7D with a 50mm lens.
  • I set the camera to manual, f/8, 1/200th second, 200 ISO. Normal settings for studio light. I made sure auto ISO was disabled.
  • The flash was set to its normal TTL mode.
  • I used flash compensation of, if I recall right, +1/3 stop.
  • The “A:B ratio” was set to 3:1, meaning A was three times stronger than B.

I could have metered and used Pocketwizards and the flashes set to manual, and if I had done many portraits, I would have. But for a quick shot like this, I think TTL is a better way, since it is very quick. Indoors, wireless TTL is a no brainer, and it works:  the on-camera flash, which is only used to direct the slave flashes, can be seen by any flash in the room. On a Nikon, or a Canon 7D or 60D, I need only the camera and its pop-up flash. On any other Canon, I would also need a 580EX flash on the camera, to direct the slaves.

But the portrait above is missing something, no? The background is a bit, well, bland.

So we add one more light, using a grid. And a gel. For the gel, I choose a complimentary colour: complimentary to the hair colour. So for brownish-reddish hair I use a beautiful blue-ish gel.

Now we get:

Better, no? Nice portrait, and it took only one light stand, one umbrella, three flashes, one grid, one gel, one 5″ snoot.  All this is affordable, small, light.Professional portraits are now within reach of everyone.

Grid and bear it

When you are shooting with multiple lights in a studio-like setting, one of the most important things is to shape the light; to control where it goes. And the problem with a bare flash is that its light goes, well, pretty much everywhere.

And one of the most annoying of the “everywheres” is the background. If you want a darker background in a small basement studio, say, you have the following problem: your flash, even if it is a side flash, lights of the background, so you just cannot get a dark background. You get something like this:

Darn, but you wanted a dark background!

In that case, you have three options:

  1. Move everything away from the background.
  2. Paint the background black.
  3. Direct the light more specifically.

Since options (1) and (2) are not always easy, I recommend you learn option (3). Use barn doors, or snoots, or gobos: anything to direct your lights more.

For small flashes, the grid is a fabulous option. A 1/4″ Honl Photo grid stuck onto the speed strap on the speedlight makes that picture into this:

That was easy! The grid stops the light from going everywhere – now we have a much darker background, since light no longer falls onto it.

The Honl grid is affordable (I have several), small, and looks like this:

Honl Photo 1/4" Grid

Indispensable for users of off-camera flashes.

(As you may have read here by now, David Honl, the inventor of that range of Honl small flash modifiers, will be my Guest Star in Toronto on Saturday. Don’t miss it if you want to learn Advanced Flash from the pros.)

Gridlock

Why do you use a grid on a flash?

A grid softens the light somewhat, an effect I really like. But the main use for a grid is to avoid the light going everywhere.

Look at this image: lit from the side with a bare speedlight (a Canon 430EX, which is equivalent to a Nikon SB600) with a red gel.

As you see, light hits the wall.

Now look what happens when I put a 1/4″ Honl Photo grid on the flash, with a gel on top of the grid.

Ah. No more light spill onto the wall.

That’s all. As simple as that.

And here’s what a Honl grid looks like:

Portrait note

One more from Sunday’s course.

This time, a portrait of model Tara that I made to help explain multiple flash TTL. Straight out of the camera it is:

Multiple-flash TTL lighting

Multiple-flash TTL lighting

How was this made?

With a small Traveller 8 softbox on the main light, a gridded gelled flash for the background, a snooted flash for the fill light, and a gridded gelled flash for the edge light.

Four speedlights, and all using TTL.

A few things to remember in such portraits:

  • You need a catch light in the eyes.
  • Set your white balance to “flash”.
  • If you have space, longer lenses are good (in this case, though, I use a 50mm prime lens).
  • Avoid the ambient light doing any work: choose 1/125th second at f/5.6 or f/8, say; and be sure to disable “Auto ISO”.
  • Lighting is all about what you do not light: avoid bathing the room in photons. Think about what you light, and how.
  • With Canon’s e-TTL or Nikon’s CLS/iTTL, you only get two or three groups of light. So if you have four lights, some of them will have to be in the same group. My fill and edge light are thus both in group “B”.

Keep those in mind and your portraits will be well lit.