Deep.

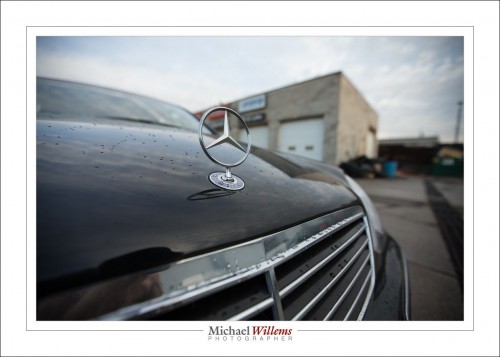
Deep. As in, “this photo has depth”:

One of my cars, outside the mechanic’s yesterday.

So how do you get depth? You know!

  1. Have a close-by object (we call this: “Close-Far”);
  2. Have diagonal lines in the image (the foreground needs lines or texture, preferably)
  3. Use a wide angle lens.

The wide angle lens facilitates 1 and 2, and also has two other advantages: it is easy to get everything sharp if you wish (here, I did not wish); and it is easy to shoot at show shutter speeds.

So pack your 16-35 lens if you have a full frame camera, or your 10-20 or similar if you have a crop body, and go shoot some depth pictures.


REMINDER: Have you thought of a training gift certificate for a private custom lesson with me as a gift for this coming season? A gift which is not only fun, but leads to your loved one making better family photos. And you’re done with shopping immediately. So everyone’s a winner. Go to http://learning.photography to order your gift certificate now.


A Couple Of Composition Tips

A few things work very well in composing images. I shall reiterate a few of them here, using recent photos:

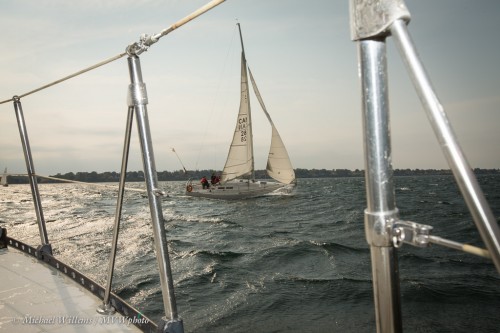
First, framing. It is often a good idea to frame the object you are shooting. Use overhanging trees. A window frame. Or get even more creative, like here:

Not that every frame leads to a good picture – but some do, so learn to spot them.

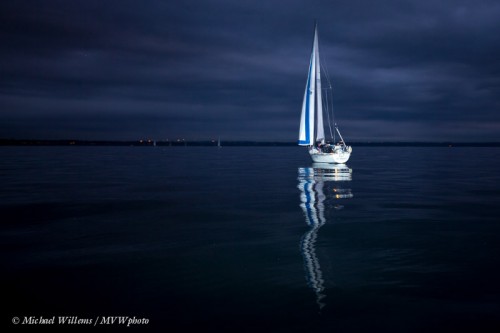
Another technique that we often like: use reflections. Like here, since water is often a good source.

What did I use in the picture above? Yes, my speedlight. On camera, and zoomed in to 125mm, even though the lens is wide. And as you see, I did not use the rule of thirds in the vertical sense: because I wanted to get the reflection in.

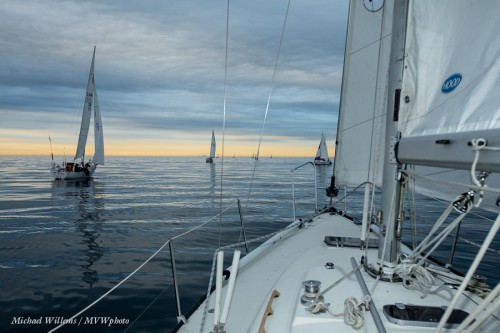
There there’s “close-far”. Use a wide lens and get close to something in order to show depth:

And one more picture just for fun:

That images uses the above, plus it uses the background in order to tell a story.

There’s more – like the use of colour, and simplifying. A bit of thinking goes a long way in composing your shots!


Tell the story

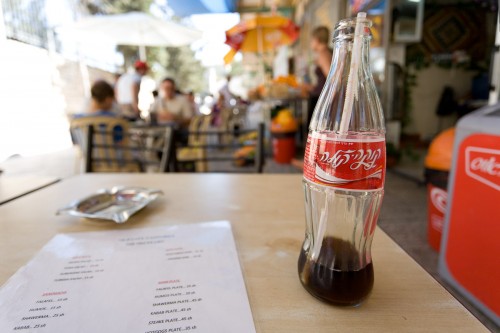
Here’s an image from a 2007 trip to Jerusalem:

Jerusalem 2007 (Photo: Michael Willems)

A typical “B-roll” picture – a picture that helps…

  1. …set the scene – where we are;
  2. Tell something about the environment;
  3. Make the viewer “work it out”;
  4. Provide a visually interesting image.

In this case, elements are: the blurred scene in the background (people eating and drinking, the waiter, the umbrellas); the Hebrew on the coke bottle; the menu including shoarma; the sunny background; and the three-dimensional feeling created by the “close-far” technique.

When you next travel, try to take lots of images like this. You’ll be amazed how much easier it is to tell the story.


Safe shots

Those of you who ever shoot events (indoors or outdoors, from weddings to parties, from sports to graduations) will be glad that I have developed a special course in “Event Photography”. You will see this marketed in various places soon (check out Henrys: link soon).

One quick tip from that course here: Develop your own “safe shots” and always include those.

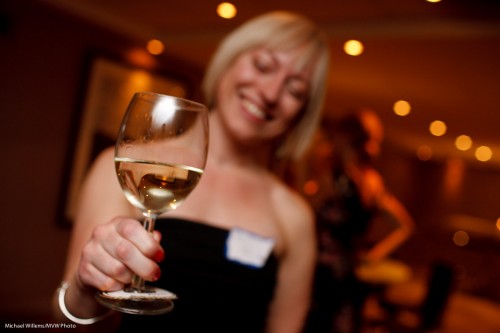
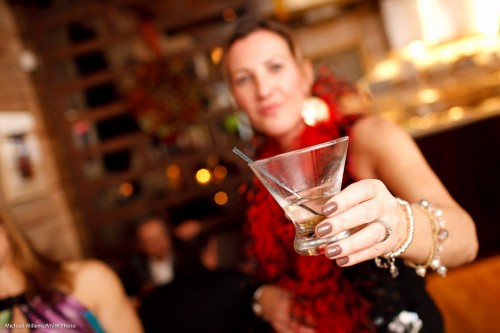
Here is one of mine.

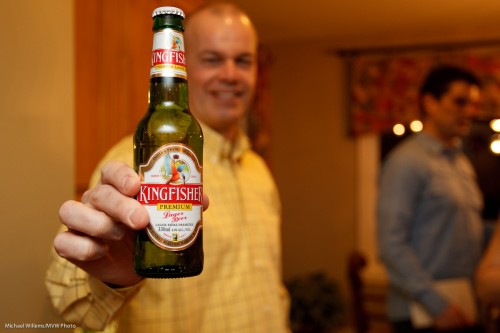
Cheers! (Safe party shot, photo Michael Willems)

Cheers! (Safe party shot, photo Michael Willems)

Cheers! (Safe party shot, photo Michael Willems)

Cheers! (Safe party shot, photo Michael Willems)

Cheers! (Safe party shot, photo Michael Willems)

Cheers! (Safe party shot, photo Michael Willems)

Why is that a cool shot?

  • It shows depth.
  • It blurs faces  -ladies especially love this.
  • It is fun and everyone lives that fun.

Develop your own, and always get that. There, you’re on your way to developing a style!

Guess what.

Two techniques today that I have pointed out before, and I will do it again until everyone uses them regularly.

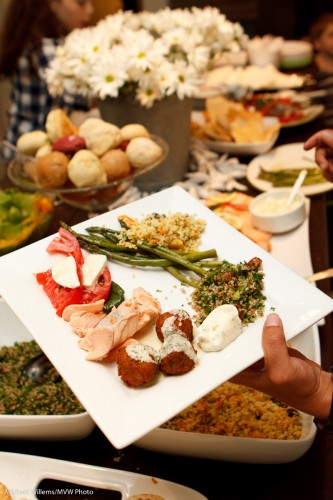
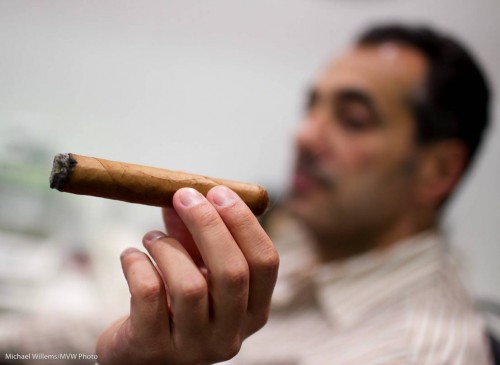
  1. Close-Far
  2. Selective focus with supporting background elements

Like here:

Food, and food

Food, and food

And here:

Cigar and person

Cigar and person

These pictures:

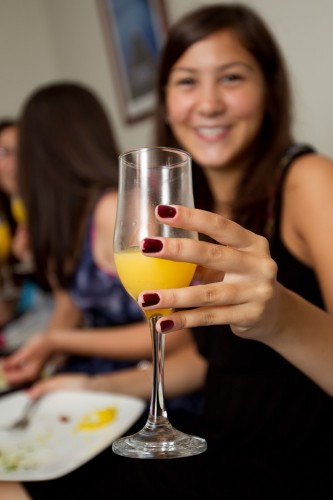
  • Make the foreground subject really stand out
  • Achieve perspective (close-far: get close to your close object!) and
  • Provide environment, or context, where theuser has to put two and two together to create the story. The eye goes to close object – background – back to close object.

One more example – then go out and shoot some!

Cheers (Teen with orange juice)

Cheers (Teen with orange juice)

Instuctions, should you need them:

  1. Wide lens, often the wider the better
  2. Get close!
  3. Focus on the close object.
  4. Use the largest aperture (smallest “f-number”).

Have fun!

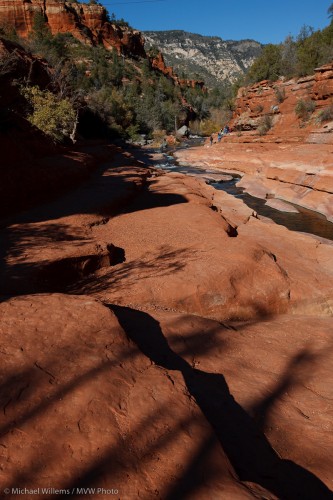
Scale and grandeur

It is important to add both a sense of scale and a sense of grandeur to landscape photos.

You add grandeur by using a wide lens and getting close to something (even the ground). That shows the size.

And you add scale by helping the viewer. Adding people is a common technique, as I did in this image of Sedona, AZ, in December last year:

Sedona, AZ

Sedona, AZ

You need to see that image real size to really see it (click through, then select full size). And that brings me to today’s last tip: make it big. Large prints are sooo much better than 4×6 prints.

Snapshot rules

Even when you take a simple snapshot, as a photographer you should think about how to do it. Almost subconsciously, I apply the same rules and the same thinking to a snapshot that I do to a photo I am paid for.

So I thought it might be worthwhile to discuss some of that thinking. In that context, here is a snapshot I took the other day of a friend:

Michael's friend Ninon, shot with a wide angle lens

Michael's friend Ninon, shot with a wide angle lens

In the second or two before I take that snap, what is some of my thinking, and what are some of the decisions I make?

  • Subject: What is this a photo of? (it is a happy snap, so “camera-aware” and a smile are just great). Check.
  • Light: Where is the light coming from? In this case it is from her front, indirect reflected light, i.e. nice flattering light. Check.
  • Lens choice: I want to use a wide angle lens here because this is a situational portrait, a city woman in her city. Wide angle lenses put a subject in context. I want a wide angle lens also because it creates those nice diagonals that converge on the subject, can you see them? Finally, I also want wide angle to show depth in the photo (a technique knows as “close-far”).
  • Depth of field: I want to draw attention to my subject by blurring the background, so I use Aperture mode (A/Av) with an aperture of f/2.8. Wide angle lenses are sharp all over, but by using a fast one (f/2.8) and by getting close I can still blur the background dramatically.
  • Composition: I am using the rule of thirds. “Uncle Fred” puts the subject in all his images smack bang in the middle: I use off-centre composition. In this case the centre of attention (her face) is one third from the right, one third from the top. And she is looking into the picture, not out of it.
  • Moment: you need to capture the right moment. I shot four times and by photo number four, her smile was best. Shoot a lot, even in a portrait. so you capture just the right moment. I also thought the right moment included the “suits” in the background. After all, King and Wellington, downtown Toronto, means suits out for (if not out to) lunch. So I was delighted to see them approach and took the four shots just as they passed behind her.

That is, in a nutshell, what I thought in the seconds leading up to this picture.

That is my thinking. Yours may have been different, and that is of course perfectly OK. There is not one good picture: there are 100 billion. The essence here is not what my conclusions were, but the fact that I was thinking at all, instead of just blindly snapping.

Light, moment and composition/subject, that is what makes up a picture. So think of those every time you take one, and your pictures will get better.

3D

A reminder of how to make your photos three-dimensional.

You do this by:

  1. Using a wide angle lens, the widest you can
  2. Getting close to something

In the photo of the Israeli tank, I used a 16mm lens on a full frame camera – this would be a 10mm lens on your crop factor camera.

The “close-far” effect is due to you being close to one thing and far from others. The wide lens enables you to compose like that.

So – get wide – get close!

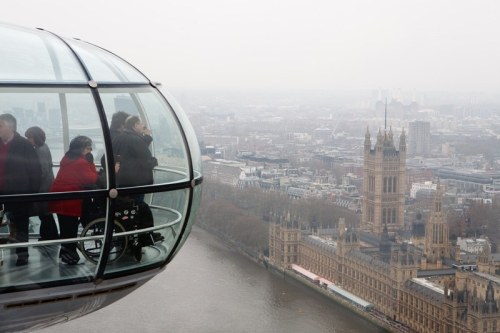
Haze? No problem.

Here is a simple but effective technique: if your background is hazy, blurry: put something sharp against it in the foreground. Like in this picture:

IMG_2060

You get benefits that include:

  • Better foreground subject definition
  • No-one minds that the background is hazy – it is a benefot, not a drawback, so everyone’s happy.
  • 3D into your picture.

It’s all good!