Daily tip: Power

Flash TIP OF THE DAY:

Say that you are ready to take a TTL flash shot. Once you have set your camera to a certain ISO and aperture and flash exposure compensation, and you have decided how to point the flash, you can do your test shot.

Say it is too dark. Why? Is it “incorrect metering, subject too light, etc”, or is it just “not enough power at this ISO/Aperture” (the shutter makes no difference)?

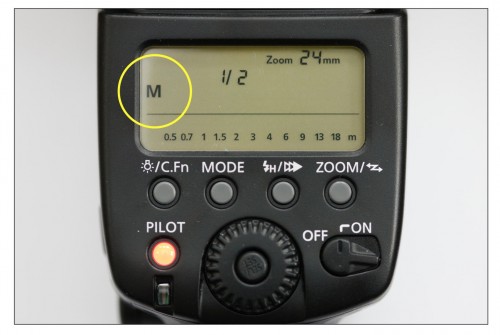
To ascertain that, and to see how much reserve you have, set your flash to manual, full (1/1) power:

The example shows half power (1/2); you should select full power (1/1, or 100%).

If you now have an overexposed picture, you know you can do the shot. Go back to TTL (press “mode” until “M” changes to “TTL”) and try again, changing flash compensation until your picture is good.

But if instead, your picture is too dark still, then there is simply insufficient power available. So no amount of flash compensation or metering changes will help. Instead, you have to lower the F-number or increase the ISO until that is no longer the case. (Or you could move to a room with a lower ceiling, if you are bouncing the flash).

I.e. if I were to sum this up, I would say:

Never go to TTL unless in full power manual, your picture is overexposed.

Simple, no? But you would be surprised how many photographers struggle with this simple check.


Aha Me A Riddle I Day

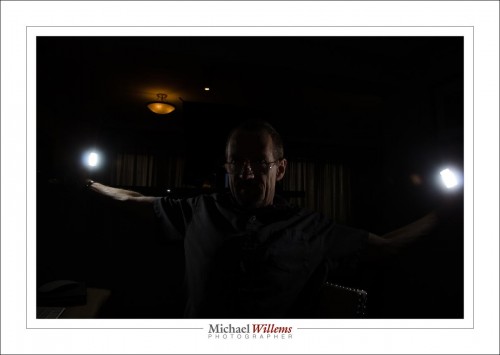
Not the Laura Love song, but a real riddle. What happened here?

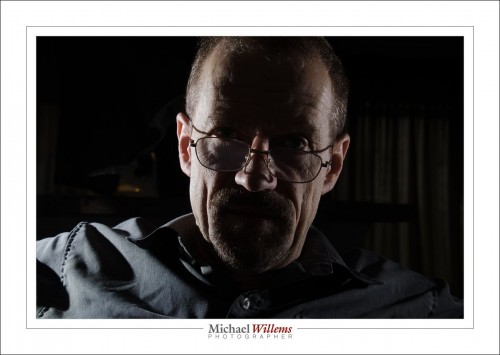
My face is underexposed totally compared to the rest of the shoot, which was like this:

So there the sides of my face are well exposed. But then the photographer zoomed out, and we got the shot at the top. What gives?

If you do not know, let me give you a hint: we were using TTL.

If you still do not know, allow me to explain:

TTL is like “auto for flash”.

  • Auto flash exposure normally uses evaluative (“Matrix”) metering.
  • I.e. the screen is divided into little squares, dozens or hundreds of them, and each one is metered individually.
  • As soon as any of these little squares are overexposed, even one of them, the camera tries to fix that.
  • It does that by lowering the exposure. But you obviously cannot change just one part of the photo, so the entire exposure is lowered.
  • That’s the reason the picture at the top is underexposed: the flashes are visible, meaning a hot spot or two, and the camera “fixes” that by lowering the entire exposure (by using a lower flash power setting).

The fix: You can go to average metering. Or you can avoid hotspots like reflections or flashes.

That’s one of the little facts you learn if you take my flash course.

Are you aware that virtually all my courses are offered online as well? Live, one-on-one courses, like the one I just did today with a long-time reader from Melbourne, Australia:

If you go to this page and check the pull-down menu, you will see that you can even save money by doing it online. So wherever you are in the world, I would be delighted to do a one-on-one with you.


Myth-busters!

(To the tune of “Ghostbusters”).

Often, my posts point out common myths and misconceptions. Of which there are many… many. On the Internet, no-one knows that you’re a dog, and no-one knows that you are wrong.

So, two oft-heard “truths”:

  1. You cannot shoot with TTL if you are a pro.
  2. You cannot use just one light for a serious portrait.

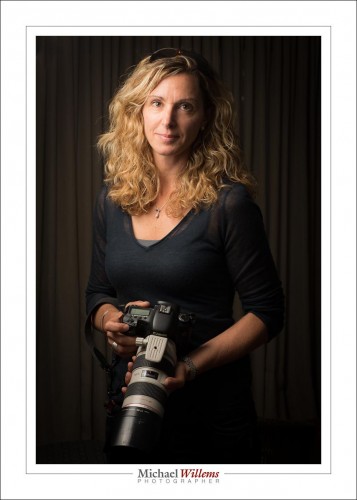
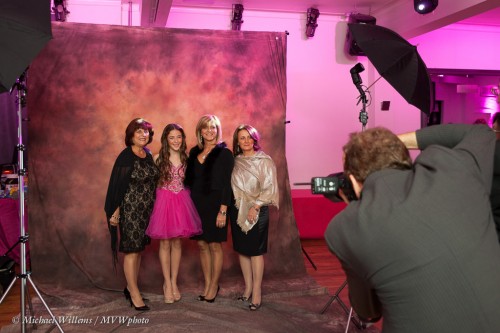
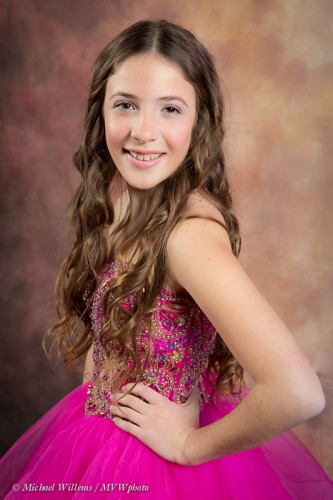
So. TTL was used in this portrait of students and friend Diana; remote TTL in fact (light flashes from on camera flash drives off camera flash); and the light was one flash through an umbrella. The on camera flash was disabled, except for those light flashes.

1/125 sec, f/8, ISO100.

The curtain was chosen as a classy background, but the umbrella was close to the subject so the curtain would get little light. TTL handles this fine; if the subject had been too light or too dark, a touch of flash compensation would have sorted that out.

The one light-with-umbrella gives us enough light for a portrait with Rembrandt lighting. Fairly dramatic chiaroscuro-type lighting, but not so dramatic that it becomes unflattering. On the contrary, this is nice light.

The blonde hair stands out nicely against the dark background; dark hair would have needed more light.

So there, a real portrait with “studio settings”, i.e. just one light, and using TTL. I could do that all night.


Through The Eye Of A Woman

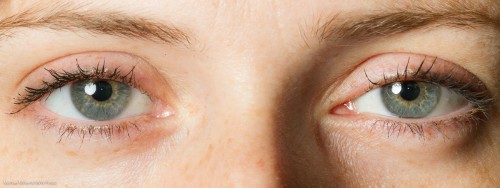
OK, maybe that title is a little silly. But it IS through the eye of a woman that I shone my flash

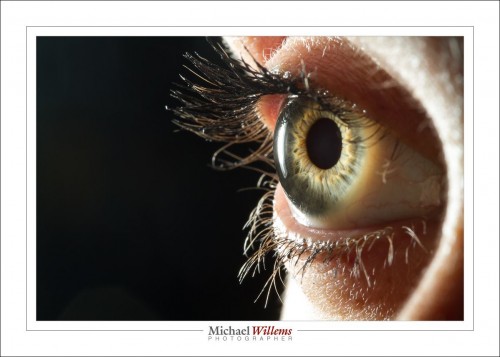
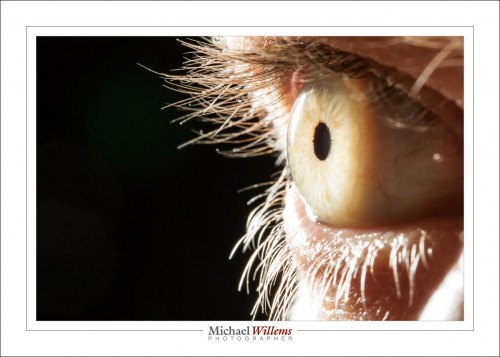
And here, lit from the back:

Macro lens, 1/80 sec, f/16, 100 ISO, hand held.

The flash was shining from the back. This can give you pretty weird effects:

My eye here looks light green, while in fact it is light blue. Back lighting can do that.

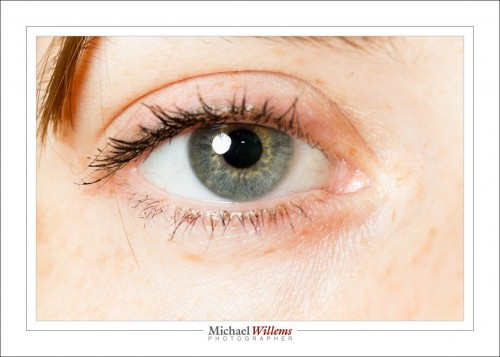
But go back to the first shot. See that? Look carefully. A little white point, in the centre of the pupil,next to the actual catch light.

This is mysterious, because I was using an off-camera flash. The on-camera flash only sends “morse code”, as it were, to the other flashes, before the shot is made.

And yet, that pin light is from the on camera flash.

Simple, actually: it is its afterglow. The flash is off, but it takes a fraction of a second to completely go out, and it is during that fraction of a second that the shot is made. Here, the proof:

See, the main flash on our left, bounced against the wall; and me and the camera including its popup flash afterglow in the centre:

And that is why you get a little pin of extra catchlight in some wireless TTL photos, even though your on camera flash is turned off.

(Thanks to Becky for the loan of an eye!)


Amateur Aesthetic

Today, another example of the “Amateur Aesthetic” or “Snapshot Aesthetic”made popular by such contemporary photographers as Terry Richardson, after Diane Arbus and Nan Goldin, two of my favourites.

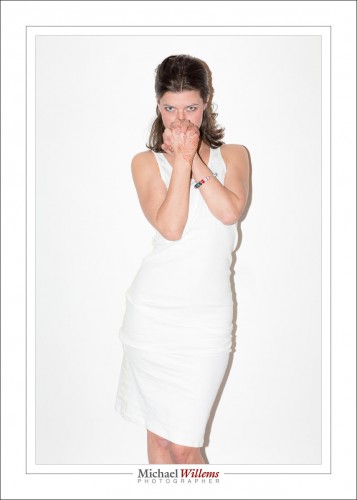
Here’s mine, a high-key model shot:

We call it amateur, or snapshot, because you use a flash straight on, and aim at the subject, and have the subject stand in front of a white backdrop, camera aware. Like Uncle Fred does. This gives you the drop shadow. It also, however, gives you very flattening light, and models like this: it hides any facial features. Overexposing a little, or rather, exposing brightly, makes it even better in that regard.

Unlike your Uncle Fred, my models and I think carefully about composition, light, and expression and pose. The direct flash means you need to aim the subject’s face down a little, else light comes “from below”, which is never flattering.

So nothing is left to accident, in spite of the amateur look.

For this shot, I used 1/160th sec, 400 ISO, f/5.6 and an on-camera 600EX flash. The flash compensation, like in the examples of a few days ago, was set to +2 stops, and I used TTL flash metering for flexibility.

Your assignment for today: shoot a portrait like this. I am about to teach a TTL flash course, and my student will do this as well. In addition to “proper” flash, you need to know techniques like this as just another tool in your toolbox.


Friday the 13th.

..is not a bad day so far. I am shooting an event tonight; first, some more writing (the Travel Photography book: I am making good progress and I trust I will have it finished before Xmas), and some admin.

A quick note, today, about TTL flash. You can of course set up a studio setup with manual flash, and when you have time, you do that. But when you do not have time, use TTL for off camera flash. Remember:

  • Use flash exposure compensation when needed (when the camera decides to over- or under-expose the shot).
  • Avoid reflections.
  • Meter off something mid grey.
  • Disable your on camera flash (so that it sends commands, nothing more).
  • If you have two flashes, set them to “A” and “B”.

Now set ratios between groups (Canon) or adjust groups to taste one by one, by stops (Nikon).

I had two flashes here: main flash A on the left; hairlight B on the right.

A:B = 1:1 (Canon) or A and B both set to 0 FEC (Nikon):

A:B 8:1 (Canon) or B -3 stops FEC (Nikon)

A:B 1:8, or A -3 stops FEC (Nikon):

Although the way of setting them differs a little (ratios vs per-group adjustments), the end result is the same. And the benefit of using TTL for this is that it is very fast. TTL with some knowledge and some adjustments when needed, and Bob’s your uncle. Try it, if you have several flashes.


Flash or fake flash?

You know that on many cameras, like the Canon 7D or the Nikon D90, you can use your camera’s pop-up flash to drive other flashes. Or you can use an on-camera “master/commander” flash to do the same:

A student asked me yesterday: “how do I turn the on-camera flash off, so it does not flash, and only the external flash fires?”

I told her how to set the on-camera flash to off. On Nikons, in the flash section of the pencil menu you set it to “-“; on Canons you select the option where only the external flash shows, so only it will fire.

“But it is still firing”, she mailed me back.

No. It is not. That is a misconception. Try this: turn off the external flash, then shoot. You see the flash, but the picture is all dark!

How come? What were you seeing?

You were just seeing the flash fire commands at any external flashes in the room, using “morse code”. I.e. you were seeing TTL preflash activity, not a “real” flash, fired when the shutter is open. This was just techie stuff, all before the mirror is raised and the shutter opens. After the shutter is open, nothing.

It helps to know these little techie facts, doesn’t it?

___

For more: http://photonetworkexpo.com/ : come see me talk this weekend in Toronto about Flash Photography, and even better: book online and use promo code Michael2013 to get 50% off a weekend pass. See you then!

Rhonda

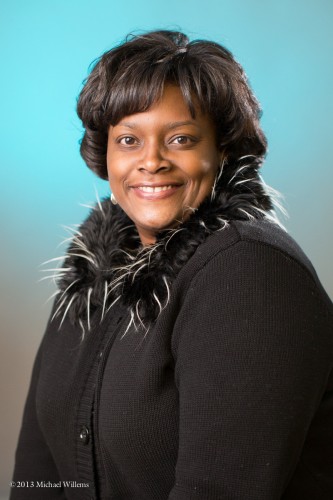
Here, from Friday’s workshop, is a photo of Rhonda:

Wonderful smile, truly! So that photo is good before we even start – how can you fail with a subject like that?

And yet, we have to get the focus and exposure right. Especially exposure is worth mentioning. hence this post.

Yesterday’s shots (scroll to yesterday to see them) had a pale-skinned subject in light clothing. Today, a darker-skinned person with dark clothing. So after the first person, do I need to, like, adjust anything?

If you are using manual flash settings (a typical studio shoot, with flash power set manually, perhaps using Pocketwizards): no. It’s set right, then it’s set right, never mind the subject.

If you are using TTL flash (automatic flash), then yes. You need to adjust flash exposure compensation – down. Down, somewhere between, say, -1 to -2 stops perhaps. Else the metering circuit will try to expose this shot just as light as the last one, and Rhonda will look light grey.

So remember: TTL (automatically metered) flash is convenient, but you have to know how it works and realize that depending on the subject, it potentially works differently each time you click.

What you need

A studio setup usually uses big, wall-outlet powered lights (“strobes”) and more.

But here’s me, on a recent shoot:

As you see, I used speedlights there. They are smaller, lighter, easier.

The setup was:

  1. Camera and a backdrop.
  2. Two light stands.
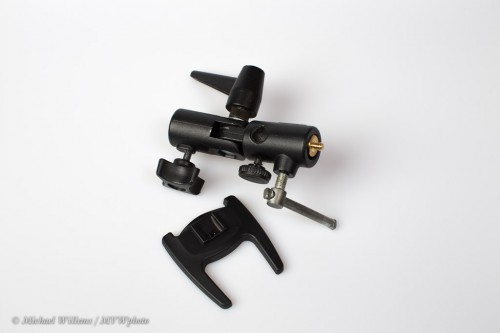
  3. On each light stand, a bracket for mounting umbrella and flash.
  4. On each light stand, a Pocketwizard (as received) and a Flashzebra cable to connect pocketwizard to flash.
  5. Pocketwizard on camera (as sender).

All you need to do simple portraits like this:

But the real minimum is this:

1. One light stand

2. One bracket like this:

3. One remote flash to put on that bracket

4. One umbrella to put into that bracket

5. One way to fire the remote flash using TTL (the on camera flash is set to not flash, but to just send “morse code” commands to the remote flash). This local master flash can be a large flash (SB-900, 600EX) on your camera, or on certain cameras like most Nikons and many recent Canons, the pop-up flash.

And that is really all as a minimum!

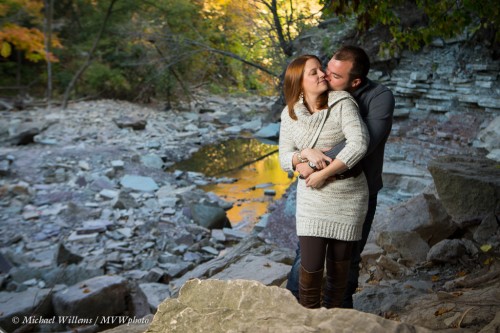
When using that, you simply mix available light with flash, using the techniques outlined on this blog. Then you can do shots like this, of Dan and Kristen, whose engagement photos I made recently in Hamilton:


No direct flash

You have heard me say it many times: do not use direct flash (like your popup flash), especially when that direct flash is right on top of your camera (like your popup flash).

But what if you have no choice? Can you do it if you have to? Of course you can. The better the camera, the better. The better your control of that flash, the better. The farther the flash from the camera. And the better-looking the subject, the better.

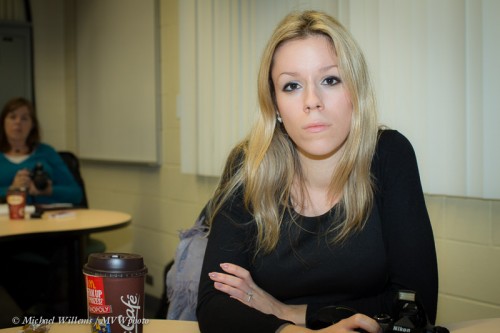
Here’s an example from my class on Monday at Sheridan College. An example of what I would normally not do: unmodified straight-on flash.

I would normally not do this. Shadows. Reflections. Catchlights in the centre of the eye instead of high, where they belong.

Now to be fair, I did have to slightly lower the reflections on her face, especially on the nose. But other than that slight adjusting, not much done, and so you see – if you must do it, you can. In fact for young women, straight light can work well – it makes skin look very smooth. So remember to take everything I say as a guideline. A serious guideline – but one you can break if you must.

One caution. TTL flash will often (depending on your flash, your camera and your lens) take into account where you focus, and will expose for that. So if you focus wrong, your picture will be exposed wrong. As in this example of what not to do:

See? I focused on the background, so the TTL system exposed for that background. Keep this in mind. (And with this in mind, can you work out why you should keep recomposing to a minimum also?)

It’s all very logical, really.