Fun with Colours: flashes, gels, mirrors.

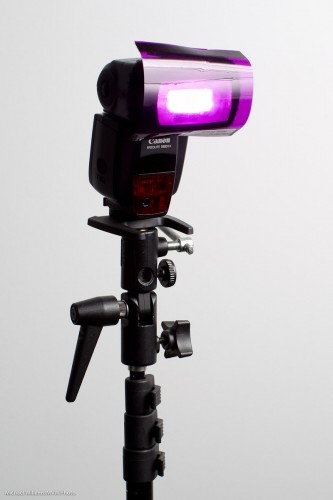
The things some people do in their bedrooms in private! In preparation for tomorrow’s hands-on flash course I outfitted some flashes with coloured gels tonight. 

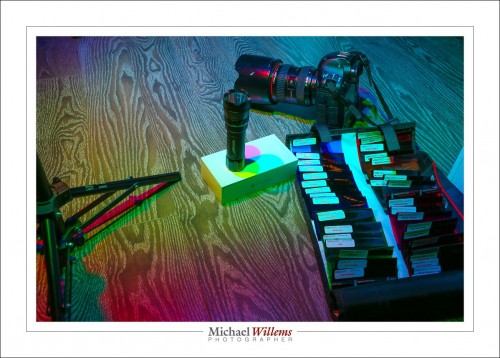
I used Honlphoto gels, seen bottom right here in a double wrap:

20161015-mw5d1420-1024

I had three flashes mounted on a stand that uses one radio trigger (like a Pocketwizard) to fire all three flashes (thus saving two radio triggers). I have discussed this three-way mount here before. I also used grids (also Honlphoto) to get three separate light circles.

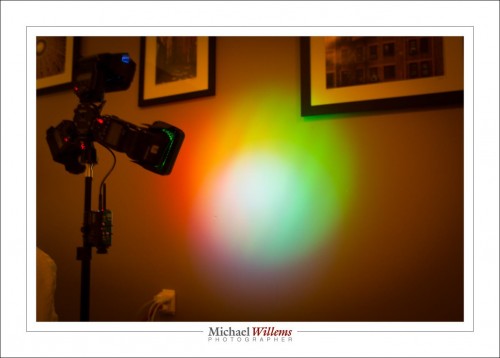
As said, where all three flashes mix, you get white. After you get the ratios right, that is: the gels take light (also discussed here in a recent post) and you may need to turn one or two of them up to compensate.

Once you are done, you get white. You see it here in the centre:

20161015-mw5d1444-1024

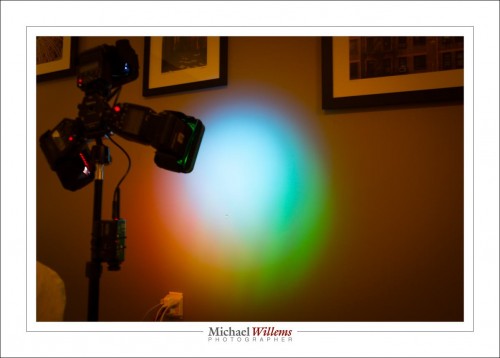
And here:

20161015-mw5d1449-1024

TIP: To get the ratio right, you look at the RGB histogram. The peaks for red, blue and green need to be at the same distance from the edges.

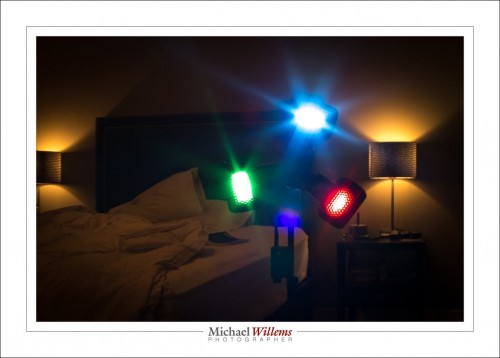
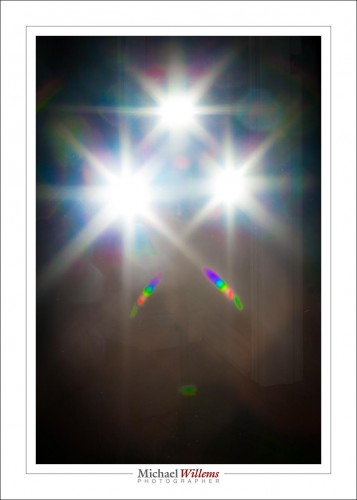
Looking at the flashes you see the three colours I chose:

20161015-mw5d1450-1024

Red, Green and Blue. Surprise, surprise!

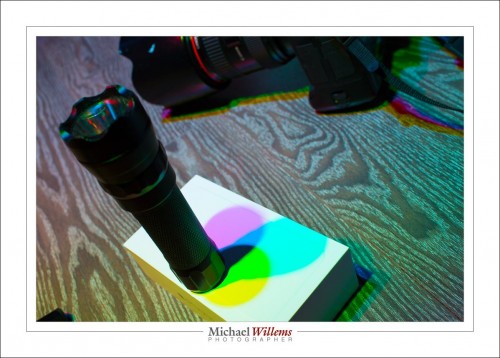
You see, when these colours mix, that once you get the ratios right, you get white overall. But when only two of them mix you get “in between” colours, which include cyan, yellow, and magenta:

20161015-mw5d1421-1024

So now you know why you see RGB and CYMK (where “K” means “Black”) as two alternate ways to mix several basic colours!

I also had unrelated flash fun, of course. f/32:

20161015-mw5d1408-1024

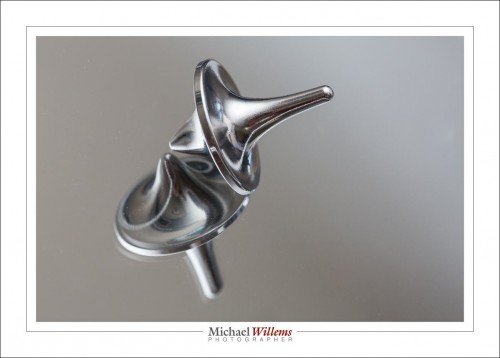
And my spinning top:

20161015-mw5d1389-1024

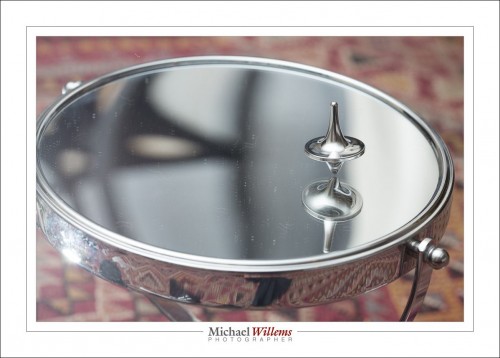
On a concave mirror, that is:

20161015-mw5d1400-1024

The moral of this post?

You should have fun with your photography, and explore, and try out different things. How many of you have gels, and how many of you have used these to mix light in different ways? That’s how you learn about light. So for those of you not coming to tomorrow’s course: go have fun, And sign up for the one after the next one: tomorrow and next week are full up, but 6 November still has a few spots open.

Any way you do it: learn about light, and have fun.


PS for Honl modifiers, which I strongly recommend, go to this link and use discount code “Willems” at checkout to get an additional 10% off.


Shutter speed isn’t all there is to shutter speed.

“Shutter speed” isn’t all there is to shutter speed.

Uh oh. Michael is The Oracle. What on earth does he mean by that confusing statement?

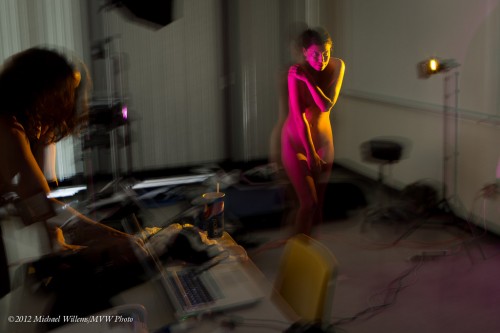
Well, let’s have a look. Let’s set up a couple of gelled and gridded speedlights (using Honlphoto grids and gels) and get a talented life model. Which is exactly what I did in August 2012 at Brock University, during the 5-day flash course I was teaching for the Niagara School of Imaging.

But wait. Because I want to show you the setup, let’s allow in some ambient light. To achieve this we use a really slow shutter speed, of 0.6 sec. More than half a second, in other words. That lets in some ambient. Not a lot, but enough to see the classroom, some of the equipment, and so on.

The picture, showing the setup with the two flashes, below. Look at the two little gelled speedlights, can you spot them? Purple gel on the left and yellow gel on the right:

tumblr_m94klicvuq1qfts2ko1_1280

OK. Great. Blurry as heck, of course: 0.6 seconds is ridiculously slow. Impossible to hold still. Right?

But wait. Lots of blur, yes, all over the picture, but look carefully. Click on the image to see it full size, and now look carefully at the model. What do you see?

She is sharp. No blur on her: she is tack sharp. There’s blur all over, but not much on the actual subject. A little “ghosting”, but she is substantially sharp.

But that’s impossible: the shutter speed was 0.6 seconds. So she must be blurry! Right?

So that’s where I say “‘Shutter speed’ isn’t all there is to shutter speed”. The shutter speed may be 0.6 seconds, but the model is lit primarily (almost exclusively) by the flashes. And the flashes flash at 1/1000 second or faster. At 1/4 power, they flash for just 1/4000 second. So while the shutter speed may be 0.6 seconds, as long as the subject is lit only by the flashes, our effective shutter speed is 1/4000 second!

And that is why you see a sharp model: there is very little ambient light on her, so the effective shutter speed is determined almost exclusively by the flash speed. Which is very rapid.

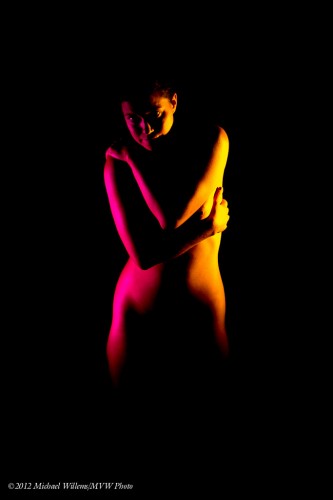
So now let’s do a normal shutter speed, of 1/125 sec, so the ambient light is cut out. And here is the finished product:

tumblr_m94knozSgL1qfts2ko1_1280

So anyway. This is a studio shot. So I want no ambient light: the second picture, in other words.  But when I shoot an event, like a wedding reception, I want to let in some ambient light to avoid those cold, black backgrounds. Instead, I want a nice warm background. To achieve that, I am happy to shoot with shutter speed as slow as 1/15 or 1/30 second. And now you know why I can get away with that.


Filters!

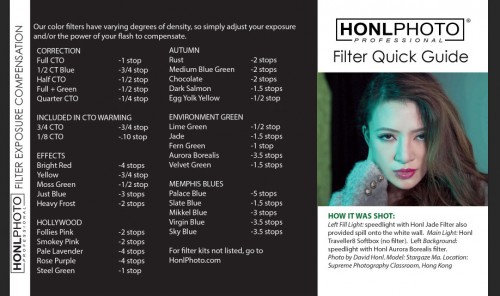
David Honl, whose modifiers as you know I use, and love, just posted a helpful post on his blog. I will show you Part of it right here, namely the corrections you need to make to your flash when using a gel:

image

Those are useful Numbers, these will save you a lot of effort when you’re using the gels yourself. Which as you know I’m a big advocate of. This  will save you a lot of effort when you’re using the gels yourself. Which as you know I’m a big advocate of.

There is one thing I want to point out in addition to this though. Namely:

To turn a background into colorful, it first has to be dark.

It does not matter if the background is in reality gray, light gray, white, or even black; what is important is that to the camera ot has to look almost black. Then, and only then, can you add your gelled flashes. Then, and only then, can you add your gelled flashes.

If you do not do this, and if the background is, say, white, then adding color will add nothing except perhaps a slight tint   LIgor is not like paint: you cannot cover a color by putting another color on top.

For many people this is the biggest revelation when they start using color gels… So now you know. I just saved you a bunch of time. As did Dave with his table.

To  buy,  click on the advertising link on the right, and when checking out use code word “Willems” for an additional 10% discount. You’re welcome. 


Filters for correction

You can use some gels (colour filters) for correction, Here’s an example.

Take this: I am lit pretty much OK by my flash, and with the camera set to FLASH white balance,, but the background is a tungsten light, so it looks red. I happen to like that, but what if I want that background to look normal, white, the way it looks to me?

Well…  can I not just set the white balance to Tungsten?

No, because then, while the background would look good, the parts lit by the flash would look all blue, like this:

Part 1 of the solution: make the light on me come from a tungsten light source too, so we both look red. We do this by adding a CTO (colour Temperature Orange) to the flash.

Part 2 of the solution: Now you can set the white balance on your camera to “Tungsten”, and both I and the background will look neutral:

Done. Now we both look normal.

So, in summary:  when you are dealing with a colour-cast ambient light, gel your flash to that same colour cast, and then adjust your white balance setting to that colour cast.


You can learn all about this, and much, much more, from my e-books. Now available from http://learning.photography — the checklist book even as a printed manual now,

Colour. Just because.

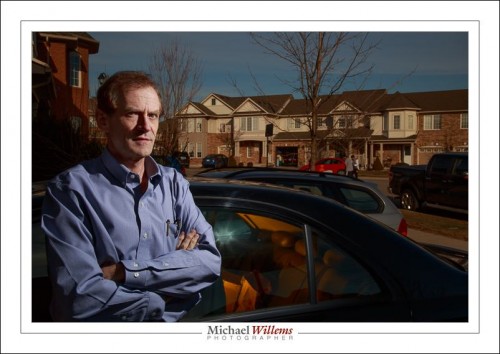
That is often my answer when someone asks “why did you use those gels in that picture?. “Because I could”., “Why not”.  And you start adding colour here, there and everywhere. Consider this:

(100 ISO, 1/20 sec, f/16, 24-105 f/4 lens).

Private student Tim made the picture yesterday. And I put the yellow gelled flash inside the car why, exactly? Because otherwise it would be dark. A little colour adds a lot: think matching, or opposite, colours. Deep blue skies go well with yellow: blue and yellow, like red and green, or green and purple, constitute one of nature’s favourite combos.

And it’s so simple, with a Honlphoto gel:

Just strap it onto the speed strap and bingo. (If you do the Honl photo modifiers thing, go http://www.honlphoto.com/?Click=2032 and don’t forget code word “Willems” at the end to get another 10% off. Look at the kits: they rock, especially the last one).
I use gelled speedlights to:

  • Add opposites to relieve boredom
  • Warm up cold subjects (half CTO gel does wonders)
  • Get creative
  • Add a little red to skin in low key portraits
  • Correct colour when shooting in tungsten ambient light
  • Turn backgrounds blue

…and so on. Once you get into the habit, you’ll see how good your photography gets. Speedlights, and easy-to-use, sturdy gels, make all this not just possible. They make it convenient and affordable, too.

This site is called the speedlighter for a reason: speedlights unlock the potential. Just get another flash or two, get some gels and other modifiers, and get creative.


Gelling!

In yesterday’s shoot with Vanessa Scott in Timmins, Ontario, I used gels to recreate the sunlight that was fast fading below the hills. All shot with Canon’s amazing 85mm f/1.2 len.

(1/200th, f/4, ISO100)

Vanessa looks like she is in that light, because I put a CTO (Colour Temperature Orange) gel by Honlphoto on the main flash, like so:

You will see also that I am using a second flash, fitted with a grid, for the hair light. Two flashes driven by Pocketwizards—that’s all.

One more from this amazingly versatile young woman:

1/60, f/5, ISO100 — I had to adjust for fading light


Again, the flash allows me to offset the subject against the background, which I keep dark. Without the flash, I would lose the nice colour and I would have to make everything, including that background, very bright.

And that’s how the cookie crumbles.


Studio Tip

Look at these photos from yesterday’s studio lighting workshop to see how light makes a picture different.

Here’s Roxy with one gridded flash on the left, giving us split lighting; and one gridded and rust-colour gelled flash aimed at the background. Both are speedlights driven by Pocketwizards and set to manual power. The image is a little desaturated; otherwise SOOC (“straight out of camera”).

Here. a softbox on our right (s small Honl photo softbox), and the same background light. Just two flashes!

Now let’s turn off the softbox flash:

Now kets’ light up the background more, to get wraparound lighting:

And back to normal, but now with an additional snooted flash for rim lighting on our left:

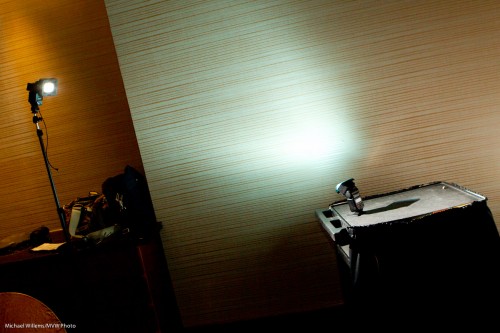
Here’s two of those flashes visible. Note also the reflection: a plexiglass sheet she is standing on. Note, I “Lightroomed” out the edges of that plexiglass, which took only seconds. Otherwise, like all, SOOC.

Can you see how each shot looks different depending just on light? It behooves you to learn about light, it really does, since with light you can translate a vision into reality. That’s what this is about!

___

Talking of learning: Season shopping? Get a personalized gift certificate for 3 hours private coaching with Michael for your loved one. Available now!


Challenging Shots

Some shots can be a little tricky. Like this one, from Sunday’s shoot:

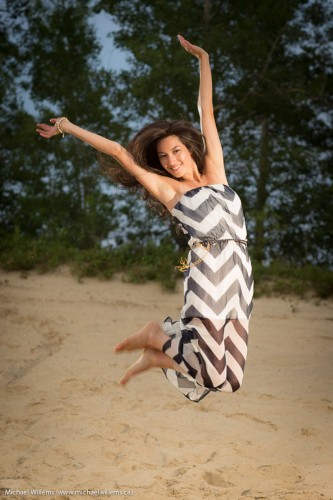
Tricky why? Because the model is jumping, making it hard to focus.

The solution? You could try AF-C/AI-Servo, i.e. continuous focus. But often in these cases a better solution is this (and that is what I did): pre-focus, then hold that focus while he jumps. So I had the model stand where he would be when I take the shot; then focused there and held that focus while he moved back and jumped; then I shot when he was once again in the same place.

Why is he not blurry? Because he is substantially lit by the flash, which fires faster than 1/1000th second.

Another, different challenge was presented by this shot:

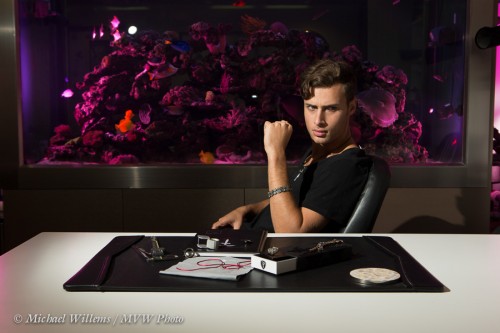
Why? Because the original plan was to light the aquarium in part from behind. But I was shooting TTL, and guess what? I found out on Sunday that the light-driven TTL does not work through an aquarium. Fancy that. You learn something new every day, even when you have been doing it forever.

The solution was to light it from the sides instead, after removing the aquarium side doors. Sometimes you just have to change your plans a little bit!

Enjoy your speedlighting, everyone. I am off to sleep – finally, at 3AM.

Quick portrait

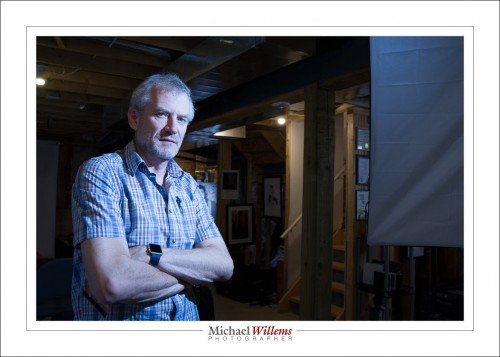
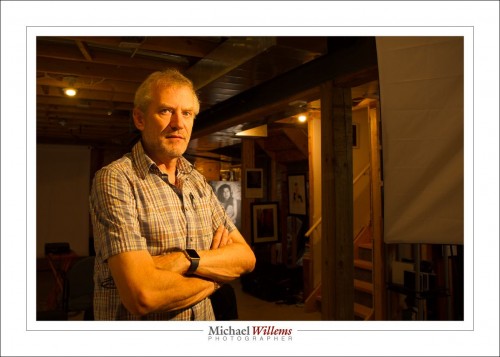
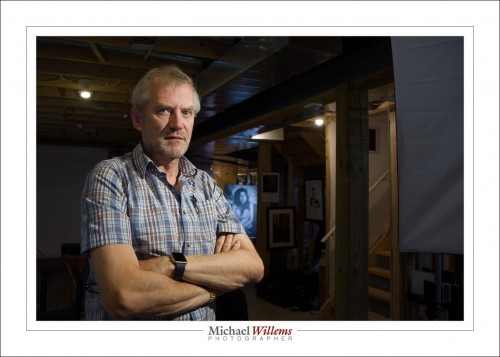
Prior to a class the other day, I decided to do a very quick self portrait or two. Let me share, and explain how.

How? This is how:

  1. A 1D camera with a 580EX flash on it – with that flash used as a master, and disabled otherwise, so it only drives additional flashes.
  2. The camera set to manual, 1/125th sec, f/5.6, 400 ISO.
  3. An additional flash A on our left: a 430EX on a light stand, with a HonlPhoto grid to avoid the light spilling onto the wall.
  4. An additional flash B on our left: a 430EX on its little foot, equipped with a HonlPhoto gel.
  5. A 1:1 ratio of A:B flashes.
  6. The camera set to choose its own focus point for once, since I am holding it myself!
  7. The camera in my outstretched arm, tilted for diagonal line effect.

Not bad eh?

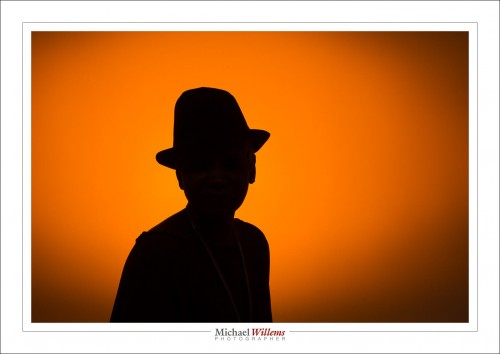
Finally, one more with a different gel on the background flash: egg yolk yellow, my favourite colour.

Total time taken: Maybe two, three minutes.


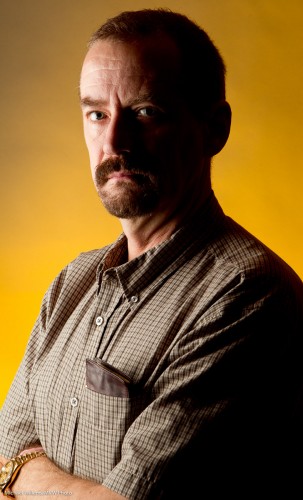
Self portrait

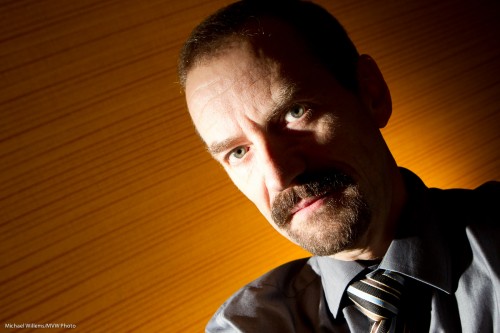
The other day I decided to do a quick self portrait. And instead of the normal “traditional” portrait, I did the following:

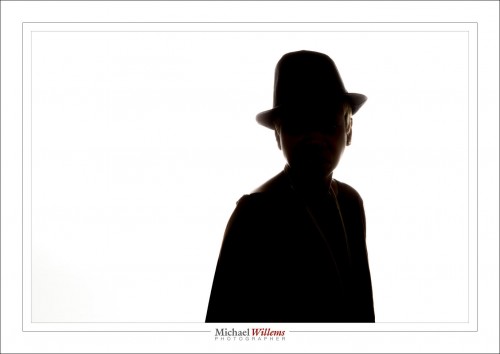
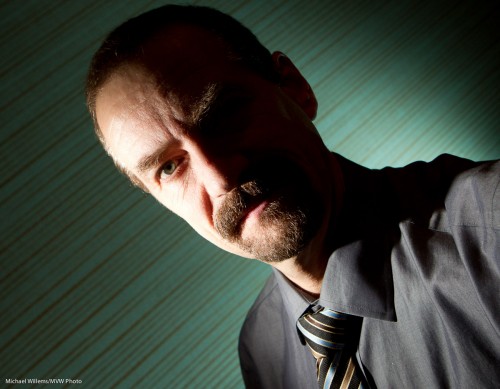
Moody, dark – I don’t smile much in pictures and life is serious! And as you see, lighting is all about what you do not light.

I made this picture as follows:

  1. I put up a grey backdrop.
  2. Using paper tape, I put a cross on the floor where I was going to be standing.
  3. I put a light stand there.
  4. Having put the camera on a tripod, I aimed at the light stand and focused on it; then set the focus to “manual”.
  5. I set the camera to self timer.
  6. I selected 1/125th second at f/11 (you want f/5.6 – f/11 for these shots normally).
  7. Using my light meter, I set my main light, which I fire with pocket wizards, to these values. That main light is a Bowens strobe with a softbox.
  8. I added a background light: a speedlight with a Honl Photo grid and a Honl Photo Egg Yolk Yellow gel. I set this to quarter power (experience). The speedlight was also fired via pocket wizard; if you have a Nikon speedlight you can use SU-4 mode (cell).
  9. I pressed the camera shutter button and took the exact place of the light stand. 10 seconds later: flash!

And that was that – simple once you know. Now you try!