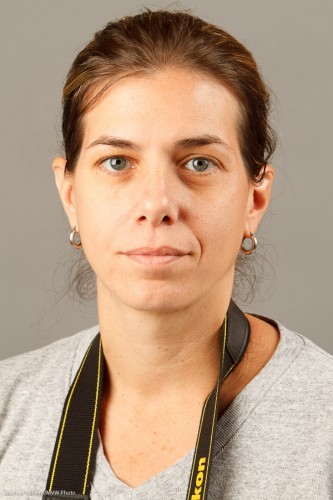
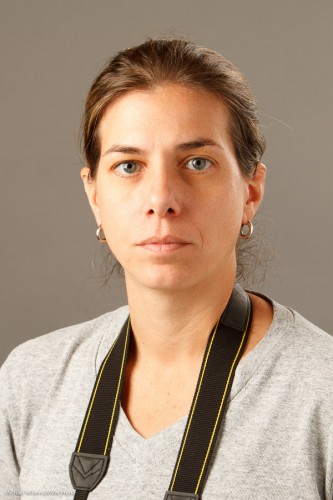
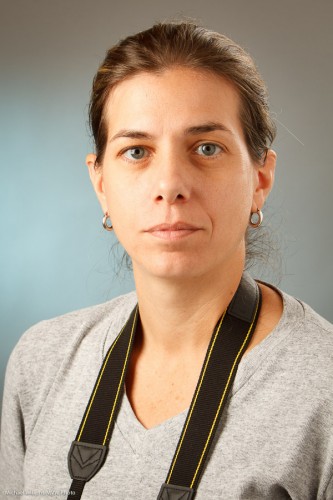
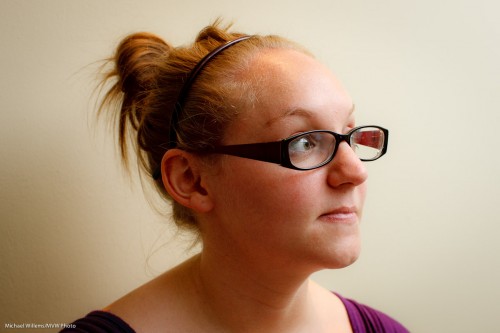
“My first… etc”

I very often hear people who are a little ahead of themselves. They do paid portrait shoots before learning how to focus, that sort of thing. They do not want to learn formally, for instance from a course, or books, or seminars; and yet they expect the knowledge to come to them for free, somehow.

Wishful thinking, and you know it. So let me grab a few of these things by the horns. Starting with portraits. You are doing a studio portrait; you have a backdrop; but the rest is mystery. So your images end up:

  • Badly lit.
  • Under- or overexposed.
  • With a background that is sharp instead of blurred.
  • With the subject not separated from that background.
  • Out of focus.
  • With the background white, not coloured even though you use gels.

That is because you never learned the basics. But there is good news: studio portraits are simple. All you need to learn is:

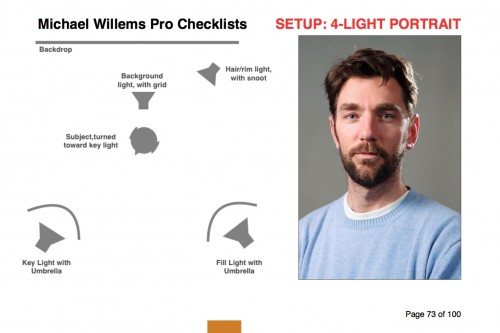
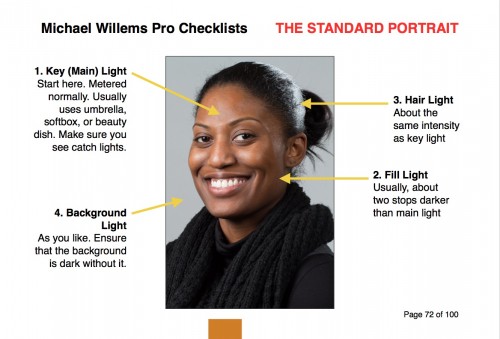
  • Lighting. A main light, 45 degrees away from subject. A fill light, same on other side. Hair light, opposite main light. See diagram, from my new book:

  • Exposure. Set your camera to manual mode, 1/125 sec, f/8, 100 ISO.
  • Turn the flashes to half way (obviously  the flashes are on MANUAL too).
  • Now meter the main flash. Adjust main light until it reads f/8.
  • Same for hair light.
  • Fill light: meter this to f/4 (i.e. adjust this light until meter reads f/4 when it flashes).
  • Background light: same as main light, again.
  • White balance to “Flash”.
  • Focus using one focus spot. Focus on the eye using that one spot.
  • Use a lens longer than 50mm. I prefer my 70-200 or my 85mm prime.
  • Move subject from background as much as you can. Then you can gel the background light. If, whoever, much of the normal light falls on the background, you cannot gel. Test this by turning OFF the background light: the background should be dark.
  • Turn subject toward main light, then head slightly to you.

Like this:

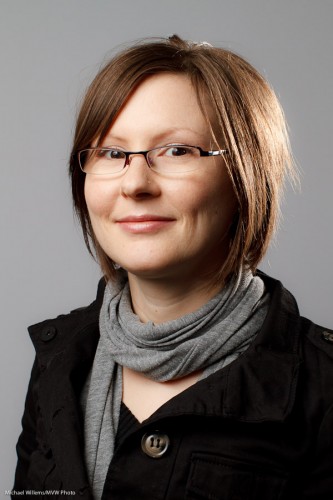
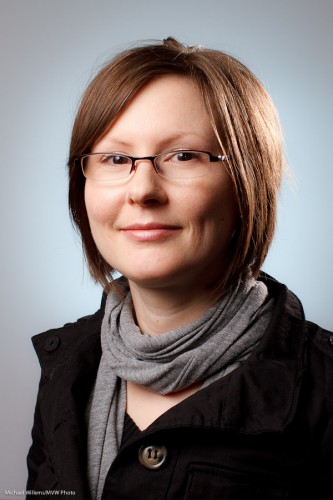
That really is all. Click., You have a competent portrait.

What you must not do is pretend that no learning is necessary. Go find a course, go buy my e-books; read this free resource www.speedlighter.ca; take private training; sign up at Sheridan College; : whatever you can do, do it now.

It really is simple. But not as simple as “I just bought a camera and next week I am shooting a wedding”—and believe me, I have heard that very statement more than once.

 

Light him up

That’s what cops say when they discuss stopping someone in traffic. But it is what I say when I am talking about studio lighting.

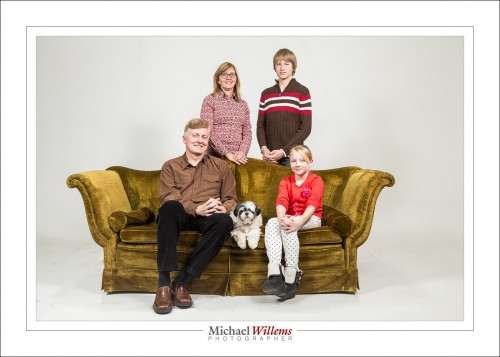
For a family, as in the course I taught Sunday for the Ajax camera club, I use simple lighting: two umbrellas (they throw great soft light everywhere), one on each side:

Not a lot of modelling (shaping with light), but very suitable for a group. Easy, foolproof, nice and crisp lighting.

Now, when I have one subject I can of course do the same:

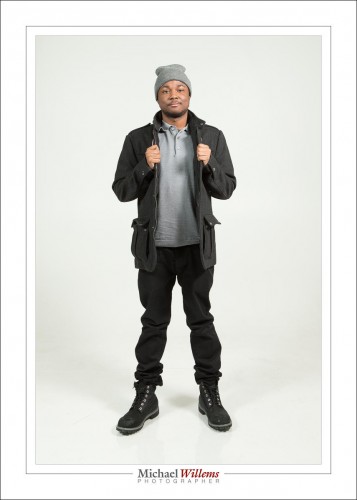
And sure enough, that works. But can you see how much better it works when I turn one of those flashes up a stop, and the other down a stop? Here:

See that? We have now shaped (modelled) the face and made it into not a flat shape, but a round shape. That brings the person alive. There is a slight shadow behind him. That also brings depth into the image.

Altogether a better idea when you have one person – usually. In the next datys,more examples of studio lighting.

In these pictures, the camera was on manual, as were the flashes.  1/200th sec at f/8, 400 ISO.

Why those settings? I want to kill the bright studio ambient light (high f-number, low ISO, fast shutter). But I am also cognizant of the fact that I am using speedlights, which have limited power, especially once I fit them with modifiers (that means low f-number and high ISO). So I need to find a good middle point. And that was it, in this studio.

More on studio flash in the next days. Um, and if you enjoy these posts, don’t forget to tell all your friends to check speedlighter.ca daily.


A “Simple is Good” studio setup

I trained a local photographer in the subject of studio photography yesterday, and we kept it simple. Because simple is good!

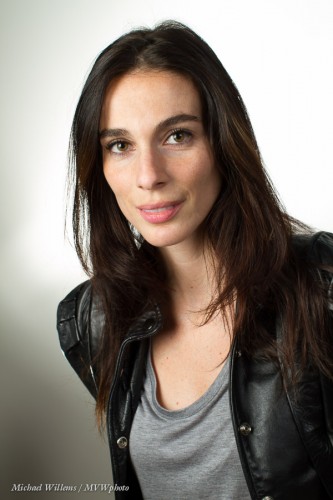
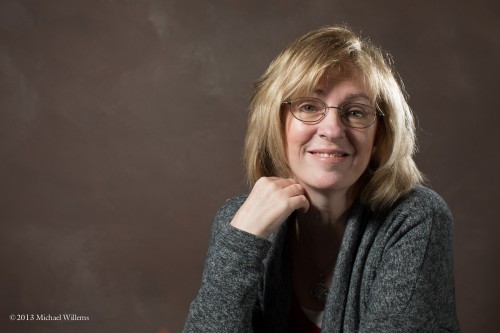
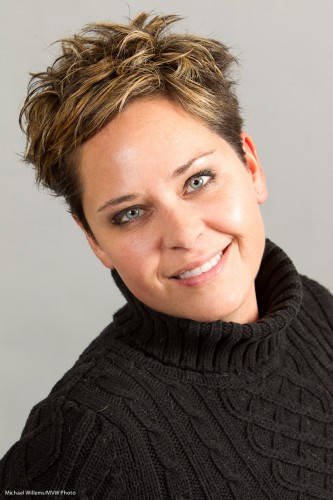
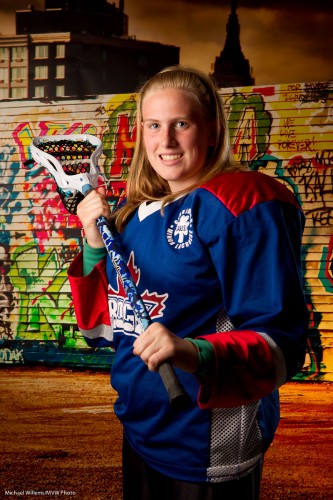
First, let me show you a resulting picture of her friend, the model for the day:

Good studio photo, right? Yup.

So how did we get to this?

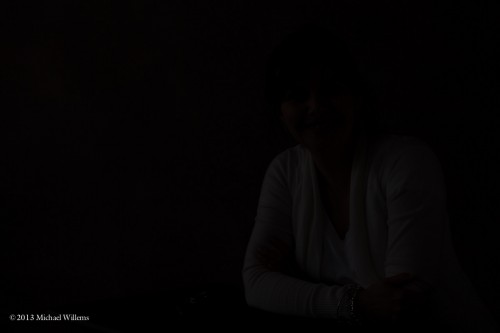
First, set the camera to standard studio settings. Like 1/125th to 1/200th second, f/8, 100 ISO.  This is designed to make ambient light go away. The studio was a bright room – big windows with only light sheer curtains. And yet with those settings, it looked like this in photos:

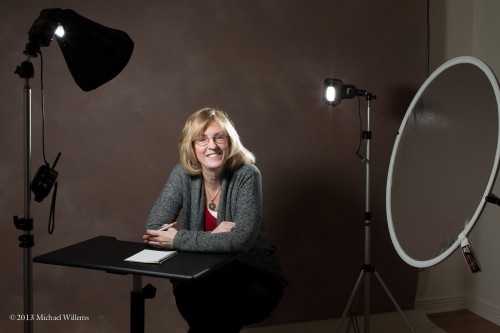
Second, now add lights where you want them:

  • A camera with a pocketwizard transmitter on it.
  • A main light – a speedlight (Canon 430EX) fitted with a Honl Photo Traveller 8 softbox.
  • A Pocketwizard to fire this flash.
  • A Flashzebra cable from Pocketwizard to flash hotshoe.
  • A light stand with ball head for it to sit on.
  • A reflector to act as fill light.
  • A  430EX flash to act as hair light (Shampooey Goodness™).
  • A light trigger from Flashzebra to set off that flash.
  • A similar ball head and stand.
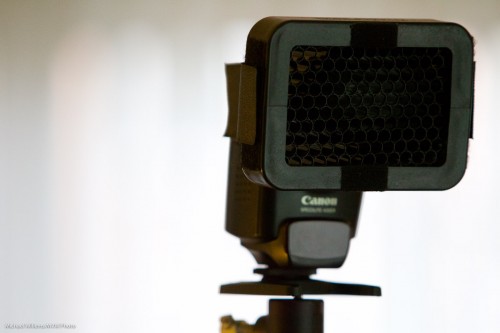
  • A Honl Photo 1/8″ grid to restrict the light’s path.

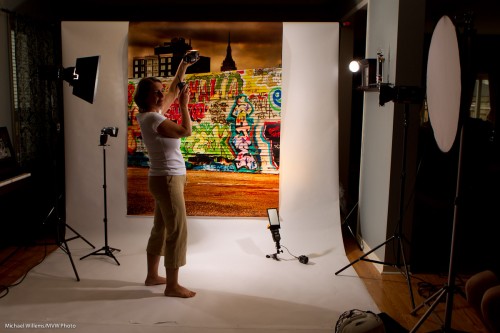
All this looks like this (remember, take a “pullback shot”):

Third, now set the power levels. With the camera at 100 ISO. 1/200th, f/8, a power level of about 1/2 on the main flash and 1/4 for the hair light did the trick.

All this takes minutes to set up. A pro studio shot can often be done with simple equipment like this. And note the appropriate backdrop. The blond hair means we wanted a darker background. For dark hair I might have wanted a lighter backdrop: in that case I can add another light to light the backdrop I have.

This image is good and needs no pst work other than cropping to taste. Note the correct catch lights in the eyes: 45 degrees off centre and crear (and round, here).

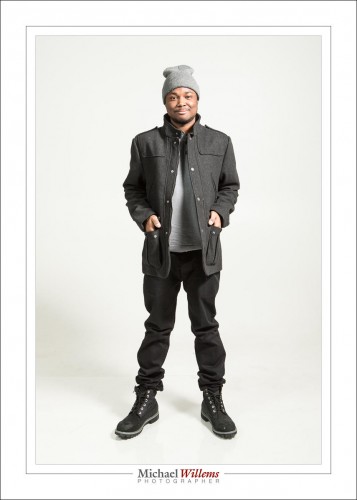
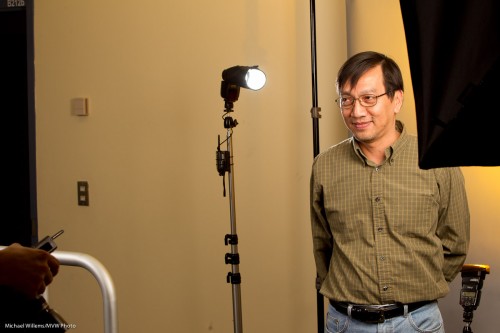
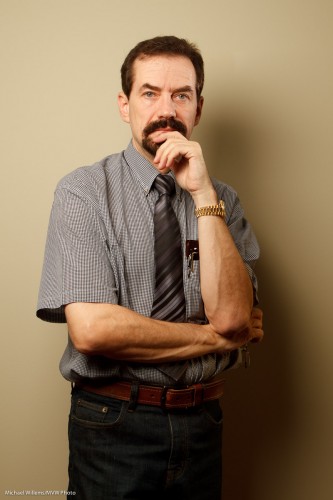
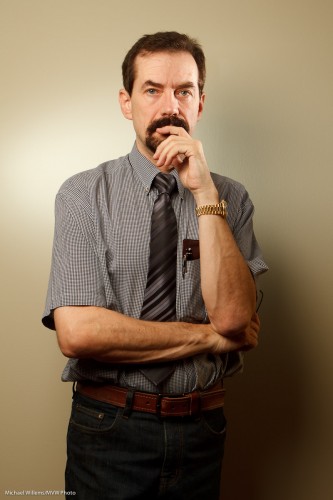
Now, another shoot, the day before: friend and ex colleague (and client) Keith, showing true character:

This was done with three lights: One with softbox where I am., and two feathered flashes, unmodified, on each side, lighting both backdrop and side of his face. Again, a simple setup, although it took a few minutes work to set up. Slifght clariti enhacement to give it more pop, and slight desaturate to meet the web spects that this image was taken for.

By the way, fun expressions are good. Can you see how in that picture, Keith’s nice guy nature really shines through, even that was not te point of the picture? try to capture your subjects’ personality in the images you make.


Studio setup

A few readers asked about the “background post” of the other day – how was it lit?

Here’s how:

Studio Light (Photo: Michael Willems)

Four lights:

  • A softbox strobe as main light.
  • An umbrella strobe (not pictured) as fill.
  • And two speedlights: one with a Honl Photo snoot as edge light, and one with Honl Photo gel as background light.
  • All manual
  • One strobe and both speedlights fired with Pocketwizards; the other strobe with its cell.

That’s a very standard setup for me, and yes, you can learn to do this too.


Background woes

Backgrounds. We like to have control over them in portrait shoots, don’t we?

One question I often get is “why can I not light up my background? Nothing I do works!”

This is quite simple. To light up a background, you need a colored light (a gelled flash?) shining onto a dark background.

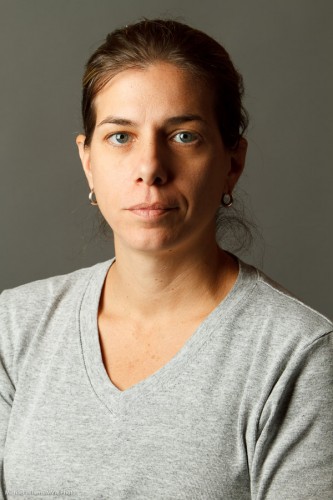
So if the background is already light, you cannot easily colour it. As in this shot of a kind volunteer in my Sheridan College course the other night:

My main two lights are spilling onto the background, lighting it up.

So how do you get the background darker?

  • Use a darker backdrop
  • Move the subject farther away from the backdrop
  • Move the light closer to the subject, so the relative distance changes.

Any combination of those three gives you something more like this picture of another kind volunteer (in this case I moved the light closer to the subject, and then turned it down correspondingly):

And now I can add my background light, a gelled speedlight in this case, set to 1.4 power, which a nice bright gel – Honl Photo Egg Yolk Yellow:

Simple once you know, n’est-ce-pas?


Interested in lighting? Consider some private coaching, where I explain all, you get to practice and take actual shots, and all will become clear. The December/January special is still on: 10% off during those months.

Studio tip

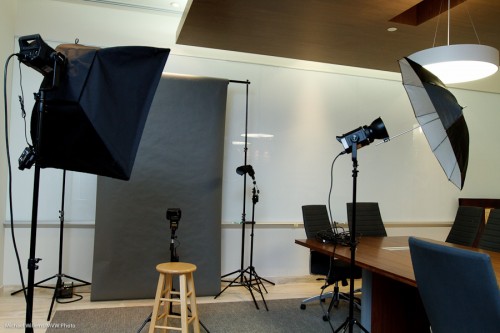
In a studio setup, we usually use strobes – big, outlet-powered lights. Like the two main lights here, with softbox and umbrella:

Studio (Photo: Michael Willems)

Fired by a pocketwizrds: you can see one on the left.

But if you look carefully, you will also see two speedlights there.

Speedlights? Yes, but fired manually, also via pocketwizards. For which you need a pocketwizard and a cable from www.flashzebra.com for each one.

Why do I small flashes for hairlight and background light?

  • Smaller
  • Lighter
  • Less cabling, since they are battery-powered
  • And not least, the ability to use Honl Photo small flash modifiers such as grids, snoots, and gels.

All of which I use here, and the resulting photos look like this (shot on a 1Ds MkIII with a 70-200mm lens):

Studio shot (Photo: Michael Willems)

(PS if you are buying those modifiers, and I recommend you do, as a reader of this site you are entitled to use the Honl Photo web order discount code which Dave just made available for you: enter code mvw2011 which gives you 10% off the price!)


Building a portrait

In my “quickly building a…” series, here is another one: building a traditional standard studio portrait.

Set your camera to manual, 100 ISO, 1/125th second, f/8.

Start with one light, the main, or “key” light. 45 degrees off to the side, and 45 degrees up. Using a diffuser like a softbox or shoot-through umbrella. Use a flash meter to do this and you get:

Portrait (Photo: Michael Willems)

Good light, good catch lights in the eyes.

OK, so now add a fill light, say, two stops below the key light. Use a bounce umbrella or some other diffuser.

Portrait (Photo: Michael Willems)

Oh, that is a little too bright. Turn it down a little, and then add the next step: a hair light. From behind, to give the hair that look of flowing shampoo awesomeness. Use a snoot or grid, so the light only goes where you want it to.

Portrait (Photo: Michael Willems)

Good. Almost done. Now add a background light, aimed at the background. Consider using a gel, and again, perhaps a grid.

Portrait (Photo: Michael Willems)

I like to have a bit of a pattern to it, a dropoff, as you see.

And that’s all – simple, if you take it methodically. If you start with all four lights, you will get muddled.

And thanks to the pro “chick that clicks” student who volunteered for this the other day during a light coaching session.


Lights

Sometimes, light can be simple.

Like here: One TTL flash, bounced to my right (in order to ensure that light goes onto the subject’s face, not onto the back of her head):

But sometime, for creative reasons you want more lights.Look at the following studio setup from a course the other day:

  1. Backdrop from www.backdropoutlet.com
  2. Main light is a speedlight with a softbox
  3. Right fill is a reflector
  4. Back fill, a flash bounced off the ceiling
  5. Edge light, two strobes
  6. Tow background lights: one white, one yellow (flagged with  Honl gobo)

Camera on typical “mixed light indoor flash” settings: 1/30th second at f/5.6, ISO 400.

Like this, demonstrated by my student, photographer Laura Wichman, the other day:

Camera on typical “Studio flash” settings: 1/125th second at f/8, ISO 100.

Because all that gets you light like this:

Both good, but both very different. And as a shooter you need to know how to handle both types of setup. Which is why I strongly recommend training. Because the good news: this is simple, once you know how.


Studio light note

Welcome, all, including new students and reader.

Continuing in the studio lighting technique series of posts, today, let’s look at the effect of a background light.

A simple portrait (yes, as you see, I am my most patient model):

That was lit with one strobe in a softbox on our left. Simple, nice, soft light.

But wait. Perhaps a little more light on the background would help offset the model from the background a little better. For this, we use a speedlight, with a grid (so as to avoid the light going everywhere).

Like this, using a 430EX (similar to a Nikon SB600) fired with a Pocketwizard, and fitted with a Honl grid:

And that gives us very different light.

Now we could turn that background up, or down; or change the direction.

The point is that this allows us to play with “foreground versus background” a little. Offsetting your subject from the background is always good – dark background and light subject or light subject and dark background are both good. There’s no one way – it’s more that there are a number of ways of doing things. And by controlling liught, you control those ways.


Let there be light.

When you shoot a studio portrait, you can use big studio lights – or small speedlights.

Because they are smaller and lighter, I tend to use small speedlights whenever I can.

And that does not mean compromising quality. Take this example. I took this shot of a very nice model and student during a course the other day, using TTL speedlights:

How is this done?

  • One flash on a light stand into an umbrella (the “A”-flash), on our left. High enough to give us nice catch lights in the eyes, but no reflections in the glasses.
  • The hairlight is one snooted speedlight (the “B”-flash) on the right (using a Honl photo snoot). I made sure this hairlight only lit of the hair, not the cheeks. That is what the snoot is for.
  • I used a Canon 7D with a 50mm lens.
  • I set the camera to manual, f/8, 1/200th second, 200 ISO. Normal settings for studio light. I made sure auto ISO was disabled.
  • The flash was set to its normal TTL mode.
  • I used flash compensation of, if I recall right, +1/3 stop.
  • The “A:B ratio” was set to 3:1, meaning A was three times stronger than B.

I could have metered and used Pocketwizards and the flashes set to manual, and if I had done many portraits, I would have. But for a quick shot like this, I think TTL is a better way, since it is very quick. Indoors, wireless TTL is a no brainer, and it works:  the on-camera flash, which is only used to direct the slave flashes, can be seen by any flash in the room. On a Nikon, or a Canon 7D or 60D, I need only the camera and its pop-up flash. On any other Canon, I would also need a 580EX flash on the camera, to direct the slaves.

But the portrait above is missing something, no? The background is a bit, well, bland.

So we add one more light, using a grid. And a gel. For the gel, I choose a complimentary colour: complimentary to the hair colour. So for brownish-reddish hair I use a beautiful blue-ish gel.

Now we get:

Better, no? Nice portrait, and it took only one light stand, one umbrella, three flashes, one grid, one gel, one 5″ snoot.  All this is affordable, small, light.Professional portraits are now within reach of everyone.