Day 13

The rest of my self portraits are posted elsewhere, but here’s day 13. At some stage I will re-post all of them here. Day 13 is “making do”. Sleep, shower, shave, etc, TV, sleep, repeat. What else is there to do?

Covid day 13: Making Do.

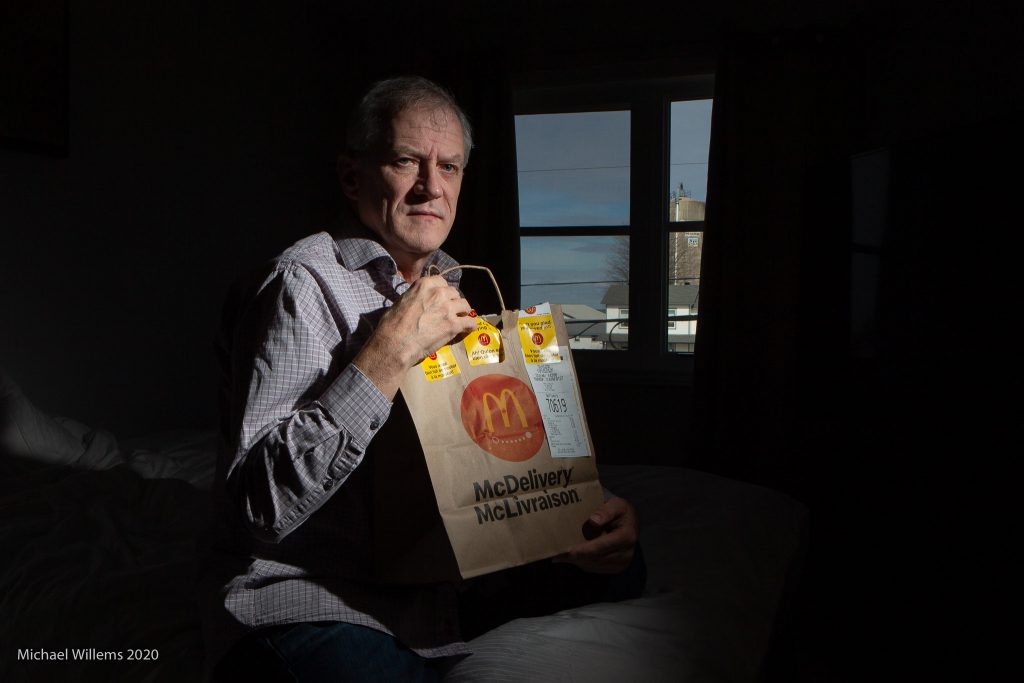
For today’s portrait I use a prop. And the camera is set to f/16, 100 IUSO, 1/250 sec. The light is a single speedlight fitted with a Honl Photo 1/4″ speed grid. Took about 30 seconds to do this portrait. Now the rest of the day…

“Smile”…?

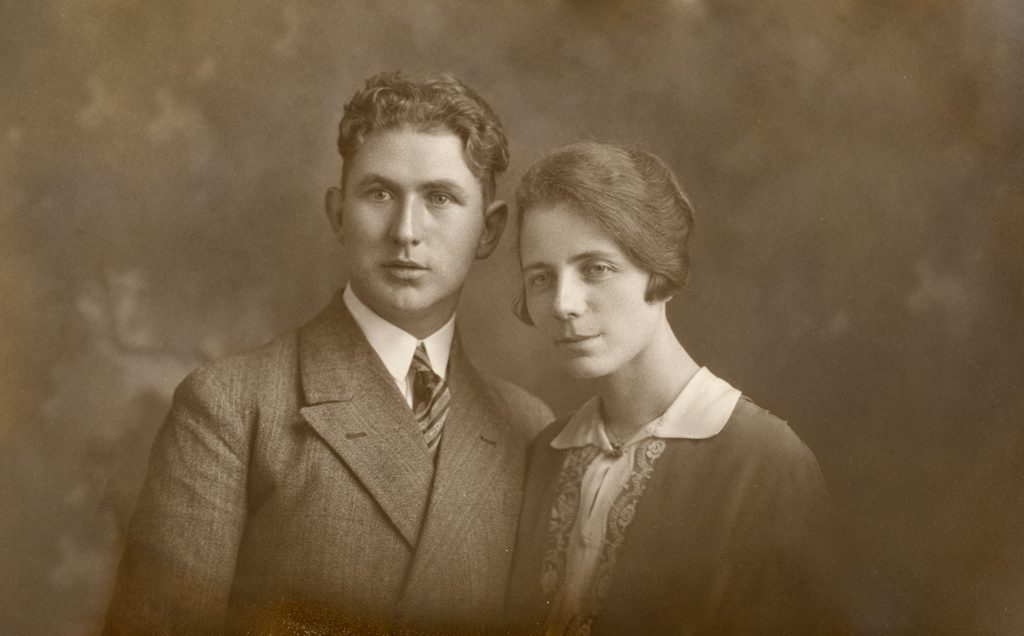
“Opa en Oma Willems”

To emphasize what I wrote yesterday, look here. My grandparents, in 1928 in Tilburg, the Netherlands. In other words: just before they were to set sail to the Dutch East Indies, or “Ons Indië”, as they called it at the time: “Our India”.

They were headed to the city of Batavia, where they settled down, both teachers, and had a family, namely my father and his two younger sisters.

Batavia is now called Jakarta, and the entire family has long since passed away. None of them made it to a very old age, all dying in their 60s or early 70s, probably at least in part due to their experiences for a number of years in several of Batavia’s Japanese concentration camps, including the infamous Camp Tjideng “hell on earth”. The entire family survived, which was not all that common, but they were marked. They never talked about it much: the little I know, I heard from my father’s younger sister Chris.

Willems, G.B.H.7733643, 13, 11, 93853

In the photo, they were of course unaware of what was to transpire. The line above shows their record in concentration camp Tjideng in April 1944: mother and three children. (A couple of months later, at age 14, my father was transported alone to the “men’s camp”.)

After the war, they were held in the camp by the British for “security purposes” – my father always resented this, almost as much as he resented the Japanese and in particular Emperor Hirohito, in whose name all this was carried out. Not being one to listen to authority, he escaped and walked back to Tjideng–not a very safe thing to do at the time. Shortly after they were eventually released, they were all put on a ship to The Netherlands (which my father had never seen, of course) and handed 25 Dutch guilders and told, basically, to get lost.

In any case, the photo.

First, of course old photos are an invaluable way to travel back in time, and they should be valued as such. Priceless. And they should be preserved (the above version is my restored version of the original, where I fixed scratches, fading, sun discolouration, and so on. If you have old photos, have me restore them.

Second, the actual portrait. A fabulous professional work. Perfectly lit (the technical terms are “Rembrandt Lighting” and “Broad Lighting”. Great expressions. And they are not standing there posed military style, smiling at the camera. They are looking out, to we know not what—their future in the East, perhaps? Or are they looking back at the first half of their lives? She seems more apprehensive than he, pensive, perhaps a little sad, even. He is more “bring it on”, but is holding back somewhat at the same time.

This is what a great portrait should do. So while I understand the liking for “stand there and smile”, it is also a great idea to consider some more artistic portraits, that bring out the subject’s personality. Posterity will be very grateful.


See www.michaelwillemsphoto.com for information about the store/school/studio in Orléans, Ottawa. See you there!

Happy New Year!

Happy New Year from The Speedlighter! 

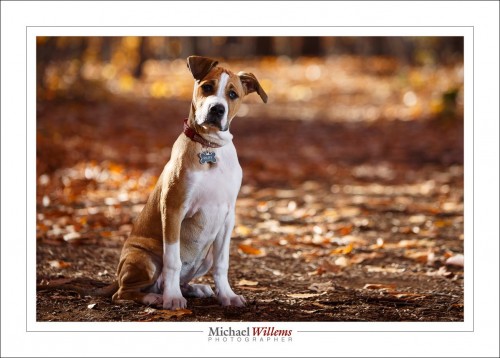
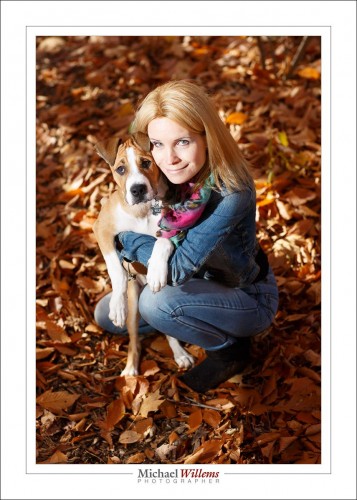
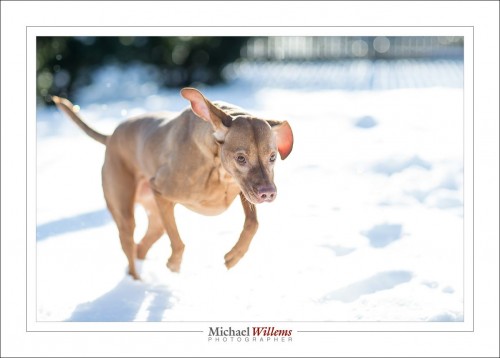
As for your 2017 resolutions, how about this one: Make this the time you finally perfect those skills you always wanted to hone! Skills that allow you to quickly and easily do pictures like the ones I took over the last couple of weeks. These include a few animal (and animal-plus-owner) pictures:

20161110-mw5d1613-1024

20161110-1dx_1783-1024

20161219-1dx_2654-1024

20161113-1dx_1819-1024

All those were made with the 85mm f/1.2 lens, and used a single speedlight in an umbrella.

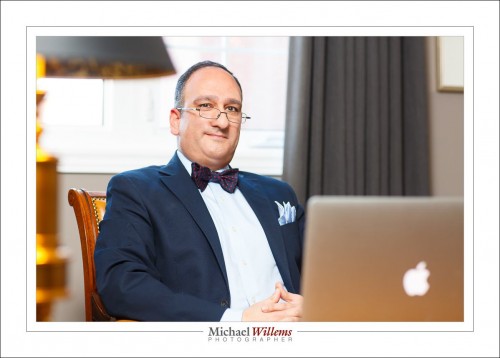
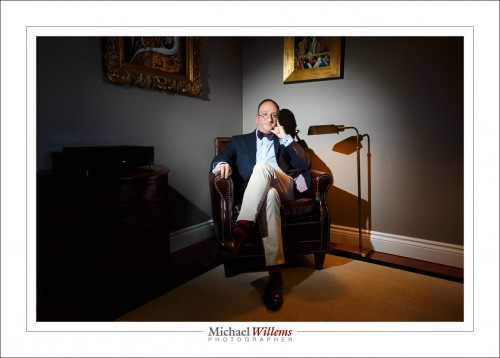
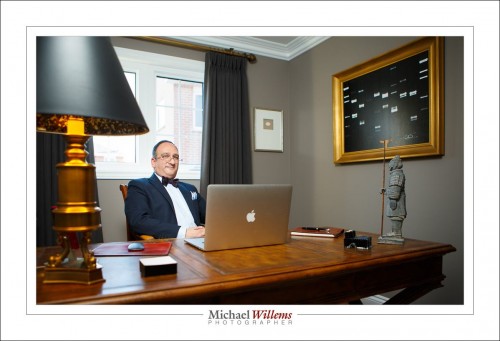
But I also did an executive portrait, just yesterday:

20170101-mw5d2658-1024

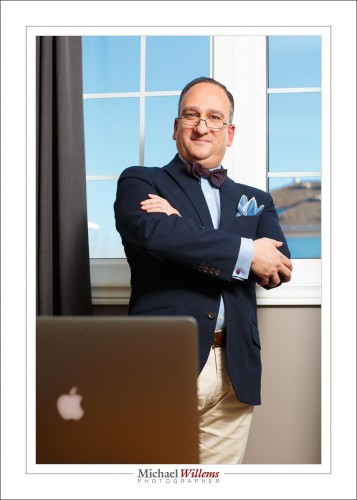
20170101-mw5d2676-1024

Do you see the difference between the two above? For the first one, I did not want to show the outside (boring, homes). Easy, so the picture,like almost all my pictufes, was stright out of the camera.

For the second one, however, I did want to show the blue sky. So I exposed that one less (using the magic Outdoors Recipe–one of the things you will learn if you turn up). Both used flash, of course; fired by Pocketwizards and with their power set manually. The second one used much more flash power because I was using low ISO and small aperture to kill the outside light. I also had to, therefore, brighten the Apple logo in post-production.

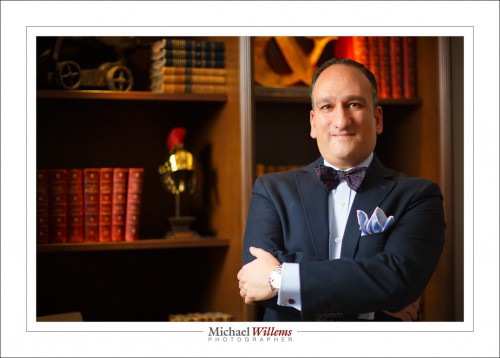
20170101-mw5d2655-1024

I would almost call that last one an environmental portrait.

The next ones are certainly environmental portraits:

20170101-1dx_3062-1024

The one above used a 24-70mm lens and a speedlight with a Honl Photo 1/8″ grid. The one below, a 16-35mm wide angle lens and a speedlight with an umbrella:

20170101-1dx_3048-1024

What do they all have in common? Simplicity, good exposure, and a thorough knowledge of the technical necessities.

You can learn this too. Why not do it? I have several great opportunities coming up!

All of these are excellent learning opportunities, and will broaden and deepen your knowledge significantly. Hope to see you there and then. 


Light, Portrait, #1

A few words about lighting. Today, two lighting types for you:

Broad lighting—you are mainly lighting the half of the face that is largest to you )turned toward you).

Short lighting—you are mainly lighting the half of the face that is smallest to you (turned away from you).

There are many other types of lighting (Split, Rembrandt, Butterfly, Loop, etc), and they merge into each other rather than being cleanly split (e.g. you could make the case that the second picture is really more Rembrandt Lighting); but these two will do for now.

The effect: Broad Lighting makes a face look broader. Short (or narrow, as I like to think of it as) Lighting makes the face look narrower.


Headshot

A future new book will be about photographing people. One shot you need to learn is the standard headshot. And today, a tip for these headshots.

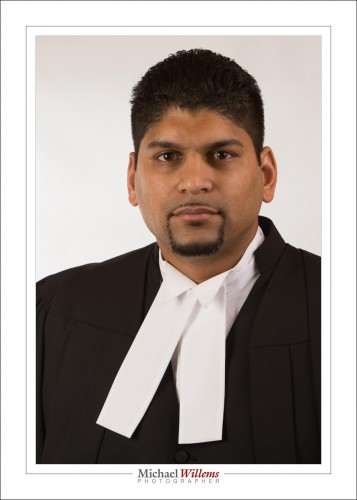
Look at this (unfinished) image of new lawyer Arvin (congratulations!), from a shoot last night:

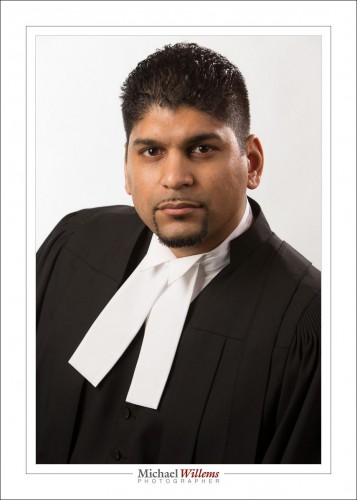
And now look at the second (also unfinished) photo, taken a second later:

Both are fine –  but the second photo is very different, isn’t it?

I have lit it differently, to create some modelling. Modelling means “showing that it has three dimensions”. The first face looks flat; the second one looks like an actual, three-dimensional, face. Lighter on our left, darker on our right. The lighting in the first photo might be more suitable for a beauty shot of a woman, perhaps – but it shows little depth.

I also added the hair light in the second picture – the “shampooey goodness™”.

But there’s more. I have also asked the subject to

  1. drop his shoulder (the one on our right);
  2. aim his head toward me, i.e. stick it out like a giraffe. That feels weird, but it looks good in photos (provided I am shooting almost straight one);
  3. tilt the top of his head slightly to our left (opposite direction to the dropped shoulder).

This gives us a nice strong jaw line and a more personal look. Mission accomplished. Now I can go finish the pictures (crop, rotate, adjust exposure, fix small flaws, etc).

The moral of this post: both lighting and positioning (not “posing”) of your subject are of great importance when shooting a portrait. Learning portraits is this, as much as the technical bits.

___

TIP: Do start with my books to learn the technical and lighting techniques: www.michaelwillems.ca/e-Books.html


Anatomy of a portrait

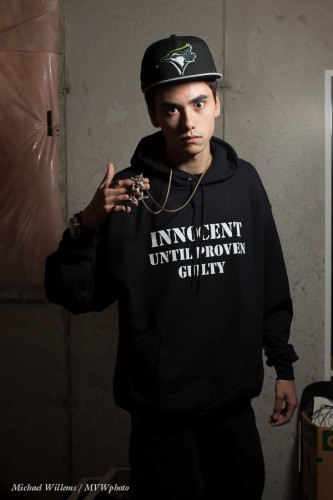
My younger son, who is a rapper, told me tonight, on his birthday, that he needed  a new portrait for publicity for his new album. So I obliged, before cooking dinner and while simultaneously doing laundry. Here he is:
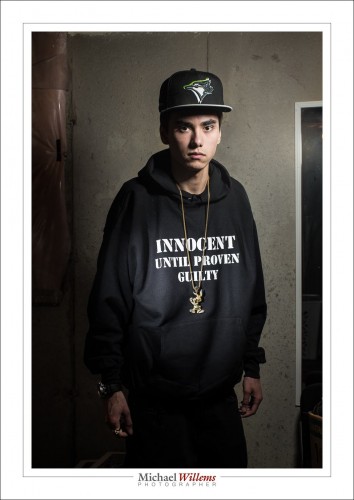
That image took maybe twenty minutes, half an hour tops – but a lot of experience and thinking and equipment goes into a portrait like that.

First, what is required? We discussed, and he clearly wanted a serious, dramatic, look. In a grungy setting. The T-shirt text and the bling should be clearly legible and visible, respectively.  So OK – the briefing being clear, I used the basement studio, and freed just enough space to do a half body portrait.

Then the light. Speed was of the essence: I was about to make dinner. So I used speedlights. First, I set up a light stand with a 430EX flash set to manual, 1/4 power, and driven by a pocketwizard. I equipped it with a Honl photo 8″ softbox. I feathered the softbox to get the right amount of drama in the light, and to get Loop Lighting, almost Rembrandt Lighting, on his face.

The camera was a 1Dx with a 50mm f/1.2 lens, set to 1/125th sec, f/11, 100 ISO. I knew the 50 was perfect for a half body portrait in a small space.

I tried, and the photos were OK:
Not too bad, but we wanted a little more emphasis on the writing. And more texture of the shirt. And clearly visible bling. So I added a second speedlight, this time with a 1/8″ grid, for a tight line of light, and aimed that at the shirt. Also equipped with a pocketwizard, and set to lower power (1/16th). Not having had time to prepare, I took my time finding things like cables and a bracket that fit the flash – all part of the fun.

I set the lights to the camera’s desired settings of, if you recall, 1/125th sec, 100 ISO, f/11. I used a light meter to verify that.

And there you have it. A few pictures – I took a total of 30, and we chose his preferred one, the one at the top. I could have done the light thing, the vignetting, in post, but call me crazy: I call that cheating if I could have done it in camera.

As a result, almost nothing needed to be done in post, but that still takes time: selecting, removing the odd bit of dust, any perspective correction, and so on.

Total time taken, as said, less than half an hour including getting things ready, setting up lights, moving stuff, and the entire discussion and post work. But that’s only because I have done this before. Experience is important. The good news: you can gain experience too and it costs very little.


___

If you want to learn, and you live near Oakville, Ontario: evening Flash course on 3 Oct, and 5-evening course with a weekly evening lesson starting  2 Oct. – both these small courses have open places still.
 

Families, and what precedes them (weddings)

Why do I love to shoot weddings and families?

Because we live to love. We live a short time (although my son Daniel, when he was perhaps nine years old and I said “life’s very short!” instantly responded “No it isn’t: it’s the longest thing you’ll ever do.”)

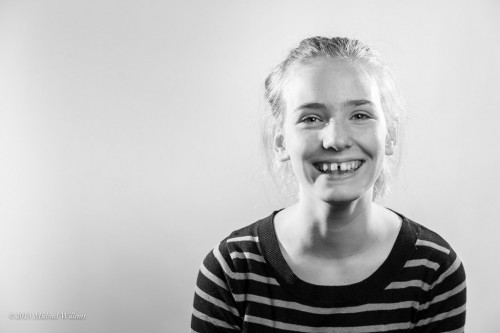
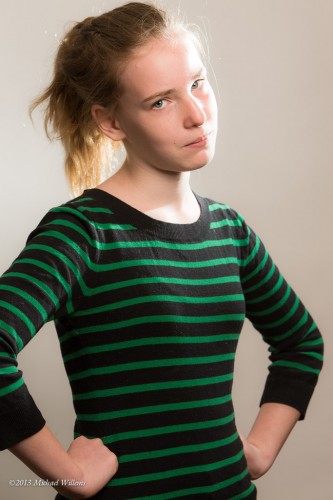
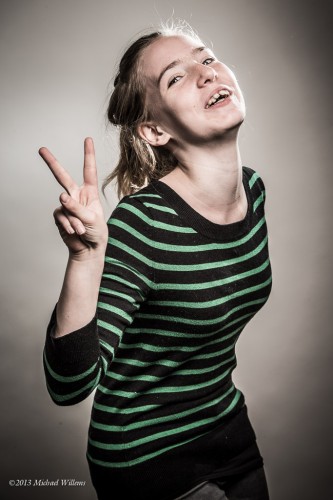
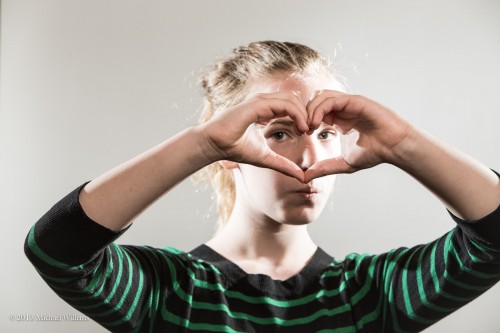
In any case, capturing personality and life events is one way we can be immortal. Look at this kid at a portrait shoot I did yesterday: four different looks in a few minutes. Happy and open; death stare; typical teen Facebook pose; and cool. If you were the parents, would you not love immortalizing your daughter this way?

And just think at the excellent pictures mom and dad will be able to project onto the wall at the time of her wedding (or more likely by then, holographically project in front of each guest).

Talking of weddings… I just got back from Jamaica, and my mission there was to tell a story. Not just to get the standard wedding shots – the ones you might get when you hire a local resort pro – yes, those too, but so much more: the story of the entire trip. Smiles. Moments. Love. Beach. Fun. Friends. Outings. Jamaica. Airports. Buses. The entire trip. One of the bride’s best friends (and bridesmaids) just responded to teh slideshow I put together:

What an amazingly great job on the video Michael! I LOVE the pictures!!! I laughed and I cried! I flashed back to the great times we had on the trip…and it made me wish I was closer to my friends! THANK YOU so much!! Amazing, amazing, amazing job!!! 🙂

And THAT is why I shoot destination weddings: I met great people and I made a difference to them by enabling them to remember and relive this life event forever.

And that of course must include a “b-roll” of pictures that include:

  • fun.
  • events (like “the plane ride”)
  • background, to show the environment.

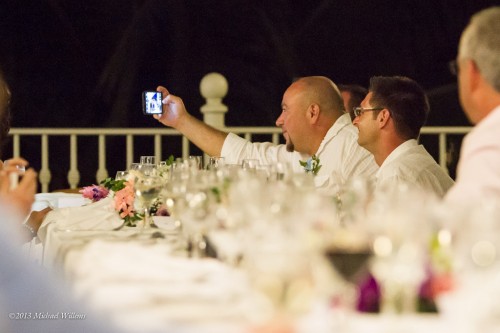
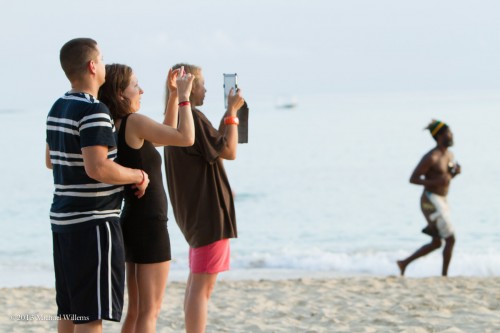
Like these:

Most of these were taken at 5:30AM on the day of departure. All of these are extra to a “normal” wedding. No local wedding pro will every get you anything close to that. So if you want a wedding trip to remember, bring your own photographer.

So when you make a trip:

  1. Tell a story! And to do this:
  2. Look for markers – moments in time that mark a transition, like airport arrival; climbing up the waterfall; leaving; entering the bus; that sort of thing. Every time a new phase starts.
  3. “If it smiles, shoot it”.
  4. Look for anything funny and capture it, too.
  5. Carry the camera when you think you will NOT need it. Some of the best pictures arrive without warning.
  6. Look for background, the “B-roll”, to remind people “what it was like”. Signs are good. So are views. The food. The detail; the little things you notice when you arrive. Shoot them; later, sort out of you want to use or not.
  7. Sort into the right order later.
  8. Make a slide show – or make multiples, maybe 5 minutes each. Background and “Ken Burns effect” are good.

That’s what I do when I shoot a destination wedding.


Sam The Studio Man

When I prepare a tricky shot, I tend to use  stand-in model while I work on light, so the model does not need to stand there for half an hour while I adjust and move lights.

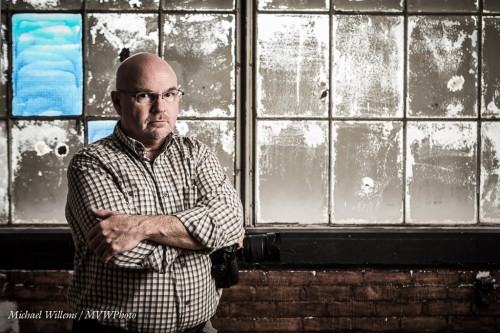
But these stand-in shots are often good, which is why I use them. While preparing to shoot model Danielle, I shot Sam Taylor, who runs the studio I teach in (see www.cameratraining.ca and click on “Schedule”).

I set my exposure for the window: 1/60th sec, f/5.6, 400 ISO. Then I added a strobe with a softbox, and I moved Sam far enough from the window so the strobe would light him up (from 45 degrees above), but would not light up the reflective inside of the window too much. And then I set flash power according to my camera settings. Finally, I did a little desaturating in Lightroom. Result:

Short lighting, great grunge, serious expression, rule of thirds, good balance of background and foreground. A tricky shot, and one I am delighted with.

One of my students remarked on how refreshing it was to see the problem solving process, and to realize that photography is in fact problem solving, yes it is. When I set up a shot, I do not have all the answers, but I see what I want, and I know how to solve problems “step by step” until I get that result.

And sometimes you change your mind. In the final model shot, I could not move the model away from the window, as she sat on the sill. Hence I could not get rid of a shadow cast by the snooted speedlight I ended up using. So then the shot changes entirely: if you cannot beat the shadow, embrace it! To spare those of you who are sensitive, I shall not show you that shot here (it’s a nude),  but if you are interested, click here to go to my tumblr feed.

(By the way: have you considered being photographed this way? if not: consider it. Some beautiful shots of yourself like this are worth making. If you don’t, you may well regret it later in life).


Self portrait

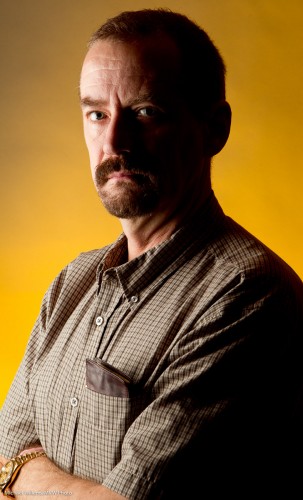
The other day I decided to do a quick self portrait. And instead of the normal “traditional” portrait, I did the following:

Moody, dark – I don’t smile much in pictures and life is serious! And as you see, lighting is all about what you do not light.

I made this picture as follows:

  1. I put up a grey backdrop.
  2. Using paper tape, I put a cross on the floor where I was going to be standing.
  3. I put a light stand there.
  4. Having put the camera on a tripod, I aimed at the light stand and focused on it; then set the focus to “manual”.
  5. I set the camera to self timer.
  6. I selected 1/125th second at f/11 (you want f/5.6 – f/11 for these shots normally).
  7. Using my light meter, I set my main light, which I fire with pocket wizards, to these values. That main light is a Bowens strobe with a softbox.
  8. I added a background light: a speedlight with a Honl Photo grid and a Honl Photo Egg Yolk Yellow gel. I set this to quarter power (experience). The speedlight was also fired via pocket wizard; if you have a Nikon speedlight you can use SU-4 mode (cell).
  9. I pressed the camera shutter button and took the exact place of the light stand. 10 seconds later: flash!

And that was that – simple once you know. Now you try!


A simple lighting setup?

What one person finds complicated, another finds simple.

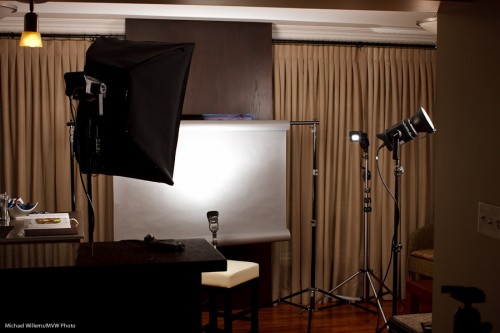
And vice versa. A friend who visited the other night reminded me of this, when I talked about the simple four-flash light setup I was using for a headshot:

And as he said that, I realized that perhaps it’s not simple.

But if you want to take portraits, then it should be. In other words, without knowing how to do a “traditional” portrait setup, it is hard to do creative portraits. No, that does not mean you need to make all portraits traditional – you can do great stuff with one off-camera speedlight and a grid.

But you need to know how a traditional portrait is made. Which is with:

  1. A backdrop (paper roll, here).
  2. A main, or “key” light, in this case a Bowens strobe with a softbox.
  3. A fill light (Bowens strobe with umbrella, in this case).
  4. A hair light (speedlight with Honl Photo grid and egg yolk yellow gel).
  5. A background light (speedlight with Honl Photo blue-green gel).
  6. A way to drive them: Here, I used one strobe and two speedlights fired by pocketwizards; one strobe by the light-sensitive cell.
  7. Metering: I used light meter to arrive at f/9.0 at 100 ISO and 1/200th second.
  8. Ratios: I set the fill two stops darker than the key. And the hair and background light by trial and error (I got them right first time – done it before).

A note about those gels: colour makes a difference. I love the blue-green gel on the background, to contrast with the red hair – contrast is good. That’s why the butcher uses green plastic between the red meat – to make it look redder. (Oh wait – butcher? We buy meat at the supermarket now, in neat little packages. Dumb me.)

Anyhow – parsing makes things simpler. If you are faced with a complex situation, parse it, i.e. take it apart, one thing at a time. Analyse each layer until you understand it, then go on to the next layer. And before you know it, you will be saying “that’s simple”.

That’s what you learn when I teach you: how to make complex situations simple by understanding the elements, then building on those. Deductive learning, if you will.

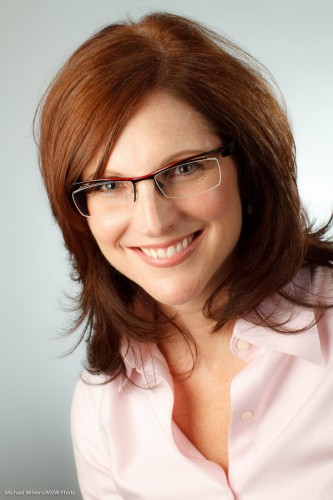
And what does the setup above produce? Portraits like this:

Headshot (Photo: Michael Willems)

(Canon 7D at f/9.0, 1/200th sec, 100 ISO)

A plug, if I may: if you, too, need an updated headshot, and live in the Greater Toronto Area, do call me. For Facebook, your resume, LinkedIn, or your web site: a good headshot helps, and Headshots Specials are on during the month of September!