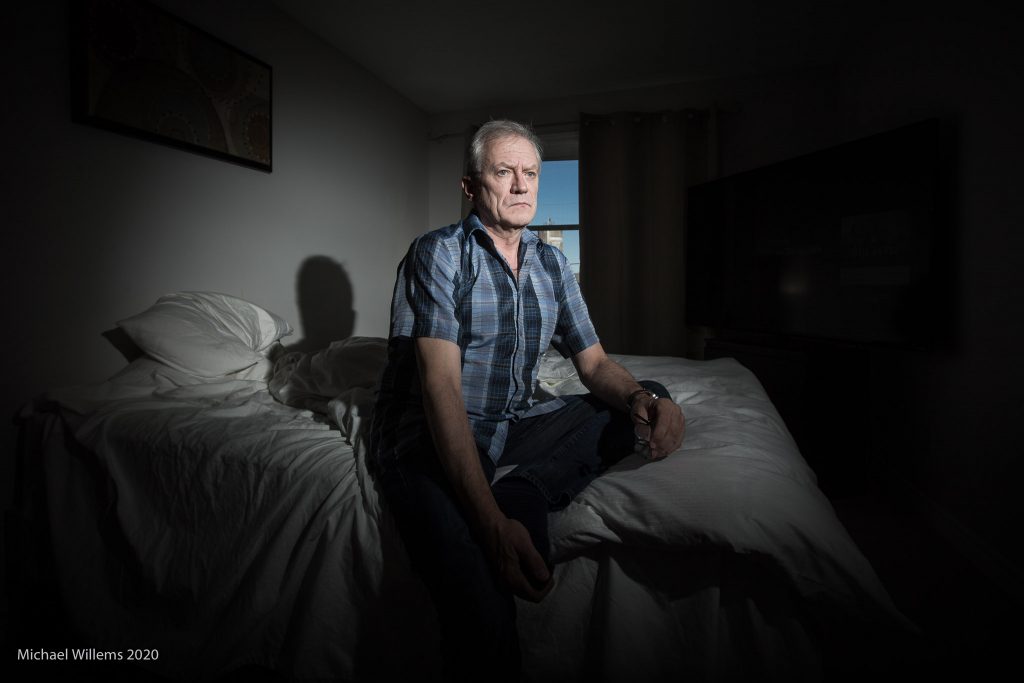
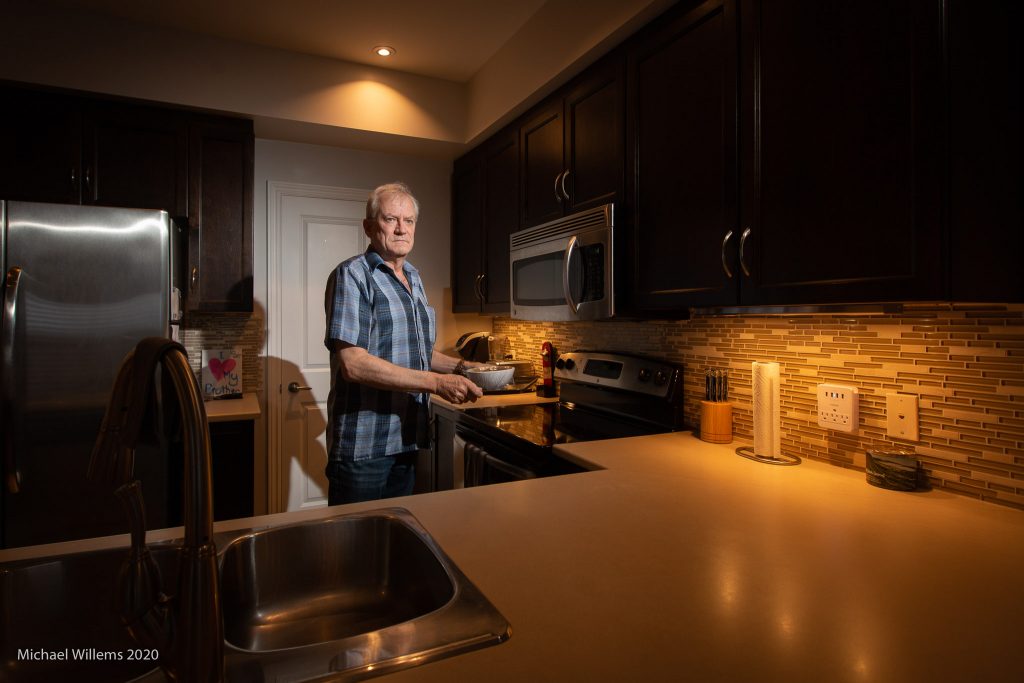
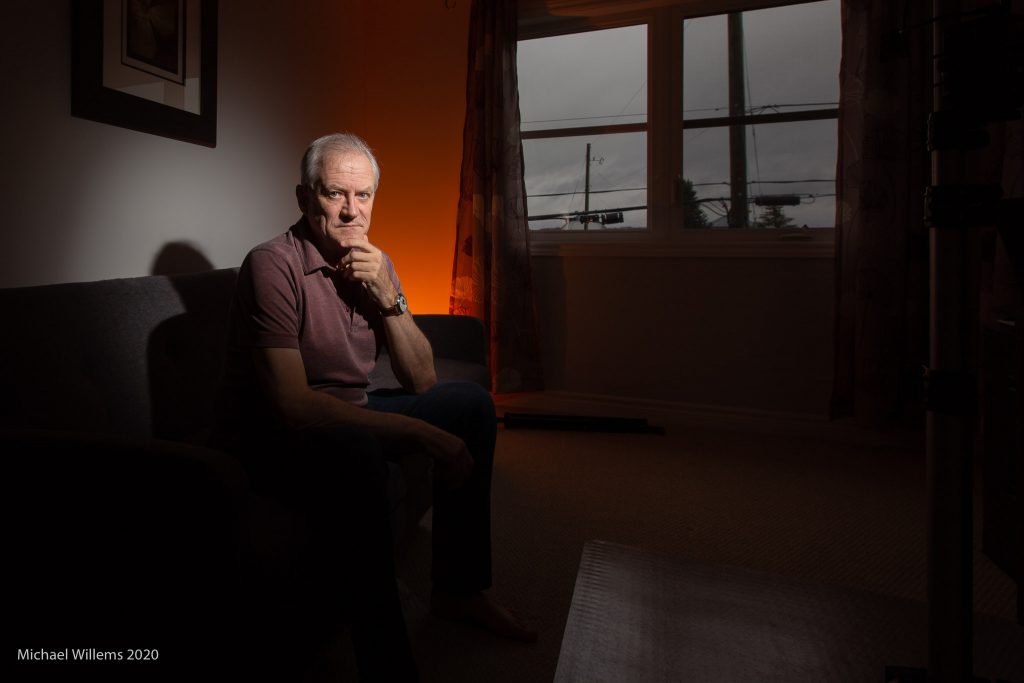
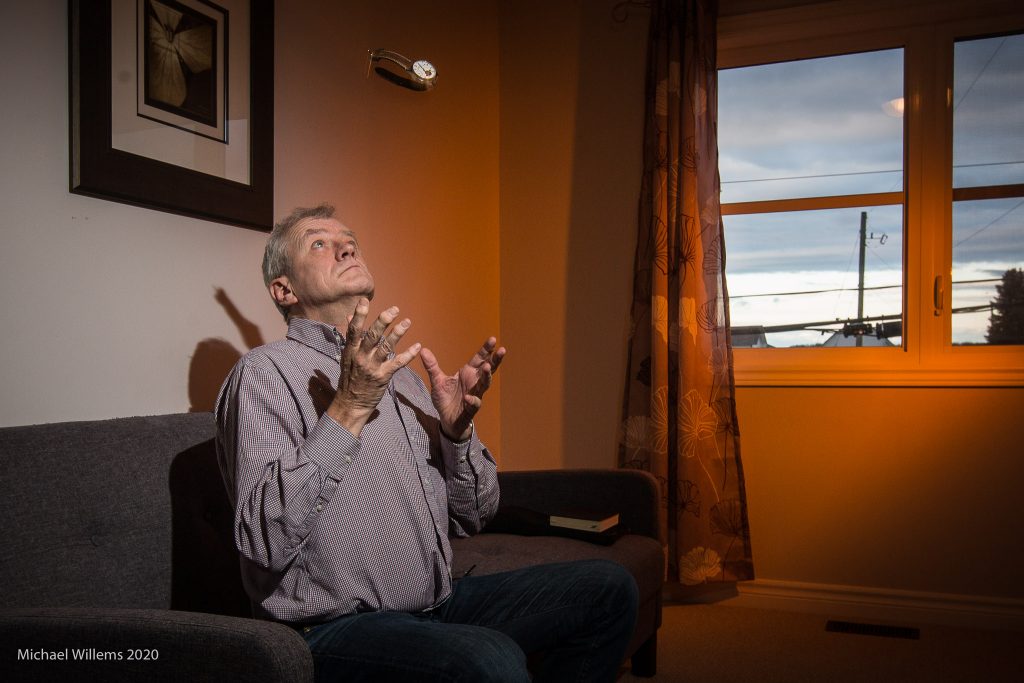
More self portraits…

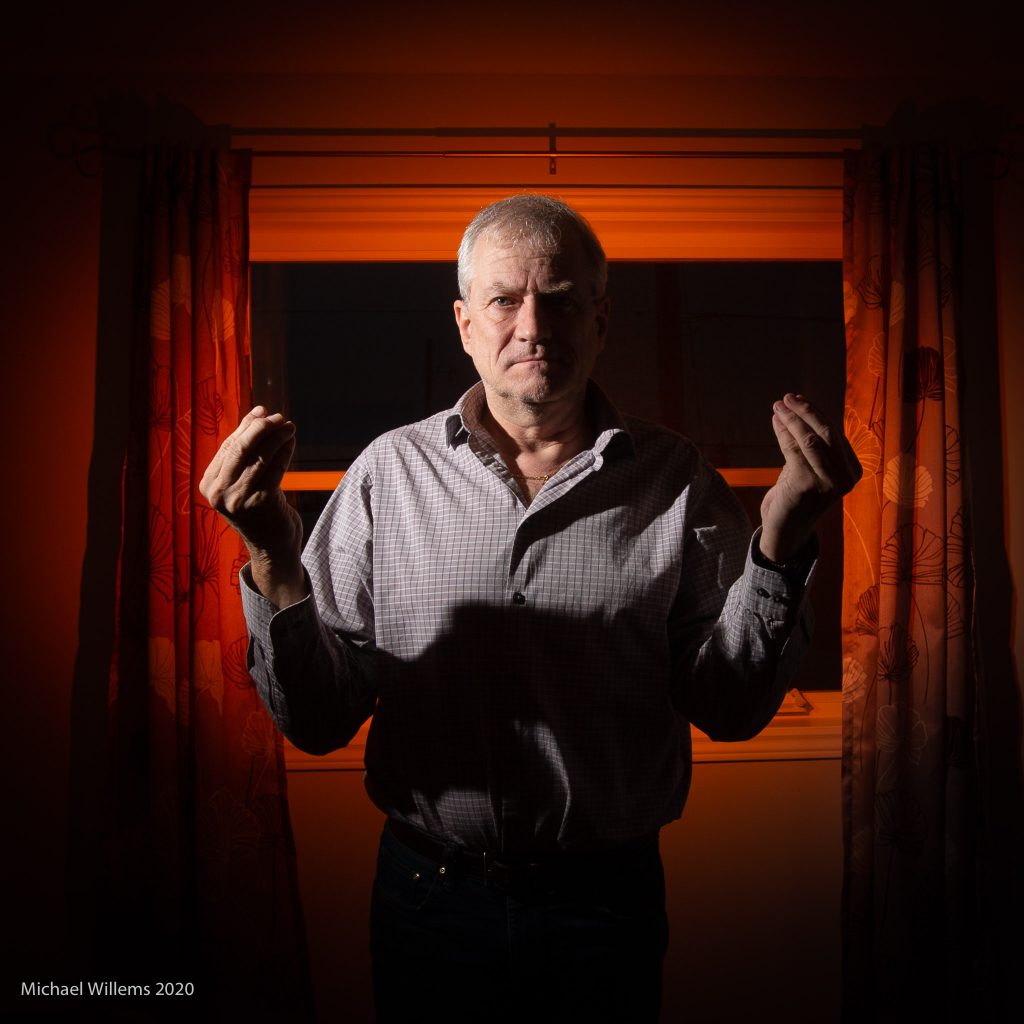
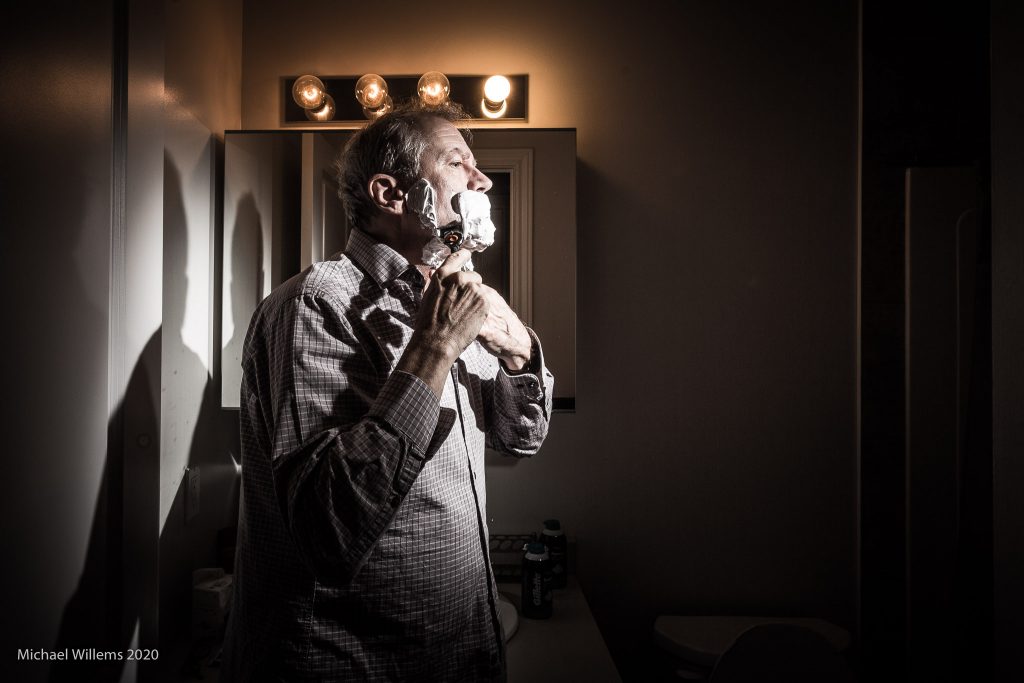
In this days of social isolation, what do you do? Me, I get creative. With flash, of course. And apart from cropping and, in some cases, adjustment to vibrance and presence, it’s straight out of camera (“SOOC”) – it’s what you do once you know flash. Which, incidentally, I teach.

Here’s the most recent days:

Day 14: Rainy Day Outside
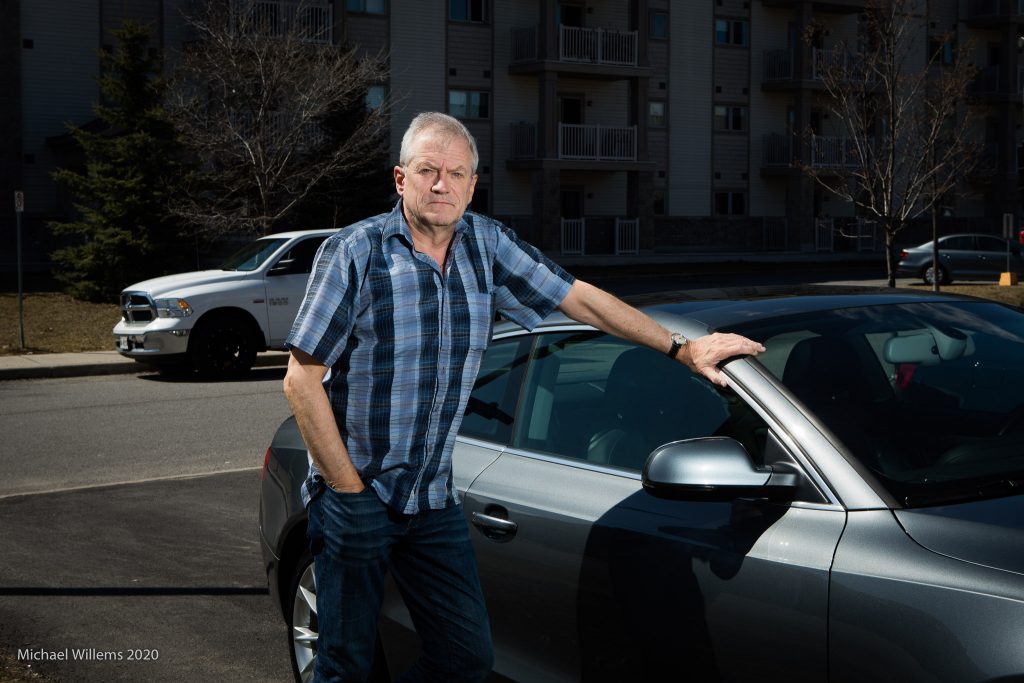
Day 15: By the car. remember cars?
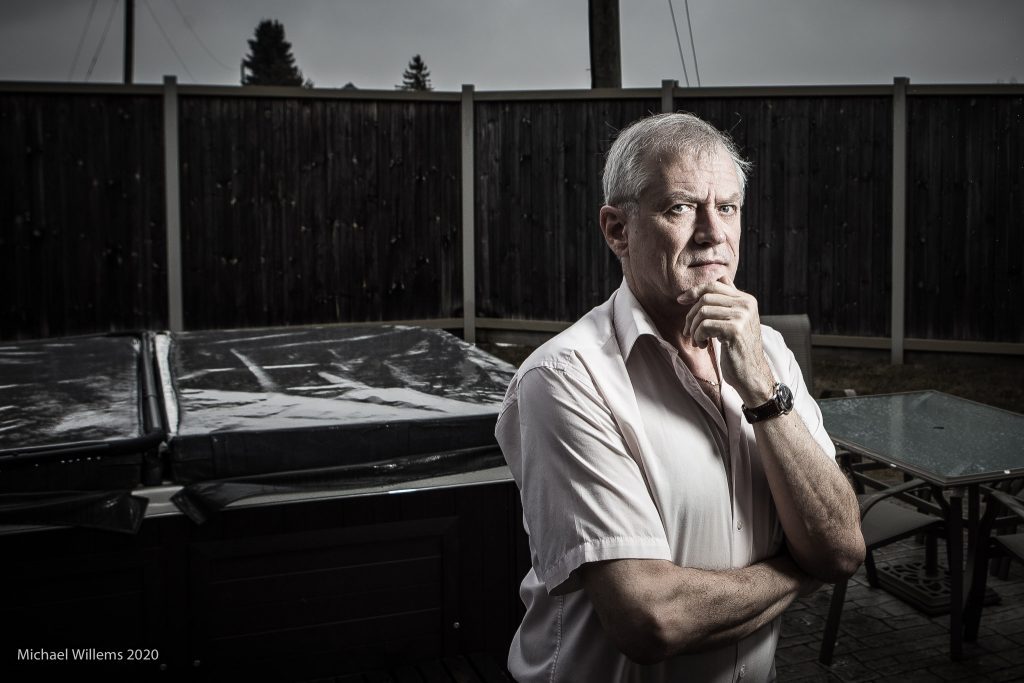
Day 16: Contemplating.
Day 17: Cooking. Again.
Day 18: Pensive
Day 19: Juggling Watches
Day 20: Playing with Toys
Day 21: Attitude?
Day 22: Maintaining Standards. One flash with 1/4″ grid.
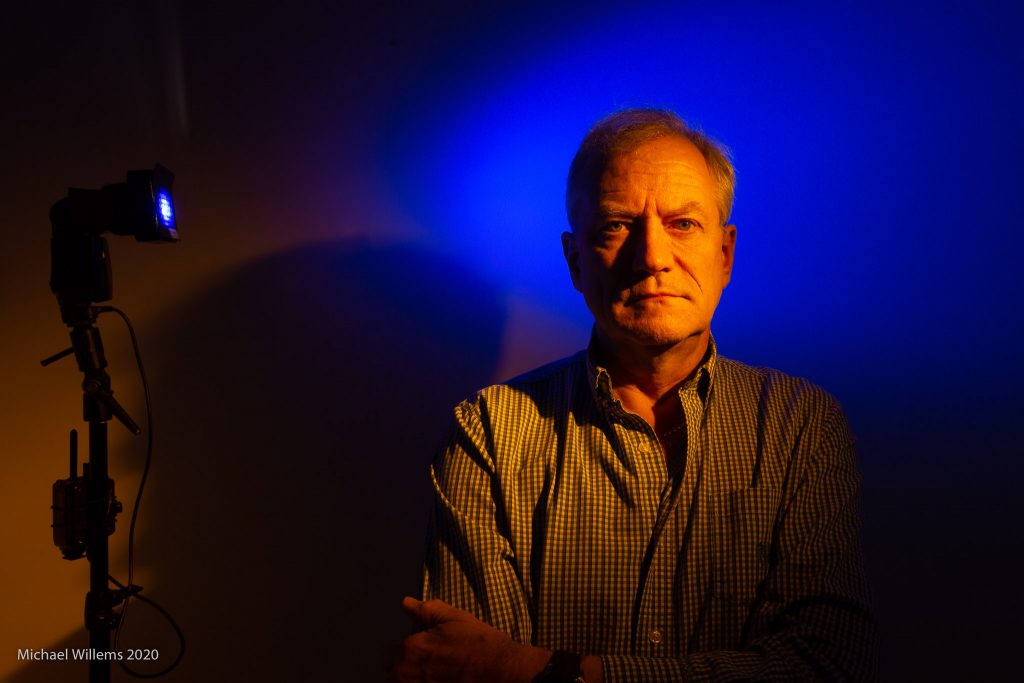
Day 23: In The Spotlight. Left, flash with Honlphoto 1/4″ grid and Mikkel Blue gel. Right, flash with Honlphoto 1/8″ grid and Egg Yolk Yellow gel.

I hope you, too, dear reader, are keeping busy with something creative. Regardless of what our governments regards as “essential”, we cannot live on bread alone.

And above all, stay well.

Day 13

The rest of my self portraits are posted elsewhere, but here’s day 13. At some stage I will re-post all of them here. Day 13 is “making do”. Sleep, shower, shave, etc, TV, sleep, repeat. What else is there to do?

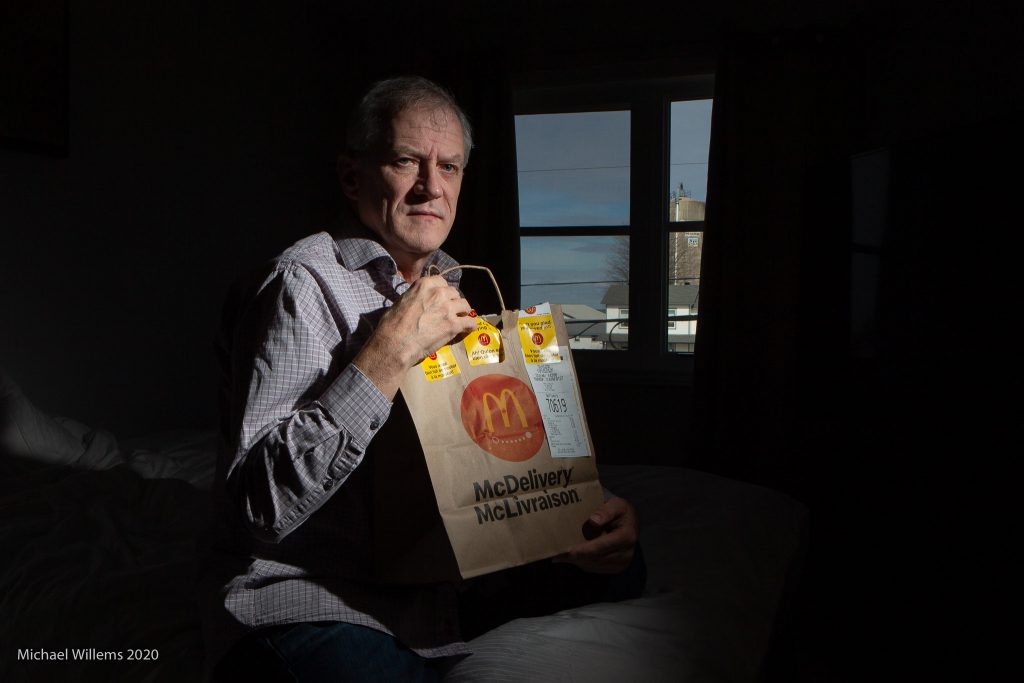
Covid day 13: Making Do.

For today’s portrait I use a prop. And the camera is set to f/16, 100 IUSO, 1/250 sec. The light is a single speedlight fitted with a Honl Photo 1/4″ speed grid. Took about 30 seconds to do this portrait. Now the rest of the day…

Oh vanitas vanitatum, omnia vanitas.

An ancient Latin saying. Obviously ancient if it’s Latin.

And a self portrait, obviously not ancient, unless perhaps my age puts me into that category.

Michael Willems

Oh vanity of vanities, all is vanity.  Manual focus on an object that is sitting where I will be. Then use the timer shutter release. Camera on a tripod. or on a table.

So is this a “vanity” photo?

No, it is more of a storytelling photo. Photos can be more interesting if they imply that there is clearly a story behind the photo, and it is not a straightforward one like “happy clown”.

If you are on my course: much more coming. If not: get the books, come back here, and keep reading. Enjoy!


Selfie…

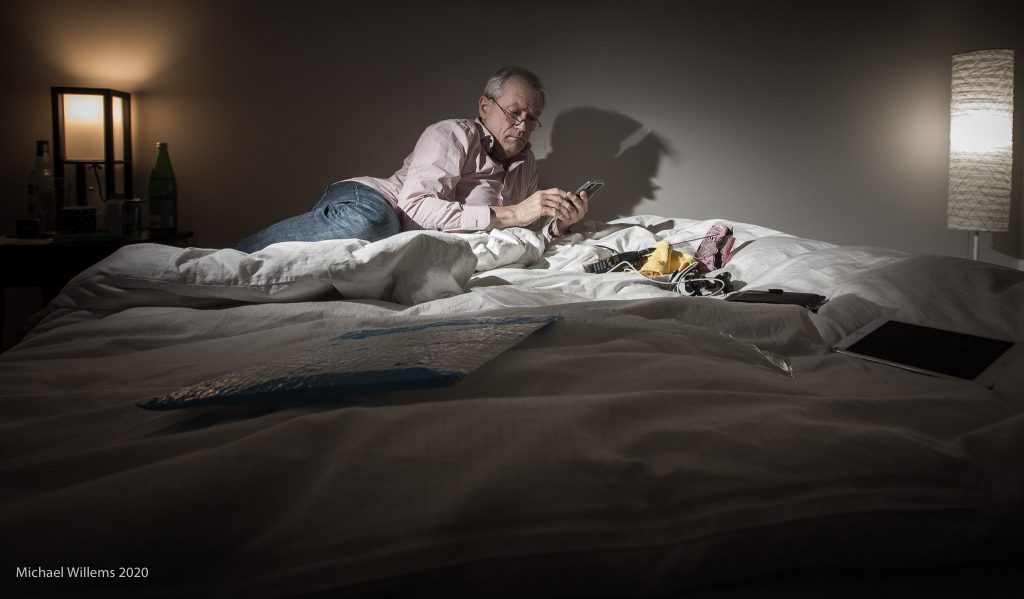
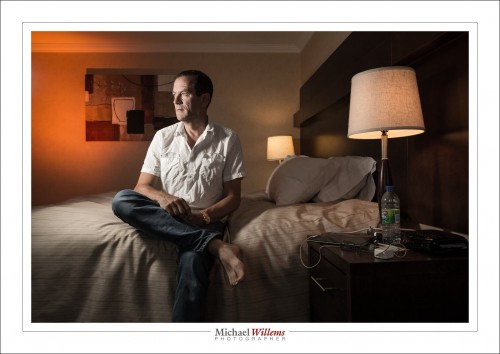
From Hopper to Leibovitz, hotel rooms have always been a fascinating setting for art portraits.

I portrayed myself in a hotel in Timmins, Ontario, Wednesday morning, evoking feelings of these prior artists, but especially, creating with light. Straight out of the camera.

If I say so: my best self portrait. Ever.

Click to see larger:

I did this in my suite in the Timmins Day’s Inn. I was alone and I used:

  • Camera perched on an upturned Ottoman
  • Main light is a 580EX flash with a Honlphoto Traveller 8 softbox, clamped to a desk chair.
  • Additional flash is a 430EX speedlight with a Honlphoto Rust coloured gel, for some nice warm light.
  • Camera at 100 ISO, f/5.6, 1/60th second.
  • Flashes fired with Pocketwizards.

Camera prefocused and using its self timer. This took me only a couple of attempts to get right.

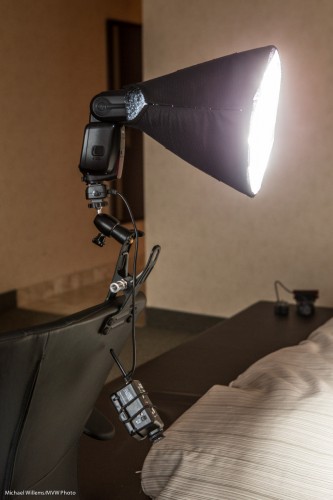
The main light: a flash connected with a Flashzebra cable and mounted with a ball head onto a clamp, clamped to a chair. Note the second flash sitting in the background.

And no, the name “selfie” doesn’t do it justice, does it?


More self-portrait, and notes

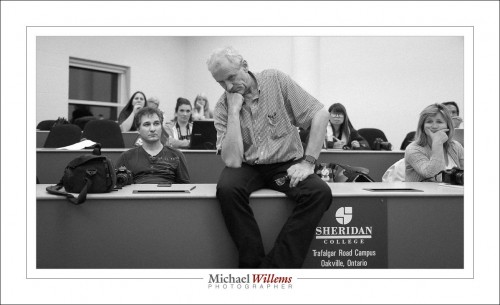
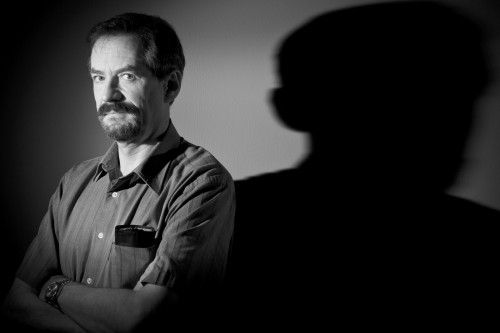
Here, another self portrait: “self with shadow”.

I want to point out a few compositional things about this image:

  • Black and white allows me to concentrate on the subject (that would be me), not the colours.
  • Contrast is important, so I carefully positioned myself to cast the right light so my face and head stand out.
  • I composed so the entire shadow fits.
  • The image uses a typical rule-of-thirds composition.
  • In what may look like a break from tradition I am facing out of the frame (but I am looking in so it is OK).

As you can see, even in a simple two-light portrait, some thought is applied to make it good. And some trial and error. Note that some post cropping and rotating is OK if you cannot get it right in the camera.

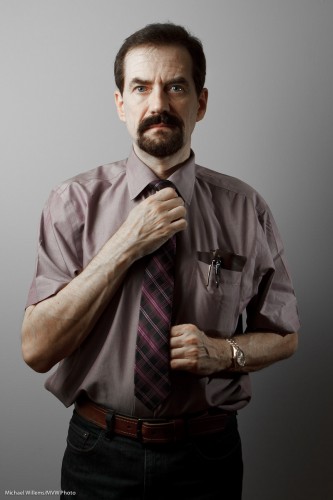
One more tonight:

Here as you see I have desaturated red and orange slightly using “HSL” in Lightroom. Less drama, to, since I am now using an umbrella rather than a grid. So the umbrella casts light onto the background.

These self portraits are fun and I urge you to do one, using off-camera light (flash or natural).


Grain

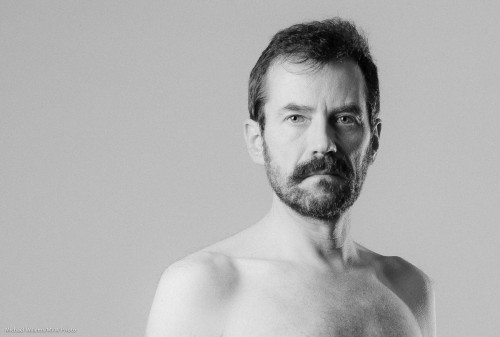
I recently, while preparing for a commercial shoot, took a few self-portraits. Including this one:

Michael Willems, Photogrpaher (self portrait, December 2010)

Michael Willems, Photographer (self portrait)

As always, click to see it large. (You really do need to see this one at original size to see the full effect.)

To do a portrait like this, I did the following – and I thought it might be useful for me to share the thought process:

  • I decided I wanted black and white, and to shoot it that way.
  • I set up the right studio lighting. I used a softbox on camera left; an edge light on camera right at the back; and a fill light using an umbrella on camera right in front.
  • I metered for these lights, with a fairly high key:fill ratio. In other words, I wanted the less-lit part of my face to be much less lit. To get this, I set the fill light around three stops darker than the main light.
  • That in turn allowed me to set up an edge light, to show the contours of my face.
  • I set up a white background.
  • I positioned myself at a distance from the background that would ensure a grey (rather than black or white) background.
  • I set up the main light, in a softbox, such that I would get nice catch lights in my eyes.
  • I pre-focused (on a chair), then set the camera to manual, and then used the camera’s timer to take the shot.
  • I used a horizontal layout, to create enough “negative space”, by using the rule of thirds (i.e I did not put myself in the “Uncle Fred” position right in the middle).

Finally, in post-production I added some film grain. This is one of Lightroom 3’s Develop module’s “Effects”, and it is one I really like. Tri-X film, anyone?

I am about to set up the same setups for Saturday’s workshop. Deciding on lighting is a photographer’s major job!

Portrait tip

As I said before, you can use just about any lens for portraiture.

But there are certain guidelines to obey. Like: when using a wide lens, put the subject small in the centre. Then optionally crop.

To illustrate. This is a 50mm portrait of me just now:
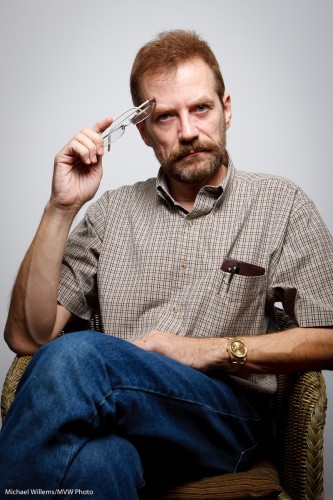
Michael Willems by Michael Willems (50mm)

Michael Willems by Michael Willems (50mm)

That is just about OK. Any wider and it would be too wide, and for a portrait like that, ideally I would like to zoom in more, to maybe 70mm, and then to stand back.

But perhaps you cannot do that because there is no space. Or you want the environment in the image.

Fine, you can use a wide angle lens. But be careful. If you put your subject too close, the nose will be too large and the face distorted. And if you put your subject near the edge of the image, it will be distorted also.

Look at this 35mm portrait:
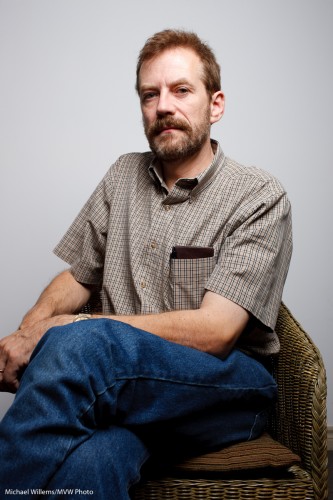
Michael Willems by Michael Willems (35mm)

Michael Willems by Michael Willems (35mm)

Not good. But what if we put the subject smallish in the centre?
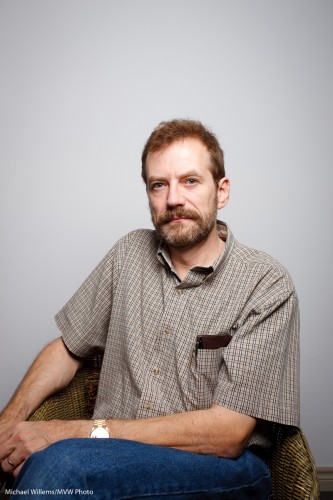
Michael Willems by Michael Willems (35mm, subject in centre)

Michael Willems by Michael Willems 35mm, subject in centre)

That is fine, And optionally, then we crop:
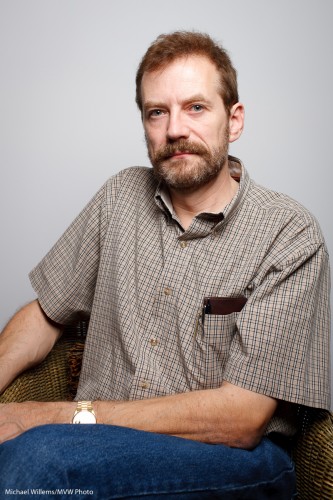
Michael Willems by Michael Willems (35mm, cropped)

Michael Willems by Michael Willems (35mm, cropped)

By cropping, we have now essentially made the 35mm lens into a longer lens. But even without cropping, it is the fact that the subject is in the centre and not very big that makes the composition fine.

I can think:
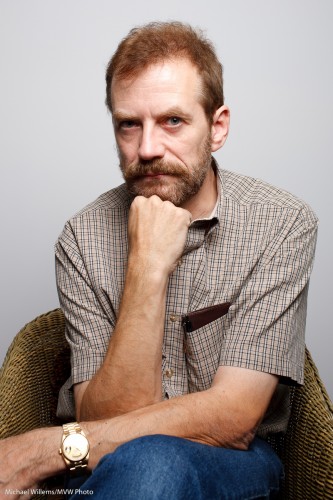
Michael Willems by Michael Willems (35mm, cropped)

Michael Willems by Michael Willems (35mm, cropped)

I hope this brief example helps dispel the thought that you “must” have an 80-135mm lens for portraits!

And to finish, a silly image.
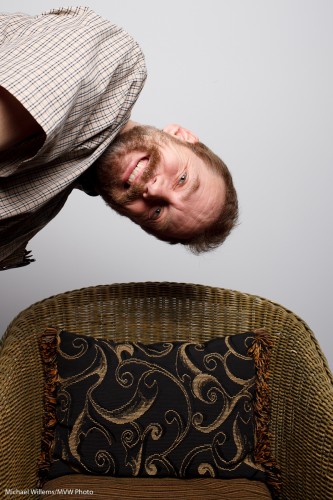
Michael Willems by Michael Willems (35mm, silly)

Michael Willems by Michael Willems (35mm, silly)

Yes, I can be silly.

Finally, a question for you to try your hand at, at home. Can you figure out how I lit these images?
Studio Settings

A few words to get you started on studio portrait setups.

When you are shooting in a “studio” (i.e. controlled) setting, your camera settings might be, as I recently pointed:

  • Camera on Manual
  • 100 ISO
  • Auto ISO disabled
  • 1/125th sec
  • f/8
  • “Flash” white balance

Why as small as f/8?

Because lower aperture numbers than 5.6 can give you too selective a depth of field; and with most lenses, higher numbers than f/8 create diffraction, meaning slight blurriness. If you like sharp, stick to f/8 or perhaps f/5.6.

You also use f/8 or similar because studio lights are powerful. (Someone the other day searched for “how to shoot wide open with studio light” – often, the lights are so bright even on their lowest settings that the only way to do that  is to use a neutral density filter on your lens).

And lenses?

For portraits, I use 50-200mm. Smaller focal length (like 50-70 on a full frame camera) makes a woman’s body smaller (if I shoot at head height). Larger makes the nose smaller, but can make the body slightly bigger. I.e. larger gives you no distortion, but sometimes ever-so-slight distortion is exactly what you want. My favourites are:

  • 24-70 2.8L
  • 70-200 2.8L IS
  • 50mm f/1.4 (for use on the 7D, or for body shots on the 1D Mark IV or 1Ds Mark III)
  • 35mm f/1.4 (for environmental portraits)
  • 100 mm f/2.8 macro (yes, a macro lens is a great portrait lens)

But you can keep it simple! A Canon Digital Rebel or Nikon D90 with a 50mm f/1.8 lens, for instance, will allow you to take great razor-sharp studio portraits. It’s all about the light!

Self portrait

How do I take one of these with my new 7D?

IMG_1086

I set the camera on a tripod and use pocketwizards to fire one flash into an umbrella. One flash gives me that severe look, but to slightly lessen that, I have a reflector on the other side (camera left). I used a 35mm f/1.4L lens on the 7D, meaning an effective lens length of about 50mm. The “Nifty fifty”!

I set my camera to 100 ISO – best quality, and background light does not upset the shot. And I am in manual mode, at f/8 (enough DOF) and 1/125th second. I use autofocus where the camera selects a focus point, This time. I will – because as the subject I cannot see what I am doing.

Finally, I use the timer of course. So I can press the shutter while I hold my hand out; then sit down as the camera beeps.

And then I check: sharp enough? Nice graduated tones from dark to light? Catchlights in the eyes? Check!