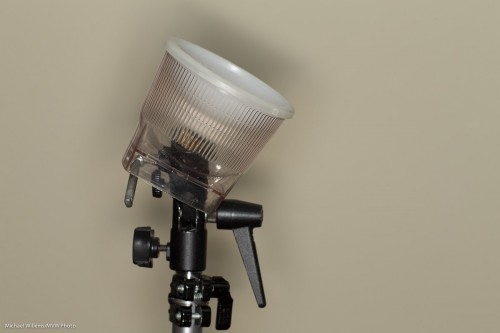
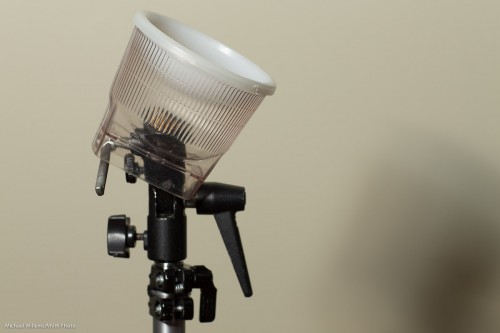
A New Modifier!

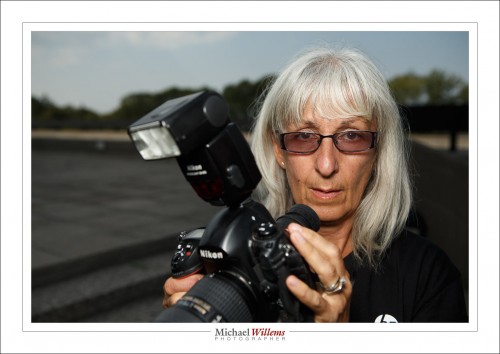
You know how I like the Honlphoto range of small flash modifiers, and I use them all the time. Small, light, sturdy and affordable is a great combination of properties for travelling photographers. Right now David is just outside Mosul in Iraq. This brings back memories: I was in Mosul in 1982 (see me next to Nineveh’s City Gates), and I stayed at the Railway Hotel. Small world.

(Full disclosure: David is a friend of mine: but that is not why I recommend his stuff. The reverse, rather: I like his flash stuff so much that I contacted him and we became friends.)

Broadly speaking, there are three types of small flash modifier:

  • Modifiers that change a flash’s direction, like snoots, grids, gobos.;
  • Modifiers that change the flash’s colour (gels, coloured reflectors);
  • Modifiers that change the nature of the light, usually by softening, such as softboxes, reflectors, and bounce cards.

So you modify where the light goes, in what colour it goes there, and how it goes there. And now there is a new modifier in the latter category.

To place this new modifier, let’s start with the existing ones.

First, we have “no modifier”: aimed straight at the subject from atop the camera. When I use that, I get cold, harsh light. Look at this object in front of a wall:

Then I bounce the flash behind me, up at 45 degrees, to get a much better result:

Much better, but I cannot always do this. The ceiling is sometimes too high, or it is a bright colour, or there are objects in the way that stop the light from my flash from reflecting back; or there simply is no ceiling.

In those cases, I can use a reflector on the back of the flash. The Honl Speedsnoot doubles very nicely as a reflector. While this is not perfect, the shadows are a lot less hard than they would be from direct flash, and the light comes from a higher position.

This solution is not always easy: the reflector takes a little manual dexterity to tie to the speedstrap on the flash, and it can flop down all too easily.

I can also put a hard reflector card (bounce card/gobo) behind the flash. This is hard when there is no bounce at all, but it works very well when combined with ceiling flash:

Next: a great modifier is the softbox. In the next photo, I used a Honlphoto 8″ Traveller8 portable softbox off camera. The shadow is under my control: bring the flash closer and it softens, and the flash’s position determines where the shadow goes. Now that nasty shadow becomes a creative tool under your control.

Another great option is the ring flash. Rather than buying one, you can go with the Orbis ring flash attachment for your speedlights. I will talk more extensively about this in a next post, but for now, just look at the light with its distinctive halo, a halo that shouts “Ring Flash!”:

And if I take it off camera it’s still great:


NEW: THE LIGHT PADDLE; A MINI REVIEW

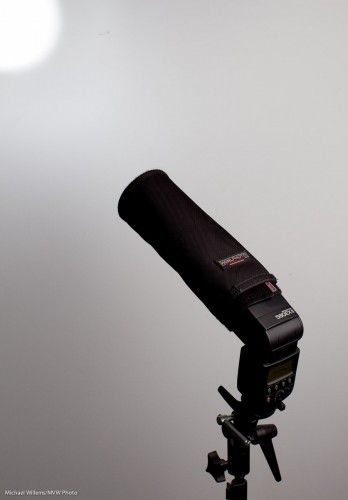
There is an all new small flash modifier to add. Dave just sent me one, a hands-on mini review of which I am hereby delighted to bring to you as a Speedlighter Exclusive… the Honl Photo Light Paddle.

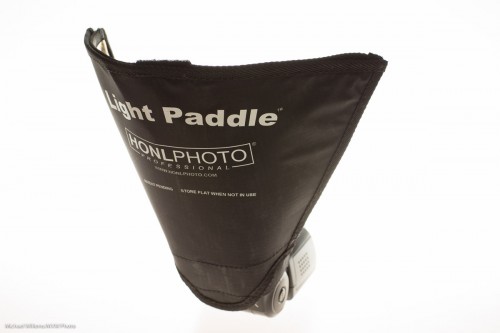
When you take it out of the package, the light paddle is a flat modifier, and in fact the package says “store flat when not in use”:

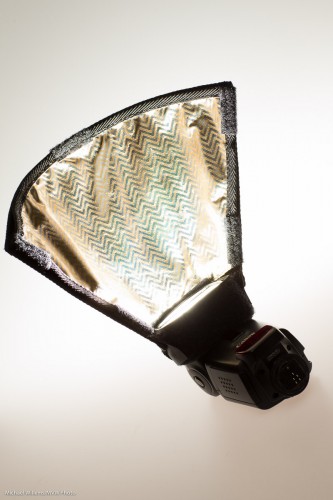
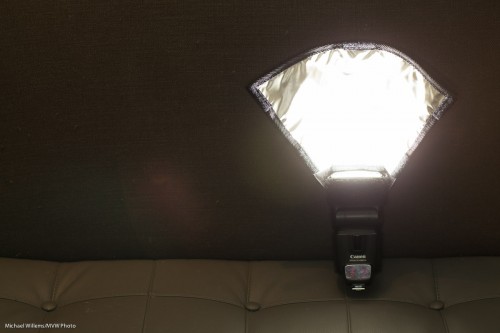
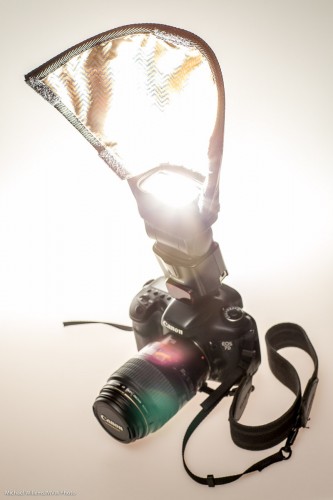
But attach its Velcro to a speedlight’s Speedstrap, and it becomes a convenient paddle that grabs the light, and nothing more or less, from the f;lash and bounces it forward.:

The Light Paddle is like the reflector, but having used both, I find that the Light Paddle has some big advantages over that and other modifiers.

  • It takes the right shape immediately. No guessing, adjusting, re-adjusting: it is the perfect shape each time.
  • It reflects the optimum amount of light from the flash, i.e. it catches the light, no more and no less, so it takes that worry off my hands.
  • It is sturdy: unlike a “free form” reflector, it holds its shape. I only used this sample for a few days but it looks and feels just as sturdy as the other Honl Photo flash accessories. And as said, light, sturdy and small, when combined with affordable, is a great combination for flash aficionados like me.
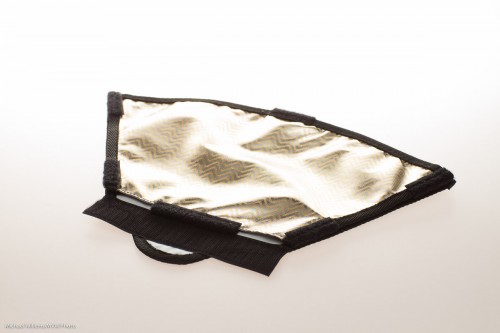
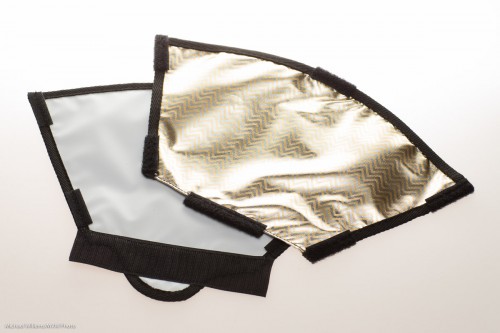
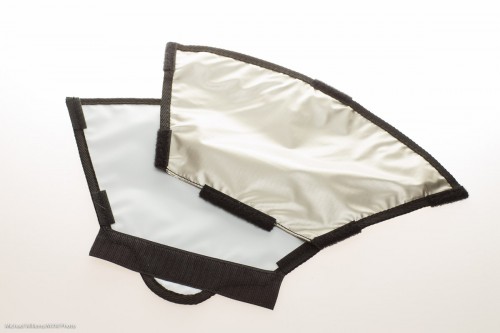
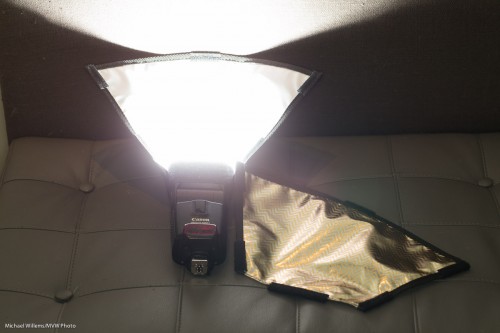
  • It has not one, but three bounce surfaces. As you see in the image below: peel off the reflective surface. which is initially CTO (Colour Temperature Orange, i.e. tungsten/warmer light), and you get white; reverse it and you get a lighter slightly warm orange.

Here’s what it looks like with its three bounce surfaces:

I found the Light Paddle to be directional where you would want it to be.

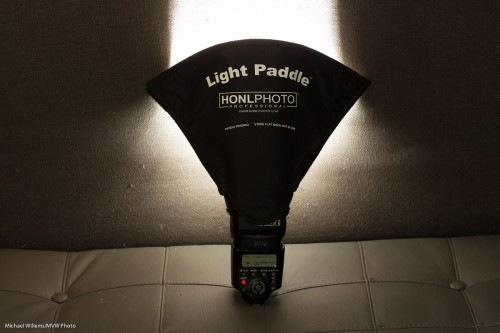
You can use the Light Paddle on an on-camera flash or on an off–camera flash. In either case, I found that it provided a surprising amount of directional control and consistency. Here it is again, and as you see it reflects the flash fully, and makes its surface much larger and higher:

The Light Paddle in Practice

Let’s look at the Light Paddle in practice. Here is a usual operating mode:

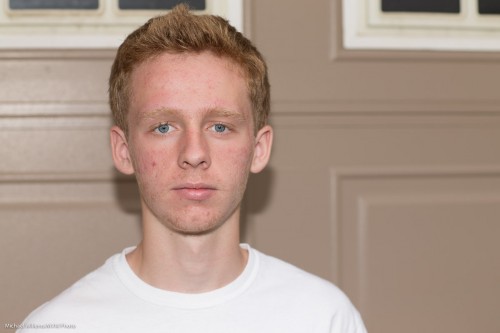
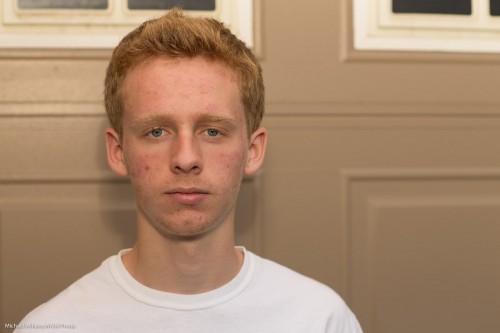
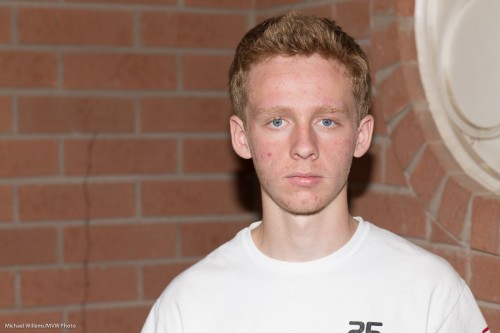
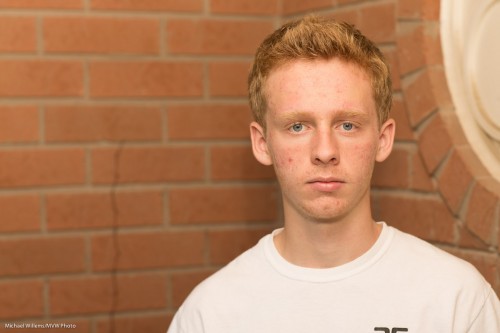
First, straight flash, in a situation where there’s no bouncing (and thank you, kind July Intern Daniel H., for your volunteering):

Now in the same no-bounce situation, the Light Paddle:

But it is outside that this really shines. Another before and after:

Another outdoors example, once more with the CTO (warming) side reflector: again, straight flash, then flash with Light Paddle. The difference is very clear.

Based on all this,. the Light Paddle is certainly going to be a staple part of my flash bag for events and creative use. It is not the only flash accessory, but it fills in the gap between bounce card, reflector, and softbox ever so nicely. Thanks, Dave.

If you want one, go  to Honl Photo for orders as soon as it will be available—I am sure that will be soon, both there and at your favourite local retailer.

 

Trick

You know why I want people, and especially my students, to know all about flash? Because you never know when it will be needed.

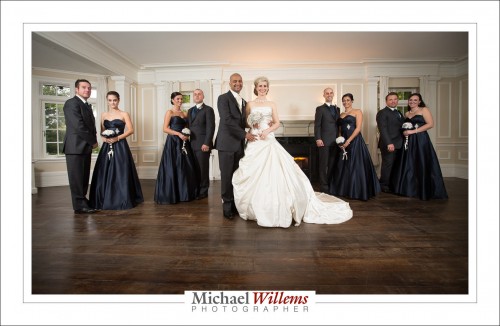
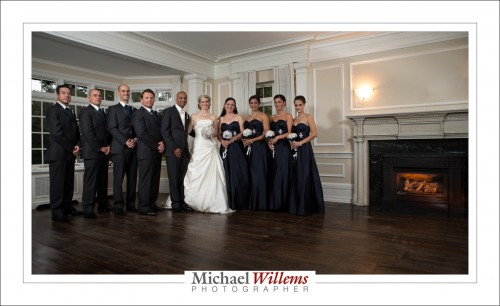
Take this shot, from the wonderful wedding of Stephanie and David on Saturday:

That nice fire in the fireplace, with its warm glow? The bride wanted the fireplace. And so we turned it on, of course.

Yeah right. There was no turning on – not possible. So that is a 430EX speedlight fitted with a snoot and a rust-colored gel (both Honl photo).

Same here:

The moral of the story: flash is not always used simply “to light a dark room”. In my world, the more common world is to do something creative. Take charge of the light, including its location and colour.


Softening Recipe

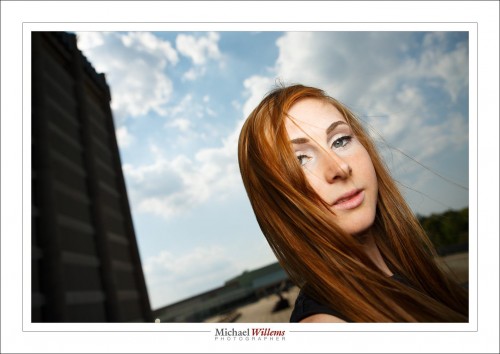
Here’s a simple recipe for a dramatic flash shot outside. Like this:

Look s”photoshopped”, yeah? Well, it isn’t. It was shot like that. And for that, you need:

  1. An external flash on top of the camera
  2. A sunny day
  3. You in very close proximity to the subject
  4. The possibility to set flash (Canon system) or camera (Nikon system) to High-Speed Flash (Canon) or “Auto FP Flash” (Nikon)

On a sunny day, you now shoot as follows:

  1. Camera on manual mode
  2. Flash on TTL mode
  3. Camera set to 100 ISO, f/4, and 1/2000th second
  4. Honl or similar softbox on the flash
  5. You very close to the subject’s face (otherwise, there’s not enough power).

“High speed flash/FP flash” allows you to go to a shutter speed of 1/2000th, which normally you cannot do (normally, you are limited to around 1/200th second).

As a result, you now get dramatic light with nevertheless a blurred background.

Why do you have to be very close? Because high speed/FP flash diminishes the power of your flash very dramatically, more the faster you go.  And the softbox diminishes it even more. Hence – be as close as around 10 inches from your subject, or the flash will not show.  But when you get it right, it is a very cool look.

___

There. Another secret free to you from The Speedlighter. Want more? Come see me do my Flash workshop at Vistek in Toronto tomorrow, Saturday Oct 5. And get the flash e-book!


Recipe, another

Yesterday’s recipe was the “Willems 400-40-4 rule” for indoors flash shots.

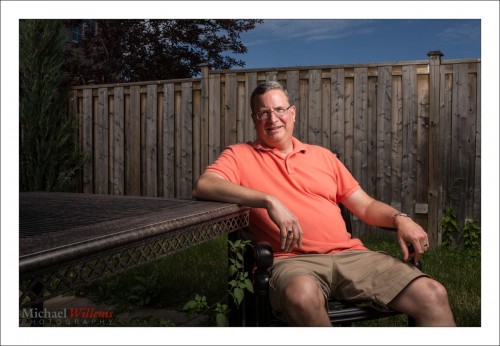
Today, another one. Say that you want to go outside for a saturated colour flash shot like this, on a fully sunny day at noon.

So for that you need a flash with a modifier. I used a strobe, but you can use speedlights if you are willing to fire them at high power and have them close to your subject.

Here’s my strobe:

Now follow my logic.

Step One: ISO and Shutter. The sun is bright and I am competing with it. So to cut the sun, I will be at low ISO (meaning at 100 ISO, the minimum) and high shutter speed (1/200th sec, the fastest sync speed for many cameras). This is a given, an “always” starting point: by default. sunny day means 100 ISO and 1/200th sec).

Step Two: Aperture. At that speed, a “normal” exposure would be f/11 (this is the Sunny Sixteen Rule in practice – look this up on this blog – yes, there is a reason I teach you all this stuff. At 200 ISO it would be f/16 “sunny sixteen”, so at 100 ISO, we’d need f/11.). So we arrive at 1/200th sec, 100 ISO, and f/11… this looks like this:

But wait – I want that background darker, to get saturated colour as in the first shot, not light as in the second shot. So we go to at least f/16, one stop darker than “sunny sixteen”. Now, indeed the background is darker.

Step three: Flash power. Now we adjust the flash to give us enough power to get to f/16. If we are using a small flash, that means no modifier (loses too much light); if using a strobe, we adjust it until the brightness matches f/16. Use a meter, or use trial and error.

So the method was:

  1. Set low ISO and fast shutter;
  2. Decide on aperture you want;
  3. Set flash to match that aperture.

And to this, we add:

  1. Use a modified flash if you can – like shooting through an umbrella, as I am doing here. But modifying loses power, so you may need a direct flash, or have the flash very close to the subject.
  2. Use off-centre composition (avoid the centre – use the Rule of Thirds).
  3. See if you can get diagonals included to lead into the image and give it depth.
  4. Avoid direct sunlight on the subject’s face: it shows wrinkles and it causes squinting. Sun from behind gives you “shampooey goodness” instead: much better.
  5. See if you can angle the flash w.r.t. the subject, off to the side, and turn the subject into that flash. Also raise the flash 45 degrees (looks natural and you see no glasses reflections).
  6. See if you can get lucky and include all three primaries, red (-ish); green and blue, in the image. If so, you have a good image!

Let’s see that image again. Click on it and click through to see the original image at full size:

That looks like a photoshopped image, and yet it is not – it is the way I shot it in the camera. yes… and I can teach you the same – it really is simple, once you get the idea.

___

The Pro Flash Manual e-book is designed to teach all this and much, much more, and it dovetails into this site and into my classes. Learn about both these e-books here on my web site. Want to learn? Check out www.cameratraining.ca as well.


Wednesday Possibilities

Today, some shots to get your imagination going – shots that show how much is possible with little effort, and quickly. Shots I took in and between classes in mere seconds, to demonstrate specific points.

Like this quick demonstration shot showing what a great modern camera like my 1Dx can do at – wait for it – 51,200 ISO:

Meaning that with a new camera, you can now photograph pretty much in the dark, or mix a little flash with very low ambient light, or bounce off very high ceilings.

Especially when using off-camera flash, that opens up all sorts of possibilities. Here’s a demo shot showing what a little extra light can do; look carefully and you will see that I am using remote TTL flash (where my camera’s flash is the “master”), and my student at Sheridan college has set his flash to be the “slave”:

Result: he is temporarily blinded… and lit up. You can do that too, with very little extra equipment. One flash, if you have a moden camera whose popup can “command” external flashes; else, two flashes, on on the camera and one remote. Imagine what you can do when you can add a little light everywhere you like!

Then, another student lit dramatically – from below! This kind of eerie effect is easy once you can take your flash off the camera as desribed above.

Or – just turn the camera upside down and bounce flash off the table, as I did!

Off-camera handheld flash gives me this image, even when the flash is aimed direct, of Mr Jun:

Not bad, and that is direct light aimed into his face – as long as it is not near the camera, the flash can be unmodified and direct!

And when you have several flashes, you can do things like this:

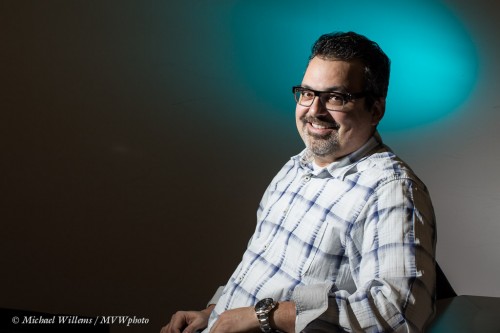
Now that is a competent portrait, taken in just a few seconds, using this setup with two off-camera flashes each fitted with a Honlphoto grid, and one with a blue-green gel; using two “biological light stands”:

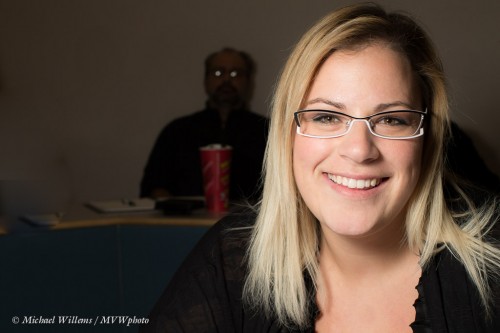
But finally – do you need all those flashes? No, here’s a portrait using one flash fitted with a Honlphoto 8″ softbox:

The apparent Martian in the background adds a little extra “huh?” to this photo, don’t you think? His glasses reflect the round softbox.

Anyway, these snaps demonstrate that you can achieve a lot in a very short time using simple means – you may already have every thing you need. Get creative, go outside the box, and above all, think “where is the light coming from”!


Outdoors modifiers

Reader James asks:

I’ve read you advocating for unmodified on camera flash outdoors (as fill), and for on camera flash diffusers (Bounce card, Gary Fong,etc), but is there a reason you don’t use the techniques together? Why not use a diffuser while using fill flash outdoors? Wouldn’t that produce better images?

Good question, and one I am grateful you asked. To avoid confusion: yes I certainly do advocate modifiers outdoors.

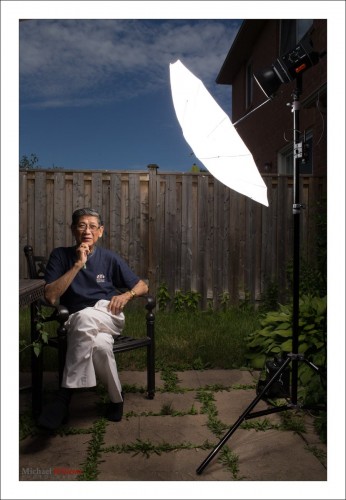
Like an umbrella, as in this image:

(That image, by the way, was my tribute picture to Rineke Dijkstra, famous Dutch photographer whose work is in MOMA and many other museums. I was amazed that in The Netherlands, several people, when seeing this image, immediately said “That’s a Rineke Dijkstra”! Europeans really do have a great sense, and knowledge, of art.)

So why do I often advocate direct flash outdoors?

I have several reasons.

  1. Main reason: modifiers take power, and with a speedlight, you are fighting the sun at top power already; taking away a few stops of light (and you take away at least that!) is fatal: in bright sunlight you would now need to move the flash very close to the subject.
  2. Ancillary reason: It is quicker and simpler. Often, you have to move quickly; an on camera flash is convenient in those circumstances. Imagine carrying an umbrella with you when sightseeing in a foreign city!
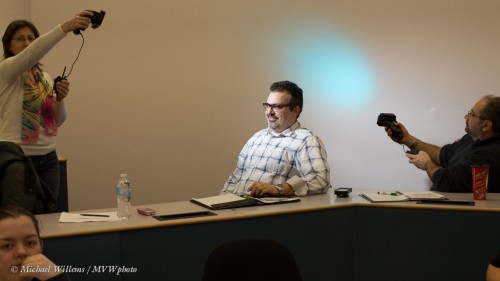
  3. Ancillary reason: outdoors you are mixing with lots of available light, so you can get away with the shadows direct flash gives you: these are filled in by the ambient light.
  4. Ancillary reason: sometimes you want harsh shadows. Rarely, but it does happen!

And that is why I often use direct flash. But generally, modifier, softened flash is better, absolutely.


Bouncing and long lenses

When shooting an event, you would usually use a somewhat wider lens (a 35mm, say, or a 24-70) and bounce the flash behind you, upward – you have read this here many times.

But when you take candid shots with a longer lens, behind you does not always work: to get the righ angle of attach of the light to your subject, you have to bounce forward. I have mentioned this here too, but let me illustrate with an example.

Straight on is not good: hard shadows and “deer in the headlight” eyes. Even when combined with lots of ambient light to minimize this effect, it’s still not great:

But sometimes, bouncing behind is just too far. When you are far away, 45 degrees up but forward is better – but the problem is that some of the light goes straight to the subject:
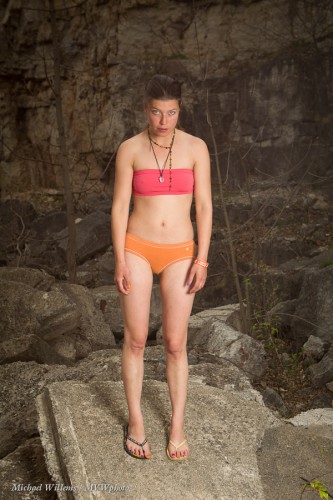
See the hard shadow under the chin, in the picture above? Especially if there is a wall behind the subject this will be unacceptable.
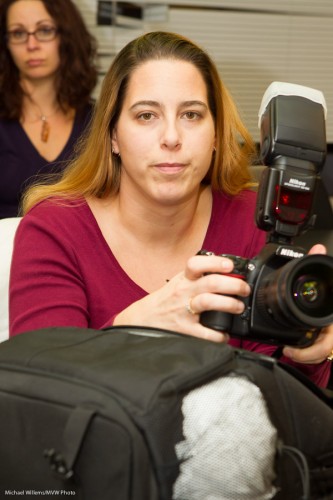
So then you block the direct path with a bit of a flag (your hand right in front, or a reflector with the black side used to eat up the forward light – so it sticks jus a little above the flash head. You now get this:

So.. when you take flash pictures, just as in yesterday’s lesson: remember where the light goes!


What if there’s no wall?

I keep recommending that when you use TTL flash, you bounce it off walls or ceilings.

So what if there is no wall or ceiling?

Then you do the following.

  1. Ensure you expose the background well, with high ISO, open aperture, and slow shutter as needed.
  2. You may be able to bounce after all, when your ISO is high and aperture is open. Flash can reach farther than you think! So – try.
  3. You can move the subjects! Ask them to “move over here for a second” – near a wall. Every venue has some wall or other, or perhaps a low ceiling in one part of the room. No reason you cannot ask people to move!
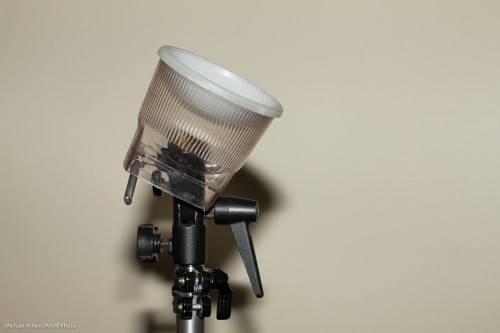
  4. If that fails, bounce of “anything”, using a Fong lightsphere. Not creative light, so this is not your first choice, but it can save your behind.
  5. And if all else fails – direct flash, but perhaps still modified by a bounce card (or even a Fong thing aimed forward). And do not forget flash compensation.

So you see, there are always options.


Snoots

Leading up to this Saturday’s Advanced Flash course in Toronto, with Guest Star David Honl, (just a couple of spots left), I thought I might share another flash modifier tip today.

And that is the use of snoots.

A snoot is a long appendage to your light that causes the light to be directed in a narrower beam.  So when you really want to direct the light to go just where you want to, and nowhere else, you use snoots.

The best snoot for small flashes like a Nikon D700 or D900 or a Canon 430 EX II or 580 EX II are Honl Photo snoots (and no, Dave is not paying me to say that – it’s just that I use them almost daily in my flash work, and love them).

The snoot is also the bounce reflector, just rolled up. So it stores flash and mounts as a sturdy snoot in seconds:

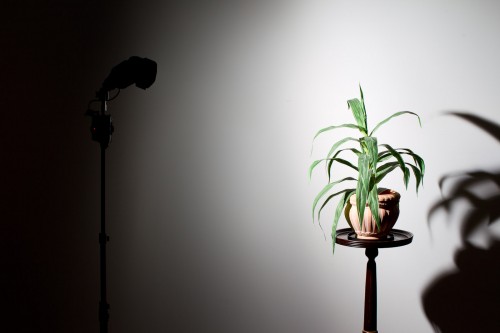
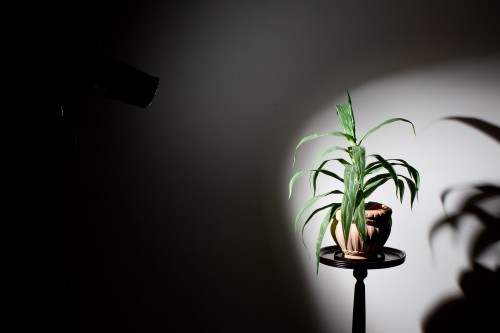
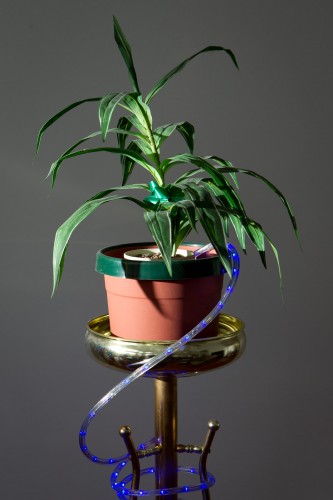
Remember, from yesterday’s post, the plant lit with a grid? If instead of lighting up the whole wall, I want to direct the light to a smaller area with a nice soft edge, I use a grid, like so:

But what if I want a more clearly defined light area?

Then I use a snoot. If instead of a grid I stick a short Speed Snoot to the flash’s speed strap, I now get this:

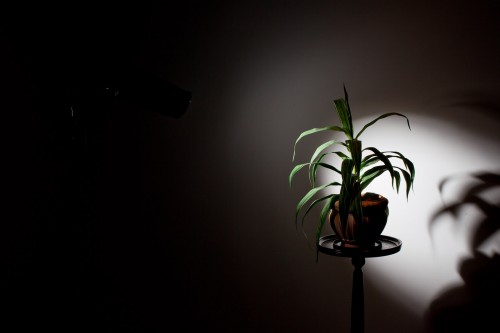
And if I want a smaller area? Simple, then I use the long snoot:

How do you often this type of snoot? As a hair light. Or in creative lighting: remember, creative light is not about what you light: it is about what you do not light. And that is what snoots are all about.

Grid and bear it

When you are shooting with multiple lights in a studio-like setting, one of the most important things is to shape the light; to control where it goes. And the problem with a bare flash is that its light goes, well, pretty much everywhere.

And one of the most annoying of the “everywheres” is the background. If you want a darker background in a small basement studio, say, you have the following problem: your flash, even if it is a side flash, lights of the background, so you just cannot get a dark background. You get something like this:

Darn, but you wanted a dark background!

In that case, you have three options:

  1. Move everything away from the background.
  2. Paint the background black.
  3. Direct the light more specifically.

Since options (1) and (2) are not always easy, I recommend you learn option (3). Use barn doors, or snoots, or gobos: anything to direct your lights more.

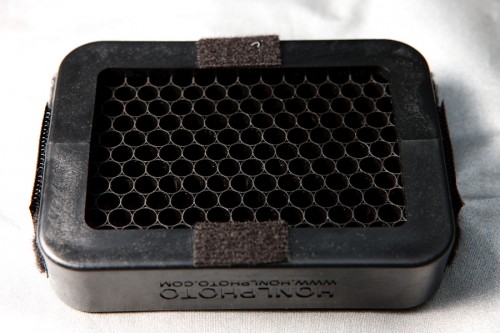
For small flashes, the grid is a fabulous option. A 1/4″ Honl Photo grid stuck onto the speed strap on the speedlight makes that picture into this:

That was easy! The grid stops the light from going everywhere – now we have a much darker background, since light no longer falls onto it.

The Honl grid is affordable (I have several), small, and looks like this:

Honl Photo 1/4" Grid

Indispensable for users of off-camera flashes.

(As you may have read here by now, David Honl, the inventor of that range of Honl small flash modifiers, will be my Guest Star in Toronto on Saturday. Don’t miss it if you want to learn Advanced Flash from the pros.)