Long lenses do NOT compress perspective.

Always the contrarian, let me explain why I argue against conventional wisdom that “long lenses compress perspective”.

The reason: They don’t actually do that. They only cause blurry backgrounds.

What compresses perspective is your vantage point.

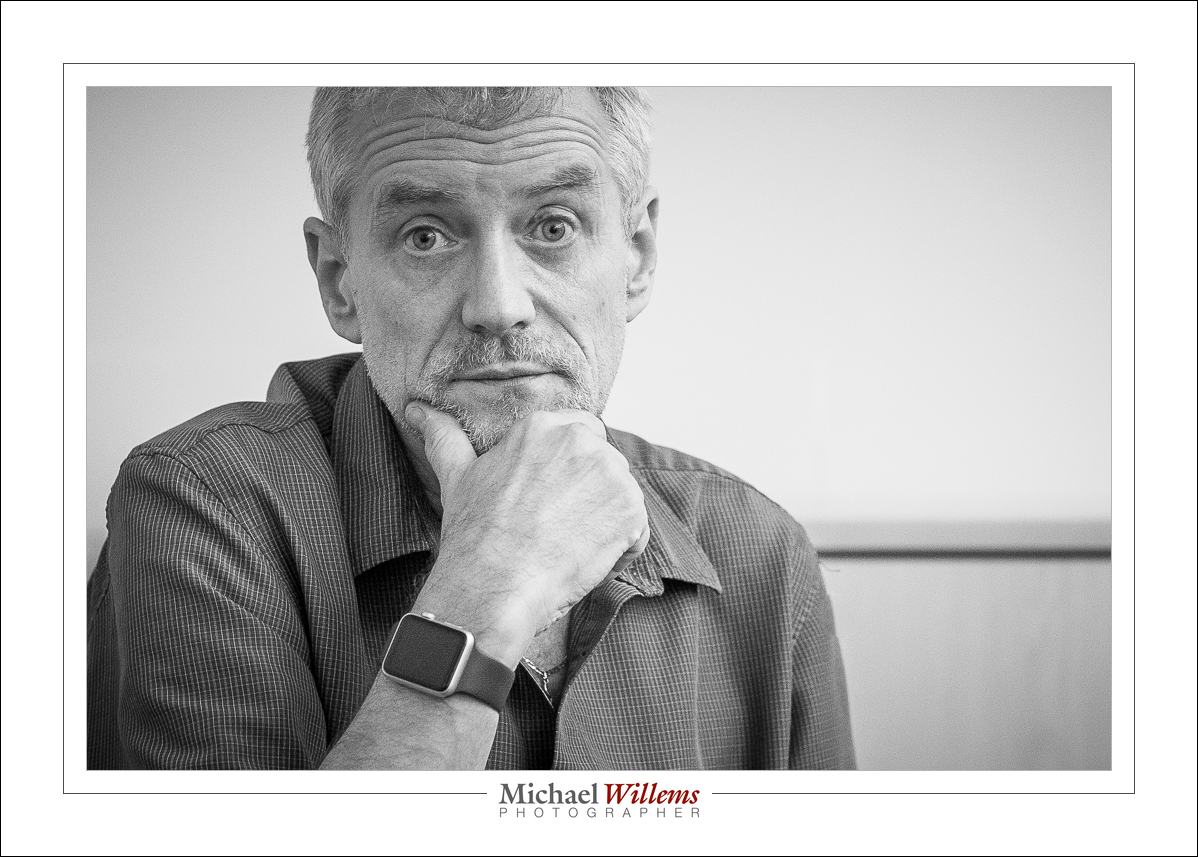
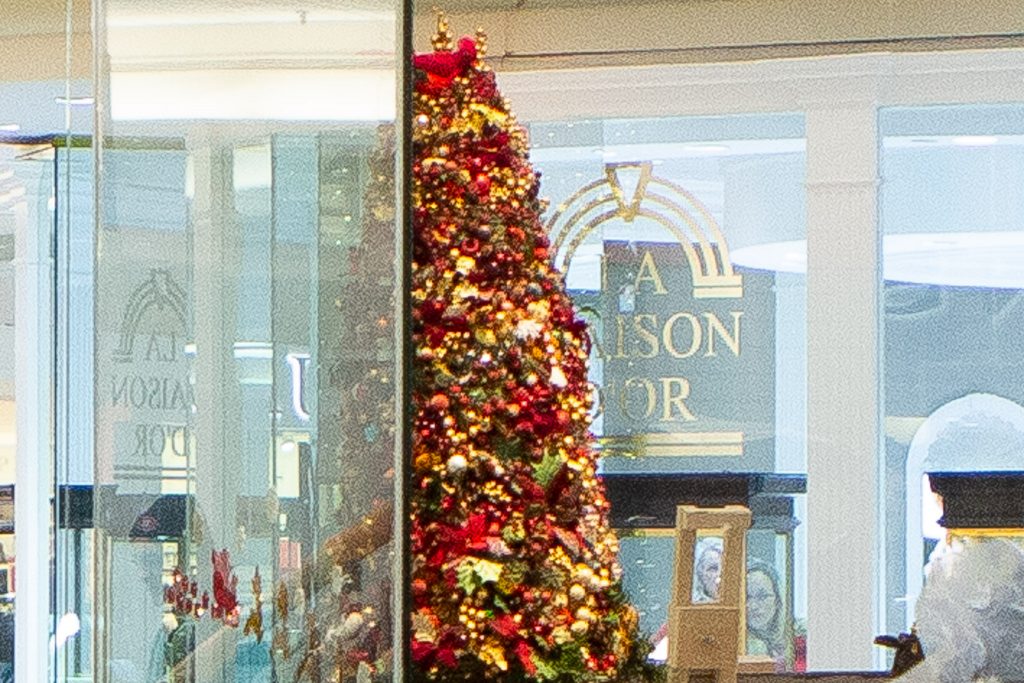
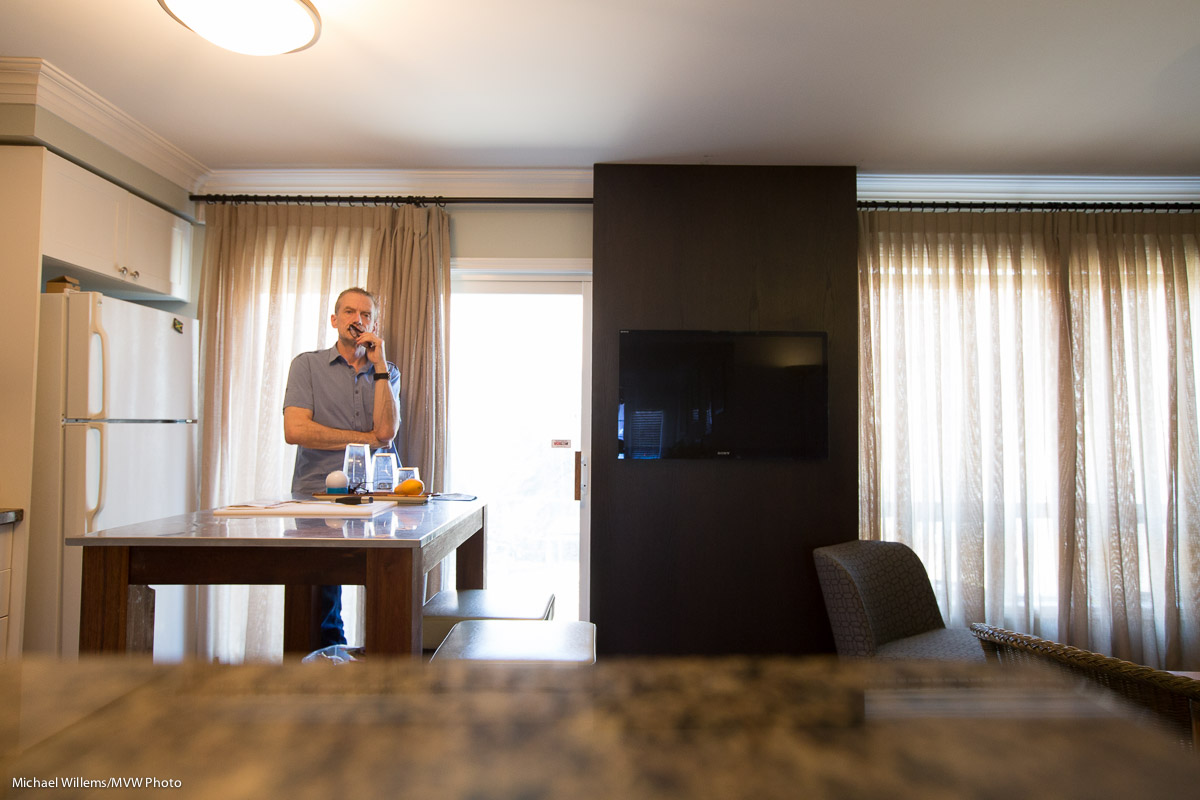
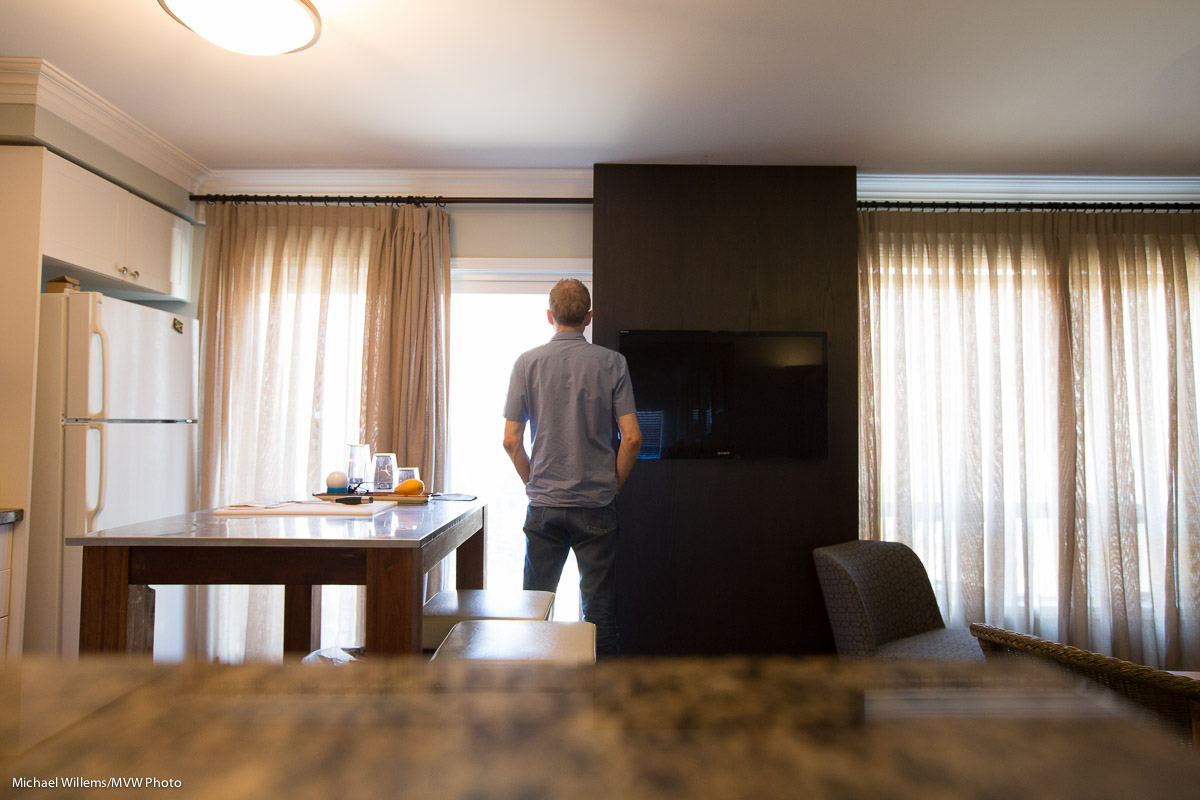
Before I explain: let me just show you. here’s two shots I took from the same position. Same position, same camera, and using 24mm and 200mm lens focal length, respectively.

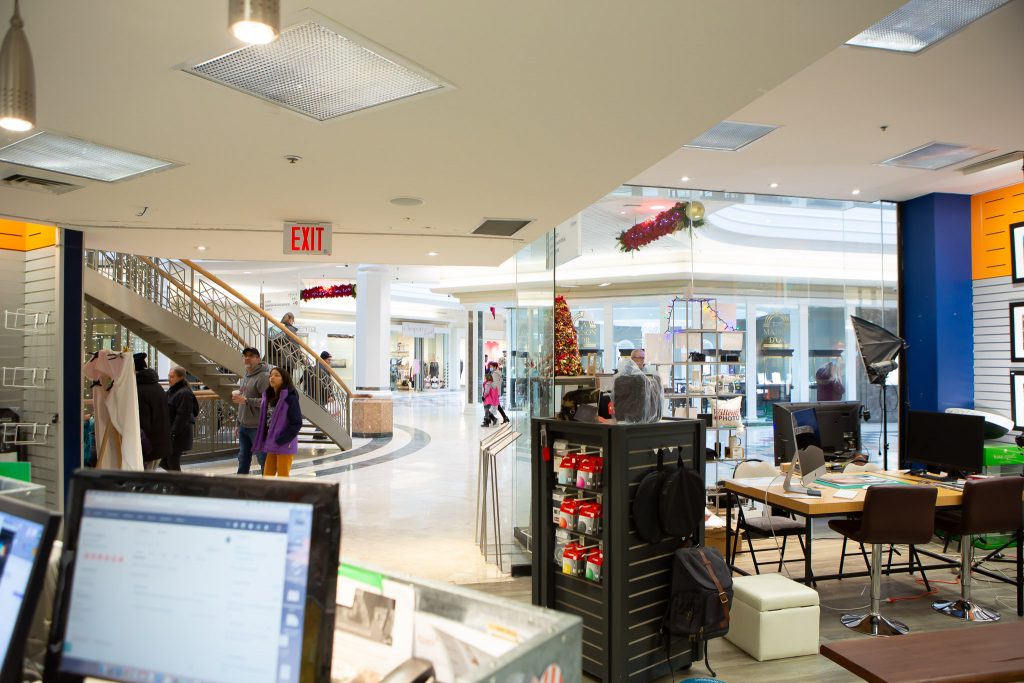
Same picture: the small Christmas tree, with the jewellery store behind.

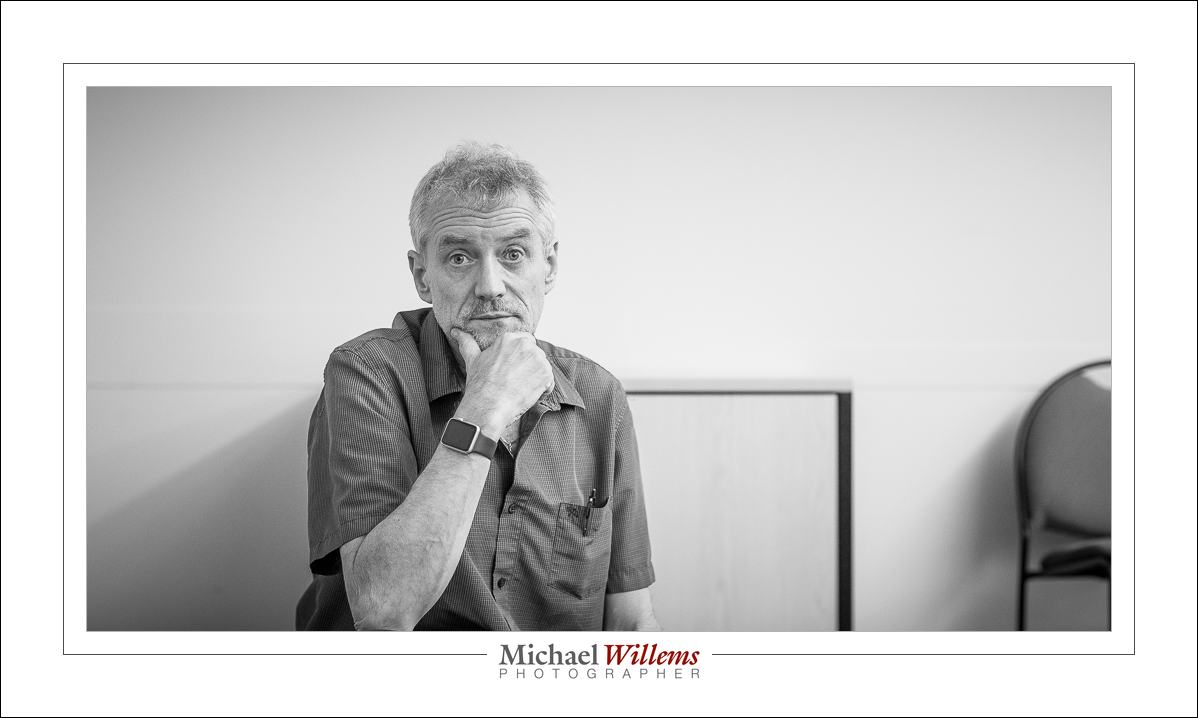
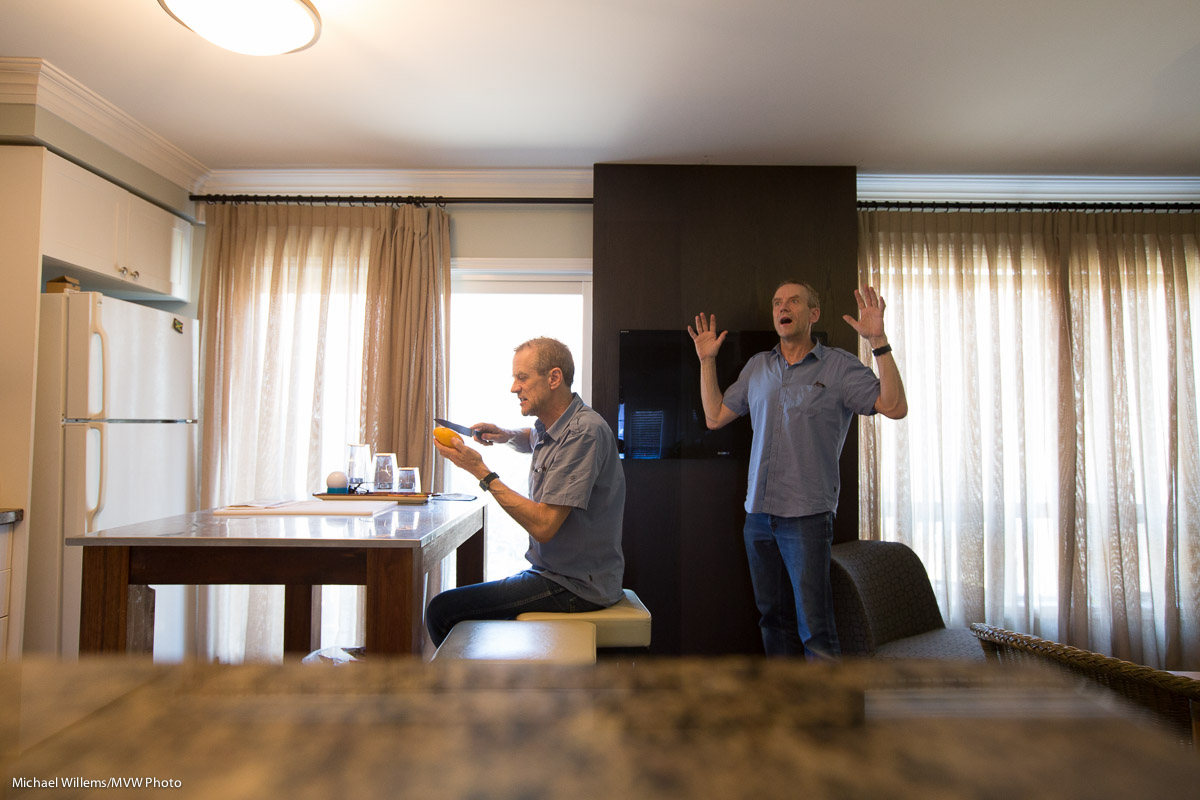
Now let’s crop the heck out of that first shot, the 24mm picture. No other changes – just a *(pretty extreme) crop:

Now compare the last two photos, and ignore the blurry background in the 200mm shot.

Other than that, the photos are identical. The background (the jewelry store window in the background) is no larger in the 200mm shot than in the 24mm shot. It is not closer. It is not a “compressed background”.

The only thing that determines the “compression of the perspective” is your position. And in particular, the ratio of the distance to the remote object to that of the close object.

If that ratio is large (say, 10:1, meaning the remote object is ten times farther away than the close object) then, well, that remote object will look smaller. If the ratio is small (say, 2:1, meaning the remote object is only twice as far as the close object), then it will look less small – i.e. it will appear to be closer.

And that ratio is only determined by where you are. Imagine I am looking at a tree, and some distance behind it, there is another tree. If I move back an infinite distance away from the first tree, then the ratio approaches 1:1, meaning the objects look the same size if they are the same size. If, on the other hand, I move infinitely close to the first tree, then that ratio approaches infinity, meaning that the second tree looks infinitely smaller.

So why do we say “long lenses compress perspective”? Because using a long lens almost always means that you will not be close to objects. So the ratio decreases. So the background appears to get closer, compared to when you use a shorter lens (or your eyes). So in practice it appears to work this way.

But in fact, it is only your position that determines compression. Simple math. So if you had a 10mm lens, you could take every single photo with it – if you had the ability to crop crazily. So those of you with a 500 Megapixel camera: all you will need is a wide angle lens (and some patience to do all that cropping.

You now know more than a lot of professional photographers.

You’re welcome.

Food Tips

I love my local Facebook “foodie” group, and it is for that group that I would like to give a few tips for food photography.

A few suggestions, then, to make your food photos great – even when you just use an iPhone:

  1. Ensure there is lots of light – but not direct “hard” light, like direct sunlight. Ideally, I want open, soft light, and backlight. So I reposition the food to obtain that, if at all possible.
  2. As said, some back light, if you can arrange it, is also excellent: like here: it gives food that yummy look:

Then continue with the rest of the rules:

  1. The most important rule: Simplify. Compose carefully, to remove distractions. So tilt, move things, and get close in order to blur out backgrounds, all to get a simple image;
  2. Often, cutting off half the plate is a good way to simplify. Fill the frame!
  3. Look at the food carefully and ensure it is well arranged, the plate is clean, etc. Use garnish where needed. If food is older, use a brush with olive oil.
  4. Include some of “plate, fork, glass”: things to indicate that this is food in a nice setting. Turn the plate, or reposition the food on the plate if needed;
  5. If using a “real” camera, use a prime (fixed) lens, and ensure a fast enough shutter speed by using a high enough ISO.

Often enough, an iPhone will do just fine. The closer you get, the easier it is to get a blurry background. And remember, simplify. Everything you take out, is good.

If you have pro equipment: one umbrella or soft box above the food; one flash behind it aimed toward you:

Which leads to:

If not, simply use a window, or whatever else you have available.

Did I mention it is wise to simplify?

Finally: do the post work you need, in Lightroom or Photoshop, to perfect the photo.

Go wide.

It may be tempting to think that to take good pictures, you need a long (telephoto) lens. And that is sometimes true – but not always, and not even usually.

Like the photo of the Dome of the Rock in Jerusalem, August 2007.

Wide angle: 16mm on a full-frame camera. And above all: close to something – it is that factor that gives you the feeling of “reality”, perspective, 3-D. In this case, the ground is the “something” I was close to.

Leading lines

A short note today about leading lines. We use those to lead the viewer into a photo and call attention to the subject. You can use a wide-angle lens, and you can look for lines naturally occurring in the environment. Like the perspective lines here, in the parking lot at Place d’Orléans mall, that seem to point to Rose:

Rose at the mall

As soon as I saw r=those “Alhambra-like” columns, I knew we had a photo. It’s all about opening your eyes.

This, incidentally, is one of those images that can also work very well in Black and White – here, with the super-cool grainy Tri-X film look – and you really need to see it full size to judge:

In this particular case I am not sure which one I prefer – I love both. What do you think? Let me know!

Travel Photo Trick!

Today, a repeat of a 2015 post that is particularly useful for travel photographers.

With the camera on a tripod and exposure set to manual, I can take pictures like these, one by one:

…and on on. As said, I am using a tripod, so the only thing that varies is me (I used a self timer).

And then I can use Photoshop or the GIMP (the latter is a free equivalent) to do things like this very easily:

Or even this:

OK.. so a cool trick. You do this with layers and masks. Hellishly complicated user interface, but once you know the silly UI, the process itself is very simple. It’s the only thing I have the GIMP for.

So. Why would I think this is useful, other than for fun?

Well…. think. You can also use it the other way. Instead of replacing the wall by me, replace me by the wall. And now you can perhaps see a benefit looming.

No? Think on. You are at the Eiffel Tower. Or the Grand Canyon lookout point. Or whatever tourist attraction you can think of. What do you see? Tourists. Right. It attracts them: that’s why it is a tourist attraction.

But not in the same spot all the time. So all you need to do is the same I did here: take a bunch of pictures. Say 10-20 of them. So that you have each spot of attraction at least once without a covering tourist. Then you put them into layers—one each—in PS. And then you manually remove tourists. One by one, poof.. they disappear.

Or you go one further: depending on your version, you can use function File > Scripts > Statistics.  Now choose “median” and select the photos. And you end up automatically with an Eiffel tower without tourists, a Grand Canyone without other onlookers, and so on.

Cool? Yes, very.

So there.

“I need pro equipment”… ?

I hear this a lot: students almost apologizing for “only” owning, say, a Digital Rebel camera, or a similar “starter” model. Because, they say, “of course you need a pro camera for pro results”.

Pro lenses, maybe. But pro camera? Not always, not at all. And even the lenses: this, for example, is student Veronic this morning, using a Yongnuo 50mm lens for Canon (a clone of the cheap Canon 50mm f/1.8, but cheaper):

Veronic. (50mm f/1.8 Yongnuo lens, Yongnuo manual flash, two pocketwizards, Honlphoto grid.)

If you were to see this at full size, you would see it competes very well with photos taken with my pro equipment.

Those of you who take my lessons learn all about this; for the rest of you: be a little skeptical with regards to what you read. Yes, equipment is important. But no, it is not always needed for a quality picture.

Get Cool

Today, I was reminded of how I should not let you all down – the many people who read this blog. Like one reader, Dr Jason Polak, who kindly dropped by in the studio today to have a chat.

(Hint: anyone near Ottawa, feel free to come say hi. The store is open 9:30AM–9pm weekdays, and slightly shorter hours at weekends). So anyway… I promise I’ll write more. Starting today.

One thing to write about is portraits. And how I love doing them. And how I like doing not just the “stand there and smile” pictures, but also slightly more creative pictures. You do not need to look at the camera smiling, not in every picture!

So here’s one I took this weekend—one of a series:

A simple shot; I used two speedlights with Honlphoto grids, driven by Pocketwizards; and one strobe in a softbox, also driven by a Pocketwizard. Took two minutes to set up.

If you need to learn how to do this, it is remarkably simple. You might buy my books or attend my courses, for example. It’s worth the effort!

Here, another one, again showing action:

And that same day, a photo of a dog who was nearing the end of its life: it was sick, and was about to see its suffering ended. A sad event, but good to create a lasting memory:

The message is simple: shoot some portraits that are not just “stare at the camera and ‘smile'”. Worth the effort and you will be happy with your results.

One more, then:

And finally: a new course for those of you near Ottawa: “Take Better Photos Of your Kids”. Sign up soon, because as usual, classes are limited to four people.

Plus ça change…

…because some things never change. Like this, a repost from 2014:


A few things work very well in composing images. I shall reiterate a few of them here, using recent photos:

First, framing. It is often a good idea to frame the object you are shooting. Use overhanging trees. A window frame. Or get even more creative, like here:

Not that every frame leads to a good picture – but some do, so learn to spot them.

Another technique that we often like: use reflections. Like here, since water is often a good source.

What did I use in the picture above? Yes, my speedlight. On camera, and zoomed in to 125mm, even though the lens is wide. And as you see, I did not use the rule of thirds in the vertical sense: because I wanted to get the reflection in.

There there’s “close-far”. Use a wide lens and get close to something in order to show depth:

And one more picture just for fun:

That images uses the above, plus it uses the background in order to tell a story.

There’s more – like the use of colour, and simplifying. A bit of thinking goes a long way in composing your shots!


Which one?

Which one do you prefer?

20170508-1DX_4792-1024 20170508-1DX_4792-1024-2 20170508-1DX_4792-1024-3

The point is not that one is better than the other. The point is that cropping a picture, or getting closer/farther, materially changes the nature of that picture. Think carefully when you compose (or afterwards, when you crop) a photo.

And by the way. B&W (Black and White, or monochrome) is still with us, and I suspect, and hope, that it always will be.