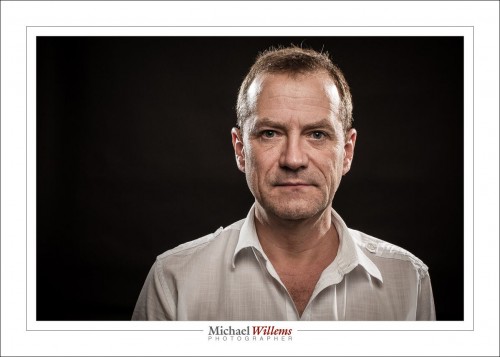
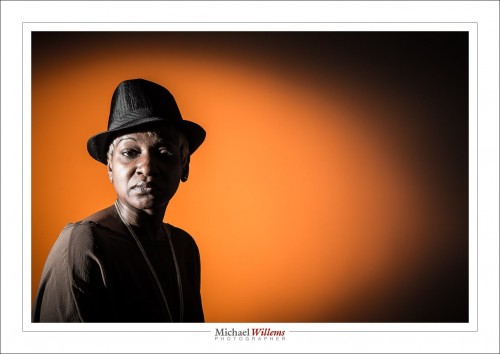
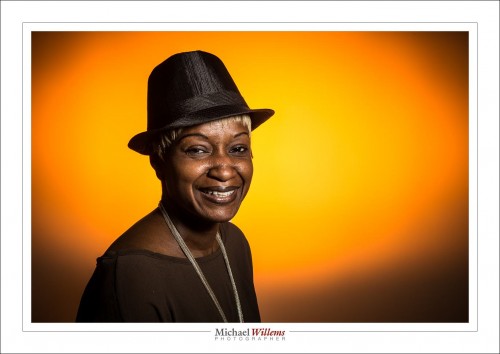
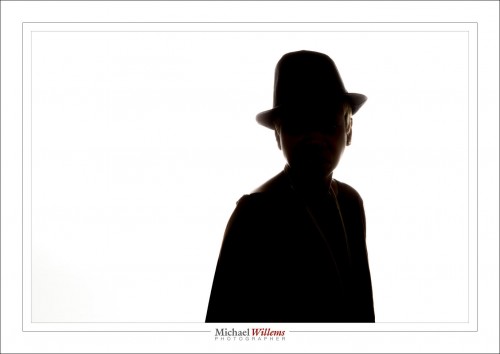
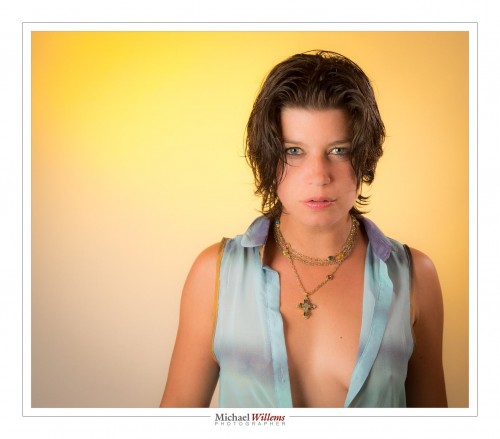
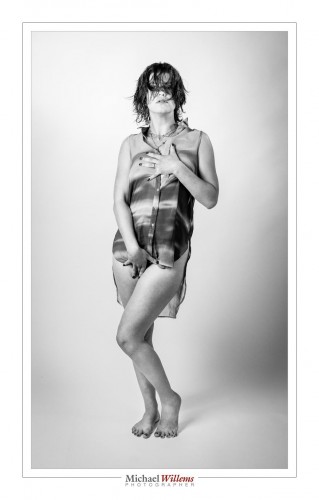
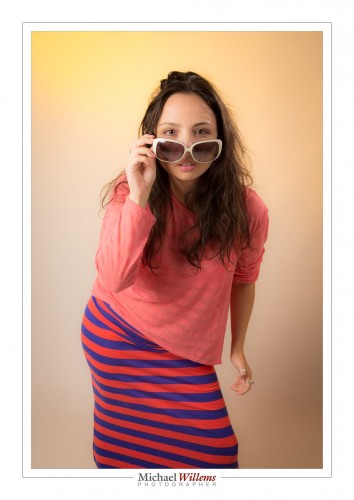
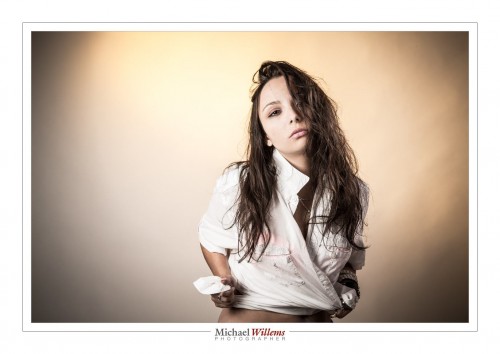
“My first… etc”

I very often hear people who are a little ahead of themselves. They do paid portrait shoots before learning how to focus, that sort of thing. They do not want to learn formally, for instance from a course, or books, or seminars; and yet they expect the knowledge to come to them for free, somehow.

Wishful thinking, and you know it. So let me grab a few of these things by the horns. Starting with portraits. You are doing a studio portrait; you have a backdrop; but the rest is mystery. So your images end up:

  • Badly lit.
  • Under- or overexposed.
  • With a background that is sharp instead of blurred.
  • With the subject not separated from that background.
  • Out of focus.
  • With the background white, not coloured even though you use gels.

That is because you never learned the basics. But there is good news: studio portraits are simple. All you need to learn is:

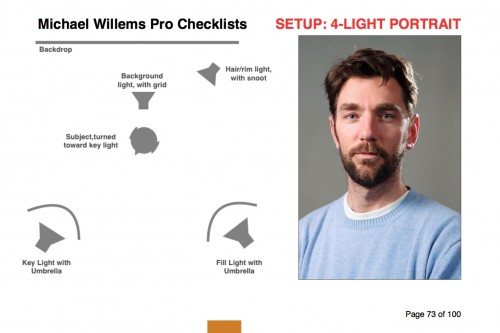
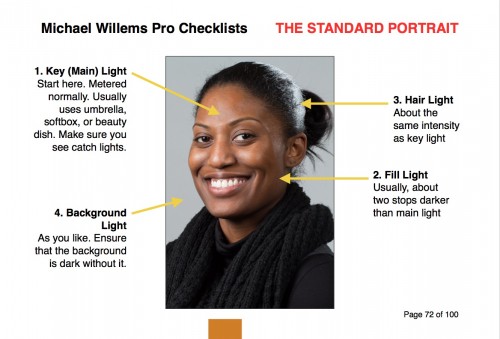
  • Lighting. A main light, 45 degrees away from subject. A fill light, same on other side. Hair light, opposite main light. See diagram, from my new book:

  • Exposure. Set your camera to manual mode, 1/125 sec, f/8, 100 ISO.
  • Turn the flashes to half way (obviously  the flashes are on MANUAL too).
  • Now meter the main flash. Adjust main light until it reads f/8.
  • Same for hair light.
  • Fill light: meter this to f/4 (i.e. adjust this light until meter reads f/4 when it flashes).
  • Background light: same as main light, again.
  • White balance to “Flash”.
  • Focus using one focus spot. Focus on the eye using that one spot.
  • Use a lens longer than 50mm. I prefer my 70-200 or my 85mm prime.
  • Move subject from background as much as you can. Then you can gel the background light. If, whoever, much of the normal light falls on the background, you cannot gel. Test this by turning OFF the background light: the background should be dark.
  • Turn subject toward main light, then head slightly to you.

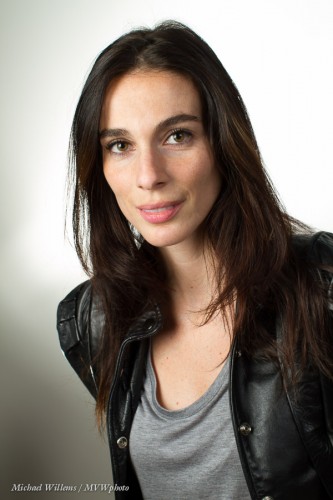
Like this:

That really is all. Click., You have a competent portrait.

What you must not do is pretend that no learning is necessary. Go find a course, go buy my e-books; read this free resource www.speedlighter.ca; take private training; sign up at Sheridan College; : whatever you can do, do it now.

It really is simple. But not as simple as “I just bought a camera and next week I am shooting a wedding”—and believe me, I have heard that very statement more than once.

 

Ad lucem

…or “to the light”.

But contrary to that Latin phrase, a little tip today for when you don’t want light. Like when you want to hide something.

Hide something? Example, please?

OK. Say you have a roll of paper in your studio. and you want to shoot a full length portrait. Normally you would pull the roll all the way forward so the subject stands on it. No transition can be seen at their feet because there is no transition.

But if the roll is too short? Then you will see a clear (and ugly) transition from “floor” to “roll”:

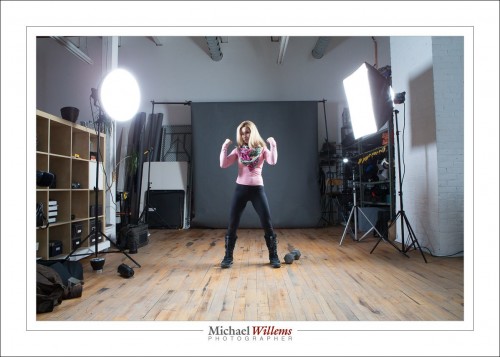
But this is solvable. It is in fact simple: keep the transition in the dark. Then you will not see it. Like this:

To keep it in the dark, you must do two things:

  1. Set the camera so that ambient light plays no role (i.e. without flash, the picture is all dark), Standard settings like 1/125 sec, 100 ISO, f/8 will take care of that. This means all light in the photo will be from your flashes.
  2. Ensure your flash light does not reach the transition. By definition, that will result in the area being dark. So you need to point away from the area and have enoughdistance from the background.

That is it. So if I use two softboxes as above, and feather them away from the background, I will not throw any light on the background. That means it will be dark. And since the floor is light when you are, it will be a gradual darkening.

Simple. Two softboxes and a too-short-really paper roll, and that’s the result. Things do not always need to be complicated.


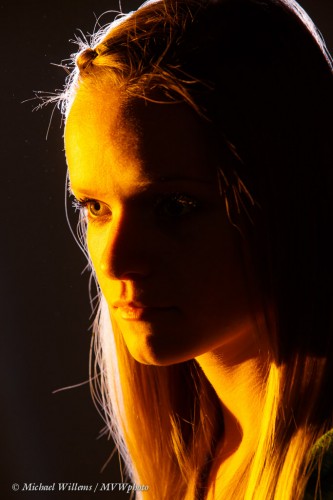
Rim lighting

Remember this shot from the other day?

To achieve that, I use two flashes behind the subject:

  • Each one is at 45 degrees behind the head (one left, one right).
  • Snooted or gridded, to avoid light “going everywhere”. You can also use Gobos but then you need two on each flash, or more light will fall on the background.
  • Aimed carefully to not hit too low. When using snoots, be very careful as a mere millimeter up or down will often be too much.
  • Metered normally, or brighter (I like +1 stop, to “just when the blinkies start to appear).

To make sure I get ot right, I start with just the rim lights.

Note that of course this can only work when there’s not too much hair covering the face. When the subject has hair going forward, you get something more like this:

Still nice but it is no longer rim lighting, and hair shadows will often get in the way.

Little hair works:

(You think I should shave before doing selfies?)


Studio Tip

Look at these photos from yesterday’s studio lighting workshop to see how light makes a picture different.

Here’s Roxy with one gridded flash on the left, giving us split lighting; and one gridded and rust-colour gelled flash aimed at the background. Both are speedlights driven by Pocketwizards and set to manual power. The image is a little desaturated; otherwise SOOC (“straight out of camera”).

Here. a softbox on our right (s small Honl photo softbox), and the same background light. Just two flashes!

Now let’s turn off the softbox flash:

Now kets’ light up the background more, to get wraparound lighting:

And back to normal, but now with an additional snooted flash for rim lighting on our left:

Here’s two of those flashes visible. Note also the reflection: a plexiglass sheet she is standing on. Note, I “Lightroomed” out the edges of that plexiglass, which took only seconds. Otherwise, like all, SOOC.

Can you see how each shot looks different depending just on light? It behooves you to learn about light, it really does, since with light you can translate a vision into reality. That’s what this is about!

___

Talking of learning: Season shopping? Get a personalized gift certificate for 3 hours private coaching with Michael for your loved one. Available now!


Light him up

That’s what cops say when they discuss stopping someone in traffic. But it is what I say when I am talking about studio lighting.

For a family, as in the course I taught Sunday for the Ajax camera club, I use simple lighting: two umbrellas (they throw great soft light everywhere), one on each side:

Not a lot of modelling (shaping with light), but very suitable for a group. Easy, foolproof, nice and crisp lighting.

Now, when I have one subject I can of course do the same:

And sure enough, that works. But can you see how much better it works when I turn one of those flashes up a stop, and the other down a stop? Here:

See that? We have now shaped (modelled) the face and made it into not a flat shape, but a round shape. That brings the person alive. There is a slight shadow behind him. That also brings depth into the image.

Altogether a better idea when you have one person – usually. In the next datys,more examples of studio lighting.

In these pictures, the camera was on manual, as were the flashes.  1/200th sec at f/8, 400 ISO.

Why those settings? I want to kill the bright studio ambient light (high f-number, low ISO, fast shutter). But I am also cognizant of the fact that I am using speedlights, which have limited power, especially once I fit them with modifiers (that means low f-number and high ISO). So I need to find a good middle point. And that was it, in this studio.

More on studio flash in the next days. Um, and if you enjoy these posts, don’t forget to tell all your friends to check speedlighter.ca daily.


You Need Protection Against Yourself!

Or rather, you don’t.

A somewhat advanced Lightroom tip for studio photographers today.

Adobe Lightroom, since version 4, has protected us from ourselves. Any overexposed areas are automatically brought back as much as possible as part of the RAW conversion, so that they appear not overexposed.

Fine. Until in a studio portrait, you try to deliberately overexpose the background, so that it becomes pure white. Fine, except Lightroom stops you.

Until you change the RAW conversion back to the older, 2010 version. Then you can overexpose as much as you wish.

I just posted a short video about this here:

TIP: Sign up for my YouTube channel, so you hear when I post a new video.


Silence In The Studio!

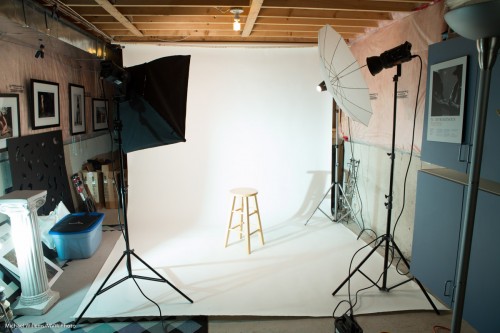
And here is my own studio:

That consists of:

  1. A backdrop stand with a white paper roll (other colours also).
  2. A main light with a softbox (on a light stand).
  3. A fill light with an umbrella (on a light stand).
  4. A hair light with a snoot (on a light stand).
  5. A background light with a grid and yellow gel (in this case, a speedlight on a clamp).

Other necessities include:

  1. Pocketwizards to fire the first flash and the speedlight (the rest can use the built-in “cell”).
  2. A stool.
  3. Music (so not “silence in the studio”!).
  4. Lots of props.
  5. Lots of extras lights and modifiers.

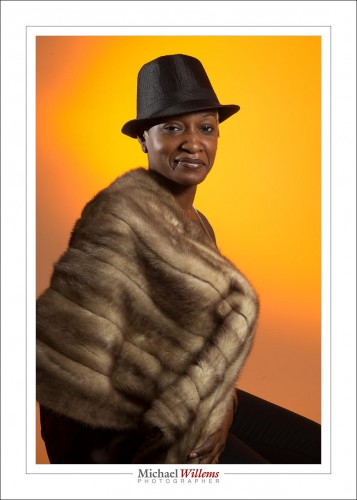
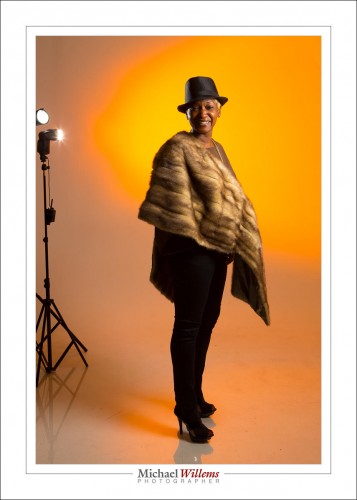
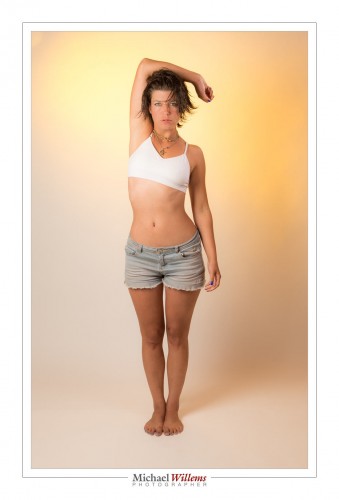
I used three strobes and one speedlight in the shoot a couple of days ago. That setup pictured above gave me shots like these:

Where it is easy to enhance the saturation of yellow (and to go horizontal if you wish):

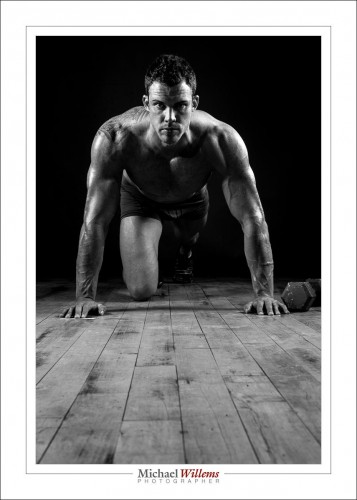
Or indeed to go back to black (and white), where it’s all about the shadows:

You can use the colours you shot:

Or you can go “desaturated”:

This shot, at first, seems to shout for colour:

But the same shot in B/W gives you new possibilities – e.g. to darken the lips a little and make the face stand out extra pale and beautiful:

What I like about studio shooting is that exposure is always perfect, provided you meter or guess it right in the first shot, and further, that you have control over everything. And that means you can now concentrate on expressions and ideas, not just on aperture and shutter settings.

PS: those of you who are in LinkedIn and do not yet have a headshot: contact me and have me make one. To be taken seriously, you need a headshot, and I mean need. No blanks, and no snapshots – those are two deadly sins.

___

I recommend you learn studio-style shooting and those of you who come spend the days with me at Niagara School of Imaging will learn all this, as will those who come to me for private or planned training (as in, Sheridan College Oakville starting in September).


No Meter? No Problem

In studio shoots, you use a flash meter.

But if you do not have one, can you do it? Sure you can. Here’s a trick:

  1. Set up your lights. Guess the light’s power setting.
  2. Get a grey card, and hold it in the exact spot where your subject will be, aimed half way between the light and the camera, as your model may be.
  3. Set focus to manual (we are worried here about exposure, not focus!)
  4. Fill the viewfinder entirely with the gray card (be sure not to block the light)
  5. Click.

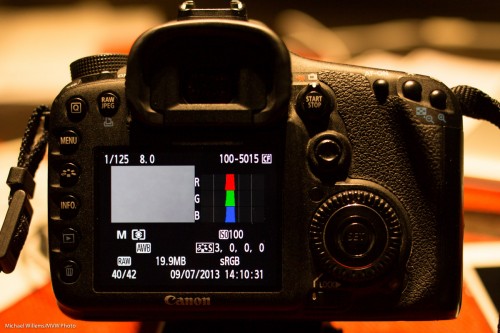
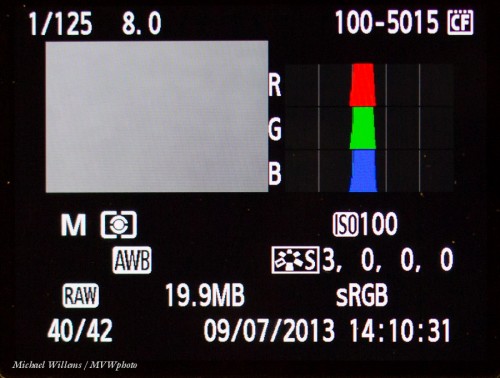
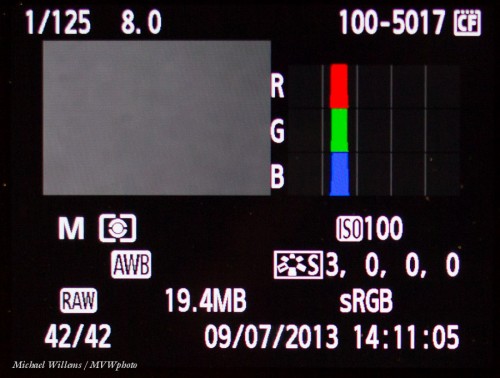
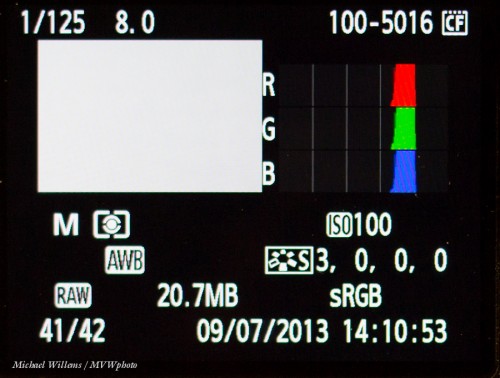
Now review the pictures. Press INFO or DISP, or hit UP/Down, until you see the view that includes the histogram.

Now here’s the trick. A good picture has the histogram peak (or peaks) in the centre. So if you see this, you are ok:

What if you see this, a histogram on the left side:

That means you are underexposing. You need to turn up the flash power and try again:

And if you see this, the histogram on the right side:

The histogram is on the right; you are overexposing: turn down the flash power, wait a few seconds so it can dump its excess charge, and try again.

As soon as you are in the centre, take a real shot and check – you should be OK. And you metered it – and all without a light meter!


Portraits

Here’s a shot from last night’s Portrait Lighting workshop:

That is a classical portrait:

  1. Key light (metered normally); with a softbox.
  2. Fill light (two stops darker), also with a softbox.
  3. Hairlight (a speedlight using a grid).
  4. Another speedlights as a (gelled) background light.

The participants now know how to do this. But you can keep it simple too.

So I turned off all lights except the two speedlights, re-oriented those, and then got this:

The second speedlight is behind the model, aimed at us. And note, I focused very carefully on the left (for us!) eye.

The message: you need to know classica portrait techniques, but once you know these, you can get creative using very simple light. Stay tuned and find out more and more about how to do this.


Last call for….

….tomorrow night’s course in Hamilton, Ontario on Studio and Portrait photography (www.cameratraining.ca/Studio-Ham.html). In just three hours, from 7-10pm, get the fundamentals plus lots of practical tips and “guaranteed success” starting points, or “recipes”, for studio-style portraits.

It’s just $145, a very small class, taught by me in person, and you need nothing special (just bring your DSLR camera). Book right now on www.cameratraining.ca/Booking.html

What, again, is a “studio-style portait”?

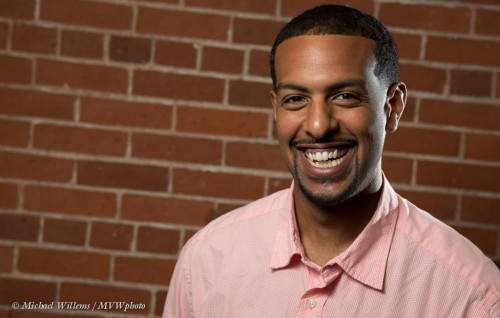
That picture qualifies, not because it was made in a studio (it was in the classroom at Vistek’s Flash course Saturday), but because it was made under controlled conditions:

  • The subject was “posed” (although I call it “positioned!) carefully.
  • It involved flash (not by any means necessary, but usual).
  • It has simple layouts.
  • There is no “clutter”.
  • Light(of whatever type) was carefully considered and controlled.
  • The subject is the subject – i.e. it is not an environmental portrait.

The point about controlling light is especially important. I used two small flashes in the case above: one. through an umbrella, for the main light (the “key light”) and one as the rim- or hair-light, shining towards the camera.

If you come tomorrow night, you will learn all about this, and much more – like light positioning, camera settings, using a light meter, success recipes, obtaining natural expressions: the list goes on, and all inside three hours, with a professional studio, a model, and myself. See you there?