Studio is simple

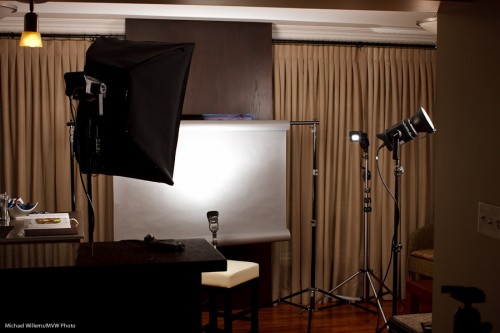
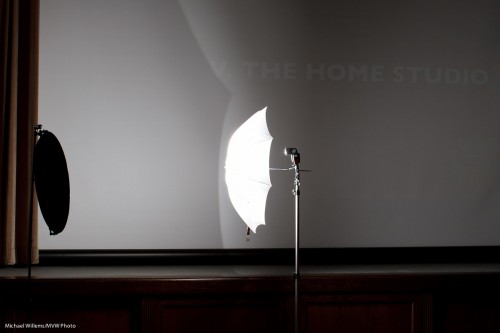
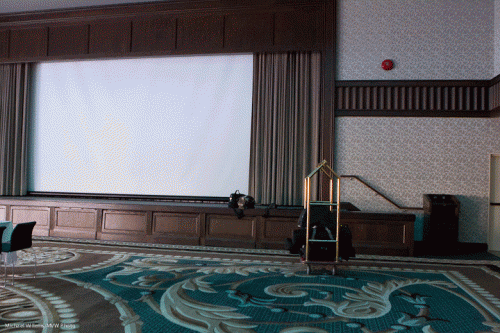
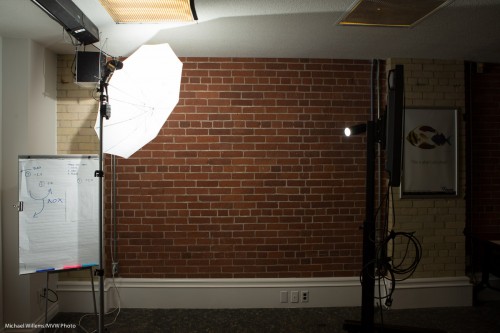
Studio shooting is very simple. This, today at my Vistek flash course, took but a moment or two to set up: a studio, using just ordinary speedlights and a few accessories:

Two speedlights, fired by pocketwizards. One on a lightstand, through an umbrella. The other on a clamp through a snoot from the back. Both were to manual power at 1/4 power.

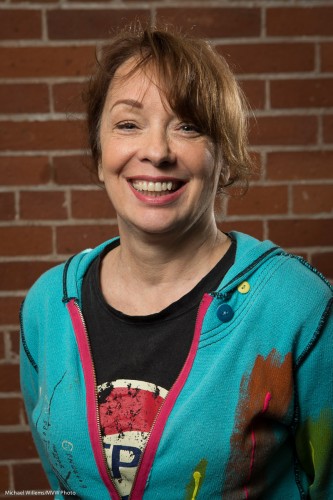
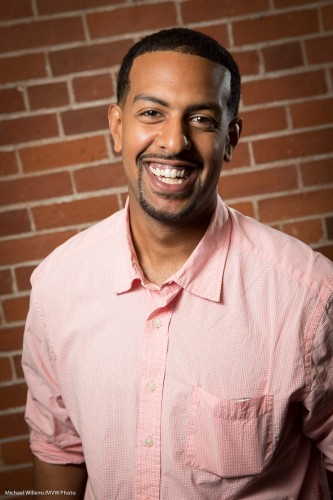
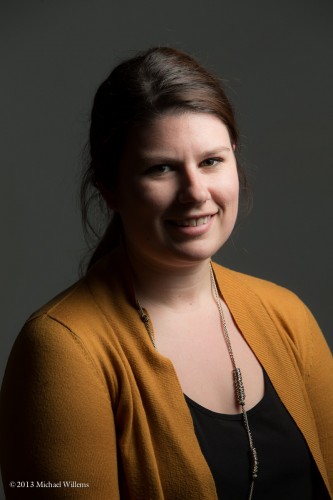
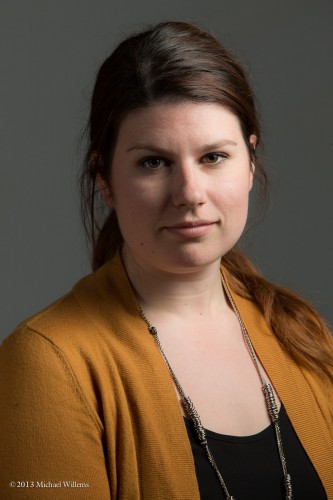
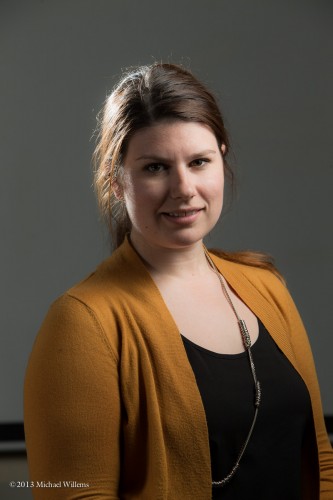
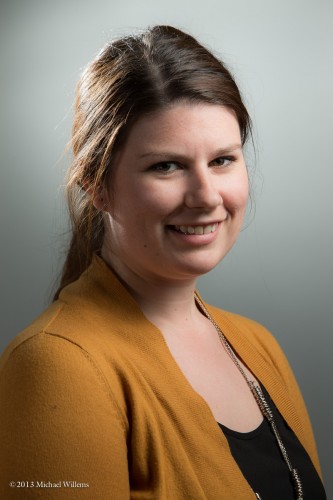
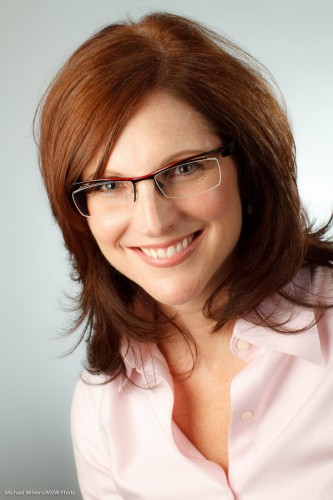
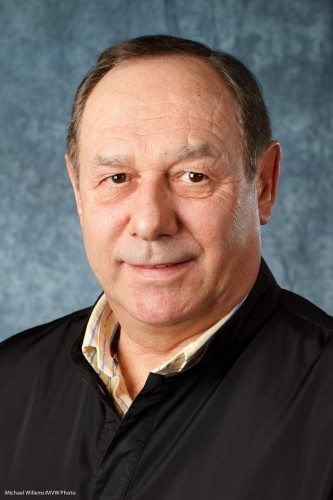
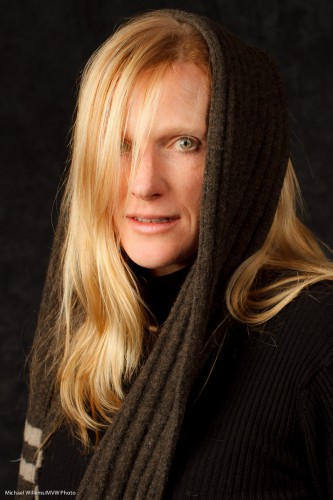
And at 200 ISO, f/5.6, 1/125th second, that results in this student portrait:

And the great thing about this kind of “manual” shooting, where the flash is also set to manual (rather than using TTL metering) is that once you have the light right, it is right for every subsequent shot.

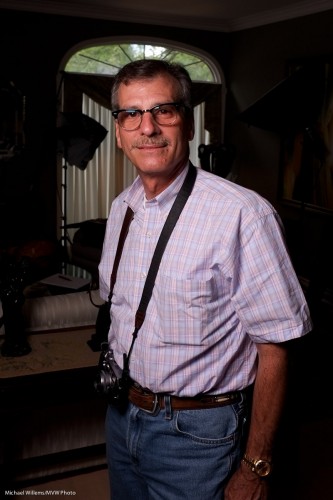
Regardless of subject: a pale person dressed in white, darker person dressed in black, and everything in between. You will never need to re-meter, provided you have each subject stand in the same place.

And how do you like those smiles? And a hint: they were not created by telling people to smile.

___

NB: This post shows you it’s simple. Want to learn the details of this type of studio portraiture? Come to my Tuesday evening course in Hamilton: http://www.cameratraining.ca/Studio-Ham.html and I’ll teach you all this – pocketwizards, light meters, light angles, and more.

Building a studio portrait

A “standard” studio portrait is very simple to build if you have three or four flashes; and it is entirely repeatable, that is its beauty. Here’s how you do it in six easy steps:

ONE set the camera to settings where the ambient light does “nothing”. Like 100 ISO, 1/125th sec, f/8. Test this by taking a non-flash picture: it should be dark.

TWO set up your main light, using softbox or shoot-through umbrella, at 45 degrees from the subject, 45 degrees up. Turn your subject into that light.

THREE then add a fill light on the opposite side. You can use a reflector, or another flash with umbrella, set two stops darker than the main (“key”) light.

FOUR then add a hair light, for that shampooey goodness™. This is a light from behind at an angle, using a snoot or grid to avoid lighting all of your subject.

FIVE then add a background light – another flash.

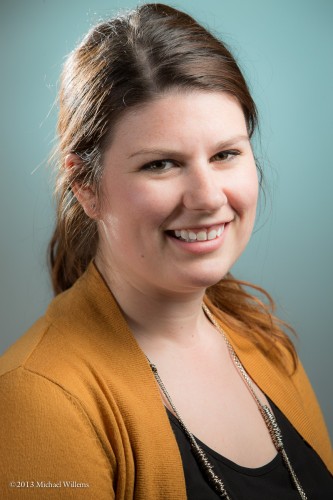
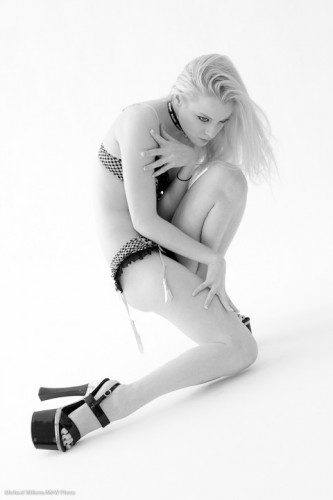
SIX then decide if you want colours anywhere – like the background. I used a complementary colour here – complementary to the subject and her clothing:

A Studio Portrait (Photo: Michael Willems Photographer, www.michaelwillems.ca)

Done!

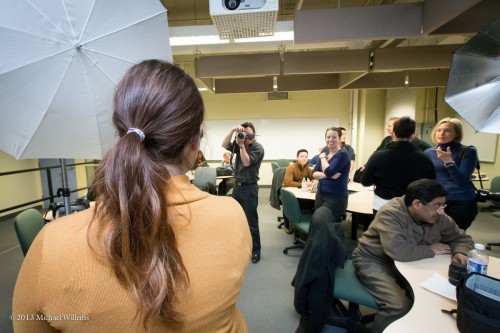
Here’s my Sheridan College class on Monday, practicing this:

___

Want to learn this? Next week’s workshop (April 10) in Hamilton, Ontario is about this very subject: studio photography. In one evening, learn to do this, use a light meter, use pocketwizards, compose, etc. There are still spaces, but this small, intimate studio workshop is limited to 10 students, so book right now!

http://photonetworkexpo.com/ : come see me talk this weekend in Toronto about Flash Photography, and even better: book online and use promo code Michael2013 to get 50% off a weekend pass. See you then!

Sam The Studio Man

When I prepare a tricky shot, I tend to use  stand-in model while I work on light, so the model does not need to stand there for half an hour while I adjust and move lights.

But these stand-in shots are often good, which is why I use them. While preparing to shoot model Danielle, I shot Sam Taylor, who runs the studio I teach in (see www.cameratraining.ca and click on “Schedule”).

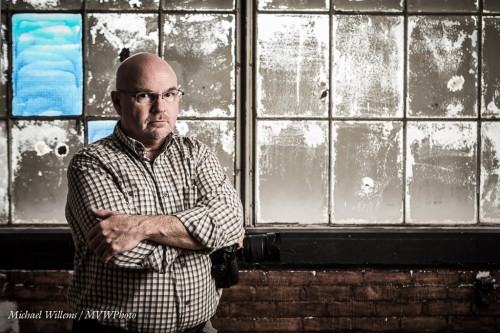
I set my exposure for the window: 1/60th sec, f/5.6, 400 ISO. Then I added a strobe with a softbox, and I moved Sam far enough from the window so the strobe would light him up (from 45 degrees above), but would not light up the reflective inside of the window too much. And then I set flash power according to my camera settings. Finally, I did a little desaturating in Lightroom. Result:

Short lighting, great grunge, serious expression, rule of thirds, good balance of background and foreground. A tricky shot, and one I am delighted with.

One of my students remarked on how refreshing it was to see the problem solving process, and to realize that photography is in fact problem solving, yes it is. When I set up a shot, I do not have all the answers, but I see what I want, and I know how to solve problems “step by step” until I get that result.

And sometimes you change your mind. In the final model shot, I could not move the model away from the window, as she sat on the sill. Hence I could not get rid of a shadow cast by the snooted speedlight I ended up using. So then the shot changes entirely: if you cannot beat the shadow, embrace it! To spare those of you who are sensitive, I shall not show you that shot here (it’s a nude),  but if you are interested, click here to go to my tumblr feed.

(By the way: have you considered being photographed this way? if not: consider it. Some beautiful shots of yourself like this are worth making. If you don’t, you may well regret it later in life).


Cool colour

I shot some demo product shots with my student Merav today, and I thought I would share them here to underline the importance of colour.

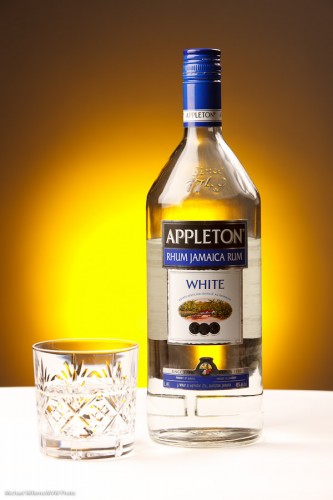
Here’s one, a simple one. Lit by a softbox on the leeft, an umbrella on the right, and against a grey backdrop. That gives us this:

Bit boring? Yes it is. So I add a gridded, “egg-yolk yellow” gelled speedlight aiming at the background. (I use the excellent Honl Photo grids, gels, and other small flash modifiers):

Product Shot (Photo: Michael Willems)

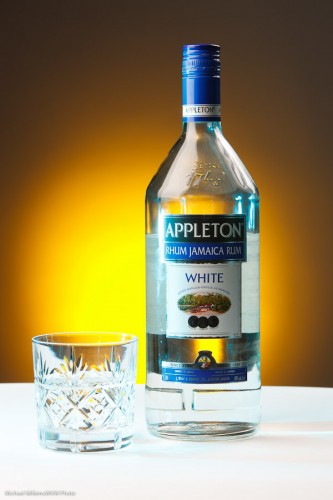
Much better. Then we added another light – a green-blue gelled speedlight shining in from the left:

Product Shot (Photo: Michael Willems)

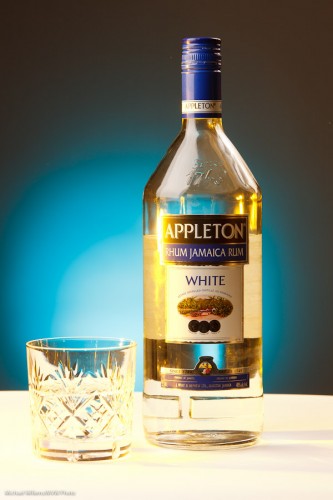
Then we reversed the gel colours:

Product Shot (Photo: Michael Willems)

Then, tried another background colour, rose purple:

Product Shot (Photo: Michael Willems)

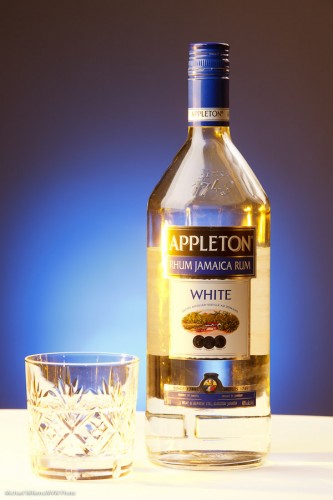
And finally got to a background coloured Just Blue, which had been Merav’s idea all along:

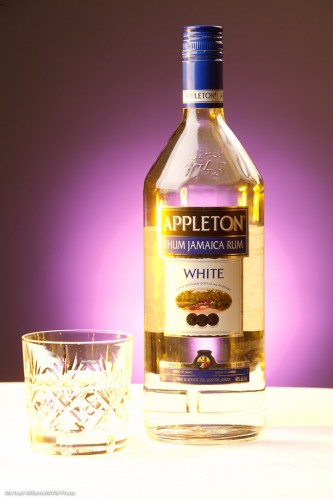
Product Shot (Photo: Michael Willems)

Which one did you prefer? Can you see how different they all are?

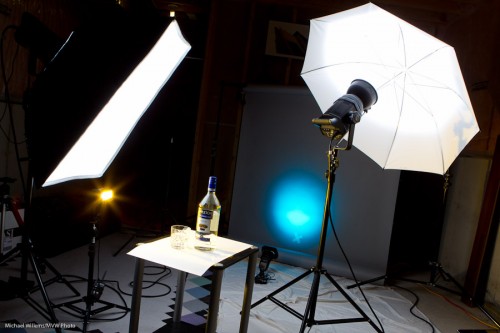
To shoot this I used this setup:

Product Shot Setup (Photo: Michael Willems)

This works as follows:

  1. Put the bottle on a table, with white paper underneath
  2. Put up a grey backdrop, far from the bottle so it does not get any light
  3. Get the main lights right – use a light meter to set them to your desired values (I used f/9 and 1/125th second at 200 ISO). Main strobe is fired with Pocketwizard; secondary strobe by its cell.
  4. Add a background light: a small flash also fired by a Pocketwizard, through a Flashzebra cable. Set to 1.4 power. Equipped with a 1/4″ Honl grid and a gel.
  5. Add a side light: a small flash also fired by a Pocketwizard, through a Flashzebra cable. Set to 1/4 power. Equipped with a gel.

Simple. Once you know!

Why the rum? It was the only bottle I had in the house. Amazingly, for the first time I can remember, I had not a single bottle of beer or wine or anything else available in the house. Time to hit the liqor store!


Tip of the day

Thinking a little more about yesterday’s post: here’s a suggestion for you.

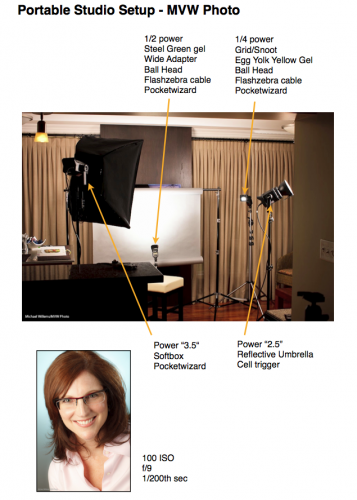
When you find a setup thart works, or when you pack your bag just the way you like – anything like that, make a one-page cheat sheet for yourself.

Like mine for the portable studio I showed you yesterday:

Click through to see it as a PDF:

HomeStudio-Small

And of course I have that cheat sheet PDF on my iPad also.

These “recipe” sheets help me or my assistant quickly set up a starting situation, in case I am in a hurry. (OK, I am always in a hurry.) This way, I ensure I do not forget something. I have one for my lighting bag (what goes where), for common lighting situations, and for common shoots.


A simple lighting setup?

What one person finds complicated, another finds simple.

And vice versa. A friend who visited the other night reminded me of this, when I talked about the simple four-flash light setup I was using for a headshot:

And as he said that, I realized that perhaps it’s not simple.

But if you want to take portraits, then it should be. In other words, without knowing how to do a “traditional” portrait setup, it is hard to do creative portraits. No, that does not mean you need to make all portraits traditional – you can do great stuff with one off-camera speedlight and a grid.

But you need to know how a traditional portrait is made. Which is with:

  1. A backdrop (paper roll, here).
  2. A main, or “key” light, in this case a Bowens strobe with a softbox.
  3. A fill light (Bowens strobe with umbrella, in this case).
  4. A hair light (speedlight with Honl Photo grid and egg yolk yellow gel).
  5. A background light (speedlight with Honl Photo blue-green gel).
  6. A way to drive them: Here, I used one strobe and two speedlights fired by pocketwizards; one strobe by the light-sensitive cell.
  7. Metering: I used light meter to arrive at f/9.0 at 100 ISO and 1/200th second.
  8. Ratios: I set the fill two stops darker than the key. And the hair and background light by trial and error (I got them right first time – done it before).

A note about those gels: colour makes a difference. I love the blue-green gel on the background, to contrast with the red hair – contrast is good. That’s why the butcher uses green plastic between the red meat – to make it look redder. (Oh wait – butcher? We buy meat at the supermarket now, in neat little packages. Dumb me.)

Anyhow – parsing makes things simpler. If you are faced with a complex situation, parse it, i.e. take it apart, one thing at a time. Analyse each layer until you understand it, then go on to the next layer. And before you know it, you will be saying “that’s simple”.

That’s what you learn when I teach you: how to make complex situations simple by understanding the elements, then building on those. Deductive learning, if you will.

And what does the setup above produce? Portraits like this:

Headshot (Photo: Michael Willems)

(Canon 7D at f/9.0, 1/200th sec, 100 ISO)

A plug, if I may: if you, too, need an updated headshot, and live in the Greater Toronto Area, do call me. For Facebook, your resume, LinkedIn, or your web site: a good headshot helps, and Headshots Specials are on during the month of September!


Studio cameras

Professional studio portrait cameras have to be the most expensive models. That’s just a given.

Right?

Oh wait. No… they do not need to be the most expensive. I have taken many studio shots with Digital Rebels and a 50mm f/1.8 lens (go get one if you do not yet own one).

Today I took a studio shot of my friend and student Paul M. Rather than using my 1Ds Mark III, I used the little Fuji X100 with its fixed 35mm equivalent lens – and got this:

Fuji X100 Portrait of Paul M (Photo: Michael Willems)

This was made to show the effect of one flash and showing no ambient light. i.e. a setting which ensures that the flash does all the work. To do this I simply:

  1. Set the camera to manual, 1/125th second, f/5.6, 200 ISO. (take a test shot: it should look dark. If not, check that your auto ISO is disabled).
  2. Turned on the “external flash enabled” setting in the X100’s menu (you need to do that, or the hotshoe will be inactive).
  3. Connected a radio sender to the camera’s hotshoe, in order to fire a battery-operated Elinchrom portable strobe in a small softbox .
  4. Fired a test flash while holding the meter to where the person would be, then set the flash power level until the peter read f/5.6.

That was all. A professional quality studio shot with a point-and-shoot.  Yes, true, it is not any point, and shoot, but still. And of course a simple SLR would have done too.

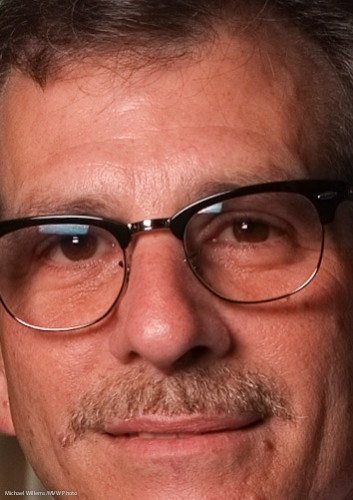
Is it sharp? Sure it is. Here’s a true size part of the picture, pixel for pixel:

(To see the true sharpness, click, then view it at true size)

X100 owners: remember to turn on the “external flash” setting, as described above. Also, remember to turn it off again when you are done – with this setting enabled, the camera refuses to go slower than 1/30th second in Aperture mode or Program mode. (if that is documented I am not sure where – but it is a sensible setting I suppose -as long as you know about it).

Note, finally, that this was a JPG straight out of the camera – yes a JPG, with the camera using standard settings. No extra sharpening was applied – all just standard settings.

So yes, if the lens focal length suits the portrait you are shooting, you can certainly use a small camera for studio work.


About that home studio

One more about the simple TTL home studio. I can give you some pointers to do your own.

Here’s how.

You need:

  1. A modern SLR camera.
  2. A lens – anything over 50mm will do. A 50mm f/1.8 might be a great choice: sharp and affordable (and if you need it, fast).
  3. If you have a Nikon, or a Canon 60D or 7D, just one flash (a 430EX/580EX for Canon or an SB600/SB900 for Nikon).
  4. If you have a different Canon camera, an additional 580EX to command the other flash.
  5. An umbrella (shoot through).
  6. A stand for the flash, with a mount for flash plus umbrella.
  7. A reflector (silver or gold or white, or a multi-purpose one).
  8. A stand for that reflector.

As an option, another flash with a small stand to light up backgrounds, but this is not a must have. You can just move the umbrella and subject closer to the wall if you want the wall to be lighter.

Now that you have the equipment:

  1. Set your flash to “slave” (Canon) or “remote” (Nikon) mode. Use the manual to find out how. On a modern Canon with a modern flash you can use the camera to set the flash.
  2. Set up your on-camera flash to be the “master” (“Commander”, on Nikon).
  3. Ensure that the on-camera flash is not going to fire (it will only  send commands to the remote flash, but it will not actually fire – else you get a shadow).
  4. Move the umbrella close to your subject. For a “standard” portrait, the best position is 45 degrees up, off to the side 45 degrees.
  5. Move the reflector close on the opposite side.
  6. Set your camera to manual exposure mode, f/8, 1/125th second, 100 ISO (or 200 on a Nikon).
  7. Take a test shot.
  8. Check the histogram. If you are shooting a dark subject against a dark wall, you may need negative (perhaps -1 stop) Flash Exposure Compensation; if you are shooting a light subject against a white wall, you may need positive (perhaps +1 stop) Flash Exposure Compensation.
  9. Make sure there is a catch light in the subject’s eyes. Ensure that any glasses do not reflect (move subject or umbrella if they do).

It is as simple as that. You will have studio quality shots, for very little investment. Shots like this (which I made with the exact setup above):

With a modern camera and flash and a little knowledge, it really can be that easy.

Granigif

That cryptic title means “Animated GIF at the Granite Club”. Which is where I was teaching portrait photography last night.

I cannot image a more fun way to spend an evening: some of the most committed, fun, outspoken, and friendly people I have had the pleasure of teaching.

So let’s start with how I set up. Click below to see it as an animated GIF. The time elapsed here was over an hour:

Studio Photography Lesson Setup, by Michael Willems

Studio Photography Lesson Setup, by Michael Willems

Last night was a lightning-fast lesson in portrait photography basics, from lights to pocketwizards to positioning techniques.

The interesting thing, I think, is that while for full control, the more “stuff” you have the better, you can often keep it remarkably simple.

A shot with “the standard four lights” might be this:

Portrait at The Granite (Photo Michael Willems)

Portrait at The Granite

That uses a key light (softbox), a fill light (umbrella), a hair light (Honl snoot), and a background light (Honl Grid).

But you can also keep it simpler. For a lady with light hair, I would not light up the background. We would also not really need the hair light. So now indeed it is simpler:

Robbin at The Granite (Photo: Michael Willems)

Robbin at The Granite

Beautiful, no?

But the real surprise is the simple setup on the left: you can just see it. A TTL flash through an umbrella. A reflector to provide fill light. And a background light to add a bit of brightness to the available background. Now all we are using, then, is two flashes and some affordable stands and a reflector.

That gives us:

Matt at The Granite (Photo: Michael Willems)

Matt at The Granite

You see: you can often keep a studio setup simple. Why use a light when a reflector will do just as well?

Studio photography is incredibly rewarding. If you think so too, I strongly recommend you take a course or private coaching and learn how to do it.

Lightroom post note

So you have a nice image – now you need some post-production work done, since the image out of camera may well need a little bit of need cropping and other adjustments. But you want to do these adjustments quickly and well.

What adjustments? Well, let’s take this example out of the camera. I shall show you how I do one.

Here, an image from last Sunday’s workshop. Model Kassandra lit using available light, and using a paper backdrop. First I crop, and then here is the image:

I am after a high-key look to make her eyes stand out. But it is a little dark, because the model was pointed the wrong way (available light comes from a direction, in this case the camera’s left side), and because my camera told me the wrong exposure (yes, I should have probably done this in the camera, but even when you do, the RAW file can turn out different from the camera’s histogram).

So using the histogram to guide me, I dragged the white area to the far right. And here it is, with exposure corrected (up half a stop):

Now the next adjustment: using the HSL/Color/B&W tool, click on B&W to make it black and white. (Important tip: ensure you set white balance correctly before you do this).

Mmm. That is “vanilla” black and white. But now the trick. Go into the B&W adjustment in Lightroom, and drag the luminance of orange and red (but mainly orange) up to, say, +20 or more (in my case here: +39, and red to +20). This gives clearer, smoother skin:

Now use the healing tool to cleak a few skin blemishes on the model’s left knee (and I turned up the exposure just tad more):

And there we have it, in a few seconds, an image that was a bit dark has been made into a great black and white image.