Poses

I often, as you know, write about what I have been photographing recently, and that has been a number of sessions with a regular and excellent model, Kim – so I shall do one more post on this today.

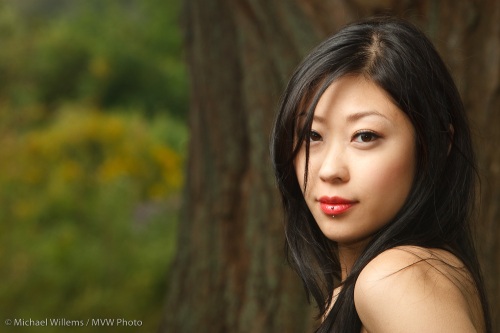
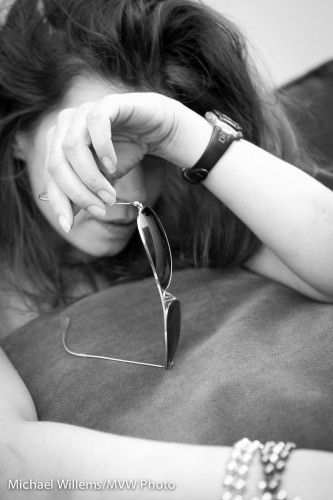
When shooting a model, or fashion, or art portraits – anything creative –  it is important to try different poses all the time. A good model changes his or her pose every two or three seconds. It is the photographer’s duty to go with that; even to encourage that with less experienced models.

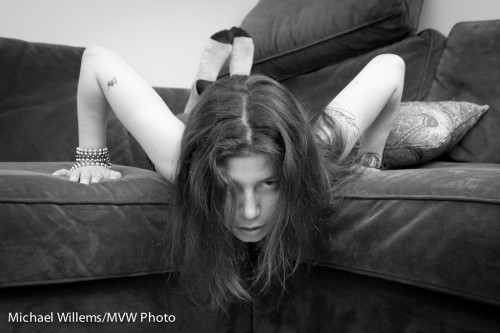
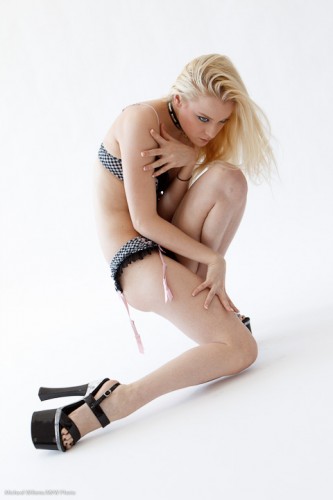
So in seconds you go from this – and all these are from yesterday, all shot within minutes:

Kim-by-Michael-Willems

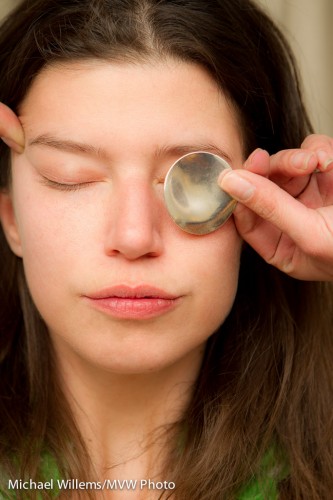
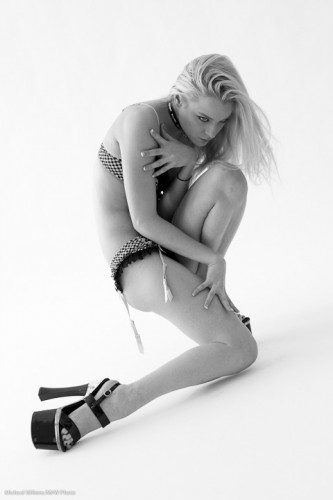
To this:

Kim-by-Michael-Willems

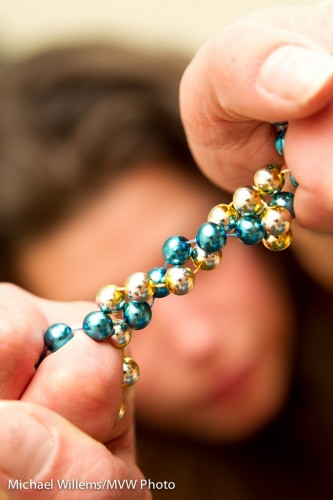
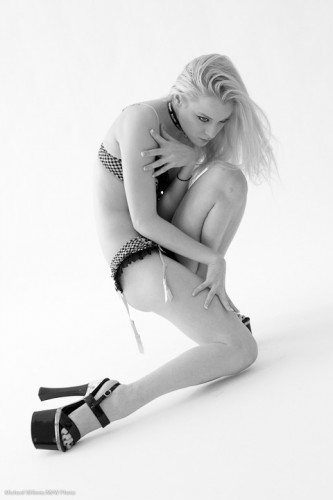
To this:

Beads and girl (Photo: Michael Willems)

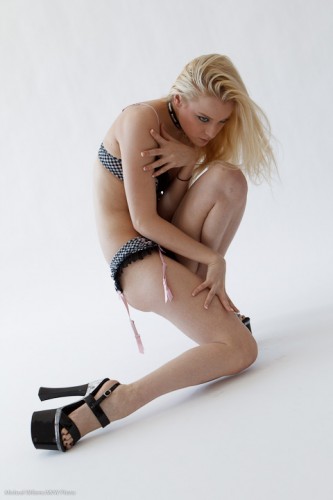
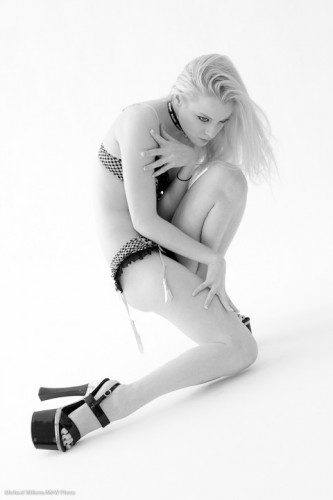
To this:

Kim Gorenko - (Photo: Michael Willems)

And so on… all in seconds. Try different poses, angles, look, zoom angles.

That is difficult sometimes, because in a shoot like that, you have to shoot quickly. No time to meter, to set up lights. So I:

  • Know my camera very well.
  • Use a zoom lens (24-70 in this case)
  • Use very simple lighting – two flashes, one on camera bounced, one off camera bounced or direct.
  • Set my flashes to TTL flash control
  • Vary looks, vary zooms, vary apertures, vary angles – sometimes you do not know what works until you see it.

By doing it this way, I can react quickly to the different areas and poses. And that, in this kind of shoot, is key

So when you shoot anything, think “what type of shoot is this”. In this type of shoot, quick reactions are key. In other types of shooting, I can spend ten minutes setting up lights for each shot – both are valid ways of shooting. Know which one you are doing and shoot accordingly.

 

Lightroom post note

So you have a nice image – now you need some post-production work done, since the image out of camera may well need a little bit of need cropping and other adjustments. But you want to do these adjustments quickly and well.

What adjustments? Well, let’s take this example out of the camera. I shall show you how I do one.

Here, an image from last Sunday’s workshop. Model Kassandra lit using available light, and using a paper backdrop. First I crop, and then here is the image:

I am after a high-key look to make her eyes stand out. But it is a little dark, because the model was pointed the wrong way (available light comes from a direction, in this case the camera’s left side), and because my camera told me the wrong exposure (yes, I should have probably done this in the camera, but even when you do, the RAW file can turn out different from the camera’s histogram).

So using the histogram to guide me, I dragged the white area to the far right. And here it is, with exposure corrected (up half a stop):

Now the next adjustment: using the HSL/Color/B&W tool, click on B&W to make it black and white. (Important tip: ensure you set white balance correctly before you do this).

Mmm. That is “vanilla” black and white. But now the trick. Go into the B&W adjustment in Lightroom, and drag the luminance of orange and red (but mainly orange) up to, say, +20 or more (in my case here: +39, and red to +20). This gives clearer, smoother skin:

Now use the healing tool to cleak a few skin blemishes on the model’s left knee (and I turned up the exposure just tad more):

And there we have it, in a few seconds, an image that was a bit dark has been made into a great black and white image.

Choose

Light. And hence, photographic lighting. It can make a picture completely different from any other picture. Photos are about light, composition, and moment. Light is a differentiator as large as the other two.

And it is a matter of taste. De gustibus non est disputandum.

So, to see what others think, let me ask. Which of the two pictures below (taken on Sunday during the all-day workshop) do you prefer?

I was going to go into the differences, but I should not do that. Just a simple question: which one do you like better? View both large to see the detail.

Please let me know, in email or by commenting below.

Number one:

Girl in rain. Evanna Mills; photo by Michael Willems

Girl in rain. Evanna Mills; photo by Michael Willems

And number two:

Girl in rain. Evanna Mills; photo by Michael Willems

Girl in rain. Evanna Mills; photo by Michael Willems

I am curious. I suppose I have a preference, but I will not tell you which one it is.

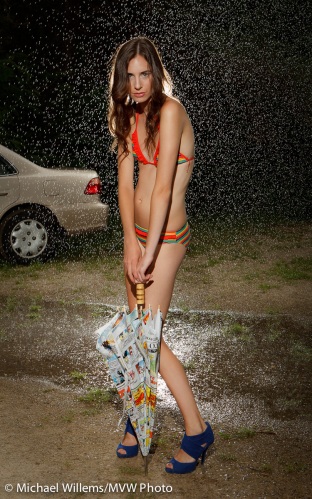
Have you ever seen the rain?

Evanna Mills, photo by Michael Willems

Evanna Mills, photo by Michael Willems

Model Evanna Mills, photographed on yesterday’s Pro Workshop featuring Joseph Marranca and myself. Liz Valenta did the make-up.

It was raining.

Actually, it was a garden hose.

Lit mainly from behind, plus additional fill from the front. With the exposure set manually to create a dark background. The lights were both simple speedlites, fired using a pocketwizard.

And here’s one more. Now I am shining that back light through the black umbrella, making it almost white:

Evanna Mills, photo by Michael Willems

Evanna Mills, photo by Michael Willems

You see how much you can do using very simple means? This is what we teach on workshops, and it is also what photographers should keep in mind at all times.Simple technique can do a lot.

That look over the shoulder

One common sexy model look is the “look over the shoulder”.

Like here, in this shot of Nemo, a somewhat Rubenesque but nevertheless pretty model:

In an “over the shoulder” pose women can look over either shoulder, but for men, if the shoulders are angled, avoid them looking over the higher shoulder. This is a feminine look.

As so often with available light portraits, in the shot above I used my Canon 7D with:

  • a 50mm lens, which on the 7D crop camera is really equivalent to 80mm
  • 2000 ISO (on auto ISO)
  • 1/60th at f/1.4

Yes, you can take pictures on a 7D at 2000 ISO and have them look just fine.

Bright pixels are sharp pixels, but also, bright pixels are noise-free pixels.

(And you know to focus accurately, using one focus point, aimed at the closest eye, right?)

How I rate photos in Lightroom

It occurs to me that it may be helpful to share my “rating”-workflow in Lightroom. I go through the following sequence:

  1. Import everything as 2 stars
  2. Go to grid view and step through them, and reject any that are technically bad (e.g. out of focus or badly exposed, or the subject is blinking). They get an “X” marking. I exclude X from my view.
  3. Go through them again and rate any that “could possibly be used” as 3.
  4. Go through the threes again and rate any that are “great in this shoot” as 4.
  5. Go through the fours again and give any that are “great and can be used even outside this shoot as portfolio shots” a five rating.
  6. Then I select just the 4 and 5 stars rate them all as PICK.
  7. Then I step through the 3 stars and decide with of them I want to use; I rate those as PICK also.
  8. Then I check for doubles and unpick those.
  9. Then I do any post on my picks.

Done.

Here’s a couple of (unedited)  4-star images from yesterday’s Toronto Island model shoot:

MVW_2386-2

MVW_2360

(70-200 f/2.8 IS lens on 1D MkIII, manual exposure -2 stops from ambient and key flash though umbrella, fill flash on camera.)

Straight light

You know about Rembrandt lighting, loop lighting, broad and short lighting, and so on? If not, you will. But today a note about simple lighting for models, women, in general anyone who wants to look their best and show youth and beauty rather than experience and character (which can be a euphemism for age).

That is straight, flat lighting. Like this:

IMG_0162

As you see, that is nice, flattering light.

Whenever I shoot anyone where the main emphasis is on this person looking young and attractive, I draw an imaginary line from their face straight up at 45 degrees, i.e. not to either the left side or the right side. Where that line straight from their face hits the wall or ceiling, that is where I aim my flash. (An external flash – please, you don’t use the on-camera popup flash, do you?)

And when I do that, pictures like the one above result – when the model is as pretty. Even when the model isn’t as pretty, this light is best if you want to minimise wrinkles.