Smile?

Ever wonder why models never smile in advertising photography? Why they always look so serious… aggressive even, sometimes?

Because they want to look perfect, that’s why.

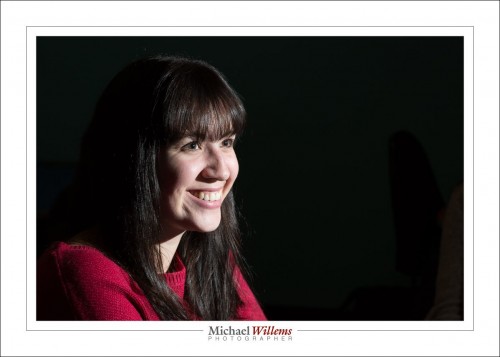
Smiles create smile lines… but unlike you and I, photo editors, Cosmo readers, and models who want perfection call these lines “wrinkles”. And they dislike them, and the shadows they create. Like so:

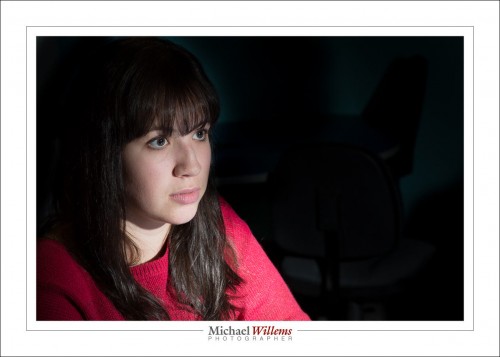
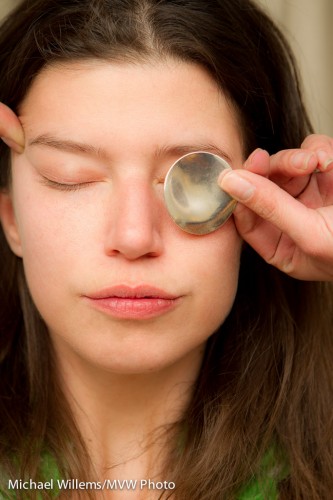
The aforementioned (and, truth be told, most women) usually prefer this, a very “no-shadow” neutral look where skin is perfect:

If you are shooting traditional model shots, like for a portfolio, that’s what you do.

  1. Puff out some air, like when you voice the letter “P”.
  2. Let face come to a rest; this takes 1-2 seconds.
  3. Leave mouth ever so slightly open.
  4. Ensure that all facial muscles are 100% relaxed.

Result: skin is flawless. No shadows, no unevenness, no wrinkles. No personality is shown. Just beauty.

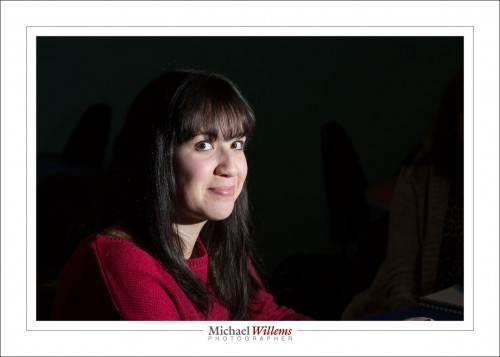
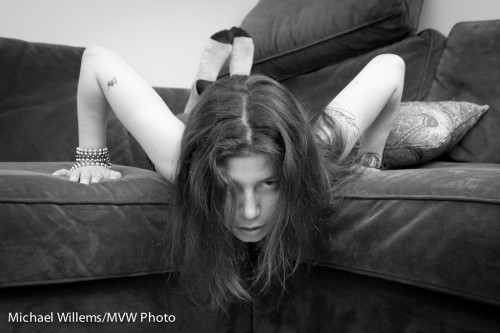
But wait. The look you want depends on what you are shooting. When you want to depict personality, you can have a person looking angry, surprised, sad… even happy. Like this:

So relax and shoot what you want. Do not shout “smile!” for every shot; but do not avoid all smiles either. If only because your model will feel better. But also because you may indeed want to show different sides of a person’s personality.


Poses

I often, as you know, write about what I have been photographing recently, and that has been a number of sessions with a regular and excellent model, Kim – so I shall do one more post on this today.

When shooting a model, or fashion, or art portraits – anything creative –  it is important to try different poses all the time. A good model changes his or her pose every two or three seconds. It is the photographer’s duty to go with that; even to encourage that with less experienced models.

So in seconds you go from this – and all these are from yesterday, all shot within minutes:

Kim-by-Michael-Willems

To this:

Kim-by-Michael-Willems

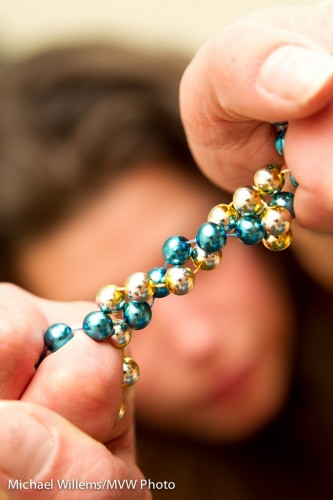
To this:

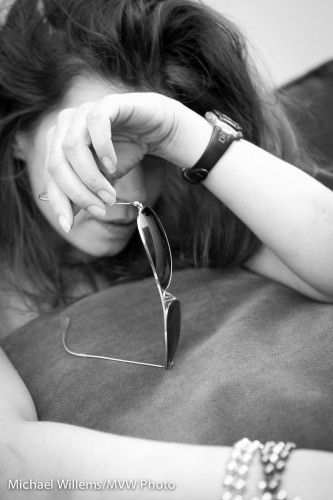
Beads and girl (Photo: Michael Willems)

To this:

Kim Gorenko - (Photo: Michael Willems)

And so on… all in seconds. Try different poses, angles, look, zoom angles.

That is difficult sometimes, because in a shoot like that, you have to shoot quickly. No time to meter, to set up lights. So I:

  • Know my camera very well.
  • Use a zoom lens (24-70 in this case)
  • Use very simple lighting – two flashes, one on camera bounced, one off camera bounced or direct.
  • Set my flashes to TTL flash control
  • Vary looks, vary zooms, vary apertures, vary angles – sometimes you do not know what works until you see it.

By doing it this way, I can react quickly to the different areas and poses. And that, in this kind of shoot, is key

So when you shoot anything, think “what type of shoot is this”. In this type of shoot, quick reactions are key. In other types of shooting, I can spend ten minutes setting up lights for each shot – both are valid ways of shooting. Know which one you are doing and shoot accordingly.


Fashion flashin’

Sunday morning, around mid-day, in downtown Oakville I shot a fashion shot for a magazine front cover.

Outdoors fashion is, as always, a matter of many things coming together at once. One of those is light. Without light, even on a wonderful overcast day (wonderful in photo terms), the image lacks something. The mother and daughter models lack a certain je-ne-sais-quoi.

Actually I do know – they lack light:
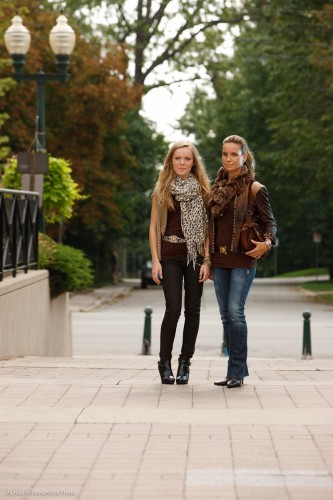
Models in Oakville (Photo: Michael Willems)

So we add a flash. I used a Bowens 400 Ws strobe, although I could have used speedlights. The sequence is as follows:

  1. I set my camera to manual.
  2. I select 1/200th second and 100 ISO.
  3. That gave me, on this particular day, an aperture of f/5.6 for a nice saturated background. (To arrive at this, I can use my in-camera meter or my light meter set to ambient.)
  4. I now add the strobe, set it to 80% power about 6ft away, and test this with the meter (now set to flash mode). Well have you ever:  the meter immediately indicates f/5.6! (This is just experience. If you are less experienced, no worries – just turn the light up and down until you do read f/5.6).

That gives me:
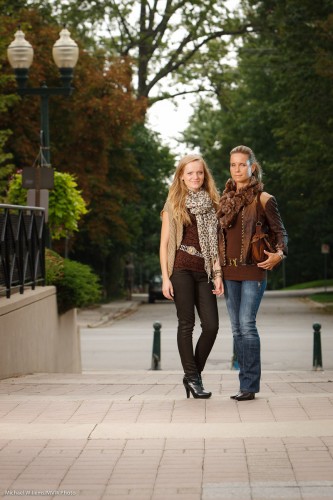
Models in Oakville (Photo: Michael Willems)

If I want the background a little darker I change the speed to 1/250th (still in my flash sync range):
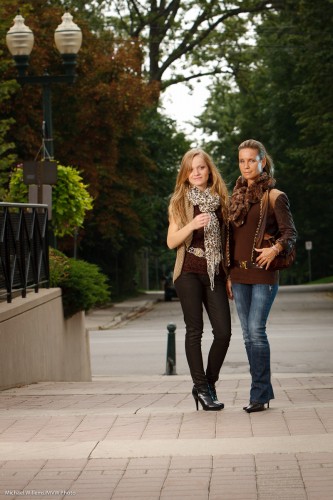
Models in Oakville (Photo: Michael Willems)

Okay, we are set. If the sun comes out a little more,  I go to 1/250th, and if it gets a tad darker I go to 1/160th.

The idea of this shot is autumn – so we now bring out the props. Autumn flowers and fruits and vegetables now gives us this:
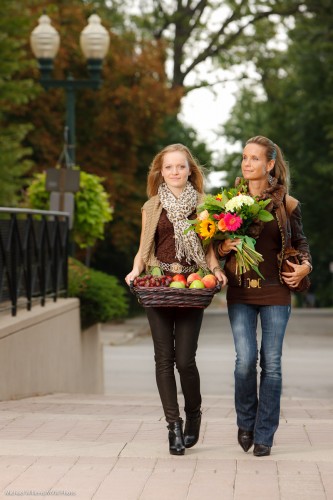
Models in Oakville (Photo: Michael Willems)

Notice the speedlight with a blue-green gel as accent/hair light on our right? The speedlight was held by Kurt, who assisted on this shoot, and was set to 1/4 power (again – experience tells me that setting will probably work – and it did).

The final step is to make that an egg-yolk yellow gel instead of a blue-green gel – yellow accentuates the late day setting sun feeling that is synonymous with autumn. (I use Honl Photo gels).
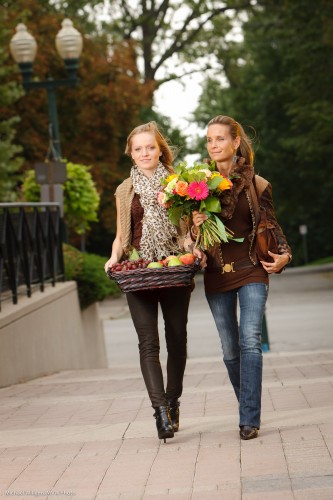
Models in Oakville (Photo: Michael Willems)

And there we have the image. (In fact this is not quite the image – that one went to the client, and I do not like to publish images in this open forum before the customer has used them!). Also – note that these are shot a little wide since this is for a magazine front page, so there needs to be space for text.

Notes:

  • Umbrellas and softboxes outdoors will be blown away, so hold on tight.
  • If the models move, use AF-C/AI Servo focus mode.
  • With two models, be very aware of the danger of blinking – one of them will blink in very many images, so check, and take many images.

The setup was as follows:
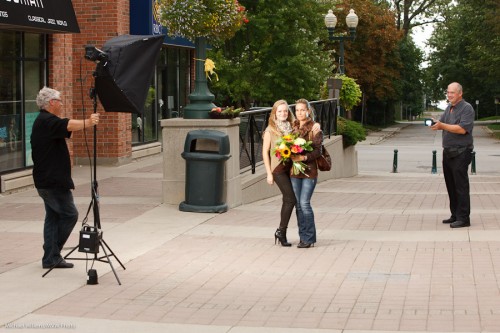
Fun shoot.

(And perhaps also, a shoot that explains why photography costs money: A car full of equipment, props that get used just once, two sets of clothing, and five people taking several hours. All this costs money!)