Black. And white.

Black and white, or B/W, or Monochrome, is underused. Much, if not most art portraits are B/W. And why?

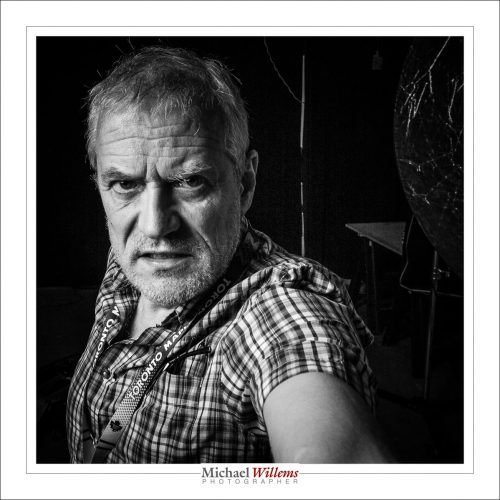
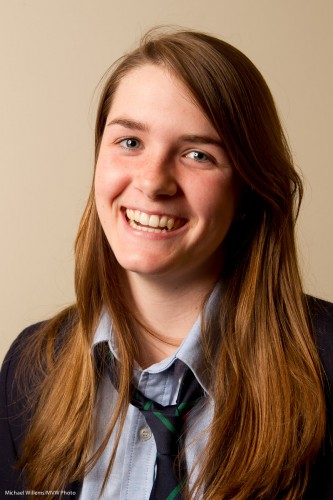
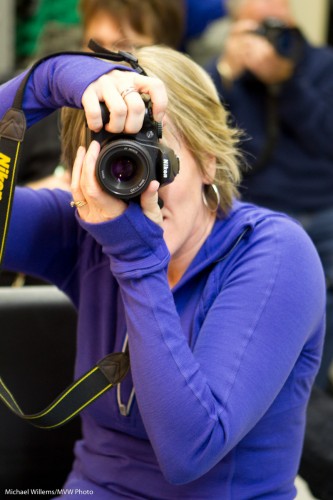
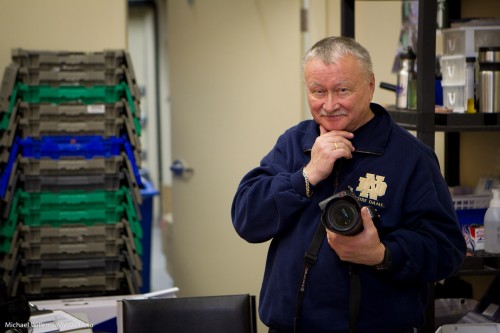
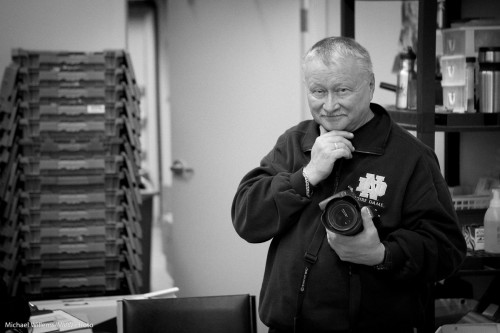
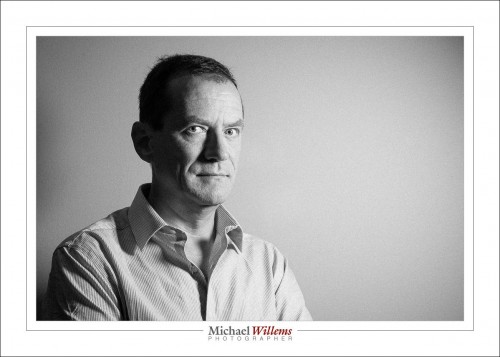
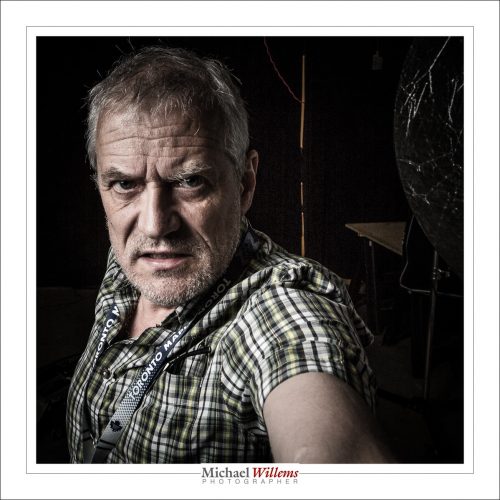
Well – colour, especially when desaturated, is not bad at all. Here’s today’s self portrait:

Not bad.

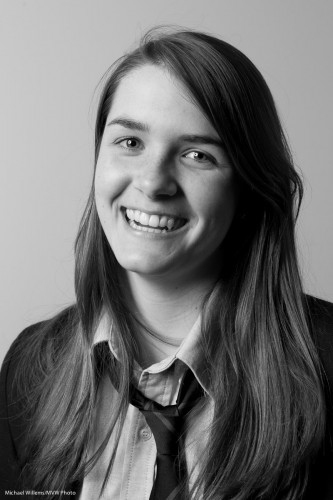
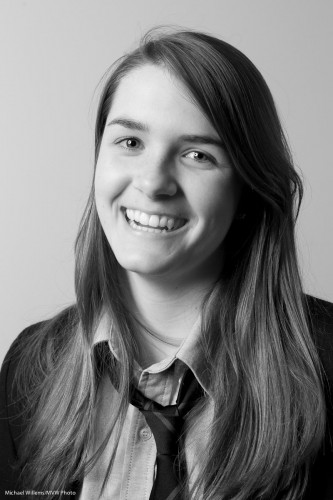
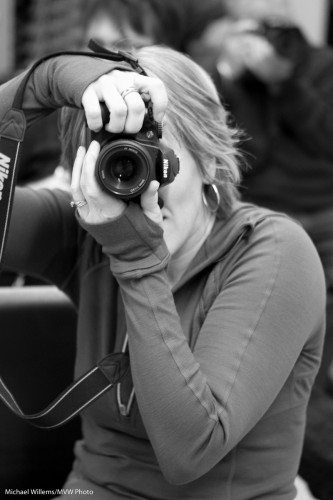
But the B/W version shows the mood better.

\

B/W reduces an image to its essence. And coloured items do not distract. And white balance is not an issue. So for both creative and to a lesser extent technical reasons, try some B/W. Shoot RAW so you can do the actual conversion in Lightroom.

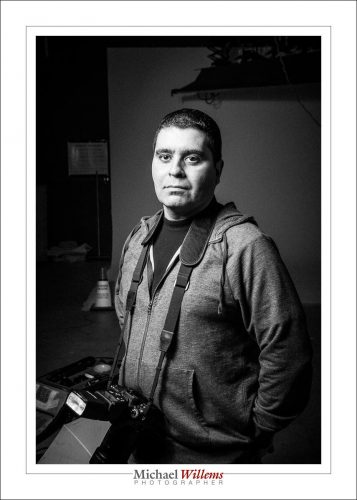
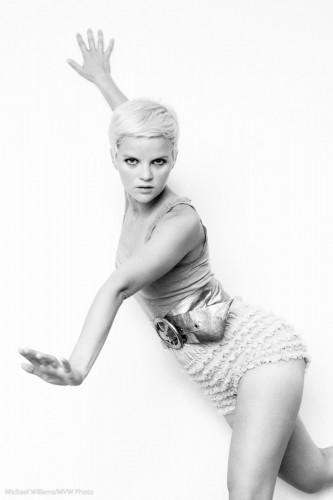
Here, finally, is another one, of one of today’s students, using a beauty dish:

Stands out, no? I love that beauty dish.


Post-processing B/W

Toay we have so much power. So much more than in the film days, where we had toi get it all done in camera.

Now, no more. We can shoot RAW and do any desired post processing later.

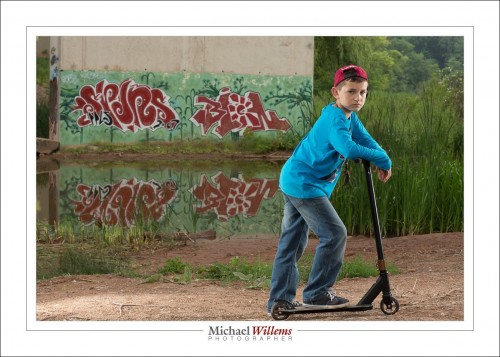
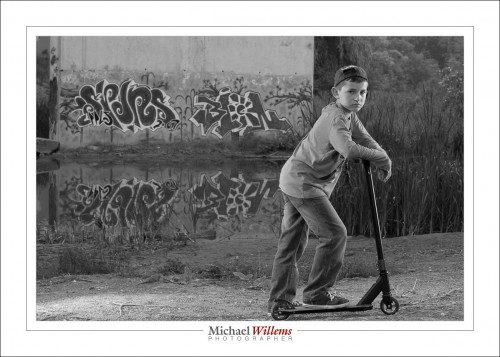
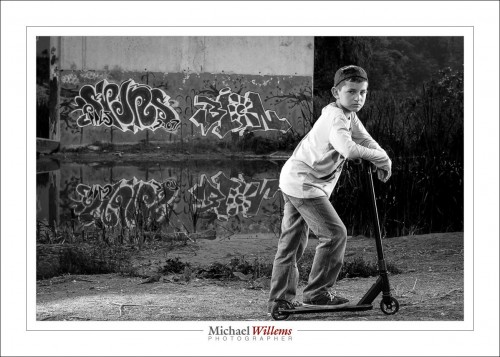
Take this image, one of the “tween and teen” shoot of the other day:

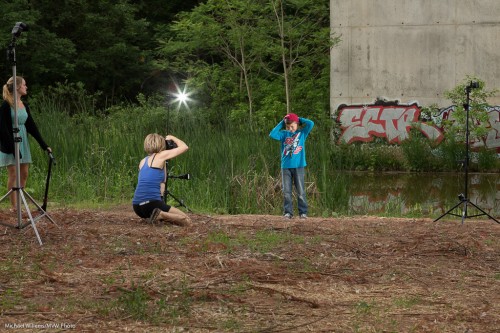
The kids’ mom and I shot that like this:

So I like the vivid colours. But what if I wanted B/W?

I would set my camera to RAW, but picture style to B/W. That way I see B/W on the back of the camera, to give me some idea.

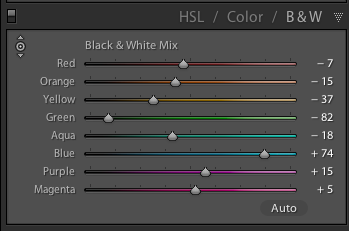
But the moment I get home, in Lightroom I see colour again. So I go to the DEVELOP module, in within that the “HSL/Color/B&W” pane. I select B&W:

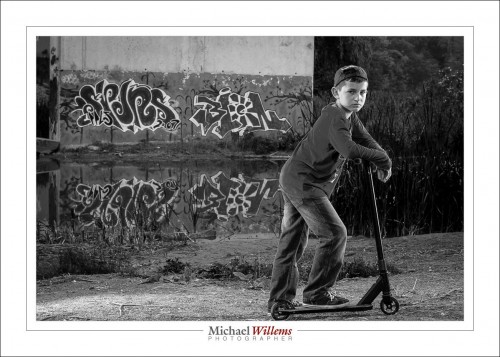
Which gives me this:

That’s nice and all, but as regular readers know, I can now set the brightness of individual colours. Why? Well, for instance, to create contrast between subject and background, or to emphasize or de-emphasize certain areas.

For example, I could make the shirt darker by sliding the “BLUE” slider to teh left. All blue areas (mainly the shirt) would get darker:

Be careful not to go too dark: you will see artefacts: look carefully at the edges of the shirt:

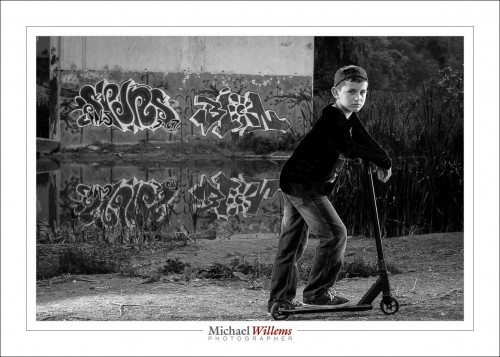
Anyway.. here, I want the shirt brighter. So I tune up blue, and then make various other small adjustments, like making green darker; all of which are aimed at making the boy stand out from the background:

Which gives me my final picture, which looks like this:

Actually, that’s not bad, especially when you consider that in Lightroom, this takes merely a minute of your time.

In the past, we would have used actual filters in front of the lens (e.g. a yellow filter would make the blue areas go darker). The problem is that you cannot readily experiment. Here, you can go crazy (though please don’t). Fun!

___

Come to me for some personal training, if you want to master these techniques. See http://learning.photography. Bring a kid or two and you get two benefits: portraits of the kids and teaching. All you need is to bribe your child in to cooperating for three hours. Easy, right?


Black and Why?

Black and white (or monochrome) is underused nowadays. Yes, colour is great–I love colour, as you see in much of my work–but “mono”, as in the picture below of a cyclist on Gouda, the Netherlands, has something going for it in several ways.
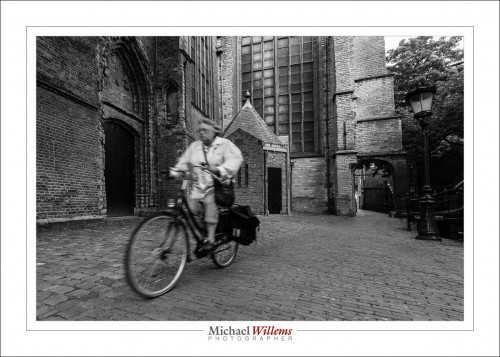
The colours do not distract from the subject. Unless the colours are the subject, avoiding this kind of distraction is a good thing.

Mood can be enhanced: mono can be a storytelling device. Mono can also evoke the past. Mono is thus used in much photojournalism.

But there are also great technical benefits to using mono, and that is what I want to briefly talk about today.

You should shoot RAW and set the camera’s “image type” to monochrome, so you see a preview that at least looks somewhat like what you will get in monochrome, but the RAW file contains all the colours.

First, white balance is unimportant. Whatever you set it to will be fine.

Second, quality of a converted file will be better; or rather, deficiencies will be less noticeable. And third, you can make changes afterward by emphasizing or de-emphasizing individual colours. This is like using coloured filters in film photography (e.g. a yellow filter to make the blue sky darker); with the difference that you can do it afterward, so you can try different “filters”.

Take model Khoral:
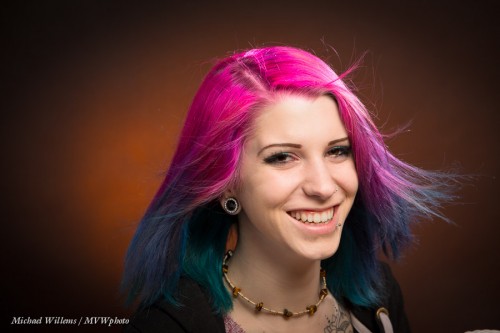
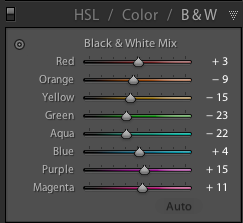
If I do a standard B/W conversion in Lightroom’s DEVELOP module, using its “HSL/Color/B&W” pane, I get this weighting of colours:
..which gives me:
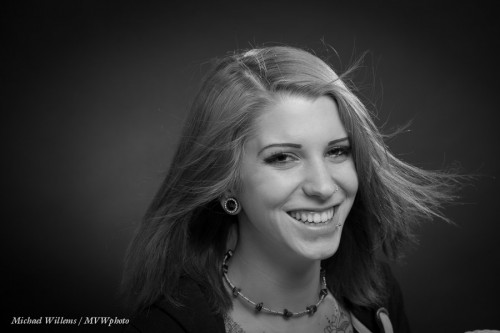
Which of course looks fine.

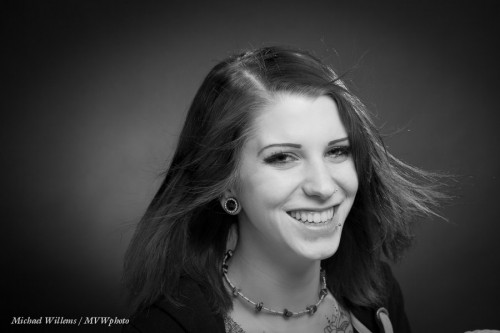
But if I turn down Magenta and turn up orange (= skin colour) a little, I get:
Alternately, I could turn up both magenta and orange:

…which gives me:
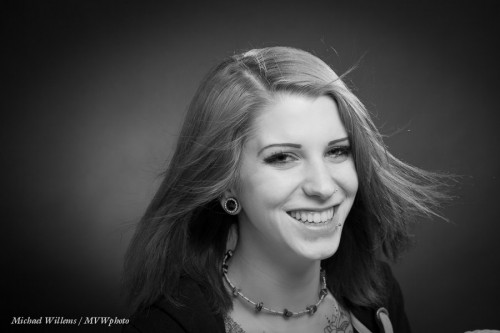
Can you see how powerful a tool this is? You can try any combination of colour weighting to get the results you want. A distracting colour can be made as bright as the surrounding area so it no longer distracts. Skin can be improved (making orange a little brighter makes skin brighter, which looks clearer).

I hasten to add, of course, that if you are actually doing photojournalism, you should not mess with the original other than a standard conversion, unless your photo editor allows you to use standard colour filters, say – but this would have to be a very explicit agreement, and any edits should not alter the appearance of the scene materially. Why? Because we need to trust that what our media show us is in fact “what there was”. That’s one reason I am not a great fan of “citizen journalism” taking over the news.

But if you shoot art or commercial or family portraits, go wild. OK–maybe no going wild, but you get the idea.

One more thing. Lightroom also allows you to add “film grain”, and that can be very nice in B&W too, to give that old look – and it smooths out skin imperfections. Film grain, unlike digital “noise”, can look good.
OK – lesson over: go shoot some B/W!



High key fun

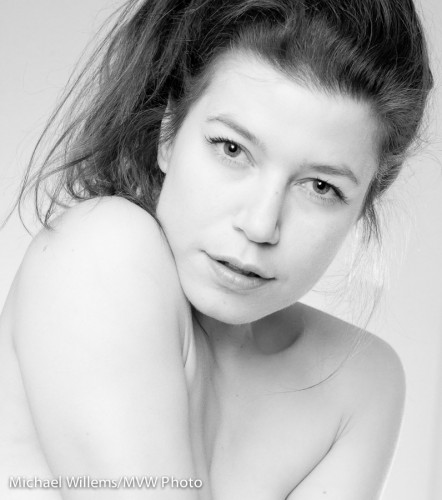
When I shoot glamour portraits, I like to use black and white, and I like to make them high-key, as in this example below from a few days ago.

Model Kim (Photo: Michael Willems)

Why high key b/w?

  • First, because I very much like the look.
  • Second, because by using high key B/W, I ensure that attention is drawn away from everything except the face – that is what we end up looking at. Eyes, face.
  • And high key minimizes facial flaws, wrinkles, blemishes: the lighter you make it, the less these will show up. I set my TTL flash to +1 stop FEC usually, or more.
  • And B/W also offers the option to reduce blemishes: just increase the relative luminance of the red channel (like using a red filter in the old days).

That’s four good reasons to do this if you want someone to look great and flawless. And who doesn’t want to look young and flawless?


Quick fixes are sometimes good

As I mentioned the other day, converting a portrait to black and white can be good if it is not optional in the first place. It is an “easy fix”. Not that my friend, model Kim, pictured below in a shoot Thursday night, needs these fixes much…  but of course she, like everyone, has normal human skin.

As I said the other day, I am not a fan of altering people. But removing temporary blemishes, and de-emphasizing permanent ones, is not different from applying make-up and is better for the skin.

Kim Gorenko (Photo: Michael Willems)

But it is more than that. As I have mentioned here before,

  • Colour can distract in portraits, while black and white removes those distractions.
  • Mixed light (eg tungsten and unmodified flash) is problematic, but in black and white, light is just light.
  • You can emphasize or de-emphasize various colours when converting colour to black and white. To make that yellow shirt darker, or to make that green wall lighter.
  • And yes, you can fix sin, or make it smoother, by converting to black and white and then increasing the brightness of red in the mix (equivalent to using a red filter on a film camera). A blue filter would do the opposite – make skin look really, really bad.

How to do black and white?

  • Shoot in colour, in RAW format.
  • Then convert later – in Lightroom using the B&W option, where you can vary all colours individually, thus creating any filter effect you want. Experiment by dragging the various channels up and down.
  • If (and only if) you are shooting in RAW, you can set your camera’s “picture style” to Black and White. That way by looking at the on-camera preview you get an idea of what the converted image may look like – but since RAW saves all the colours, you are still going to do the conversion later, on your computer.

For better skin, as said, drag the RED channel UP (+).  This makes blemishes brighter (i.e. they disappear). Dragging Orange up makes all of the skin brighter, which also of course makes it look better by reducing both blemishes and shadows.

OK, one more image.. here, the colours of the walls etc would definitely distract from the message of the photo:

Kim Gorenko (Photo: Michael Willems)


An underestimated mode

One mode is underestimated today – black and white.

As I have pointed out here before, black and white can make your images much more powerful by allowing the eye to concentrate on your subject – not on coloured objects.

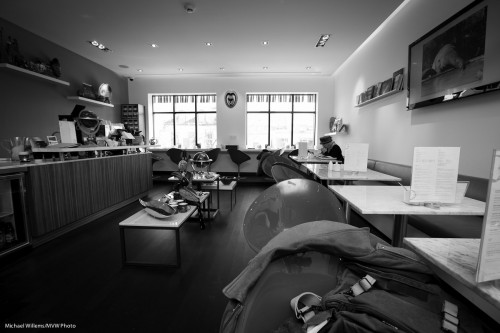
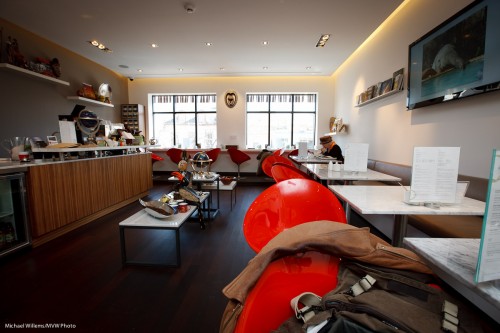
This image works better in black and white:

Because in colour, the red chairs draw the eye towards them instantly. You do not see the forest for the trees:

So when your subject is not the colours in your scene, consider using black and white. When colours would distract, use black and white. When you want to convey a certain mood, use black and white.

And when you use black and white, convert afterward, in Lightroom. That way you can tune the relative brightness of colours – this is like using filters in the old days.

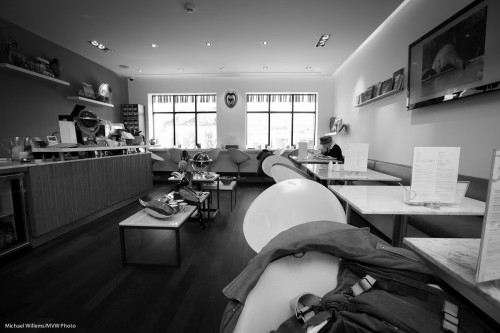
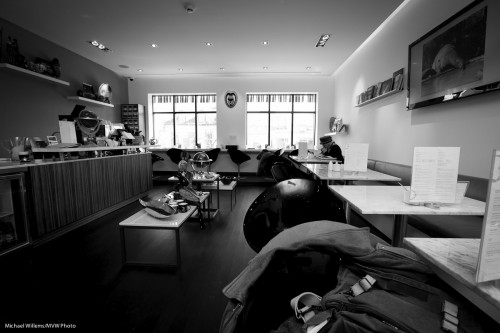
So by using the HSL control to tweak the red colour, you can, if you wish, make it look light like this, say:

Or dark like this:

And the same goes for all other colours.

All those reasons are why if you are not yet using B&W, you should start. Shoot RAW and do the conversion later. And have fun.


B&W tip

Have you ever thought that a nice black and white photo was very worth looking at?

That is because in B&W we do not get distracted by colour: we see the pure image. A photo is composition + moment + light, and in some cases colour just distracts from that.

So this one-light image, from the other day, is fine:

But this image is simpler, and, I think, more powerful:

Plus… there are fringe benefits. Doing a B&W conversion I can selectively increase or decrease colour channels. And by slightly, every so slightly increasing red, orange and yellow, I can:

  • Fill in shadows;
  • Make skin even smoother;
  • Increase the brightness of teeth.

Now of course a teenager needs none of these, but you can nevertheless see this is a better image:

And this only took a few seconds in Lightroom, which has en excellent B&W conversion tool.

And we do this in Lightroom, not in the camera, because  that way:

  1. It saves time;
  2. We can change our minds;
  3. We can do a selective per-channel conversion as described above;

When you shoot B&W, do feel free to set the image style to B&W on your camera if you shoot RAW (because in that case you are still saving all colours; it is only the preview that is shown in B&W), but see that preview just as a rough idea and convert properly in Lightroom on the computer.

TIP: if you want to see where someone may develop skin issues decades from today, convert to B&W and then pull red up and pull orange down in Lightroom. You wil now see someone with any skin imperfections magnified hundreds of times. I wil not do it to this lovely young lady, but to see the effect, do it to a picture of yourself.


Black and white

Black and white is often under-appreciated. You are taking stuff away, after all.

Yes. Colour. Of course. But you are also adding stuff.

Model Lyndsay in Mono (Photo: Michael Willems)

Lyndsay in Mono

As advantages of a black and white image, you get:

  • Shades of grey. Everything becomes shades of grey. So while in a colour image you may have various little groups of shade, in a colour image, all becomes grey. So you automatically get shades all the way from black to white, if you like.
  • Emphasis on texture. Textures, which can be lost in colour photos, are seen clearly in black and white.
  • Emphasis on shape. The same is true of shape. You are not drawn to colour, so now the pure shape is what draws you attention.
  • Emphasis on light. In the absence of colour, it is all light. You can light dramatically, softly: Light is seen clearly, not as colour, but as light.
  • Ability to tweak. You can tweak colours in post (or when using film, by using filters. Like in the example that follows below.
  • Ability to create mood. You can add shade. Drama. Even grain, to create an old film look. I do this a lot nowadays.
  • Simplicity: it is also easier to shoot. No white balance to worry about.

So today, let me show you just one trick: the above-mentioned ability to selectively change colour.

An original image of a student the other day:

Student in colour

Student in colour

Now converted in Lightroom to “neutral” black and white:

Student in B/W (Neutral)

Now, I used the HSL/Color/B&W tool in the Develop module to selectively increase the brightness of her shirt:

Student in B/W (Light shirt)

But of course I want to de-emphasise the shirt, so her face stands out! Here’s the version I prefer, with a darker shirt:
Student in B/W (dark shirt)

Can you see how much more this emphasises the student, while in the original image, the colours stand out instead?

Here is one more example of how colour can distract, and how in the black and white version that distrction disappears.

So: I recommend you try some black and white. (And do it in “post”, not in the camera. Otherwise you lose the ability to tweak. You can set your camera to B/W as long as you shoot RAW, so you retain all the information).

Berlin Wall

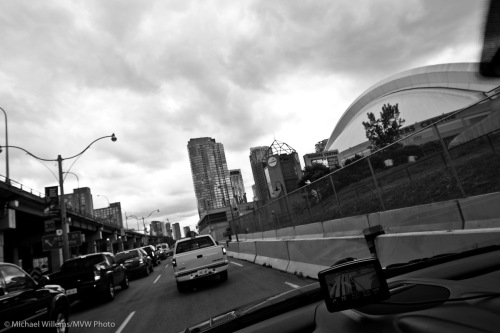
Toronto, for the next weeks, has a Berlin Wall, designed to keep any protesters and citizens (a.k.a. “threats”) away from the visiting G20 dignitaries, who must not see any of this.

I took a few snaps yesterday, from the car:

Toronto's G20 Security Fence, shot by Michael Willems

Toronto's G20 Security Fence

Toronto's G20 Security Fence, shot by Michael Willems

Toronto's G20 Security Fence

Toronto's G20 Security Fence, shot by Michael Willems

Toronto's G20 Security Fence

Army presence in the street, riot police, many extra Big Brother cameras, constant ID and security checks, roads closed when VIP convoys arrive, a large part of downtown that will be completely shut off for two days, cell phones that will be jammed when Mr Obama is around, and a $1bn bill for the taxpayer: very third world, and I thought that was probably worth a few dramatic black and white pictures.

Am I being ever so slightly manipulative, by using contrasty black and white?

Perhaps, and in news photography I would not of course use any contrast enhancement, or even go to mood-setting black and white. But in this type of documentary shots, on my blog, it is exactly what is called for. I believe the Berlin wall thing is hideous and that must be shown: outrage is suitable.

That said, you should be aware of the fact that just like a writer, a photojournalist can also tell the story he wants. A protest with only forty protesters? Shoot diagonally from above and it’ll look like hundreds. Black and white creates drama. When looking at news pictures, see them in this context, and ask “what was the journalist doing to put across his point of view?”