Dark trick

A trick from the dark side.

When you have to shoot in low light, and I mean super-super low light (think f/1.4 at 1/15th sec at 3200 ISO), you can underexpose and pull up the image later.

This introduces nice (grain).

So then you… and here’s the trick…..Convert it to black and white.

Noise looks OK in black and white, and muddy colour disappears.

So sometimes b&w just means “it wasn’t good enough for colour”.

And then, sometimes an images just looks better in b&w.

When to look for black and white?

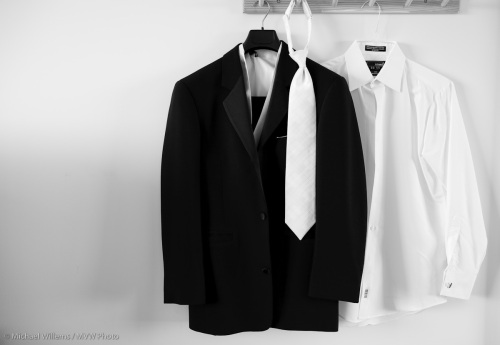
It seems almost too obvious, but one time you may want to consider going to black and white is… when you see strong blacks and whites. Like in this shot I made at a recent wedding:

MVWS9604

Strong blacks, strong whites, nice greys, and an off-centre composition. That makes this shot, wouldn’t you say?

Assignment: shoot one photo in black and white today. You can shoot in B/W in your camera or do it in Lightroom/Photoshop/etc.


More Black and White tips

I love black and white, so I thought you might too – in which case you might be interested in the following Quick Tips:

  1. Use B&W when the image is too grainy. In B&W pictures, grain can add, rather than detract – or at least it is less distracting.
  2. Set your camera to B&W – even if you shoot RAW. It will not have any effect on the RAW image (at least, no permanent effect), but you will see what you are getting on your LCD display.
  3. If you shot JPG, shoot in Adobe colour, and convert to B&W later.
  4. Use Lightroom rather than other software to convert. Use the Lightroom Develop module’s HSL/Color/Grayscale tool.
  5. In this tool clock on Grayscale and adjust. Lightroom has a great way of doing the standard conversion.
  6. And now, still in that tool, adjust to taste. Add to the “red” and “orange” slider in order to make skin better. Use other controls as needed to add contrast between your subject and the background.

As an illustration, here is an image converted automatically:

IMG_1080

Here, I have butchered it (and me – ouch) by dragging ‘orange’ and ‘yellow’ down:

IMG_1080-2

Here, I have done more of an appropriate conversion:

IMG_1080-3

See what I mean? This is equivalent to the old red-yellow-green filters. Except much more interactive and much simpler.

Self portrait

How do I take one of these with my new 7D?

IMG_1086

I set the camera on a tripod and use pocketwizards to fire one flash into an umbrella. One flash gives me that severe look, but to slightly lessen that, I have a reflector on the other side (camera left). I used a 35mm f/1.4L lens on the 7D, meaning an effective lens length of about 50mm. The “Nifty fifty”!

I set my camera to 100 ISO – best quality, and background light does not upset the shot. And I am in manual mode, at f/8 (enough DOF) and 1/125th second. I use autofocus where the camera selects a focus point, This time. I will – because as the subject I cannot see what I am doing.

Finally, I use the timer of course. So I can press the shutter while I hold my hand out; then sit down as the camera beeps.

And then I check: sharp enough? Nice graduated tones from dark to light? Catchlights in the eyes? Check!

Black and white

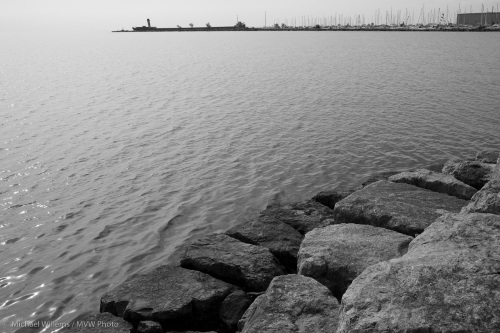
…and grey. Underrated, as said before, Here’s a recent snap of the day.

MVWS9179

Port Credit, September 2009

My advice to all of you is to do more black and white photography. Ideally, shoot in RAW (but preview in B&W on your camera)  and use Lightroom (or if you must, Photoshop) to intelligently convert the images. Some will work; others will not; and you will learn from this process. As I do, every day.

Black and white…

..is underrated, I think; especially for portraits. Or else why don’t we do it more?

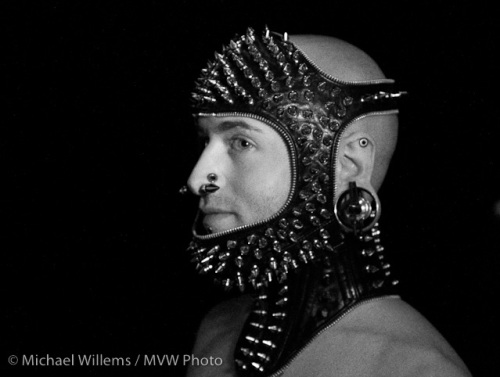
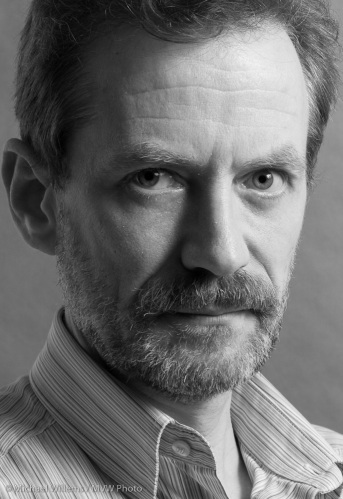
A good black and white photo can full of character; moody, even. Especially in portraits, where the absence of colour means the absence of distraction, and the ability to concentrate on the essence of the person.

MVWS8517-2

35mm f/1.4, 1/30th sec, available light

For a good B&W picture, you need to realize that the background and the subject need to contrast, and that where we see clear colour contrast, in a B&W picture we may see none.

B&W works especially well where colour distracts. It can work where the subject either has blacks and whites, or is high-key or low-key. A good B&W picture can be a study in shades of grey.
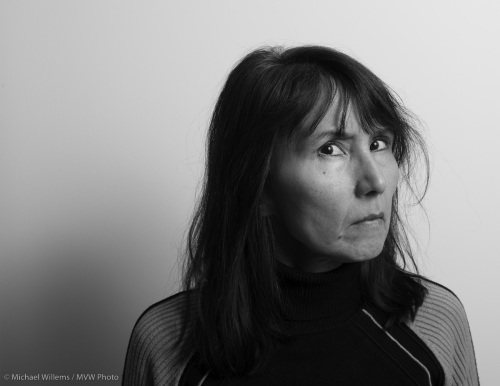
MVW_0021

35mm on 1.3 crop camera, f/8, 1/200th sec, strobe in umbrella.

When I shoot black and white, I do the following.

  • I shoot in RAW. This is essential.
  • I always set the camera to “Black and white” also. Even though this has no effect on the RAW images, it gives me a preview of roughly what the image will look like.
  • I ensure I do not overexpose the whites, but I do “expose to the right”. I.e. until the histogram almost hits the right edge.
  • Then I finish the image in Lightroom. In the DEVELOP module, I use the GRAYSCALE adjustment in the HSL/COLOR/GRAYSCALE tool. This gives me the easy ability to change different colours’ brightness.

This last step in particular has made B&W a practical endeavour once again for a busy guy like me. You know what they say: “no rest for the wicked”. And if I were, oh, 35 years younger I would add a “LOL” at the end of that.

Finally: B&W does not have to be moody – or rather, the mood does not have to be serious. Here’s my friend Keith, and his happiness and intelligence, big parts of his personality, really shine though here:

MVWS2431-Edit

50mm f/1.4, 1/1000th sec, available light

Go ahead, give it a go. Have fun shooting B&W. And because you are shooting RAW, you can always go back to colour at the touch of a button.