Toay we have so much power. So much more than in the film days, where we had toi get it all done in camera.
Now, no more. We can shoot RAW and do any desired post processing later.
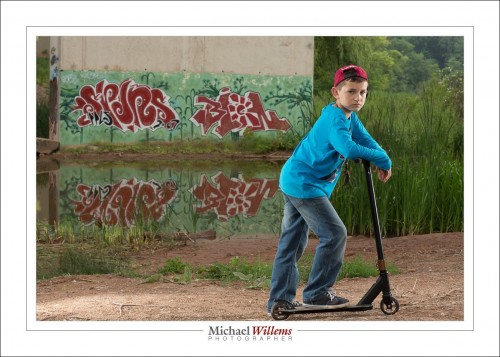
Take this image, one of the “tween and teen” shoot of the other day:
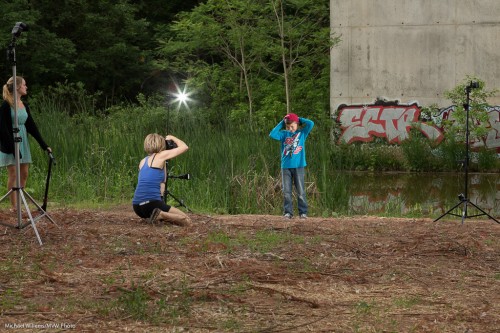
The kids’ mom and I shot that like this:
So I like the vivid colours. But what if I wanted B/W?
I would set my camera to RAW, but picture style to B/W. That way I see B/W on the back of the camera, to give me some idea.
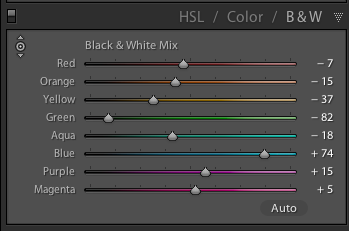
But the moment I get home, in Lightroom I see colour again. So I go to the DEVELOP module, in within that the “HSL/Color/B&W” pane. I select B&W:
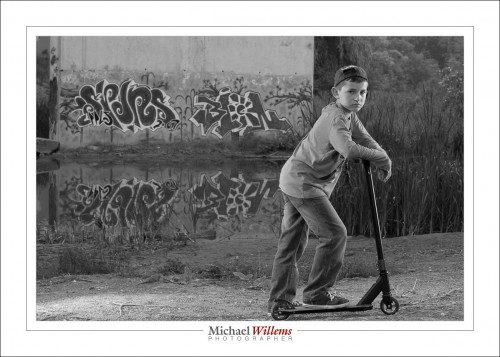
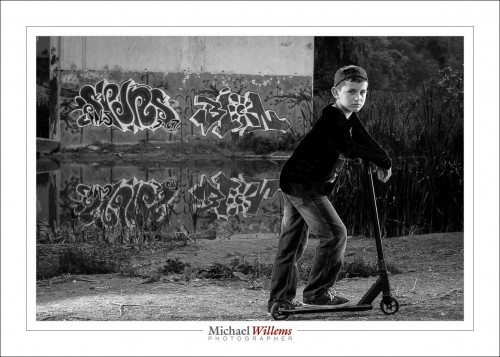
Which gives me this:
That’s nice and all, but as regular readers know, I can now set the brightness of individual colours. Why? Well, for instance, to create contrast between subject and background, or to emphasize or de-emphasize certain areas.
For example, I could make the shirt darker by sliding the “BLUE” slider to teh left. All blue areas (mainly the shirt) would get darker:
Be careful not to go too dark: you will see artefacts: look carefully at the edges of the shirt:
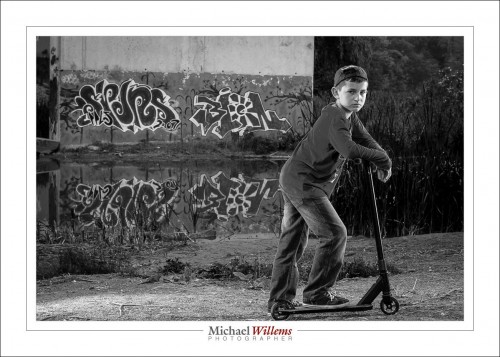
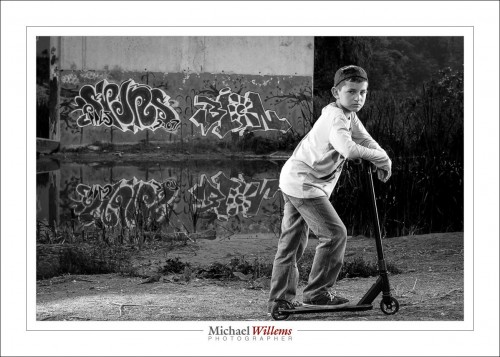
Anyway.. here, I want the shirt brighter. So I tune up blue, and then make various other small adjustments, like making green darker; all of which are aimed at making the boy stand out from the background:
Which gives me my final picture, which looks like this:
Actually, that’s not bad, especially when you consider that in Lightroom, this takes merely a minute of your time.
In the past, we would have used actual filters in front of the lens (e.g. a yellow filter would make the blue areas go darker). The problem is that you cannot readily experiment. Here, you can go crazy (though please don’t). Fun!
___
Come to me for some personal training, if you want to master these techniques. See http://learning.photography. Bring a kid or two and you get two benefits: portraits of the kids and teaching. All you need is to bribe your child in to cooperating for three hours. Easy, right?

