Low key or High Key

Definition time:

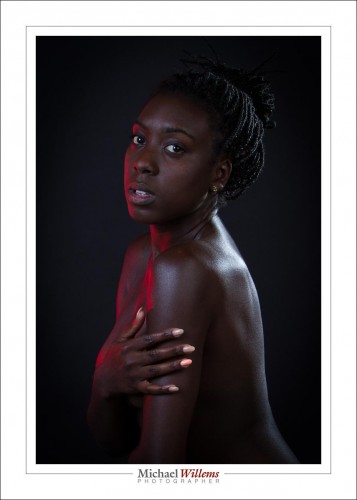
A low key photo is simply a photo that is “overall dark”. Like this one, of Serenity, made yesterday:

(Black backdrop, 200 ISO, 1/125 sec, f/8, softbox on left as main light, softbox on right as fill light, snoot behind right as hairlight, gridded gelled speedlight on left for red accent).

The nice thing is that the subject stands out because she is the only light thing; in particular, her eyes are.

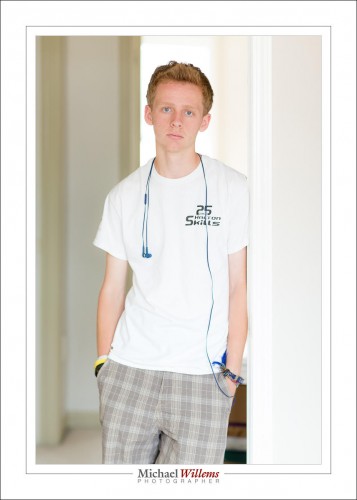
A high key photo, you guessed it, is a photo whose overall brightness is high. Like this, of intern Daniel, also made yesterday:

There you have it.

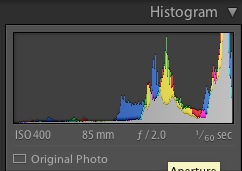
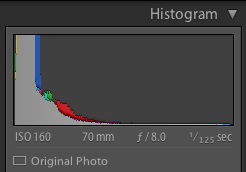
Which histogram belongs to which photo?

Answer tomorrow!


Quick Hi-Key Recipe, or “What’s The Secret?”

There are many “secrets” in photography. They’re not secret, really: they are the distilled knowledge. The simplified “start here” points.

So let me give you one now—one of many from the Flash course; this one, which by the way I am teaching on behalf of Canon Canada at Vistek in Toronto tomorrow, Saturday:
Quick High Key Portrait

  1. Get a camera with a flash mounted on the camera.
  2. Set the camera to M (manual), 800 ISO, 1/125th sec, f/5.6
  3. Ensure that the flash is set to TTL mode (Through-the-lens metering).
  4. Set Flash Compensation to +1.7 stops (“plus one and two thirds”). You can do this on the flash (or on the camera if you are using Canon. In Nikon, do it on the flash please, or you are limited to +1 stop).
  5. Point that flash upward 45 degrees, behind you.
  6. Find small room with white (or at least whiteish) ceiling/walls behind you.
  7. Dress the subject in light clothing.
  8. Put the subject in front of you, about 1-2 metres away. Focus on model. Fire.

Now you will get this (I converted it to B/W and added some “film grain” for effect):
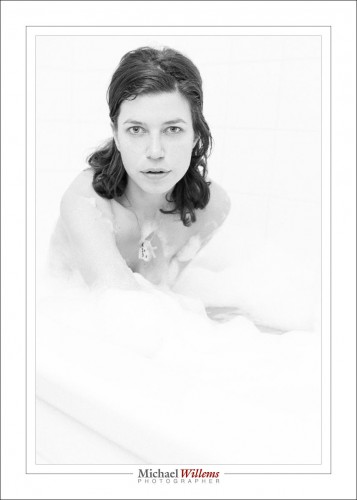
Not bad for a 30-second shot, no?

You should turn on your “blinkies”: you want the wall, but not the subject, to blink (to be overexposed, or close to it).

If the picture is too dark, increase flash compensation. If that makes no difference, then it is a lack of available power; in that case increase ISO, or decrease the “f-number” (or both).

And that’s all there is to it, really.


High key fun

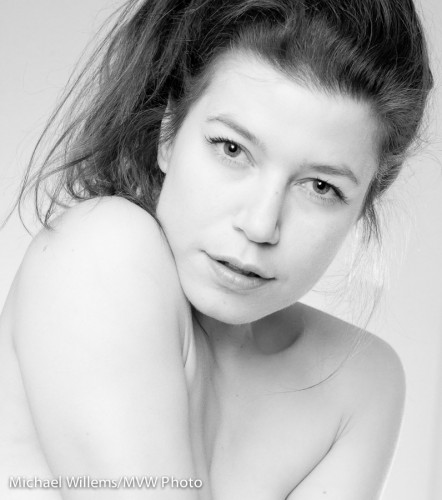
When I shoot glamour portraits, I like to use black and white, and I like to make them high-key, as in this example below from a few days ago.

Model Kim (Photo: Michael Willems)

Why high key b/w?

  • First, because I very much like the look.
  • Second, because by using high key B/W, I ensure that attention is drawn away from everything except the face – that is what we end up looking at. Eyes, face.
  • And high key minimizes facial flaws, wrinkles, blemishes: the lighter you make it, the less these will show up. I set my TTL flash to +1 stop FEC usually, or more.
  • And B/W also offers the option to reduce blemishes: just increase the relative luminance of the red channel (like using a red filter in the old days).

That’s four good reasons to do this if you want someone to look great and flawless. And who doesn’t want to look young and flawless?


High-key black and white

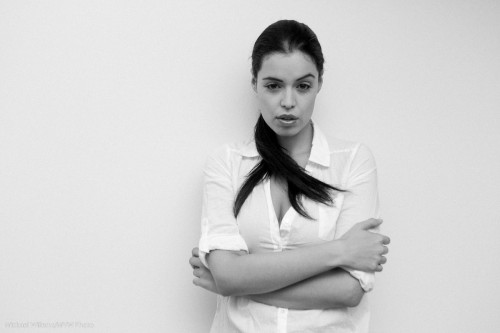
One of my favourite photo styles is this: high-key black and white, against a simple white background. This reduces the clutter to a minimum and starkly emphasizes the subject. Like in this image from the 20 November Mono, Ontario all-day workshop:

Tara, by Michael Willems

What I would say if I were to discuss this:

  • The image screams out “black and white”.
  • Clothes (white)  and wall (white) both disappear. I like the emphasis this gives the subject and the pose.
  • I like the 1970s feeling. I added a little grain to this image in Lightroom to emphasize that.
  • Slight, very slight, soft beautiful shadows are important.
  • Light is simple: one flash bounced behind me.
  • Of course you use exposure compensation and the histogram to check your exposure. But you knew that. Hit the right side (just).

Try a portrait like this! All you need is a white wall, a camera, an on-camera flash, and a model in white.