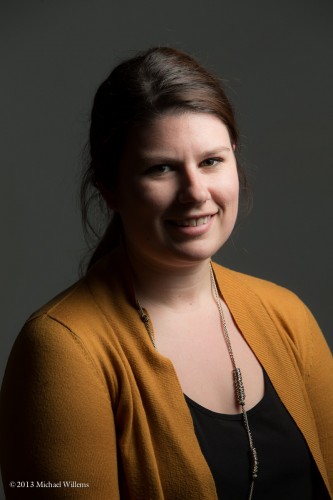
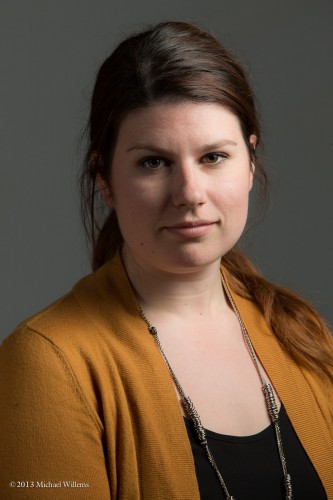
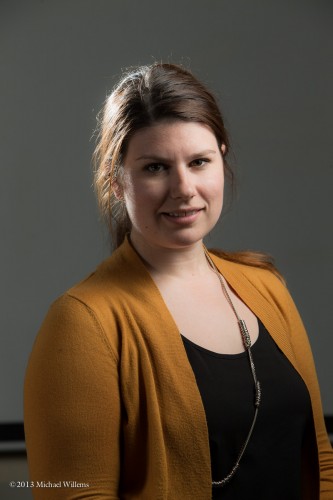
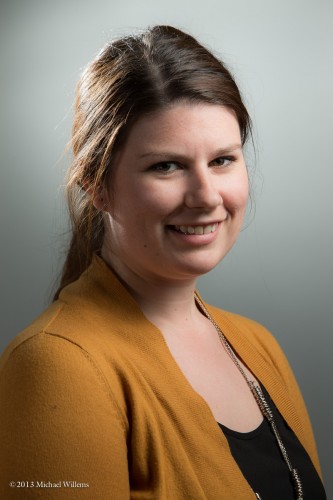
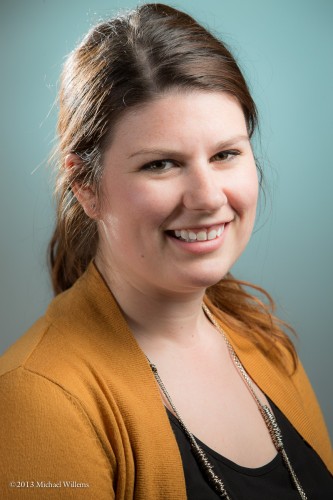
A “standard” studio portrait is very simple to build if you have three or four flashes; and it is entirely repeatable, that is its beauty. Here’s how you do it in six easy steps:
ONE set the camera to settings where the ambient light does “nothing”. Like 100 ISO, 1/125th sec, f/8. Test this by taking a non-flash picture: it should be dark.
TWO set up your main light, using softbox or shoot-through umbrella, at 45 degrees from the subject, 45 degrees up. Turn your subject into that light.
THREE then add a fill light on the opposite side. You can use a reflector, or another flash with umbrella, set two stops darker than the main (“key”) light.
FOUR then add a hair light, for that shampooey goodness™. This is a light from behind at an angle, using a snoot or grid to avoid lighting all of your subject.
FIVE then add a background light – another flash.
SIX then decide if you want colours anywhere – like the background. I used a complementary colour here – complementary to the subject and her clothing:
Done!
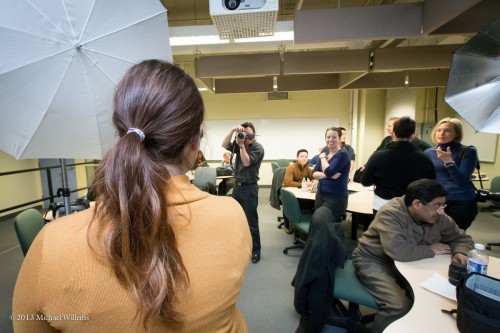
Here’s my Sheridan College class on Monday, practicing this:
___
Want to learn this? Next week’s workshop (April 10) in Hamilton, Ontario is about this very subject: studio photography. In one evening, learn to do this, use a light meter, use pocketwizards, compose, etc. There are still spaces, but this small, intimate studio workshop is limited to 10 students, so book right now!
http://photonetworkexpo.com/ : come see me talk this weekend in Toronto about Flash Photography, and even better: book online and use promo code Michael2013 to get 50% off a weekend pass. See you then!

