x100: Can you see a theme?

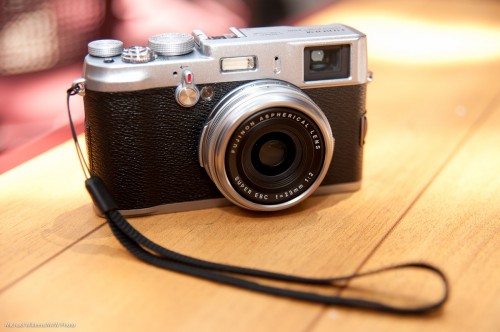
Regular readers will see that the last few days, I have been shooting with, and talking about, the Fujicolor x100 camera that I carry:

Fuji X100 (Photo: Michael Willems)

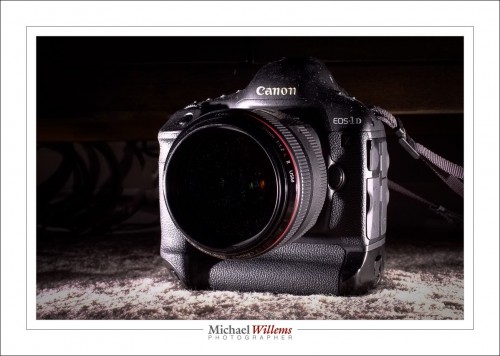
The theme has been: given the right light (e.g. flash!) and the right techniques, you can take professional pictures with it that are as good as those taken with an SLR. This is almost straight out of camera (a crop and a few dust spots removed):

Now while I am not recommending product shoots with the x100, this goes to show it can be as good as an SLR.

But now let’s take it a step farther. It can be better.

Yes, better. And here’s how:

I just took that picture at 200 ISO, f/8, 1/1000 sec. That makes for that nice, dark sky.

Wait. Did he just say 1/1000 sec, one thousandth of a second? That is impossible since the flash sync speed of 1/250 second limits the shutter speed you can set the camera to when using a flash. Right??

Wrong. The x100 has a leaf shutter. And it allows flash up to 1/1000 second. And as said, that is why that sky is so wonderfully dark. It is in fact noon and it looks bright to my eyes. But 1/1000 sec makes it dark. Two stops darker than my other cameras could have done!

But he could have done that with aperture, with a higher f-number. Or with an ND filter.

Nope. If I had, I would have run out of flash power. The flash needs to get through that filter, or through  that small aperture, and it is not bright enough at higher apertures, especially when a modifier is being used.

So the x100 may be small, but it can do things my $8,000 1Dx cannot do. Just saying!


Toy, but not.

I have a Fuji x100 camera—the original version—and I love it. Its cool looks, its brilliant dual-mode viewfinder (optical or electronic); and more.

Fuji X100 (Photo: Michael Willems)

But the one niggle has been its image quality, or the lack thereof. Everyone raved about it; I found it average, if that.

Until I set it up correctly.

And here’s what works for me:

  • First, upgrade the firmware to the recent version, 2.10. To see what you have, turn off, then press DISP/BACK while turning ON.
  • Set image quality to RAW + Large/Fine JPG.
  • Set Film Simulation to B/W plus Red Filter (or B/W plus Ye Filter).
  • Set focus to Manual (using the switch by the lens).
  • Set MF ASSIST to Focus Peak Highlight—High.
  • Set Sharpness to M-Hard.
  • Set NOISE REDUCTION to LOW.

The latter one is essential; the built-in noise reduction makes it look a little plastic. With these settings, I get excellent images even at high ISO values.

B/W is of course an option; I like top shoot B/W, but because I shoot RAW plus JPG, the RAW image still contains all the colours, so I can do my own conversion, or go back to colour, as I desire.

Learn how to use it. E.g. macro mode can be activated by simply hitting the macro button twice; no extra confirmation steps are needed.

Manual focus is a misnomer: in this setting it can be manual focus, but you can also just focus by pressing the AFL/AEL button on the back. So it is really “autofocus by separate back button, or manual if you like”.

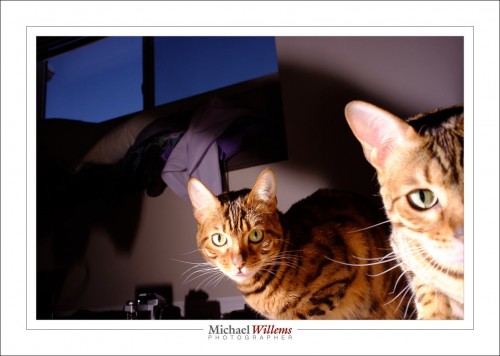
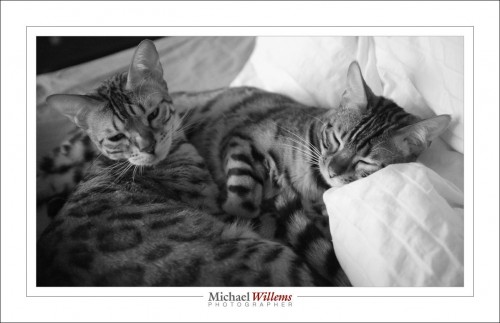
This setup is essential in that it gives me excellent image quality and convenience in focusing and general use. Now, it is even more a great camera. Excellent for street photography, general use—or cats.


Studio cameras

Professional studio portrait cameras have to be the most expensive models. That’s just a given.

Right?

Oh wait. No… they do not need to be the most expensive. I have taken many studio shots with Digital Rebels and a 50mm f/1.8 lens (go get one if you do not yet own one).

Today I took a studio shot of my friend and student Paul M. Rather than using my 1Ds Mark III, I used the little Fuji X100 with its fixed 35mm equivalent lens – and got this:

Fuji X100 Portrait of Paul M (Photo: Michael Willems)

This was made to show the effect of one flash and showing no ambient light. i.e. a setting which ensures that the flash does all the work. To do this I simply:

  1. Set the camera to manual, 1/125th second, f/5.6, 200 ISO. (take a test shot: it should look dark. If not, check that your auto ISO is disabled).
  2. Turned on the “external flash enabled” setting in the X100’s menu (you need to do that, or the hotshoe will be inactive).
  3. Connected a radio sender to the camera’s hotshoe, in order to fire a battery-operated Elinchrom portable strobe in a small softbox .
  4. Fired a test flash while holding the meter to where the person would be, then set the flash power level until the peter read f/5.6.

That was all. A professional quality studio shot with a point-and-shoot.  Yes, true, it is not any point, and shoot, but still. And of course a simple SLR would have done too.

Is it sharp? Sure it is. Here’s a true size part of the picture, pixel for pixel:

(To see the true sharpness, click, then view it at true size)

X100 owners: remember to turn on the “external flash” setting, as described above. Also, remember to turn it off again when you are done – with this setting enabled, the camera refuses to go slower than 1/30th second in Aperture mode or Program mode. (if that is documented I am not sure where – but it is a sensible setting I suppose -as long as you know about it).

Note, finally, that this was a JPG straight out of the camera – yes a JPG, with the camera using standard settings. No extra sharpening was applied – all just standard settings.

So yes, if the lens focal length suits the portrait you are shooting, you can certainly use a small camera for studio work.


Solution to many problems: ISO

As you know, an exposure is determined by three factors:

  1. Aperture: the larger (ie the smaller the f-number), the more light gets in.
  2. Shutter: The slower the shutter, the more light gets in.
  3. ISO: the higher the ISO, the less light is needed.

So from this “triangle”, the following follows: if you want higher shutter speeds, either lower the f-number or increase the ISO.

And increasingly, the latter is an option.

In the last day or two, I shot the following as JPG images (imagine, me shooting JPGs) in the X100 camera. View them at original size (click, then click on the “full size” link (where it says “Full  Size = 1200×800”), then view that on your Mac or PC at full size).

Now realize, all I did to these is crop a little in a few cases, and resize for these web images – other than that I did not touch them. They were shot as JPG files with standard settings: no extra noise reduction or anything else. Just standard.

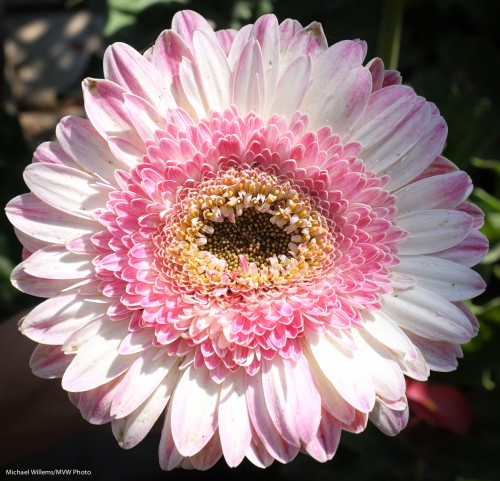
First… 800 ISO used to be high. Now it gives you this on a point-and-shoot. Admittedly, the Fuji X100 point and shoot:

X100: Flower at 800 ISO (Photo: Michael Willems)

Indistinguishable from a 100 ISO image of just a few years ago!

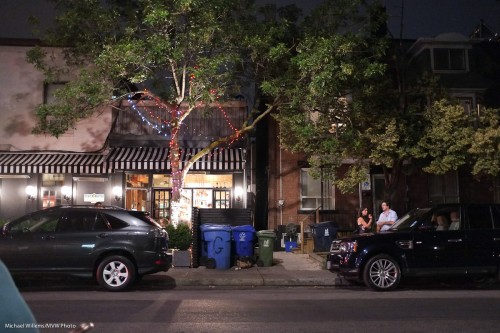
320o ISO used to be impossible. Now look at this:

Little Italy, 9 July (3200 ISO X100 photo: Michael Willems)

(1/15th sec at f/2, 3200 ISO).

Little Italy (X100 Photo: Michael Willems)

(1/20th sec at f/2, 3200 ISO).

Little Italy, 9 July (3200 ISO X100 photo: Michael Willems)

(1/15th sec at f/2, 3200 ISO).

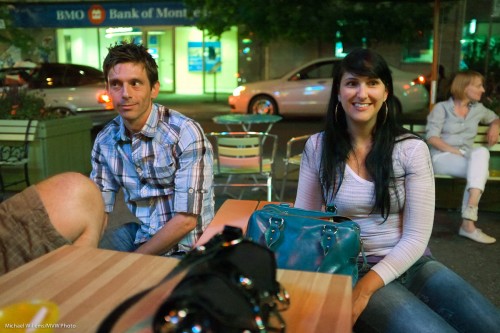
Couple in Little Italy, 9 July (3200 ISO X100 photo: Michael Willems)

(1/80th sec at f/2, 3200 ISO).

Wow, what quality! Surprised to see the pic, the couple remarked “but I did not see you flash”. Yes, that is a big benefit of high ISOs.

And let’s take it up one more notch. Here’s 6400 ISO:

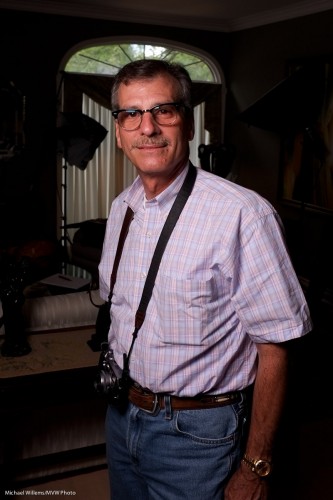
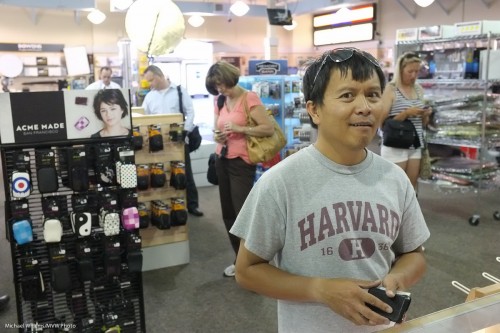
3200 ISO: X100 owner in Mississauga (Photo: Michael Willems)

Wow. That is 6400 ISO? Yes it is. Can I make an 8×10 print from that? You bet, and more.

So what does this mean?

It means that I can now shoot at 3200 and above wherein the past 800 was the absolute limit. That is 2-3 stops of extra light.

This in turn means that with a fast moderate wide angle lens I can now shoot pretty much in the dark: an outdoors restaurant, where amazingly, the camera actually sees more than I do, and it does it with great quality.

So, with the right equipment you no longer need to be afraid to shoot at high ISO values. And that means hand-held night photography now becomes a real option. I urge you to take advantage of that. See how far your camera can go and use it.