Expose

A student told me today that she had issues with shooting in manual mode. Especially, she says, in difficult circumstances.


Well, here is my answer. Yes, it is tough. “Less than ideal circumstances” is as much of a problem for me and everyone else as it is for my student. That is why we buy expensive lenses (low F-numbers let in more light; expensive cameras allow very high ISO values, and so on). Perhaps my student found it tough because it is impossible with her equipment.

But the principle of exposing right in manual mode is still simple. If it is too dark in your photo, you can do exactly three things (apart, of course, from turning on more lights). Same for my student as it is for you and for me.

1. Increase the ISO
Drawback: more grainy pictures
Limit: your camera only goes so high
What the pros do: buy an expensive camera that works well at high values

2. Lower the F-number
Drawback: you get less depth of field, which sometimes you want.
Limit: your lens only goes so low.
What the pros do: spend lots of lenses with low f-numbers

3. Slow down the shutter
Drawback: you get motion blur in your photos.
Limit: anything slower than, say, 1/60 sec will give you motion blur.
What the pros do: not go too slow. Or use a tripod..

So if your picture is too dark, you just have not gone high enough (iso) or you just have not gone low enough (f-number) or you just have not gone slow enough (shutter). Not difficult.
And you can use a trick! Let’s start with that trick.

  1. Go to PROGRAM Mode (P)
  2. Press the shutter slightly so you see the chosen aperture, shutter speed, and ISO
  3. Write those down.
  4. Go to MANUAL mode (M)
  5. Enter those values for ISO, aperture, and shutter.
  6. Now start varying from there. See what happens when you vary each of the parameters.

It really is as simple as that to get a good starting point. And you can also get good starting points for the variables. Like ISO: 200 outdoors, 400 indoors, 800 in tough light. Or shutter: keep above 1/60. Or aperture: open up indoors (low “F”), and stop down outdoors (high “F”).

 

Metering 101

Light meter at “zero” means a good picture. Right?

Wrong.

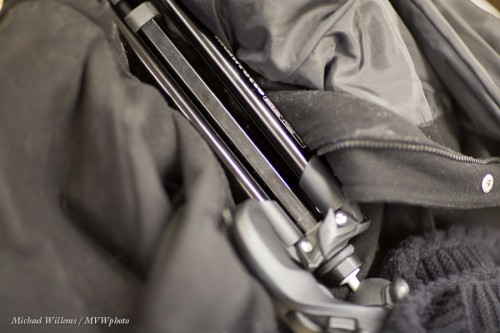
Shoot something black, filling the entire viewfinder with that object, and make sure the light meter points at “zero” as you are pointing at the subject (use the viewfinder!). Take the picture.

You get this:

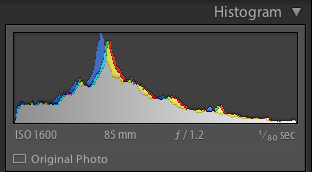
The histogram shows why this is bad:

A histogram of a black object should peak on the left (the dark side).

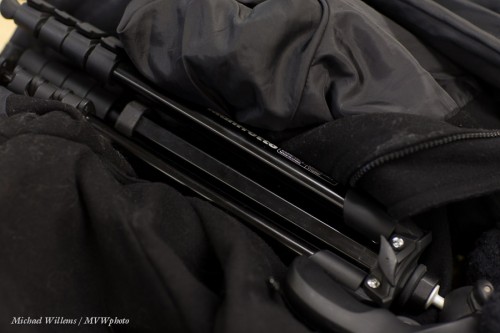
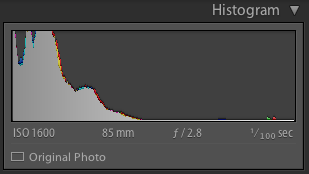
Now do it again, with the light meter pointing at –2 (minus 2):

Perfect. Look, the histogram is right for this type of scene:

The moral of this post:

  • “The meter displays zero” does not equal “this will be a good picture”. It merely means “this will be a mid-grey picture, neither dark nor light”.
  • “The meter points to minus” does not equal “this will be a bad picture”. It merely means “this will be a dark picture”.
  • “The meter points to minus” does not equal “this will be a bad picture”. It merely means “this will be a dark picture”.

And there you have it. Now you understand the camera’s built-in light meter.


No Meter? No Problem

In studio shoots, you use a flash meter.

But if you do not have one, can you do it? Sure you can. Here’s a trick:

  1. Set up your lights. Guess the light’s power setting.
  2. Get a grey card, and hold it in the exact spot where your subject will be, aimed half way between the light and the camera, as your model may be.
  3. Set focus to manual (we are worried here about exposure, not focus!)
  4. Fill the viewfinder entirely with the gray card (be sure not to block the light)
  5. Click.

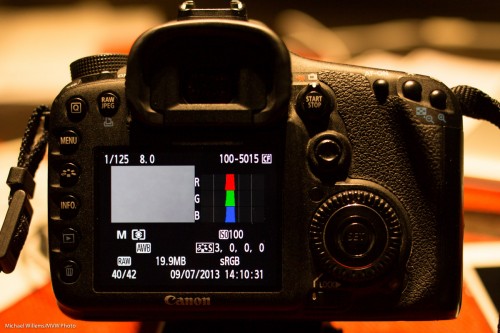
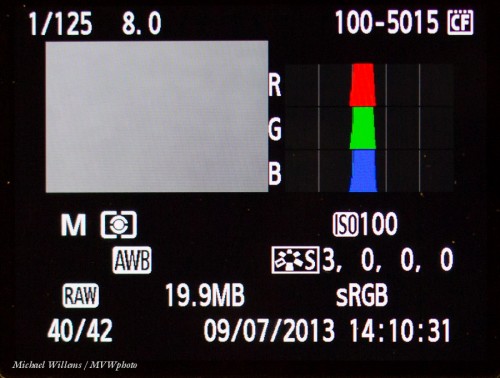
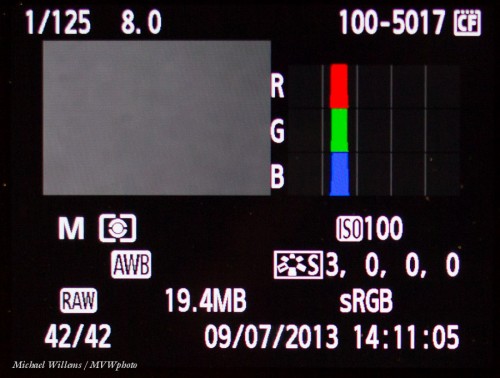
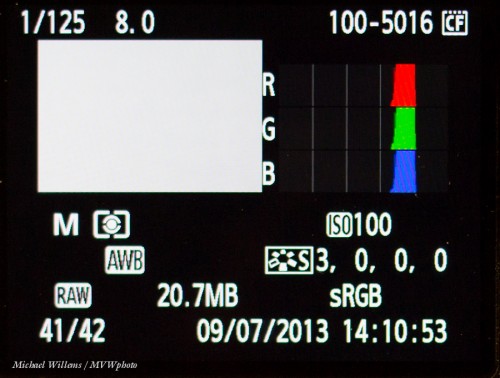
Now review the pictures. Press INFO or DISP, or hit UP/Down, until you see the view that includes the histogram.

Now here’s the trick. A good picture has the histogram peak (or peaks) in the centre. So if you see this, you are ok:

What if you see this, a histogram on the left side:

That means you are underexposing. You need to turn up the flash power and try again:

And if you see this, the histogram on the right side:

The histogram is on the right; you are overexposing: turn down the flash power, wait a few seconds so it can dump its excess charge, and try again.

As soon as you are in the centre, take a real shot and check – you should be OK. And you metered it – and all without a light meter!


What a difference a stop makes.

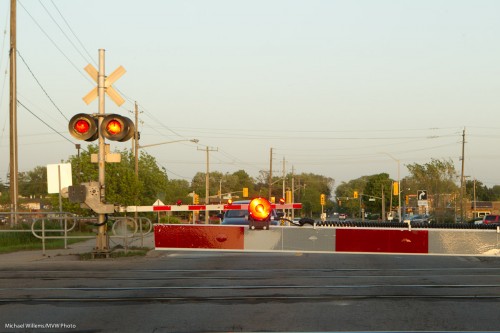
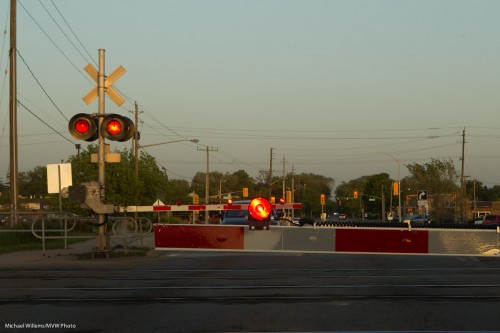
Shoot a late evening scene the “normal” way – auto white balance and exposed for a bright scene:

And now shoot it with shade or daylight white balance, and exposed by two thirds to a stop less:

…and you will see a huge difference. Now, do not get me wrong: it is OK to feel that one way is right, or the other way, or even a way in between. What I want you to realize, though, is that a slight exposure difference can make a huge difference in the image.

Lower exposure accentuates and saturates colours, like the red in this image, and makes skies visible rather than detail-less white.

This is why you should think of exposure as a valuable tool rather than as a hassle. And why you should always shoot RAW, so that you can make adjustments later. Not that you would plan to do that – you should pklan to get it right in the camera – but it cannot hurt to at least have the option.


Black and white

And this time I do not mean “as opposed to colour”. I am repeating myself here, but it is worth doing: a few words about metering light and how your camera does it, and how to fix it when it does a less than stellar job. I get so many questions abut this, it seems worth going over it again.

Let’s analyze this exposure puzzle. It has three elements.

ONE. Your camera’s light meter is a reflective meter. It measures light reflected off your subject. So it does not know how much light is hitting your subject – it only knows how much is reflected. That is one part of the puzzle.

TWO. Your camera also does not know what the subject is. That is the second part of the puzzle.

THREE. Your camera’s job is to:

  1. See how much light there is
  2. Then set aperture, shutter, ISO (or some of those – depending on what exposure mode you are in) to ensure that that observed quantity of light gives you a well-exposed picture: not too bright, not too dark. This is a narrow range of acceptable light on your sensor: a bit too little and it’s underexposed; a tad too much and it’s overexposed. Your camera’s job is to keep the light on your sensor within that range.

That is the third part of the puzzle.

So let’s put them together.

Usually, they go together well and you get a nice picture of whatever you are aiming at. Done.

But when does this not work? When your subject is meant to be dark – because it is. Or when your subject is meant to be bright – because it is.

Exercise. in Program mode “P”), and using no flash, and taking care to fully fill your viewfinder with it, shoot a ski hill. Or a white sheet of paper made to look like one:

Looks grey! Because that is the camera’s job.

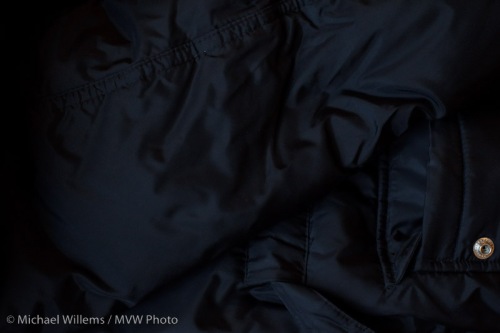
Now shoot a coal mine. Or a coat that is as black as one:

What the… that also looks grey!

That is because the camera does not know it is meant to be black. By default, your camera makes everything “in between” in terms of brightness.

Solution. Now find the Exposure Compensation button on your camera. It looks like a “+” and a “-” with a diagonal line separating them. Plus means “turn up the brightness”, minus means “turn down the brightness”. (It does this by varying whatever it is varying of shutter speed, aperture or ISO, but only “more so”). You may have to hold the button while turning a wheel, and you can see what you are doing as a number or as a graph on the top of back of your camera, depending on which camera you have.

Find the control and turn the value up to +2 and re-shoot the ski hill. Now you get:

That’s better. Check the histogram to ensure it is not stuck against the right side (“overexposed”).

Now set the Exposure Compensation to -2 (minus two). Re-shoot the black coat. You get this:

Finally. A black coat!

So now you know:

  • When your picture looks too dark, use +/- set to plus and retake the picture
  • When your picture looks too bright, use +/- set to minus and retake the picture
  • This is most likely to be needed when your subject is very dark (coal mine, black coat, dark night) or very bright (beach, snow, white marble room, piece of paper, person against a white wall).

That is actually quite simple!

Notes:

  • Do not use flash – that’s a separate subject (and it has a separate adjustment)
  • You can also spot meter to a grey subject to avoid the need for exp comp
  • You can use manual and use the displayed meter in the same way (minus mens darker, plus means brighter).

Try it and you should, from now on, have no problem exposing right.

Flash and ambient exposure

What factors affect your flash exposure? There are four:

  1. Aperture
  2. ISO
  3. Flash power
  4. Distance from flash to subject

Two that do not affect flash exposure, or affect it to a lesser degree:

  1. Shutter speed
  2. Distance from subject to camera

What factors affect your “ambient” (available light) exposure?

  1. Aperture
  2. Shutter Speed
  3. ISO

Several that do not affect your ambient exposure, or affect it to a lesser degree:

  1. Flash power
  2. Distance from flash to subject

So you can see that by altering shutter speed, you only affect ambient exposure, while by altering flash power you only affect the flash exposure.

Expose to the right

What is this “expose to the right” thing we keep hearing about? And do I expose to the right?

A sensor can distinguish varying light levels. Say, for the sake of argument, 100 (the actual number does not matter. A JPG has 255 levels per red-green-blue colour, for example. A sensor can pick up more. But for this discussion, let’s just assume 100).

A picture will be a mix of dark and light (unless it is all one shade).

So let’s assume I am taking a picture of some normal scene that goes from dark to bright.

Ideally, I will want this scene’s sensor data to contain everything from “0” pixels (black) all the way up to “100” pixels (bright white). If I grossly underexpose it, it will be mainly black pixels (level 0), with some lighter pixels (say, between 0 and 10).  If I overexpose it, I’ll get maybe pixels between level 90 and 100.

So for a normal scene, it’s clear, I will want between 0 and 100. The histogram will stretch from left to right.

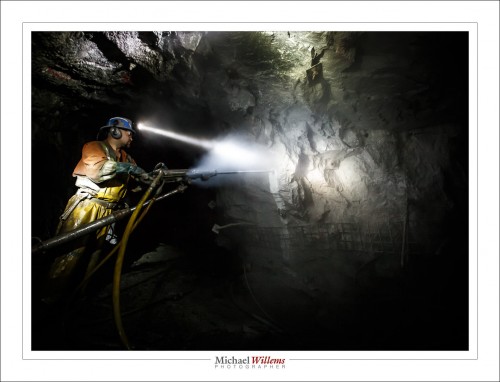
Now assume a dark scene, e.g. a nightscape. The actual scene may only contain dark stuff – from black to mid grey, say. So exposing it “realistically” would give me pixels from 0 to 50. And when I analyse it, there would be 50 levels. Or let’s assume I have a cave, where it’s so dark it only contains black to very dark. Real levels maybe 0 to 5.

So if I expose to give me a realistic histogram, it would only have five levels of black in the picture. Not much detail in five levels of black. Posterisation (that blocky stuff in areas that change brightness gradually) could easily occur. Also, low-level electronic noise would be hard to distinguish from signal (“The signal to noise ratio is low”, we say).

But if I expose that more (e.g. by opening the aperture or increasing shutter opening time), I would get, say, 0 to 80 levels of signal. Yes, the picture would look wrong – all bright – but if I do it that way I get 80 levels of black. I.e. I would preserve a lot more detail. I would of course need to reduce the levels again later in Lightroom or Photoshop, but I could do that in a way that allows me to choose which detail level to show.

And importantly, reducing the exposure also reduces the noise in that exposure (“the signal to noise ratio is higher”).

But too far, and we lose detail in the highlights (we hit the right side of the histogram).

So by “exposing to the right” and then reducing the exposure in post-production we:

  1. Reduce any posterisation
  2. Increase the signal-to-noise ratio
  3. Create a little more work for ourselves later
  4. Run the risk of exposing too far to the right – blowing out highlights.

So do I do this?

Well, I am not religious about it. Yes, I will often expose to the right. Willems’s Dictum says “Bright Pixels Are Sharp Pixels”. So as long as I can be sure I do not overexpose, I will go slightly brighter. I will check on my RGB histogram.

But not religious, because

  • Our cameras will often do a bit of this themselves, try to fill the available bit space.
  • I want to avoid too much extra work.
  • I might blow out highlights.
  • I feel bad about my skills if I look at “too bright” images.

So I do this in moderation.

Above all, though, I avoid exposing to the left, or underexposing. So you might summarise my workflow as “I always try to expose sufficiently to the right”.