Direct Flash: Can It Be Used?

Unmodified flash? Without umbrella, softbox, or bounce? Can I use that and still get good results?

In a word: yes. You do not always need flash to be modified.

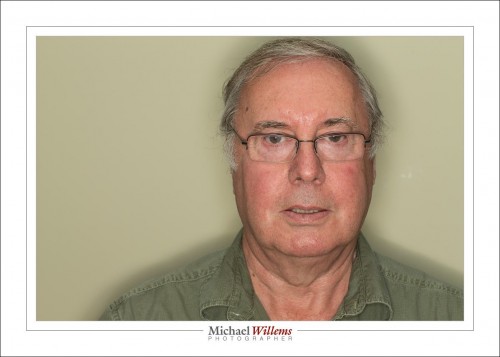
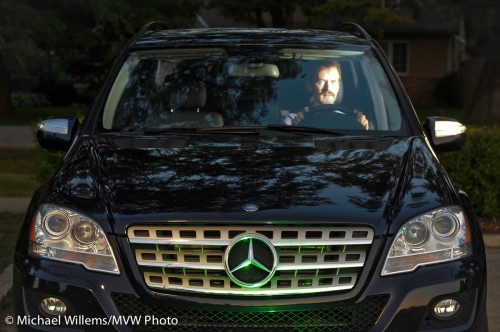
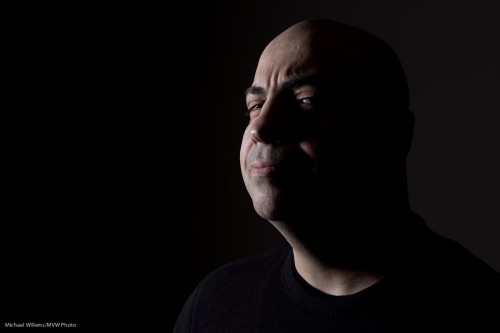
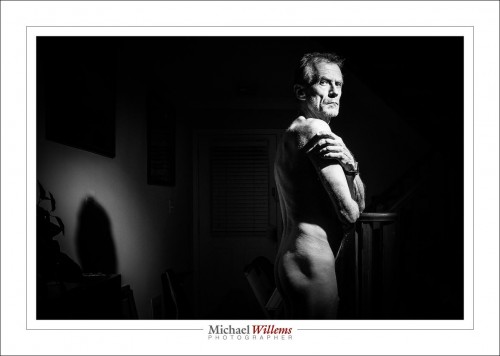
For instance, you may intend the look. One single, unmodified flash can give you a hard look, and that may be exactly what you are after, like in this high contrast B/W self portrait:

So sometimes you can use it to deliberately accentuate the hard look of a photo. So this is the intentional hard look.

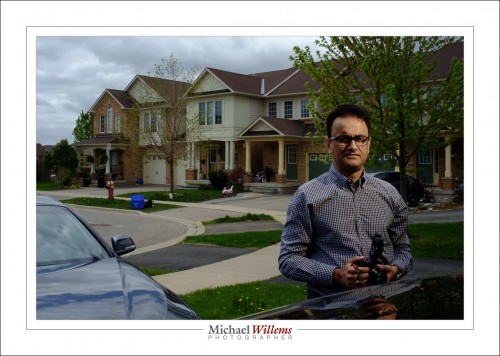
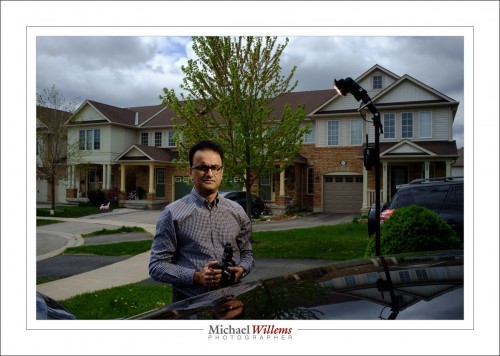
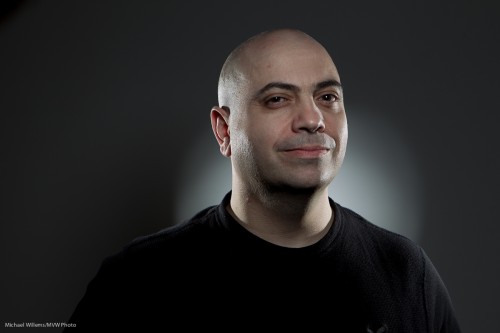
At other times, you are mixing in ambient light to take away some or all of the hardness. That, in other words, is the minimized hard look. One way to do this is to use another flash; another way is to mix in ambient light, like here:

That was made with one flash; see it on the right here:

The key in all examples here is that the flash may be direct, i.e. unmodified; but it is not where the camera is. In other words, it is off-camera flash (OCF).

Whenever you want to try a new look or technique, my advice: yes, try it and see. You may be surprised by the results.

A New Modifier!

You know how I like the Honlphoto range of small flash modifiers, and I use them all the time. Small, light, sturdy and affordable is a great combination of properties for travelling photographers. Right now David is just outside Mosul in Iraq. This brings back memories: I was in Mosul in 1982 (see me next to Nineveh’s City Gates), and I stayed at the Railway Hotel. Small world.

(Full disclosure: David is a friend of mine: but that is not why I recommend his stuff. The reverse, rather: I like his flash stuff so much that I contacted him and we became friends.)

Broadly speaking, there are three types of small flash modifier:

  • Modifiers that change a flash’s direction, like snoots, grids, gobos.;
  • Modifiers that change the flash’s colour (gels, coloured reflectors);
  • Modifiers that change the nature of the light, usually by softening, such as softboxes, reflectors, and bounce cards.

So you modify where the light goes, in what colour it goes there, and how it goes there. And now there is a new modifier in the latter category.

To place this new modifier, let’s start with the existing ones.

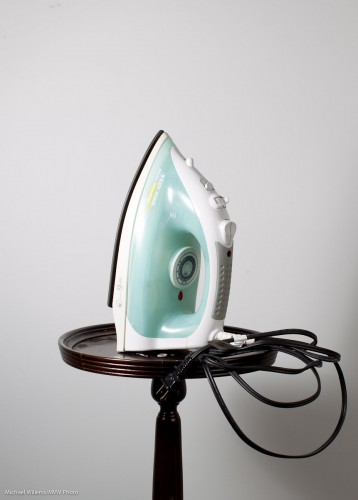
First, we have “no modifier”: aimed straight at the subject from atop the camera. When I use that, I get cold, harsh light. Look at this object in front of a wall:
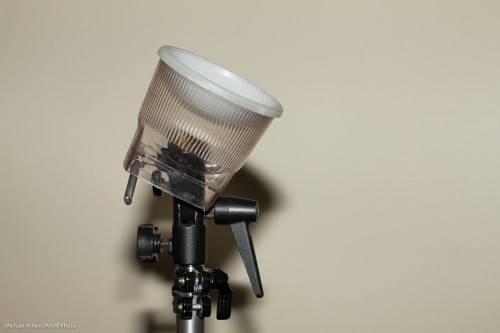
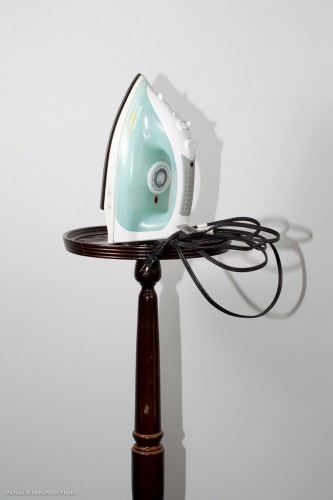
Then I bounce the flash behind me, up at 45 degrees, to get a much better result:
Much better, but I cannot always do this. The ceiling is sometimes too high, or it is a bright colour, or there are objects in the way that stop the light from my flash from reflecting back; or there simply is no ceiling.

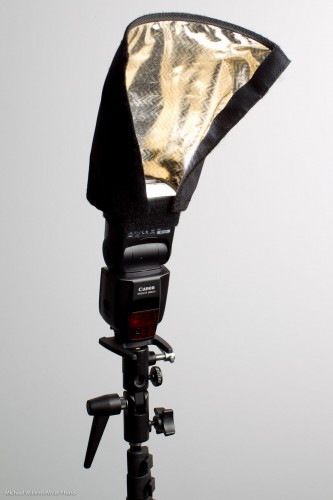
In those cases, I can use a reflector on the back of the flash. The Honl Speedsnoot doubles very nicely as a reflector. While this is not perfect, the shadows are a lot less hard than they would be from direct flash, and the light comes from a higher position.
This solution is not always easy: the reflector takes a little manual dexterity to tie to the speedstrap on the flash, and it can flop down all too easily.

I can also put a hard reflector card (bounce card/gobo) behind the flash. This is hard when there is no bounce at all, but it works very well when combined with ceiling flash:
Next: a great modifier is the softbox. In the next photo, I used a Honlphoto 8″ Traveller8 portable softbox off camera. The shadow is under my control: bring the flash closer and it softens, and the flash’s position determines where the shadow goes. Now that nasty shadow becomes a creative tool under your control.
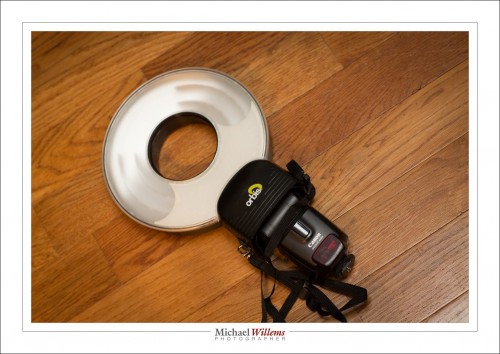
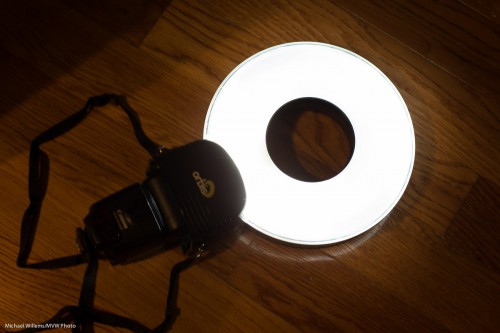
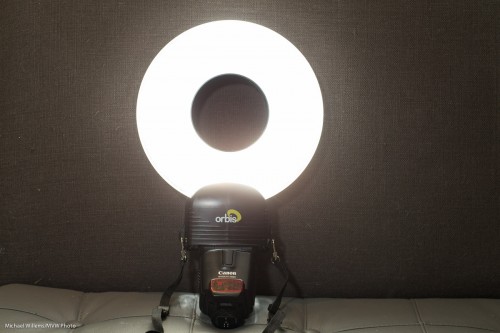
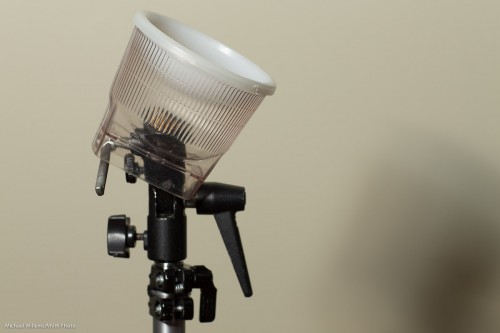
Another great option is the ring flash. Rather than buying one, you can go with the Orbis ring flash attachment for your speedlights. I will talk more extensively about this in a next post, but for now, just look at the light with its distinctive halo, a halo that shouts “Ring Flash!”:
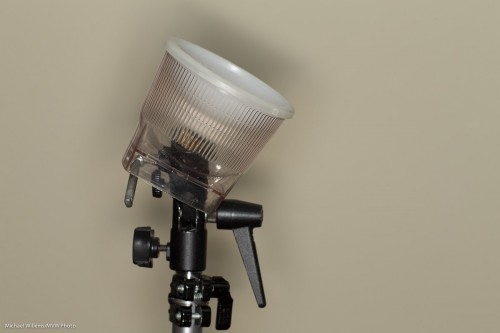
And if I take it off camera it’s still great:
 

NEW: THE LIGHT PADDLE; A MINI REVIEW

There is an all new small flash modifier to add. Dave just sent me one, a hands-on mini review of which I am hereby delighted to bring to you as a Speedlighter Exclusive… the Honl Photo Light Paddle.

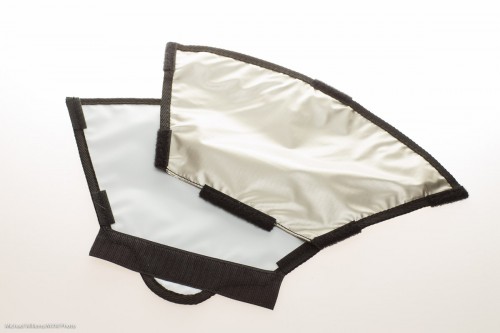
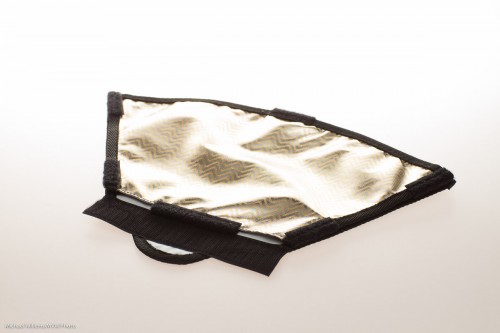
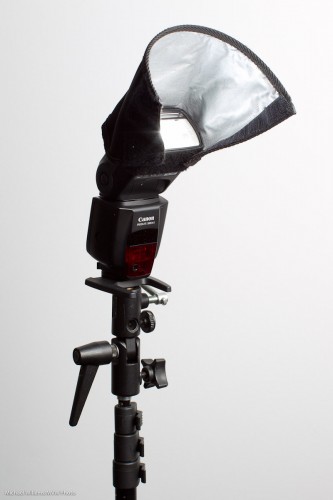
When you take it out of the package, the light paddle is a flat modifier, and in fact the package says “store flat when not in use”:
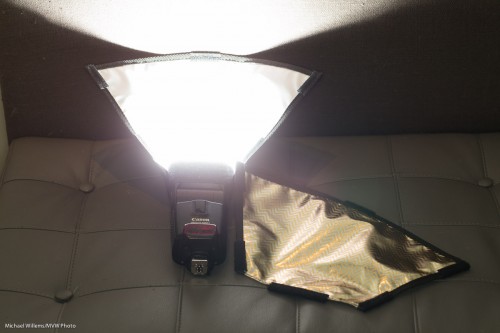
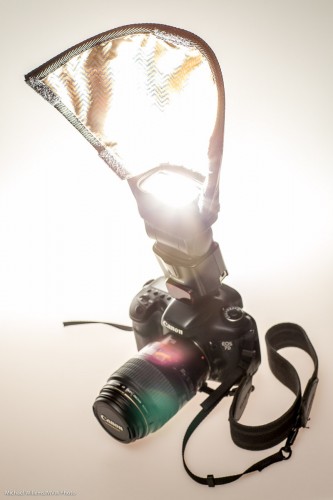
But attach its Velcro to a speedlight’s Speedstrap, and it becomes a convenient paddle that grabs the light, and nothing more or less, from the f;lash and bounces it forward.:
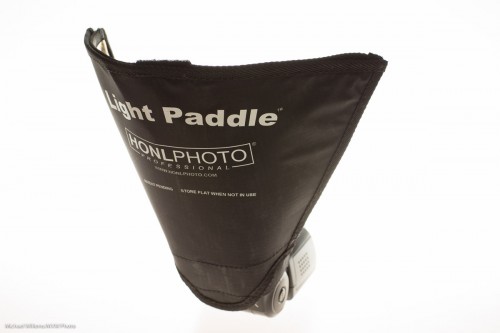
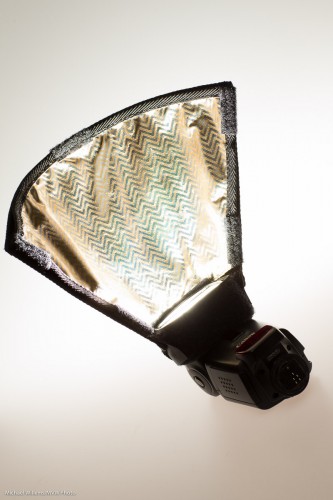
The Light Paddle is like the reflector, but having used both, I find that the Light Paddle has some big advantages over that and other modifiers.

  • It takes the right shape immediately. No guessing, adjusting, re-adjusting: it is the perfect shape each time.
  • It reflects the optimum amount of light from the flash, i.e. it catches the light, no more and no less, so it takes that worry off my hands.
  • It is sturdy: unlike a “free form” reflector, it holds its shape. I only used this sample for a few days but it looks and feels just as sturdy as the other Honl Photo flash accessories. And as said, light, sturdy and small, when combined with affordable, is a great combination for flash aficionados like me.
  • It has not one, but three bounce surfaces. As you see in the image below: peel off the reflective surface. which is initially CTO (Colour Temperature Orange, i.e. tungsten/warmer light), and you get white; reverse it and you get a lighter slightly warm orange.

Here’s what it looks like with its three bounce surfaces:
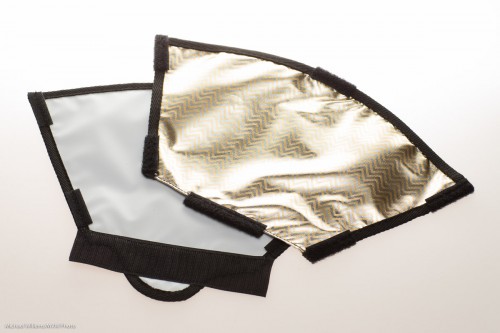
I found the Light Paddle to be directional where you would want it to be.
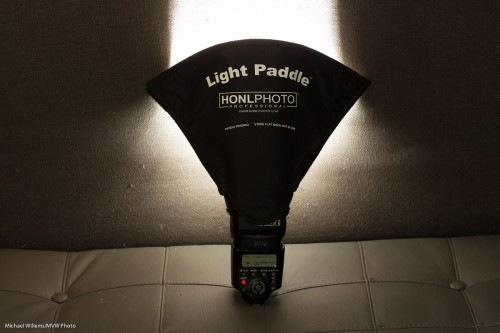
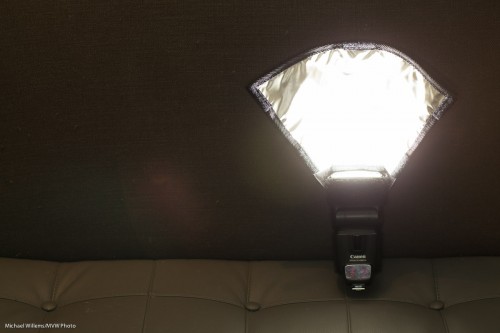
You can use the Light Paddle on an on-camera flash or on an off–camera flash. In either case, I found that it provided a surprising amount of directional control and consistency. Here it is again, and as you see it reflects the flash fully, and makes its surface much larger and higher:
The Light Paddle in Practice

Let’s look at the Light Paddle in practice. Here is a usual operating mode:
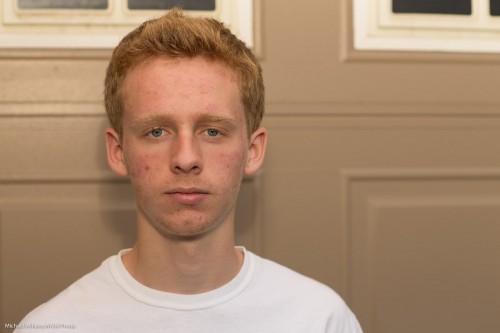
First, straight flash, in a situation where there’s no bouncing (and thank you, kind July Intern Daniel H., for your volunteering):

Now in the same no-bounce situation, the Light Paddle:

But it is outside that this really shines. Another before and after:

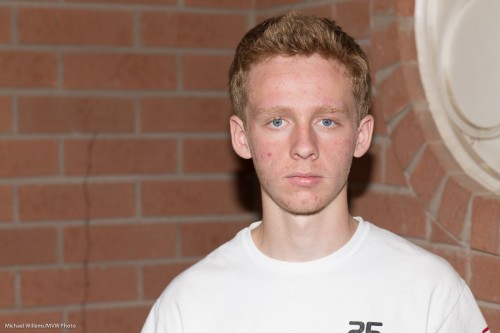
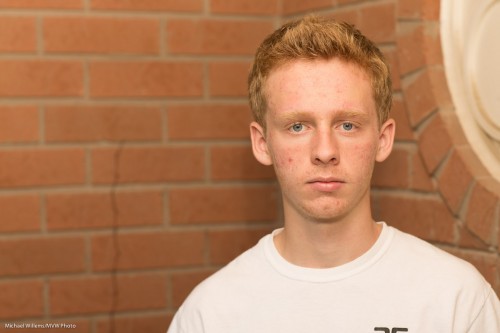
Another outdoors example, once more with the CTO (warming) side reflector: again, straight flash, then flash with Light Paddle. The difference is very clear.
Based on all this,. the Light Paddle is certainly going to be a staple part of my flash bag for events and creative use. It is not the only flash accessory, but it fills in the gap between bounce card, reflector, and softbox ever so nicely. Thanks, Dave.

If you want one, go  to Honl Photo for orders as soon as it will be available—I am sure that will be soon, both there and at your favourite local retailer.

 

Ring a Ring o’ Roses

I talked about ring flashes recently, if you recall. This time, a few notes about the Orbis Ring Flash—a flash that is not a flash.

It is a flash modifier. An attachment with clever light guides, that makes your speedlight into a ring flash. In order to achieve this, your flash fits into the bottom:
Result: a ring flash. And a remarkably good one, with amazingly even light all around the circle:

This needs you to insert your flash into the unit’s base, then set it off using light- or radio-driven TTL, or some other way. You hold the flash in your left hand, while you hold the camera in your right hand, with the ring around the lens.

And this works remarkably well. See the characteristic halo, and the very recognizable ring flash light, shown by student Tony:

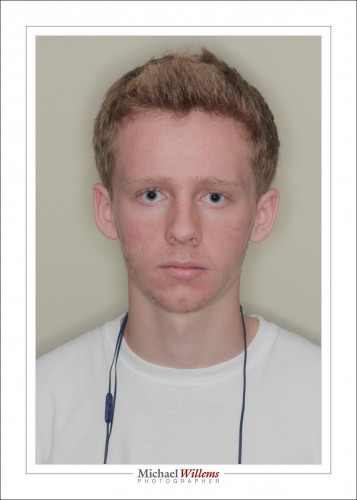
And again, as shown on my intern Daniel:

As said, this device contains incredibly clever engineering. To make it this even, the light paths have to be very cleverly engineered. And they are: whatever I tried, the ring always lit evenly.

From prior experience, I am sure the cheap knockoffs that seem to be around do not work nearly as well.

You can, of course, also use it off camera, rather than around the ring. It also works well when you do that, still providing better light than a straight flash. Like here:

I can see that this device is going to be a fixed part of my flash gadget bag. Thanks to David Honl of Honlphoto.com for sending this to me.

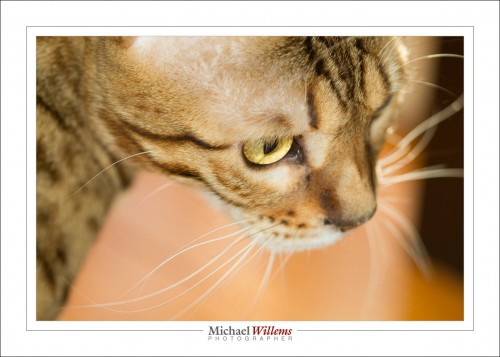
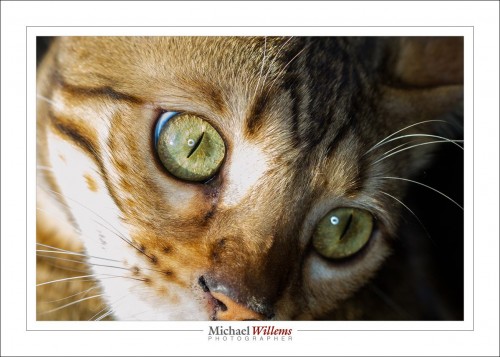
And, um, yeah… it is even good for shooting cats.

…including the donut shaped catch light that tells you immediately that this is a ring flash photo:

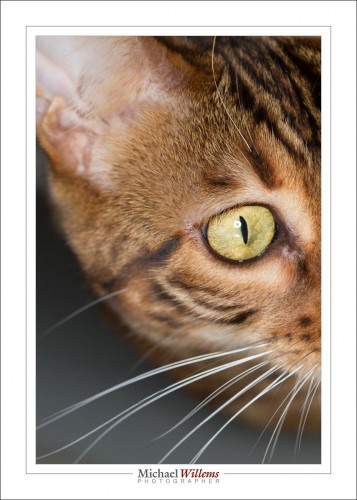
And I can tell you that this is a remarkably good device for shooting…

….you guessed it:

…cats! (Canon 7D with 100mm macro lens, f/5.6, 800 ISO, 1/125th, ring flash).


Anatomy of a portrait

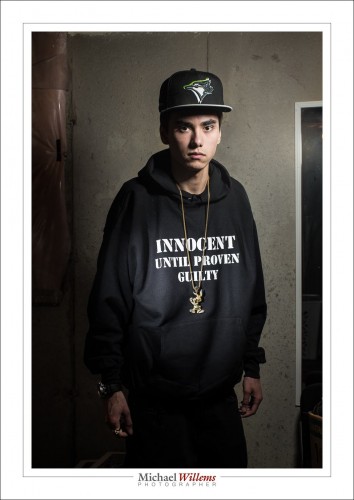
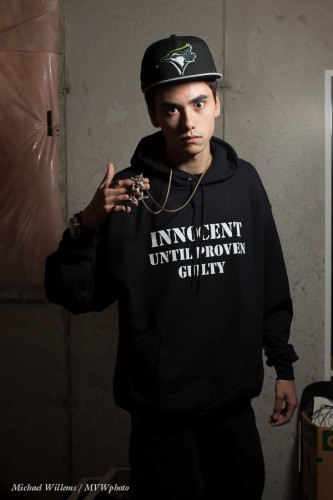
My younger son, who is a rapper, told me tonight, on his birthday, that he needed  a new portrait for publicity for his new album. So I obliged, before cooking dinner and while simultaneously doing laundry. Here he is:

That image took maybe twenty minutes, half an hour tops – but a lot of experience and thinking and equipment goes into a portrait like that.

First, what is required? We discussed, and he clearly wanted a serious, dramatic, look. In a grungy setting. The T-shirt text and the bling should be clearly legible and visible, respectively.  So OK – the briefing being clear, I used the basement studio, and freed just enough space to do a half body portrait.

Then the light. Speed was of the essence: I was about to make dinner. So I used speedlights. First, I set up a light stand with a 430EX flash set to manual, 1/4 power, and driven by a pocketwizard. I equipped it with a Honl photo 8″ softbox. I feathered the softbox to get the right amount of drama in the light, and to get Loop Lighting, almost Rembrandt Lighting, on his face.
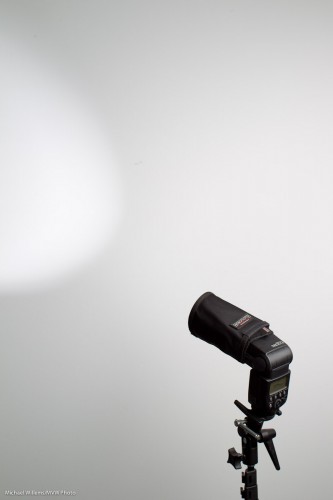
The camera was a 1Dx with a 50mm f/1.2 lens, set to 1/125th sec, f/11, 100 ISO. I knew the 50 was perfect for a half body portrait in a small space.

I tried, and the photos were OK:

Not too bad, but we wanted a little more emphasis on the writing. And more texture of the shirt. And clearly visible bling. So I added a second speedlight, this time with a 1/8″ grid, for a tight line of light, and aimed that at the shirt. Also equipped with a pocketwizard, and set to lower power (1/16th). Not having had time to prepare, I took my time finding things like cables and a bracket that fit the flash – all part of the fun.

I set the lights to the camera’s desired settings of, if you recall, 1/125th sec, 100 ISO, f/11. I used a light meter to verify that.

And there you have it. A few pictures – I took a total of 30, and we chose his preferred one, the one at the top. I could have done the light thing, the vignetting, in post, but call me crazy: I call that cheating if I could have done it in camera.

As a result, almost nothing needed to be done in post, but that still takes time: selecting, removing the odd bit of dust, any perspective correction, and so on.

Total time taken, as said, less than half an hour including getting things ready, setting up lights, moving stuff, and the entire discussion and post work. But that’s only because I have done this before. Experience is important. The good news: you can gain experience too and it costs very little.


___

If you want to learn, and you live near Oakville, Ontario: evening Flash course on 3 Oct, and 5-evening course with a weekly evening lesson starting  2 Oct. – both these small courses have open places still.


More Modifiers

Today, another look at flash modifiers for you.

Here’s a smaller snoot (again, I am using the excellent range of Honl Photo modifiers):

This also makes a small well-delineated light area, but it is larger then the one from the large snoot.

A small reflector. This allows me to direct the light somewhat; it also softens the light a little:

And a large reflector:

Observant readers will notice this is the same device as the long snoot – just not rolled up. This particular one is a CTO version – “colour temperature orange”, giving it a warm, tungsten-like bounce.

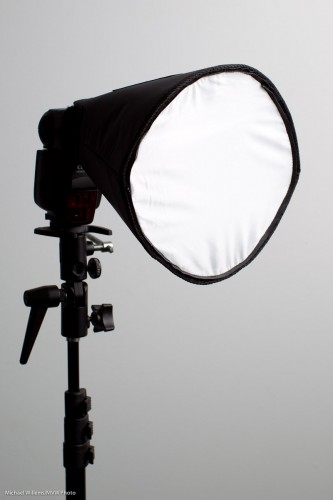
And finally a small portable softbox (this is the Honl “Traveller 8” – there is also a larger version):

This creates wonderful, soft light.

Without a softbox, this would have looked like this:

See that annoying side shadow? The softbox would have taken care of that.

___

As you know by now, my Photography “recipe” book is out: this 108-page (non-DRM!) eBook is available for purchase right now for just $19.95 –  see www.speedlighter.ca/photography-cookbook/


Modification Good

You hear me talk about flash modifiers a lot here: today I thought I might show you what some of them actually look like. In particular, some of the ones that let me direct or colour the light (tomorrow, I’ll mention more, and talk about softening the light).

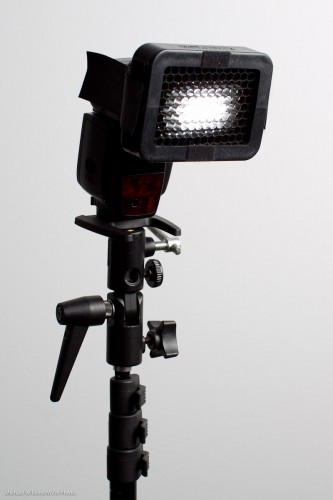
A grid restricts the spread of the light from your flash. Here’s a grid (a Honl Photo grid: I use Dave Honl’s excellent small flash modifiers constantly. They attach using simple velcro and are small, sturdy, light, and affordable: a pretty good combo):

The grid is my most often used modifier. After all:

I want to direct where the light goes, which clearly implies that I also want to direct where the light does not go.

The grid helps me do that. You can even see it in the picture: the flash is firing but it’s not blinding us. I can light a subject without also lighting up the wall.

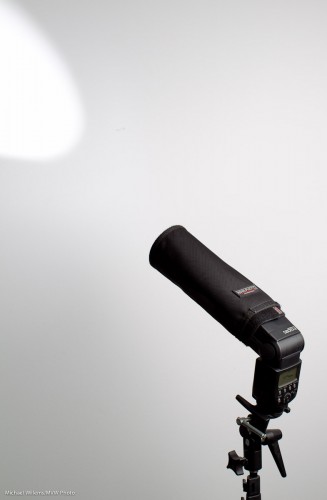
Next, the snoot. Here’s a snoot (another Honl device: the reflector rolled into a tube is a snoot):

See? Even more directional than the grid. Great for very selective lighting.

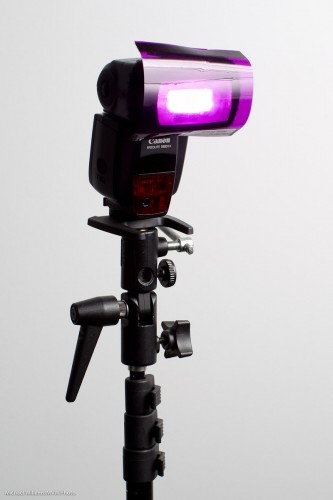
One more modifier today: the gel. Here’s a gel:

Now we have a purple flash!

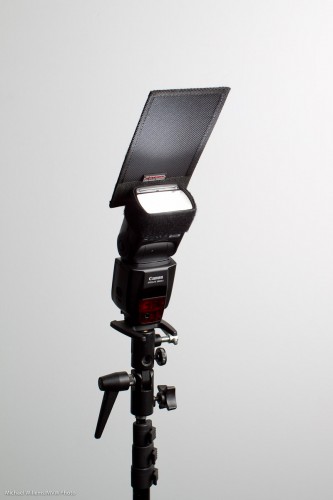
Another device is the Gobo (“Go Between Objects”):

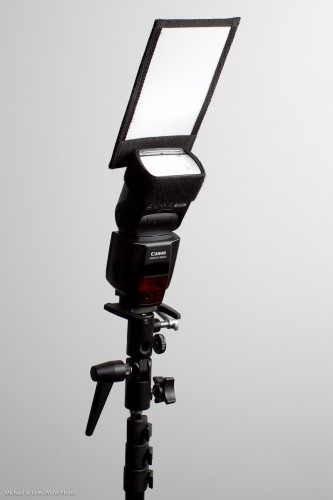
That is in fact a bounce card with the dark side used. Here’s the bounce card with the light side used:

You can see both keep light from certain areas; one also reflects to the opposite side.

Finally today, here’s a photo taken with a gel and a snoot. Can you tell?

Tomorrow, more modifiers for you!

___

My Photography “recipe” book is out: this 108-page (non-DRM!) eBook is available for purchase right now for just $19.95 –  see www.speedlighter.ca/photography-cookbook/


It’s all about…

….what you do not light.

Here is a shot of impromptu model George, who was on the course:

David Honl and I lit George from the side with a single 430EX flash using a Traveller 8 softbox, during the”Advanced Flash” workshop Dave helped me teach Saturday in Toronto.

This shot illustrates the “it’s more important to think about what you do not light” principle you often hear me mention.

The following shot illustrates another principle: “light from the sides, fill from the front”. Here, we are lighting George with two 430EX speedlights, each with a 1/4″ grid, from the side. Another gridded speedlight is aiming at the background, and a final speedlight, in a Traveller 8 softbox, is aimed at his face.

We used manual flash for all these shots, and the flashes were connected to pocketwizards via Flashzebra cables.

Since we are using only flash (ambient plays no role), the settings are the standard 100 ISO, f/8, 1/125th second.

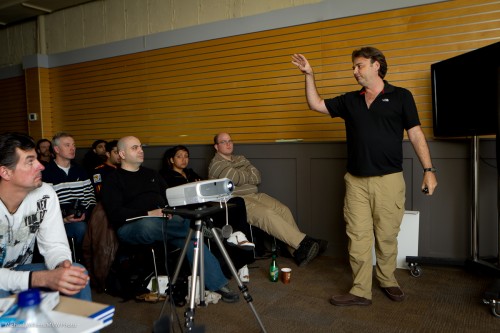
All these shots can be set up in just a couple of minutes, as Dave is explaining here to some of the students in this packed workshop:

If you were one of those students, I hope you’ll add some comments here about what you found most useful or most fun. I know many of you read this blog daily!