Families, and what precedes them (weddings)

Why do I love to shoot weddings and families?

Because we live to love. We live a short time (although my son Daniel, when he was perhaps nine years old and I said “life’s very short!” instantly responded “No it isn’t: it’s the longest thing you’ll ever do.”)

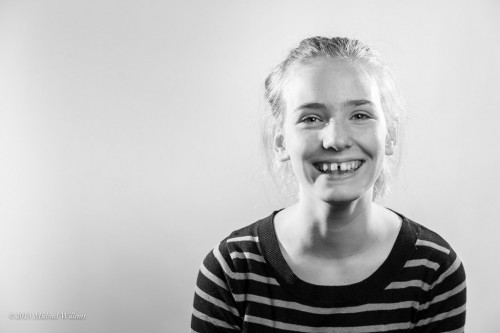
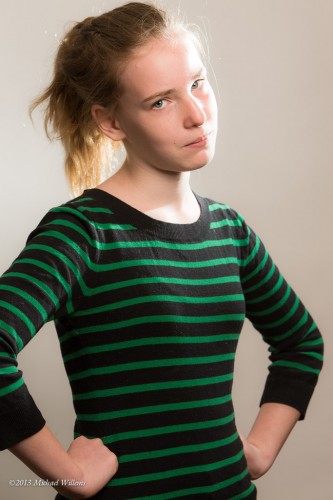
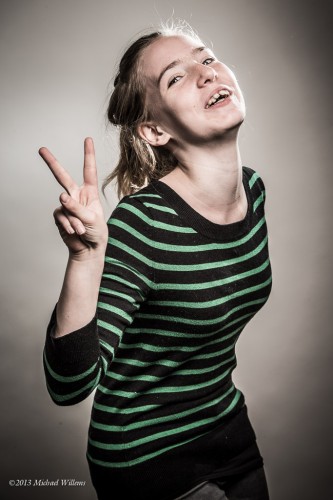
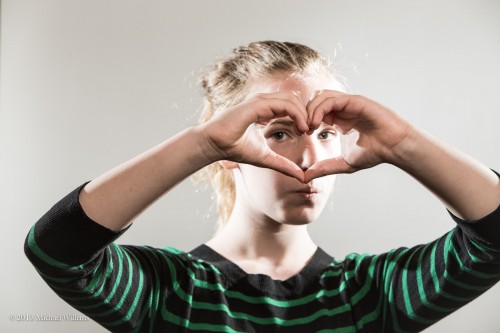
In any case, capturing personality and life events is one way we can be immortal. Look at this kid at a portrait shoot I did yesterday: four different looks in a few minutes. Happy and open; death stare; typical teen Facebook pose; and cool. If you were the parents, would you not love immortalizing your daughter this way?

And just think at the excellent pictures mom and dad will be able to project onto the wall at the time of her wedding (or more likely by then, holographically project in front of each guest).

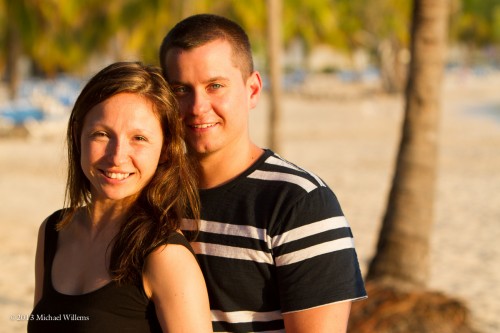
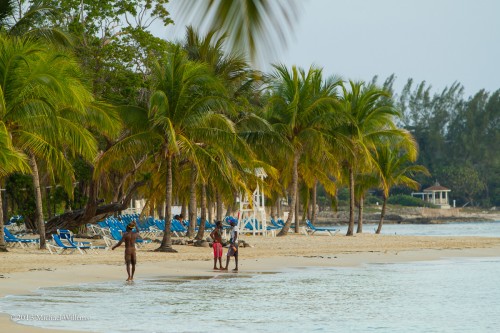
Talking of weddings… I just got back from Jamaica, and my mission there was to tell a story. Not just to get the standard wedding shots – the ones you might get when you hire a local resort pro – yes, those too, but so much more: the story of the entire trip. Smiles. Moments. Love. Beach. Fun. Friends. Outings. Jamaica. Airports. Buses. The entire trip. One of the bride’s best friends (and bridesmaids) just responded to teh slideshow I put together:

What an amazingly great job on the video Michael! I LOVE the pictures!!! I laughed and I cried! I flashed back to the great times we had on the trip…and it made me wish I was closer to my friends! THANK YOU so much!! Amazing, amazing, amazing job!!! 🙂

And THAT is why I shoot destination weddings: I met great people and I made a difference to them by enabling them to remember and relive this life event forever.

And that of course must include a “b-roll” of pictures that include:

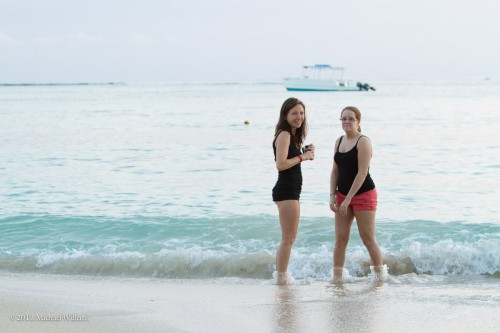
  • fun.
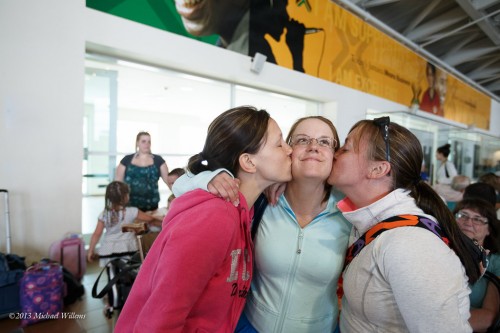
  • events (like “the plane ride”)
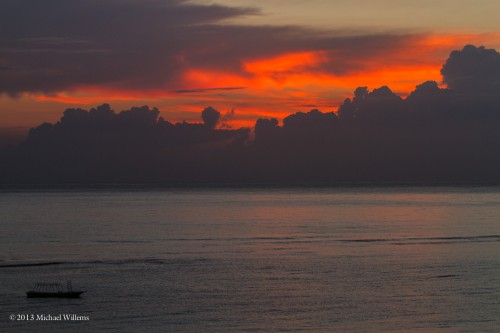
  • background, to show the environment.

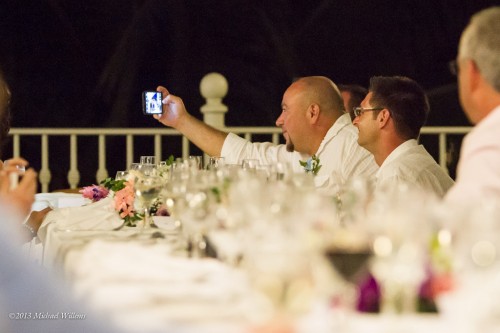
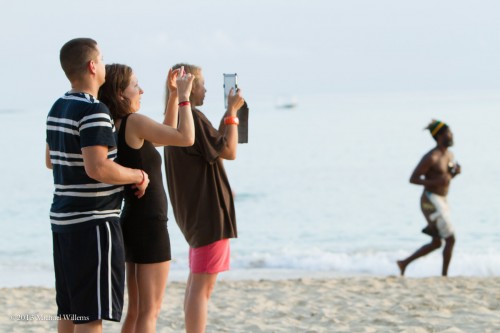
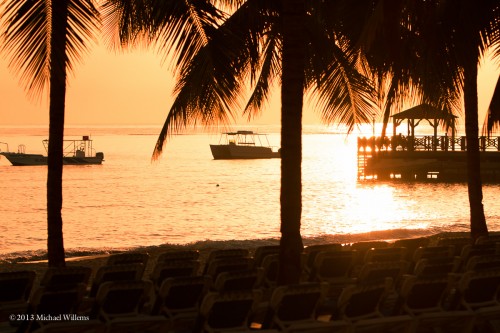
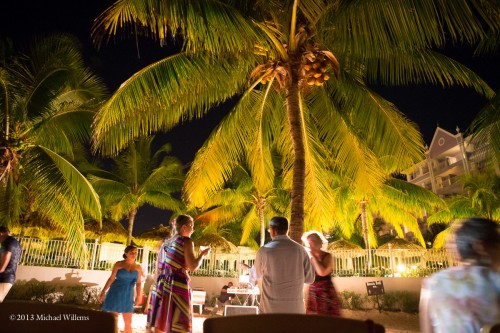
Like these:

Most of these were taken at 5:30AM on the day of departure. All of these are extra to a “normal” wedding. No local wedding pro will every get you anything close to that. So if you want a wedding trip to remember, bring your own photographer.

So when you make a trip:

  1. Tell a story! And to do this:
  2. Look for markers – moments in time that mark a transition, like airport arrival; climbing up the waterfall; leaving; entering the bus; that sort of thing. Every time a new phase starts.
  3. “If it smiles, shoot it”.
  4. Look for anything funny and capture it, too.
  5. Carry the camera when you think you will NOT need it. Some of the best pictures arrive without warning.
  6. Look for background, the “B-roll”, to remind people “what it was like”. Signs are good. So are views. The food. The detail; the little things you notice when you arrive. Shoot them; later, sort out of you want to use or not.
  7. Sort into the right order later.
  8. Make a slide show – or make multiples, maybe 5 minutes each. Background and “Ken Burns effect” are good.

That’s what I do when I shoot a destination wedding.


The making of a group shot

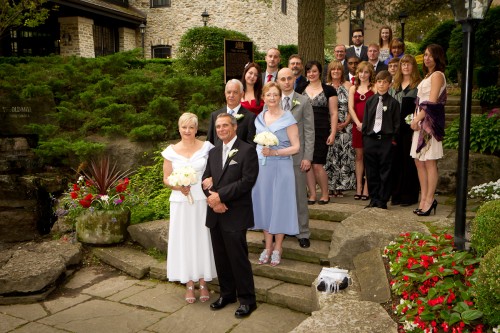
I shot this at a wedding the other day: a group shot featuring bride and groom Pat and Jim, relatives , maid of honour, and best man.

Pat and Jim Wedding (Photo: Michael Willems)

How did I shoot this? I thought it might be good to go through the process that went into creating a shot like this.

Setting

The day was ideal for photography (bright overcast). So I had lots of options at The Old Mill in Toronto. But therein lies a problem: which one to choose, out of hundreds? So I decided to look for…

  • Background: A nice, full, non-distracting and darker background.
  • Context: the background should say something about the event: it supports the image so it should provide context (notice the venue’s sign).
  • Colour: I want some colour. The flowers provided this.
  • Space: A space large enough to pose over 20 people.
  • 3-D: Preferably some various levels (e.g. steps).

Steps give you an automatically full background, so these steps were the chosen spot.  So far. so easy.

Arranging

I would often do a sit-stand-lean arrangement, but in this case, all standing is OK.  Arranging 21 people takes time and by the time you tell the last person what to do, the first person has turned around again. So speed is of the essence. I arranged bride and groom, best man and maid of honour, and from there on much of the rest fell in place and only minor adjustments were needed.

I then arranged them so I could see them all. This takes a fair amount of doing, because people move – my experience shooting sports clubs came in handy.

Now I told the group to relax – I would be doing test shots, so no worries yet – and to all breathe in deeply, and then all to breathe out at once. I demonstrated this. Silly, and silly is good, it relaxes people.I avoid saying “Smiiiiile…!” – it brings out the worst fake smiles in people, especially in men.

Then I watch body language and go, “checklist-fashion” through everyone, to see any awkwardness. If I see any, I ask them to adjust.

Technical

I used a slightly wide angle lens on my Canon 1D Mk4 body – the 24-70 f/2.8 set to 33mm effective focal length, meaning not very wide (distortion) but wide enough, giving me the following benefits:

  1. The ability to get it all in.
  2. Extended depth of field.
  3. Tolerance of slow shutter speeds.

I first of all exposed for the background. I wanted it to look nice and dark. This emphasises the people, and it also allows background colours to become saturated.

So I set my camera to:

  • f/7.1 (which gave me enough depth of field, which I needed with 8 rows of people!);
  • 1/80th second, which is fast enough for a 35mm lens hand held;
  • Getting a  dark background (between -1 and -2 on the light meter) now necessitated 800 ISO, which is great on today’s cameras. This also enabled the flash to reach far.

I then used my on-camera 580EX II flash to light the people.

On-camera, from the speedlighter? Yes, outside you can get away with it. If I had had more or more annoying shadow I would have used my Honl Photo softbox.

And there you have it. Simple shot, took a minute to make, and with little or no post work.


One Thousand

This is my one thousandth post here in speedlighter.ca!

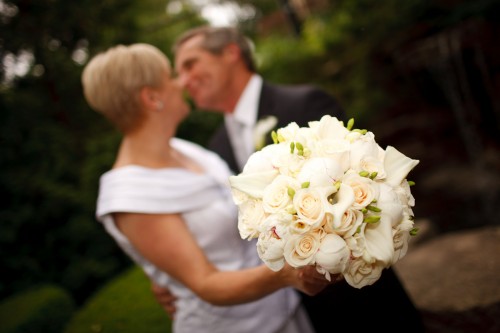
Tonight, I and my second shooter shot a wedding. We came back with nice shots like this:

And this next one, inspired by Mel. Remember, as I have said here many times, an out-of-focus background can make the viewer look and work out what is happening – and this makes the picture better. “Telling the story by not spelling it out“:

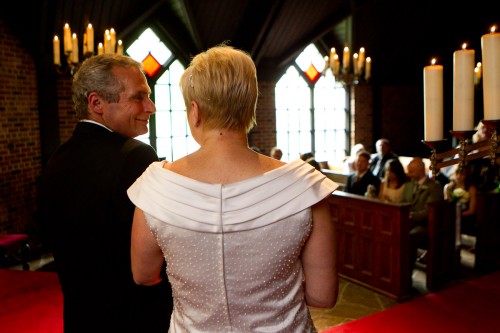
But the chapel.. oh boy.  It was dark. And I mean… dark. As in “1600 ISO, f/2.0, 1/30th second” kind of dark. Except the couple had a pair of very bright lights shining straight down onto their heads from the ceiling. Oh, and yes, bright light from one side’s windows. A very challenging environment – but we still came back with nice shots:

More about this in future days. Let’s just say for now that:

  1. You should not be afraid to use a high enough ISO.
  2. You ought to try several options. There’s seldom “just one”.
  3. Slow shutter is needed? The use it. even if some images may not be sharp.
  4. Use a fast lens. Faster.
  5. Flash not an option? Then use aperture, ISO and shutter to get there.

And now off to sleep for a few hours before going back to another shoot. And tomorrow, 1001 – leaving me feeling a little like Scheherazade.


Piecing it together

Remember my recent post about how you need to tell a story with your pictures, but in a way that makes the viewer piece together that story?

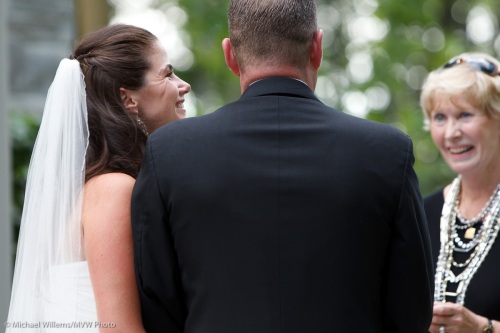
One way to do that is by adding a second person in your portrait background, but having that second person blurred out. You sawa variant of this in the wedding cake picture, with dad in the background.

But this technique works especially well when there are two or more people, and especially when there is a relationship between these persons. Like in this nice wide-angle image of the bride and groom:

Groom with bride, by photographer Michael Willems

Groom with bride, by photographer Michael Willems

The centre of attention is the groom (unusually, because of course most of the rest of the wedding photos emphasize the bride, not the groom).  And then, a few milliseconds later, you clearly see the bride, and that she is smiling, and she is looking at her new husband.

More technical detail:

  • The wide angle makes the perspective show.
  • A good lens, which allows a wide aperture, and proximity to the subject, blurs the background.
  • Flash was bounced off the wall behind me, on my left (so the subject is hit with photons from the front).
  • The camera is in manual (“M”) mode; Exposure is set to light the room well.

Sometimes, not showing things that normally you would, also works. Look at the groom: we have no idea what he is thinking.

Knowing Looks, by Miochael Willems

Knowing Looks

Well, of course we do, we can guess – and that is what this is about.

Try it yourself now, this type of portrait! Aperture open all the way on a fast lens.